Leaderboard
Popular Content
Showing content with the highest reputation on 07/18/2023 in all areas
-
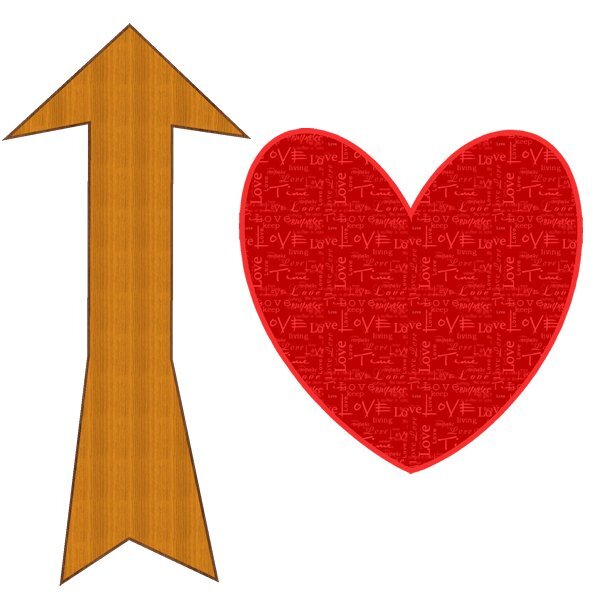
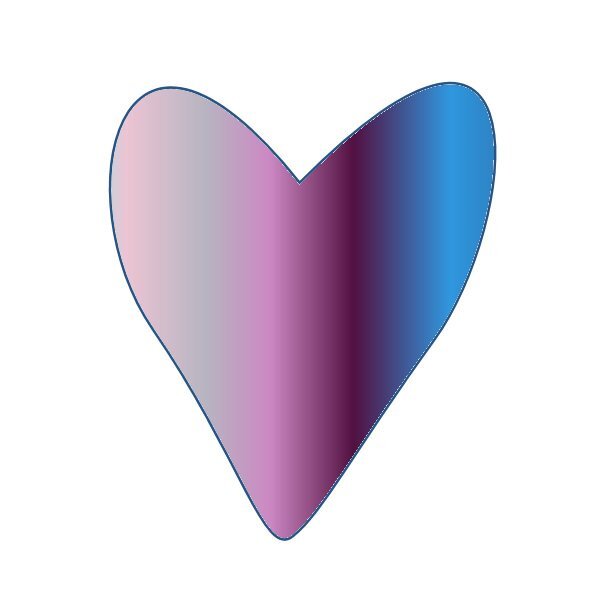
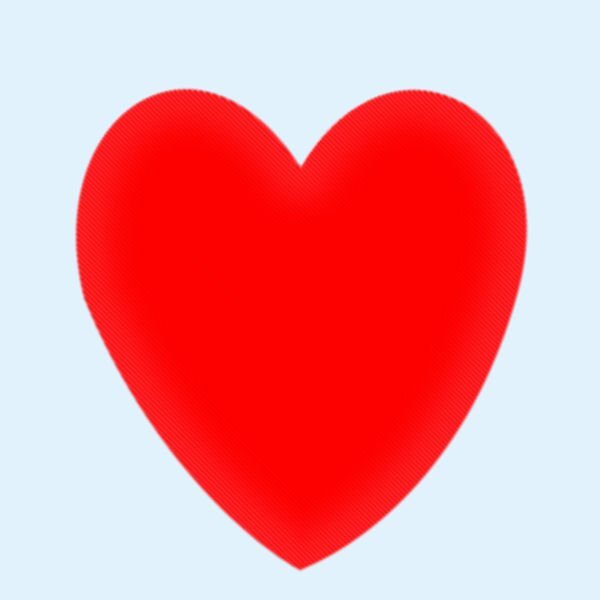
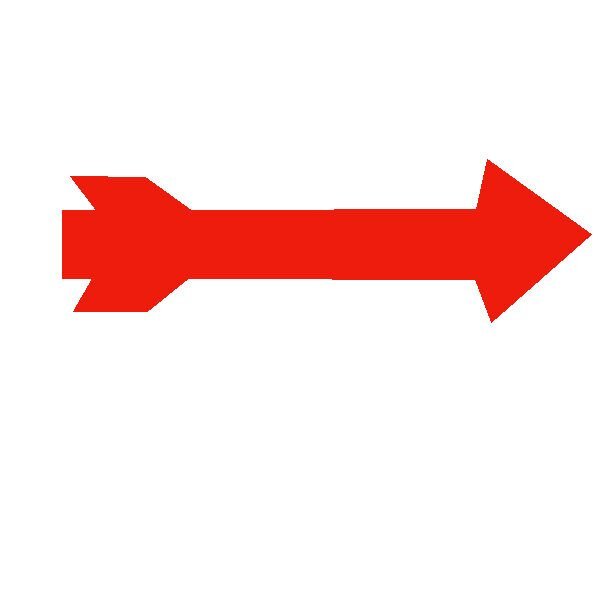
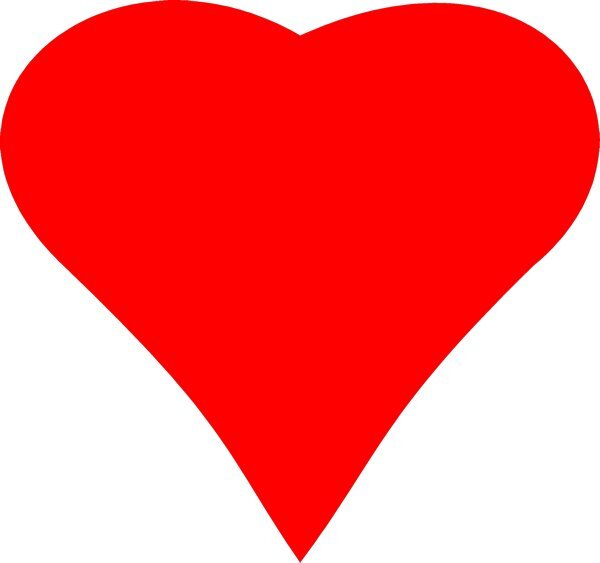
My attempts at lesson one. My problem was also getting two nodes when I was adding (i just did undo and it went away). The other problem is when I want to move the nodes I would inadvertently add a node or it would move the whole vector object. Do I have to click on the node to make it active then move it? What does the cursor look like when I can move it? I see squiggley line, a plus sign and 4 arrows. My heart comes to a weird pointy point, how would I get rid of that? Good lesson and I see how you can fiddle around with nodes for some time. Good idea from everyone who said use the grid/guide lines. I will try that. I need more practice. I see some very cool hearts and arrows from everyone. So cool to see so many posts when I got home from work. side note: does anyone remember the spoof movie Airplane. The pilot says to the co-pilot, "What's your vector Victor?" hahaha. Now it's running through my head as I learn about vectors.14 points
-
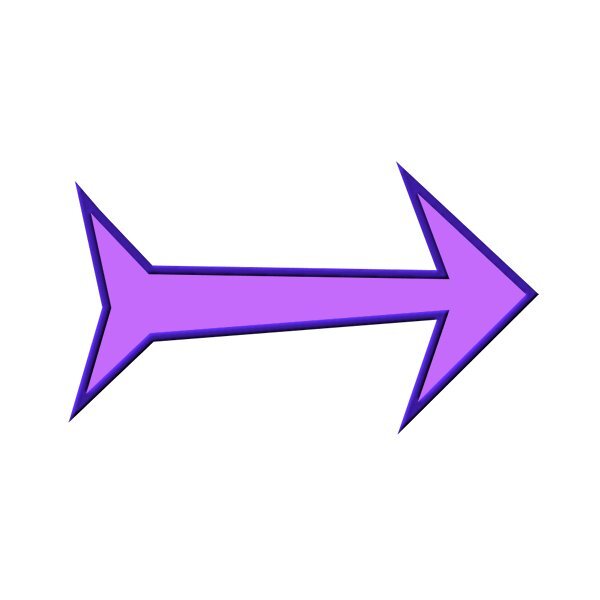
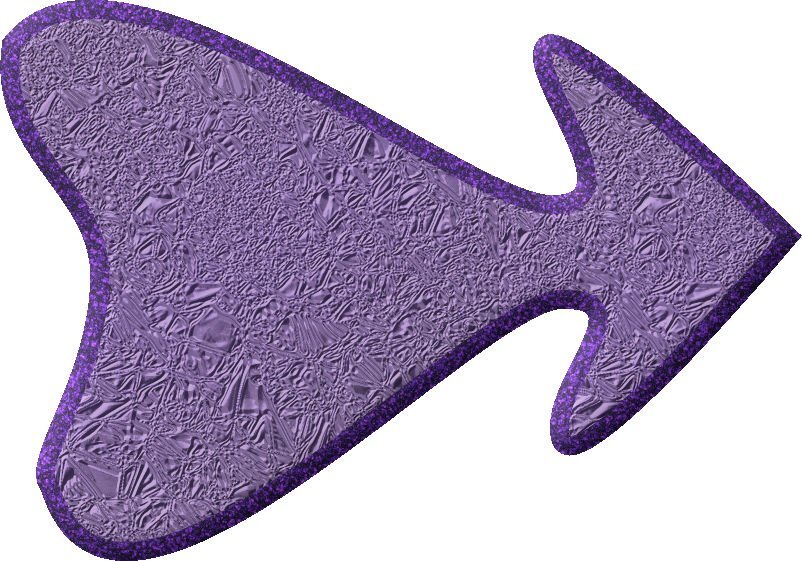
I am a bit late posting but for some reason I couldn't sign in or register for the forum despite having done a previous workshop. I kept getting captcha verification errors. Kept trying & eventually re-registered. I must have 3 different forum accounts by now. Anyway, it was a great class. Just enough information to be interesting without overwhelming. My arrow was very wonky until I remembered about using the guidelines to get the bits aligned evenly. I am not artist and a sprained wrist doesn't help but I did manage something respectable though not very elegant.14 points
-
Here is my Vector Lesson 1. I had a bit of a problem with the arrow. When I added the first extra node on the rectangle, it kept giving me 2 nodes, one right under the other. The rest of the added nodes worked OK and added one node where I wanted it. I just ignored the extra node and kept on going. I learned a lot about nodes and how you can use them to change a shape.13 points
-
13 points
-
13 points
-
13 points
-
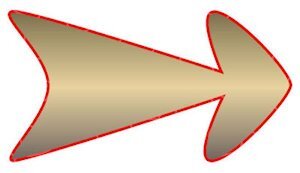
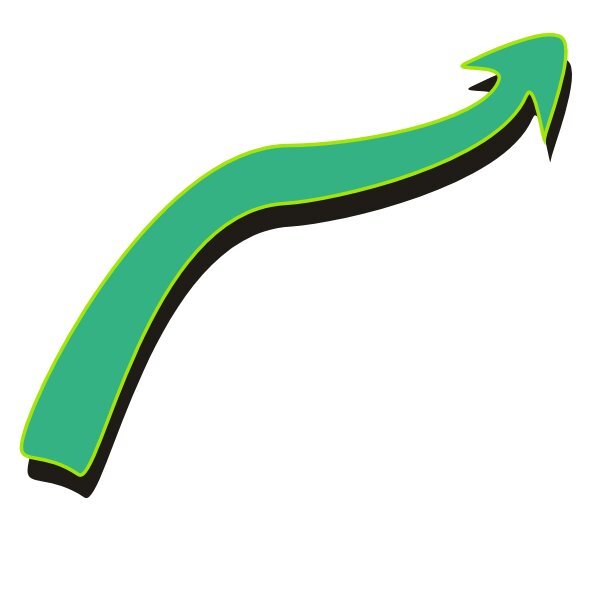
By adding an even curve to my arrow, I used less nodes. I rotated it and added a small inner bevel and drop shadow after I changed it to a raster. For those that may be having difficulties. I find using the grid, or if you prefer the guide lines, to keep what you are creating symmetrical, and even. As that is the way I like to create. Uncheck the snap to grid/guides, as they are only there for you to place the nodes etc evenly, unless you are looking to create distorted shapes. Also, which I find is important, make sure you keep your vector shape in the centre of your page. I hope this makes sense to you.12 points
-
12 points
-
12 points
-
12 points
-
11 points
-
11 points
-
11 points
-
10 points
-
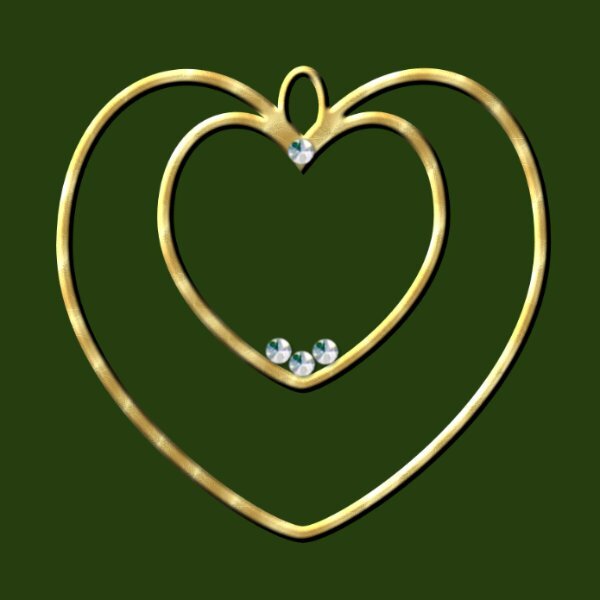
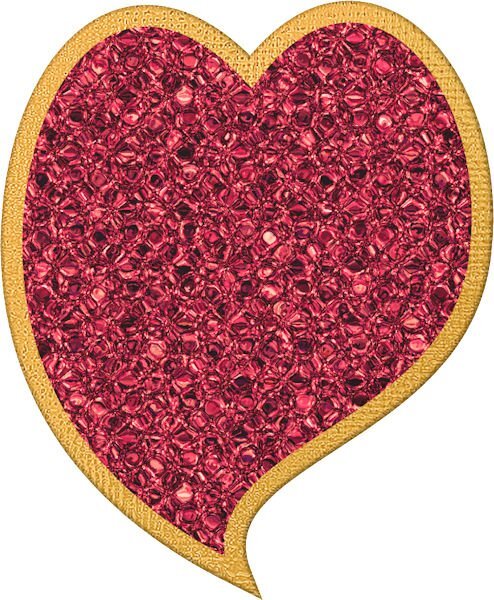
Finally, I have five minutes to read the first lesson email, and came up with this for the heart shape, whilst having a bite to eat. I'll do the arrow this evening. I didn't check out what participants have already posted, until after I posted mine. Great work everyone, each one is different, and inspiring. I decided to create a gold heart shaped pendant for a necklace. After creating the heart, duplicate, resize, created the chain link. Merge visible to a new layer. Added some gem stones.10 points
-
Here are mine for Day 1. As I commented earlier, I use both guides and grids to get my vectors symmetrical. I love all the different results I'm seeing. You are all always an inspiration to me.9 points
-
9 points
-
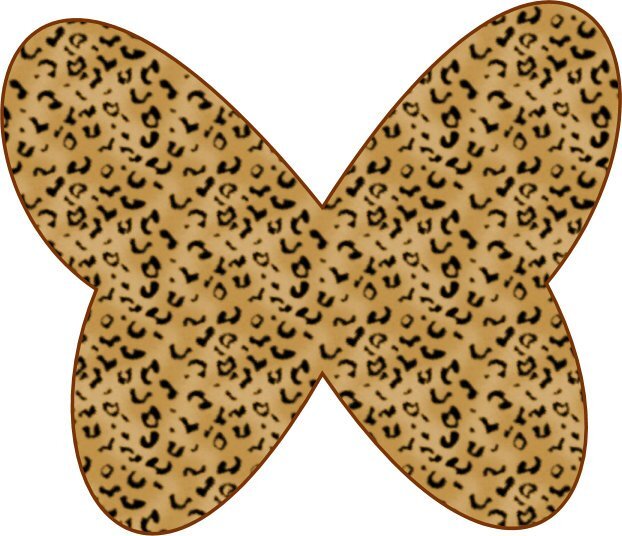
Like Cristina said I too never noticed that the icons changed when converting to path. I forgot a couple of times that you first have to change to the pentool and convert to path, but I hope I won't do that any more.? After making the heart and the arrow I just played a bit with a circle shape and got something that more or less resembles a butterfly which isn't perfect yet.9 points
-
First off, thank you Cassel for sorting the email problem out. Much appreciated ? I have tried many times previously to understand nodes and vectors and I'm glad to say, I actually think I 'understood' it (kind of?) Time will tell, but I will keep practising. I don't think my first effort is too bad, but I did keep 'making' extra nodes, and also on the arrow it came up with 'merge' when I added a node. Not sure what I did to do that, or even how I got out of it - once you click and click again, and then maybe again - it sorts itself out without the understanding of the why's and how's ? It's quite a fun activity playing around with shapes etc, and definitely addictive. Looking forward to Lesson 2 ?8 points
-
8 points
-
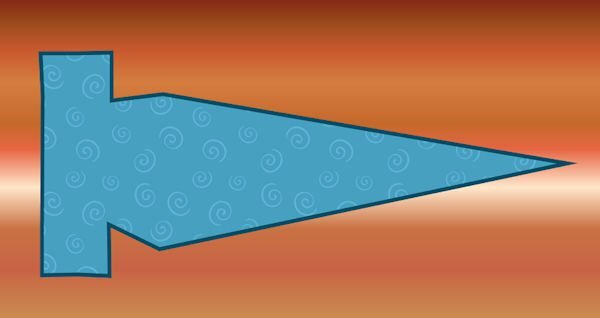
Hey, Jen, Welcome to the group! I just logged on to say the arrow was is very difficult - for one thing, my colors went back to the heart colors, even though I changed them from red to blue. Secondly, I always, always have trouble getting the line to LET GO. STOP adding, whatever the term is. It won't stop adding segments. So my arrow looks more like a Japanese kite or an origami bird than an arrow and I have to start over. But you'd be proud Carole, I'm using those Guide Lines! I want to remind people that they can save their hearts and arrows to their presets shapes so they can use them again and again. File--> Export --> Shape or Preset Shape. If "shape" is grayed out, get rid of any raster layers, like the one on the bottom. Then steer the save to the proper folder where you stash your psp shapes. Also give it a name, one that makes sense, like your first name and then "first heart", "broken heart", "glitter heart", "bio heart", or whatever. My first name starts with an S so it's way down there, alphabetically speaking, so I use ASuzy to get it up top. (And Carole I'm sorry if I stole your thunder from a later session, but my heart is world class & I wanted to save it - I thought other people might want to save theirs, too.) Edited to add -- Monique, We are having poor air quality days here from the Canadian wildfires, and have to stay in - well, let's just say I'm not outside for any length of time. We are not forbidden to leave home or anything. I know how to do this in theory, but the very beginning gets me frustrated every time. I keep forgetting to change to the pen tool, and then my nodes never show up. Maybe this session will fix that for me.8 points
-
Hello everyone, It's good to be back at the computer. It's been hectic around here. First a shoulder replacement (another one to come), then the sale of our house. It sold in 4 days and we had to be out in 26 days. We are now living in our RV waiting for our new house to be built. We're in Sycamore RV Park in Illinois for about 5 weeks, so now a bit of down time. Yay! I was able to do the first Vector lesson today. No frills, just the lesson. Time for number 2!7 points
-
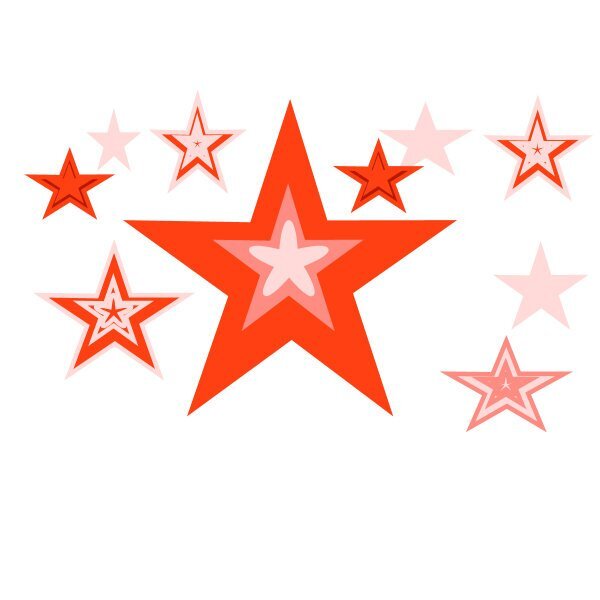
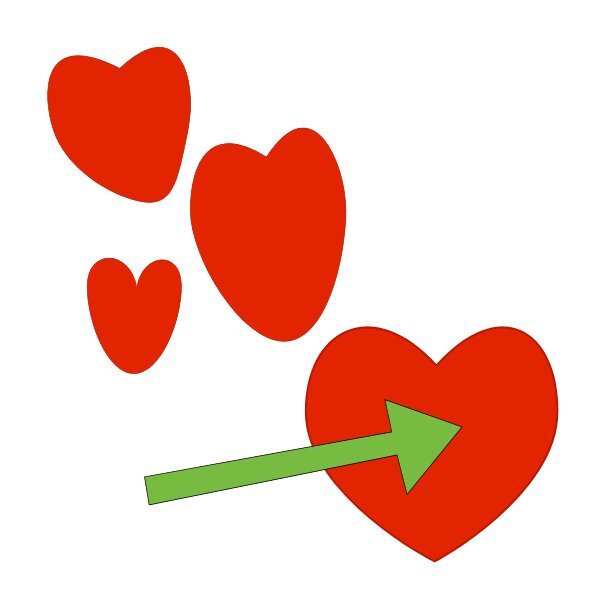
Image3 - This one worked and I was able to draw the preshape and change its colour. Image2 - After drawing the objects how best is it to move to reposition them? I used the pic tool. With my star shape I wanted to remove 2 of the points that extended past the green rectangle. I made selections of the areas to delete but it deleted the whole star layer! StarImage - The image saved as a preset and looked the same as my original (centre of picture) in the Pre-sets list but when I drew the presets the rounded nodes of the central star did not appear rounded. If I changed the colours in my materials palette and drew the preset I got the effects that you see here. And something I discovered when drawing the preset, don't have the original vector layer active or it draws into that layer. Select the raster layer first then draw and a new vector layer is created.7 points
-
All these overachievers on page 5! They quite put me to shame with their fancy work and creativity!! ?7 points
-
7 points
-
I'm not so good at "eyeballing it," as Rachel Ray would say, so I worked with guides to help. BTW - Thank you, Carole, for the lesson on guides! I often created nodes that were adjacent to each other. For the most part, it worked in my favor to refine the shape. Is there a way to merge them when everything is in place? I seem to remember it being mentioned in one of the masterclasses.7 points
-
Hi, I find manipulating the nodes awkward too so as some of us are saying, practice is the way forward. My first attempts produced more of a biological shape than the love icon but then I found having the guidelines active made it easier for positioning. Still not fully clear on the difference between the nodes so will have to go over the tute again.7 points
-
7 points
-
7 points
-
7 points
-
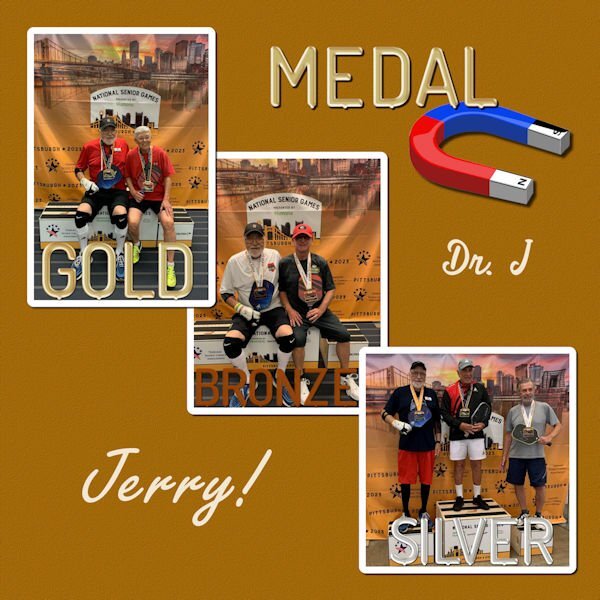
My mixed doubles partner at the National Senior Games was very successful. He won a gold medal, silver medal and bronze medal...medaling in every event he entered.Gold, silver and bronze alpha us by Janet Kemp, Digital Scrapbooking, Toolbox Letter Board. Dr. J text is Barsime font. Jerry is Freestyle Script font.6 points
-
6 points
-
6 points
-
6 points
-
Hi to all , here is my lesson 1 I made a filled and outlined one from each to exercise6 points
-
5 points
-
5 points
-
5 points
-
5 points
-
Here is what I practiced for Lesson 2. I am enjoying this workshop very much! I kept it simple as suggested (not enough time to play around, too ?), and it was fun anyway. I don't save the shapes most of the time, so I am forced to do it again and probably relearn what I have forgotten. I loved to see what everybody has posted so far.5 points
-
I played a bit on a square with the nodes and now I have a house, I made a screen so you can see the nodes5 points
-
4 points
-
Yeah, that is a little annoying. I think we always tend to go faster and go with CLICK-move. We probably need to CLICK - move. Notice that the node will become black when it is selected (and ready to be moved).4 points
-
4 points
-
Excellent Lesson 2 Carole, thoroughly enjoyed it ? There is some wonderful work on these pages. I have done the very basics in doing my shapes, but I will be practising more and more, especially with node placement and the clicking on them to get the arms of the node types. I have read through many of the posts, and thank you to the participants who suggested the grids etc, made it a lot easier to deal with the symmetry of the shapes. And when using a few shapes, centring each one greatly helps. I love that you can export many images into one file and then see them come up individually in the preset shape menu. Anyways, here are my first attempts at the shapes, but there will be a lot of fun to be had with getting a bit creative as I practice more.3 points
-
Day 2: Creating a vector rectangle with Show Nodes allows you to move a node to get rounded corners. MIND BLOWN! I hope I remember this because it will certainly come in handy.3 points
-
I usually only use guides, but I would have had to create too many. That's why the grid came in handy. Once you get used to it, you'll love it. OCD can be a curse or a helping hand...sometimes both at the same time. lol3 points
-
Hahaha, yes, aren't we all wearing our fancy pants today. In fact, I just incorporated a business making hearts and arrows! Maybe I shouldnt quit my day job, eh?3 points
-
I have made a heart, and an arrow! And nodes are STILL frustrating! And remembering to switch to the Pen tool IS important! I am not posting anything today, because I am going to wait for Carole to give the Exporting directions tomorrow? I hope to have more time to be frustrated tomorrow ?3 points
-
3 points

























Resized.thumb.jpg.d25811db03a63358cedab1e79f527635.jpg)
