Leaderboard


Popular Content
Showing content with the highest reputation on 03/21/2023 in all areas
-
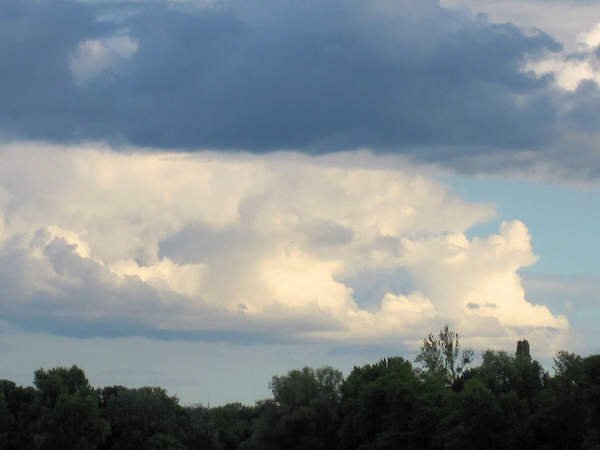
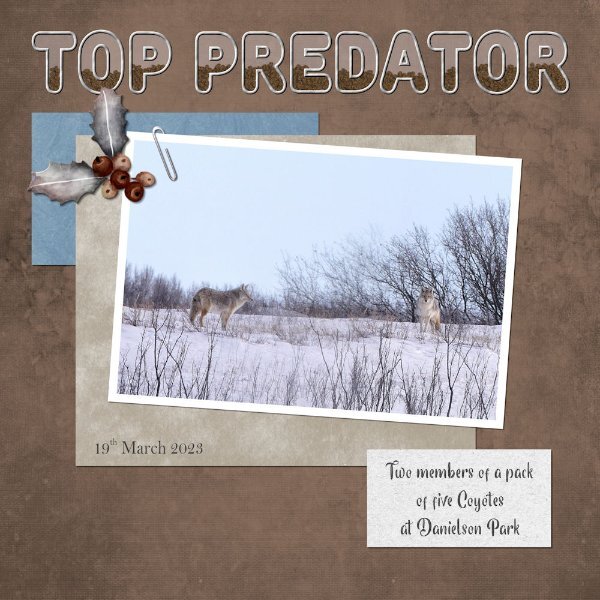
Day 1 A pack of coyotes I have been observing this winter. On this day all five were out, and had their eye on either an old or ill white tail deer, it was skin and bones with it's ears flat. I watched while they slowly manoeuvred the deer into the trees. They keep the herd of over 200 deer healthy. Hunting in the park is forbidden. Here are two of them, I blended 2 photos together. All my own work including the holly and berries picture tube element. I filled the title with pine cones, as there are lots of conifer trees in the pack.
 15 points
 -
I am also here my layout - all credits in Gallery15 points
-
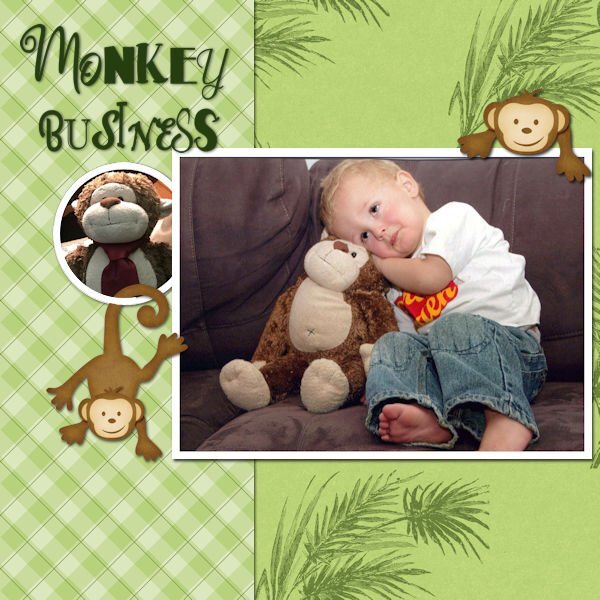
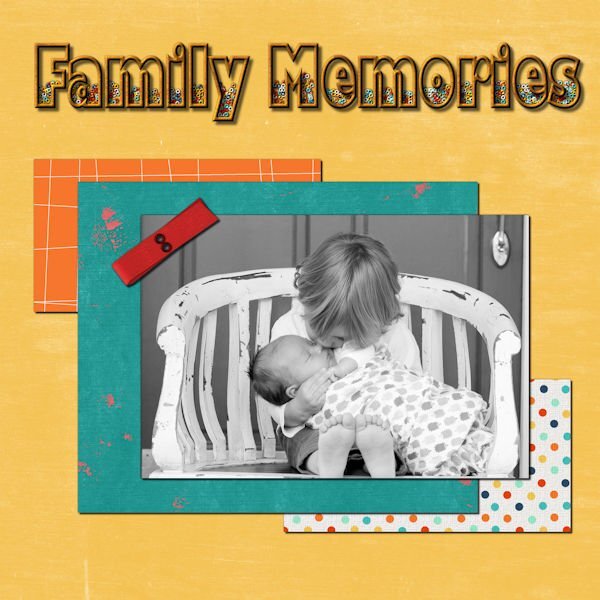
Here is my day 2 project of my grandson when he was young with his "Best Friend", Mr. Monkey! I made the plaid paper and the other is from Jessica Dunn. I choose to put a second picture rather than an element.
14 points
-
Lesson 2 Text. Having fun with this stuff.
14 points
-
A very simple lay out, but it doesn't need more I think ? Tried a mat and other things , but didn't like them much ? When I added the gradient, I thought, this looks familiar, it looks a bit like the one I used on my granddaughters birth announcement I had the honour to make for sending to family and friends ?
14 points
-
This is Ousha. The background and the papers were made by me. I'm trying to come up with a tie dye paper, but I haven't quite got to that point. But it does sorta channel Laugh In.
14 points
-
Well, Day 1 is finished. I hope I can make time to do the rest of the days, too.13 points
-
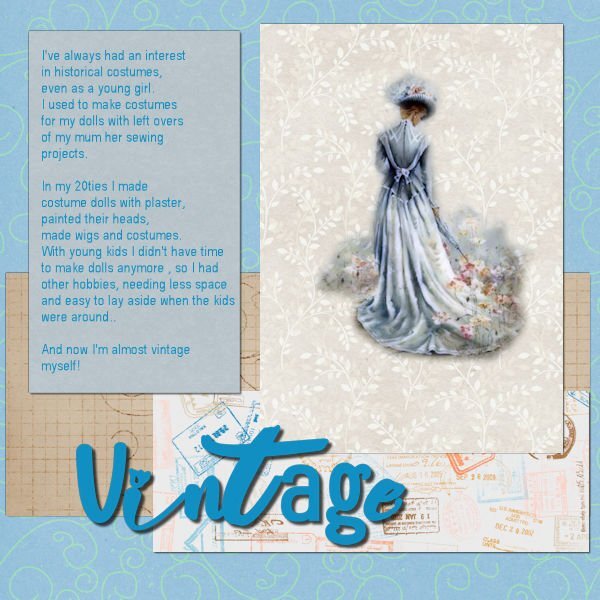
I found an unfinished lay out? in ine of my folders and used it for day 2 ? I really don't remember where I got the papers and the lady in costume came from ?
12 points
-
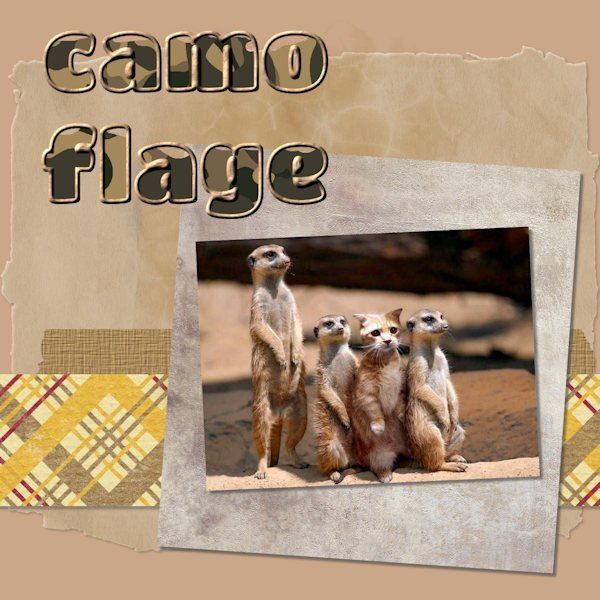
This effect looks cool. I didnt realize just how cool until I put a paper behind it. I used the kit I have made. Last night I though, yuk, none of this looks good together but after a good sleep and no headache, it doesnt look that bad to me now. The photo is really old (2006) and shot with a point and shoot camera; my first foray into digital and first time not shooting with an interchangeable lens system. I didnt do well with the lag time between pressing the shutter and it taking the picture and soon moved back into a DLSR camera. This shot was taken either in Vernon, BC where I lived at the time, or more likely in the Fraser Valley (westcoast of BC)
12 points
-
My day 1 with a mini I create for a Challenge on the DSS forum )) I use my cloud on the top of the letters ?11 points
-
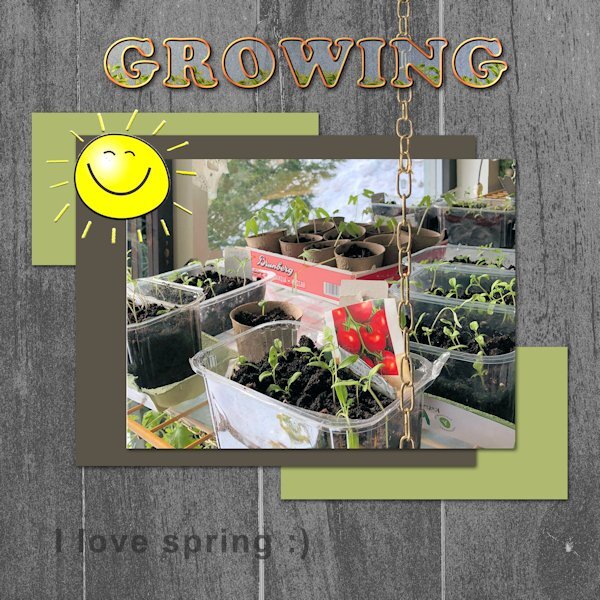
Day 1 title--this was going to be a page with a photo of my garden seedlings inside just beginning to grow. But since it is Day 2 already, that page won't be happening right now, so I am posting just my text title.
11 points
-
I used the provided template too, but all the papers come from the Build a Kit Workshop and I wanted to see them "in action", so to speak. The star element is from Chanthalia Design
11 points
-
I was first thinking of posting only the Text/Title work, as suggested by Carole in the email. But after seeing Corrie and Susan, I decided (at least for lesson 1) to create a layout using papers/elements from the Build a Kit workshop. I hope to finish the workshop this time. The photo is from Pixabay.
10 points
-
Here's my Lesson 2 - Jumping Spider. Used Cass script for the curved photo from Unsplash, Rainclouds & Rainbows kit for the papers, splashes and element and an old Halloween kit for the spiderweb.
10 points
-
Day 1 Titles Class. Added some translucent Depth by Design effect overlay
10 points
-
Day 2 Titles Class
9 points
-
Papers : Chantalia design and Janet Kemp (digitalscrapbook) Cassel's template Font : PanAmTextCaps
9 points
-
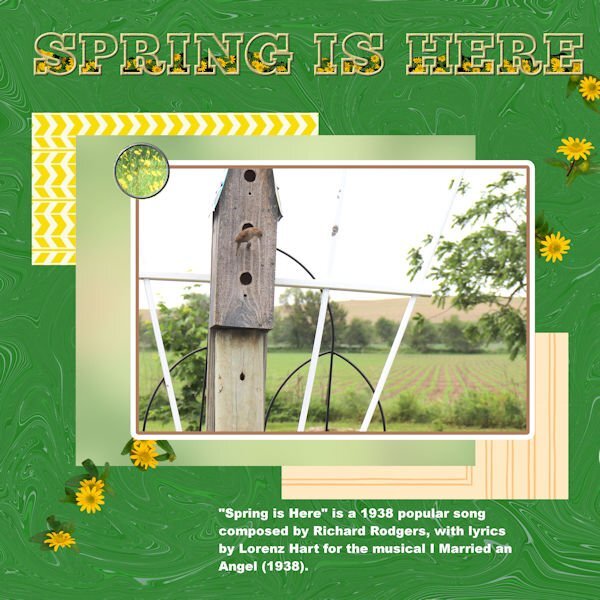
aaaaah... spring and all new grows
9 points
-
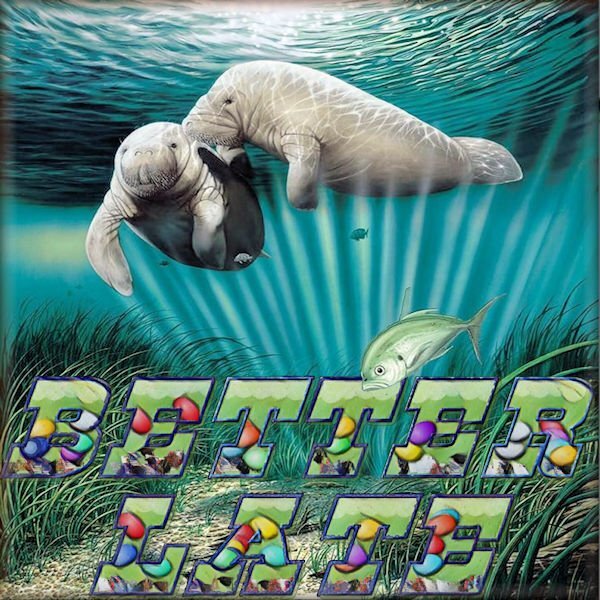
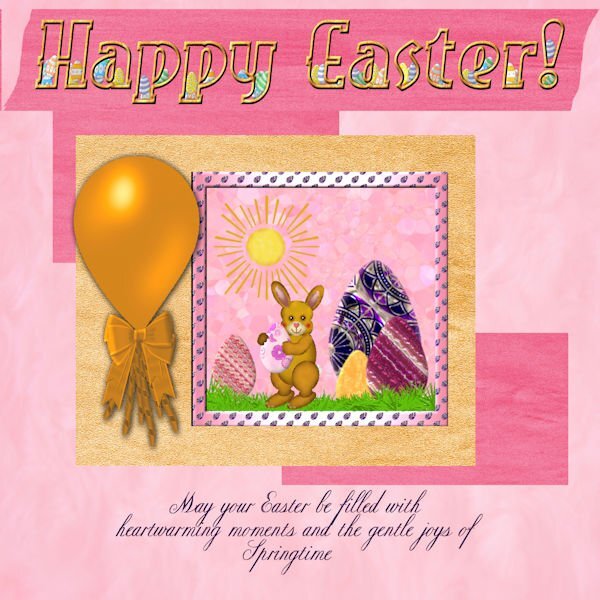
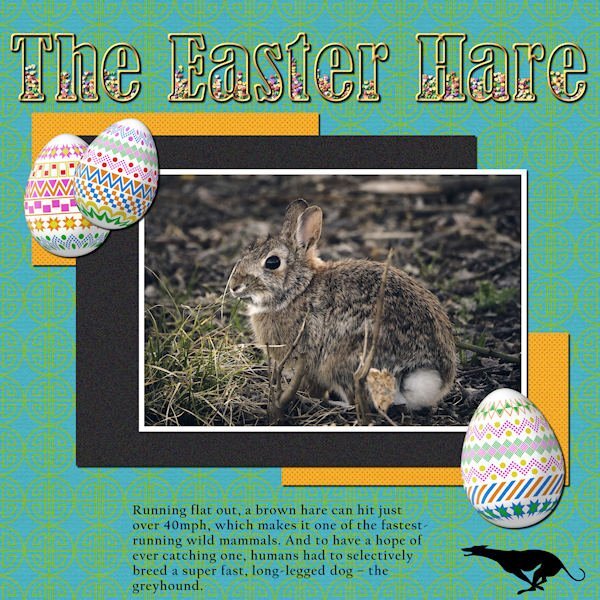
I finished Text 1 a day late, but it's finally done. I used Carole's template and papers from my build a kit. The picture was created a couple of Easters ago by me, although mainly I kept the background, grass and bunny. I created new eggs using patterns in PSP with Filter Forge Plastic and some bevel. The balloon was created from a Photoshop tutorial using PSP and the ribbon is from my build a kit. The sun is clip art. The journaling text is CopperInline and the title text is EastMarket. The frame on the picture is a combination of a gradient fill and the egg pattern from the big egg. I tried to make the patterns on the eggs Art Deco in style.
7 points
-
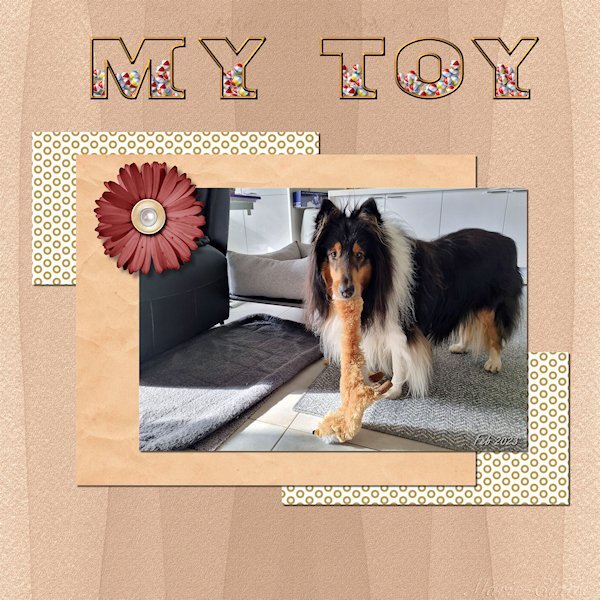
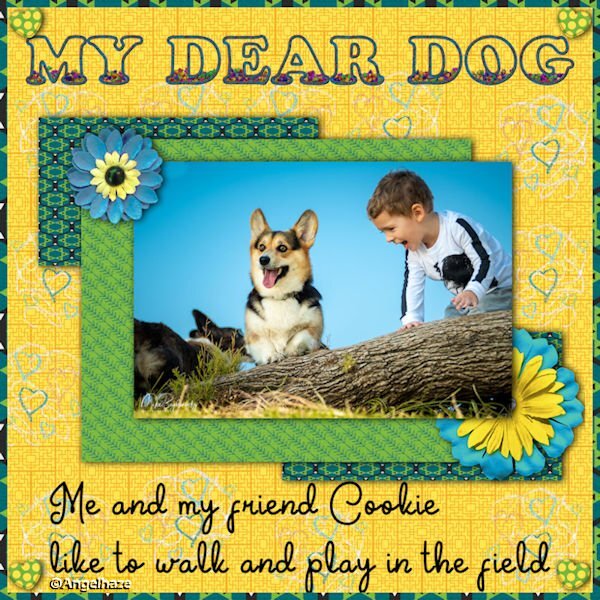
Here is my layout with this first Text Workshop: made with the kit "Tangible Hope Bundle Designed By Marisa Lerin" done with Text Wokshop Temlate 1 from Cassel. The font is Cooper Standard Font. MY DEAR DOG
7 points
-
Beautiful, and ever so entertaining to watch these rodents go about their daily lives. I didn't use any outside sources, not even a script to create the round brad. The papers are also my own. I did use one of Carole's corner punches.
6 points
-
LESSON 1 - THE EASTER HARE - Photo from Pixabay by Matteo Baronti; Cass-decorated eggs; TITLE - Bernard MT Condensed filled with PSP Tube candies (for Easter, of course); Greyhound silhouette from Vector Stock. I also used Cassel's template and the MarisaL Tangible Hope kit. (Thanks for the kit, Carole, I noticed it was free because it was from your account)
6 points
-
I have chosen my orchid photos for this workshop. I haven't that much new photos at the moment as I was the last 5 months not very mobile and now I can go walking again the weather isn't very good, for taking photos, much rain and dark clouds. I used my Build a Kit supplies again with the exception of the butterflies which come from a set of watercolors by Creative Fabrica. For the title I chose 2 fonts in the end, because I tried all different ones but found it not to my liking. Instead I gave the words a different color to stand out better against the papers. The fonts I used are: Arienne and Agreloy.
5 points
-
Here is my text workshop Day2: Birdie
5 points
-
I decided to post right away before I see the wonderful work that others will produce. The layout here is simple, but it's a photo that always makes me smile. I had to work on the outlined & filled text a couple of times before I got it to cooperate. Those layers mess me up sometimes....which one I AM on vs. which one I SHOULD be on! The font is Titan One, and it's nice and thick for this purpose. I'd never used the Effects>Texture>Sculpture and was happy to try it. Nice effect.
5 points
-
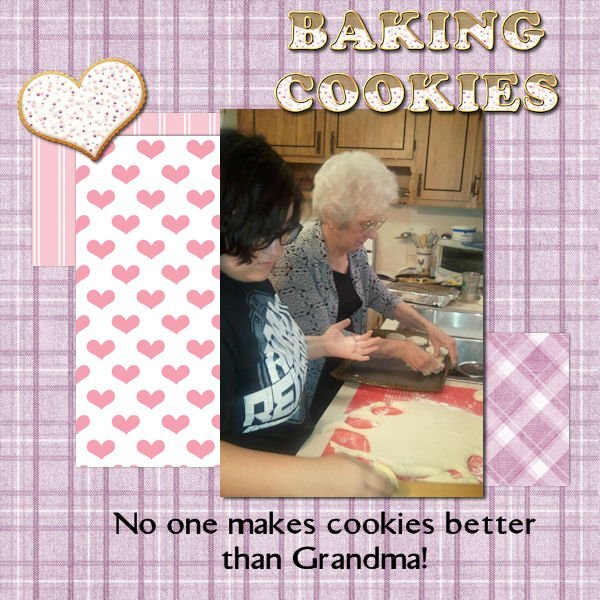
Just finished lesson 1 and it was so much fun! This is my first Workshop so I hope I am in the right place to post my project. This is my Mom teaching my oldest granddaughter how to bake cookies! The cute little cookie on the page is by Jessica Dunn. I also used the icing from the cookie to make the icing for my cookie letters. Not sure I am totally happy with the color papers I used but they match well with the cookie!
5 points
-
Having problems with PSP Ultimate 2022 - today! But I finally got it to work and finish day 1. I am going to post it in the song challenge too.
4 points
-
I had a hard time with this one. I didn't have a pattern that would create what I wanted. This is close...no page...just the title.
4 points
-
Another kit designer shows her stuff! Nice.4 points
-
Nice and rustique lay out!?4 points
-
here's my Day 2 all credit on my gallery (clic on image ☺️) @Cassel I use your template (je ne sais pas si tu vas le reconnaître ? ) thanks ))3 points
-
I love the title "baby" plants, it put a smile on my face.3 points
-
This layout is so lovely and this photo is so adorable!2 points
-
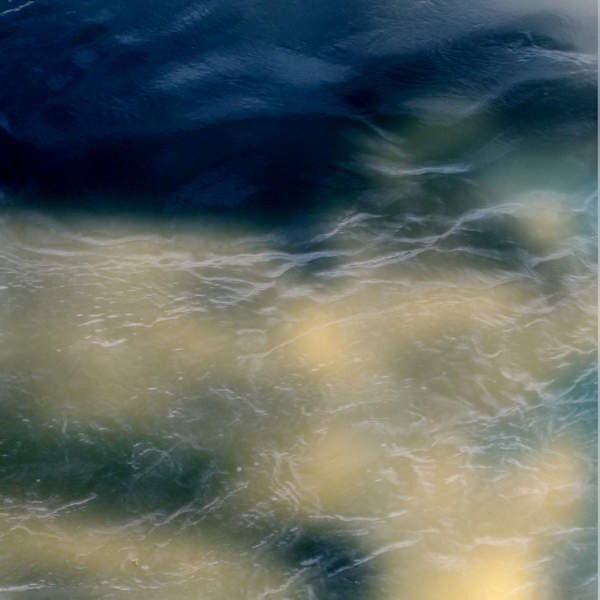
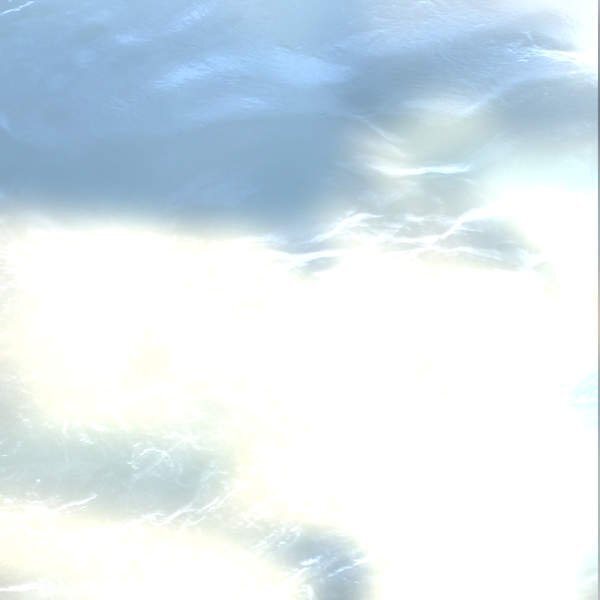
I looked over some tutorials inside the Diamond section, "Meli-Melo Paper" caught my attention and after the video I wanted to try it. It's really easy. I played a lot with the blend mode and opacity, results so cool!! I just used one picture to do my selections. Here the link for those who would be interested: https://scrapbookcampus.com/element-creation-index/meli-melo-paper/
2 points
-
Found this lovely illustration by Yigit Ozcakmak which I thought fit the theme very well. I got the paper and elements from DSS several years ago. And the font is, of course, Little Mermaid from fontmemes.2 points
-
I am kind of new to the forums so is there a different thread for the day 2 projects or do we just put them here?1 point
-
I often rename my layers to keep track, otherwise I get lost too ?1 point
-
I did the lesson but didn't complete a page. I'm making titles for a project I will be working on later. I think I'll just post one page with all the titles at the end. Although I did end up having to make a psptube because I didn't have one that fit the theme of the title!1 point
-
Had to Google that, I never heard it!??1 point
-
Watched the first video just now and I often think when I see what can be made with PSP it's almost magic! ? Now hopefully remember all the new things we will learn!?1 point
-
Ann, Thanks for pointing out the freebie. Lately I was looking for something like that, with circles for pix. Yours is lovely.1 point
-
I downloaded the Corel Freebie of the week and added some photos from my daughter and granddaughter's recent trip to the San Francisco Ballet to see Giselle performed.
1 point
-
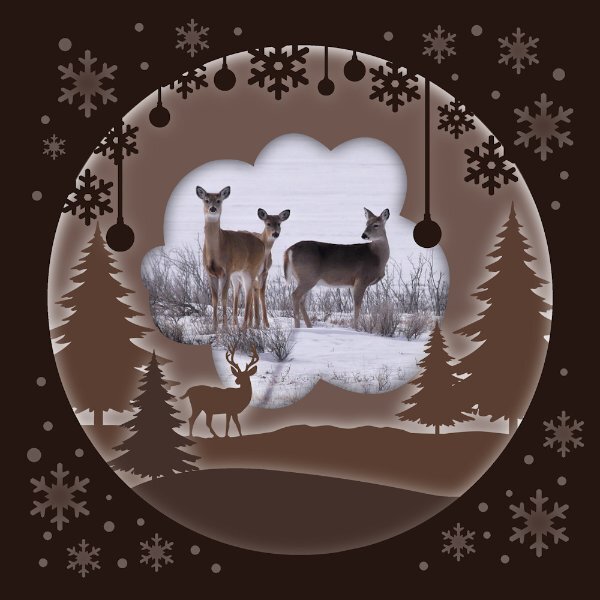
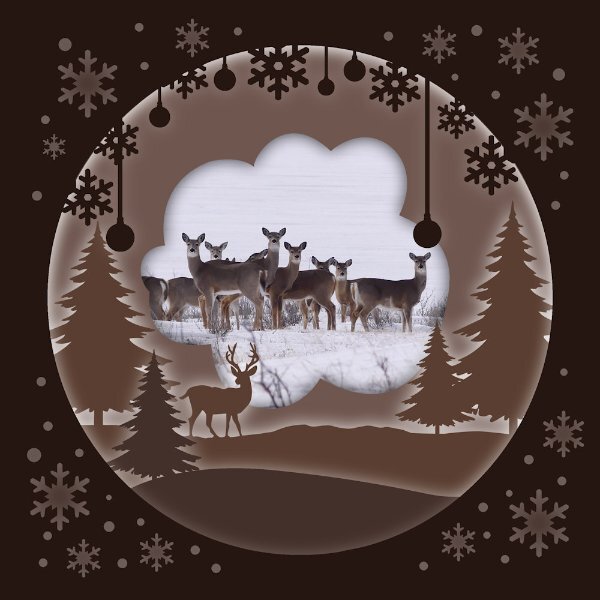
My first attempt at creating a shadow box. I should be able to incorporate these in next year's Xmas cards. At a later date I may go back to tweaking the shadowing.
1 point
-
I thought I would go very "scrapbooky" for this theme as I thought it was a silly phrase to address Daylight Saving Time. All of the papers and elements are from Chantahlia Designs except the bow. I used the CD ribbon with Cassel's Bow 18 script. The font is Sunblast from FDR (Free Design Resources). Everything on the Chantahlia Designs website is free...yes, everything! I don't remember how I learned about CD, but I'm so happy I signed up for her newsletters. Lots of her papers come in many different hues and her themed sets usually include papers, elements, washi tape, brads, alphas, etc.1 point
-
This is a big party and a very well scrapped layout!1 point
-
Thank you so much!1 point
-
Beautiful!1 point
-
He has some really nice work. The website has a lot of interesting artists too. thanks Ann. The next time I misplace something I'll know who to call.1 point
-
I am registered. I participated in this workshop in 2020, which was then called Wise Words, but didn’t finish it. So, this will be a good opportunity to go through it again!1 point
-
I think they will say "well done"!1 point


Resized.thumb.jpg.d25811db03a63358cedab1e79f527635.jpg)