Leaderboard


Popular Content
Showing content with the highest reputation since 07/17/2023 in all areas
-
Lesson 5. Another valuable tool for me. I really should have proofread what I wrote, but I was too focused on the process.
 24 points
 -
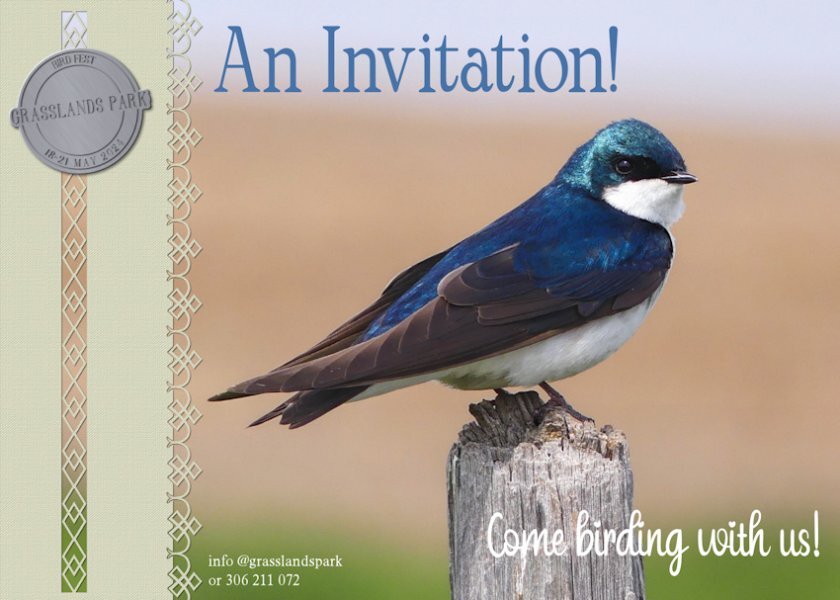
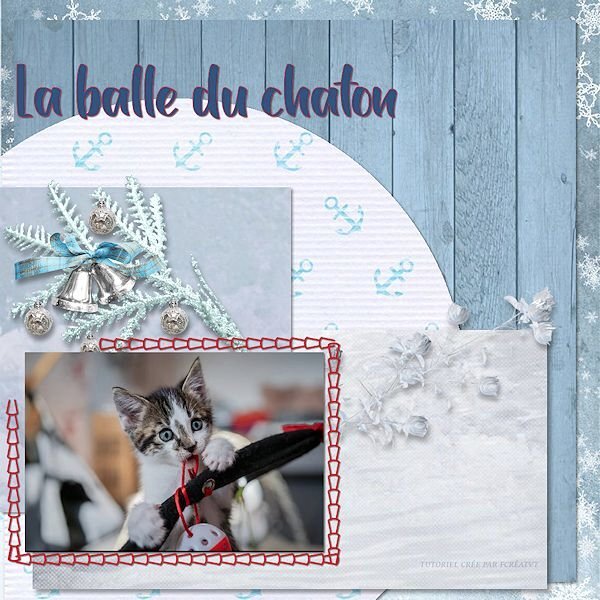
This time I'm taking a slightly different approach, instead of the usual greeing cards I have decided to go with Invitations. Primarily birds and mammal invitations. The recipients of the invitation, will get a nice surprise when they open the card. You will have to wait until the last day to find out what it is. These cards can be randomly placed into nature magazines, picked up at conservation offices, or just posted to memebrs of a particular nature organisation. One of three pairs of Tree Swallows, that are nesting in boxes fixed to the horses fence posts. This one is a handsome mature male, guarding his family. I created the token, and used one of Carole's paper punches and edge punches
23 points
-
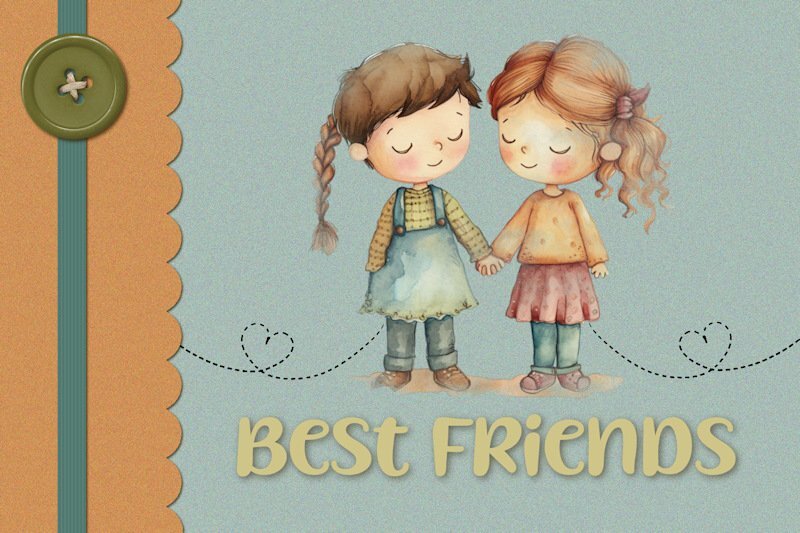
Here's my first card. I created a mask exposing the clipart and added the "stitched" heartlines.
23 points
-
Here is my Lesson 5, Text on a path and a circular "stamp " with text top and bottom. I had already created a brush tip of my photo signature a long time ago and just added it to the center of the new "stamp". As I use mostly all my own photos for these clases I decided to make the stamp a Logo of sorts and turned it also into a brush tip. I then put it on a separate layer so I could change the blend mode to Luminence and the opacity to 59 for this lesson. I usually blend my signature to barely visible on my work so it acts more like a hidden watermark and doesn't take away from the photo. Now to tackle lesson 6!
23 points
-
I know I am a but late to do this, but it has been a very busy week. I know that is no excuse but I have decided that I am sick of doctor's appointments, x-ray, MRI's etc. This is my Day 2 attempt.
22 points
-
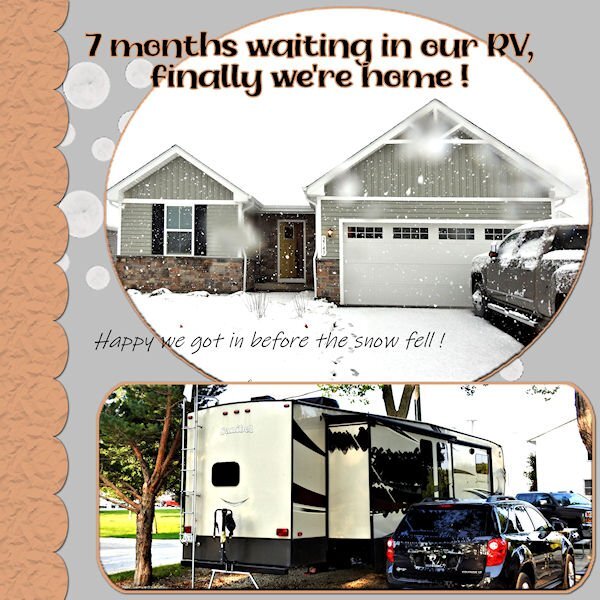
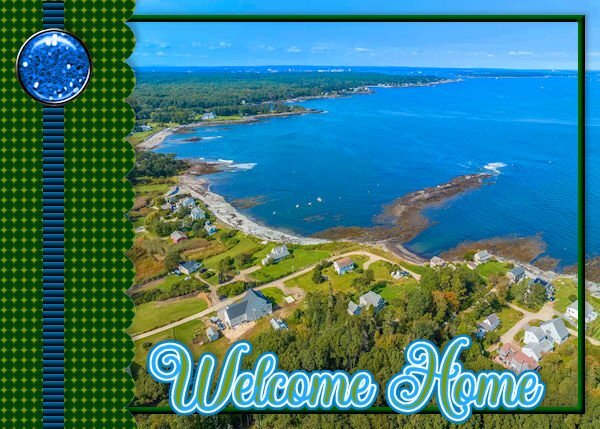
Workshop 2024 Day 1 Finally in our house with the computer room set up. Yay! Still have much unpacking to do but took some time out to try to get back in the groove.
22 points
-
I too loved this lesson, it was so much fun to watch the script run around! I too played a lot with this script. Here are some of my favs...
22 points
-
Hi Vector tubes tut ...very interesting.. enjoyed this a lot thanks. I have not used tubes before this tut.
22 points
-
21 points
-
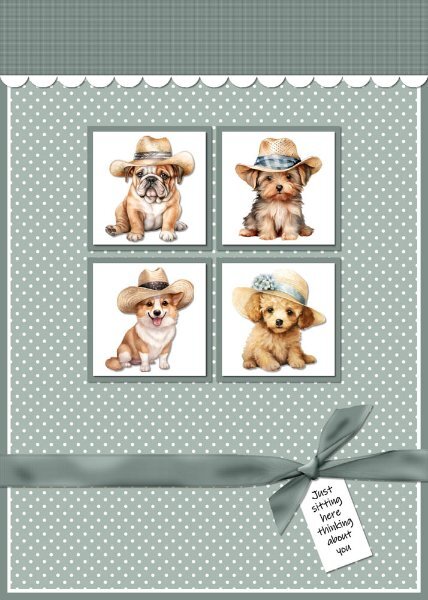
Card 2 - I changed the template by adding background squares behind the white squares, moved the top up and added a white scalloped border. Created the ribbon with the Knot 3 script. Added texture to the top panel, a polka dot overlay to the background layer, puppies from Creative Fabrica on the white squares and a tag with sentiment under the ribbon. I made this for the Cards For Hospitalized Kids Charity.
21 points
-
Here's the card I made for the workshop. I used a image from Creative Fabrica. Added texture to the scalloped panel and a drop shadow. Added a ribbon and tag from Craftsuprint.com (I make cards for the Cards For Hospitalized Kids Charity. The kids range in age from 2 to 18 so I think this will work for the older girls. Hopefully it will brighten their day.)
21 points
-
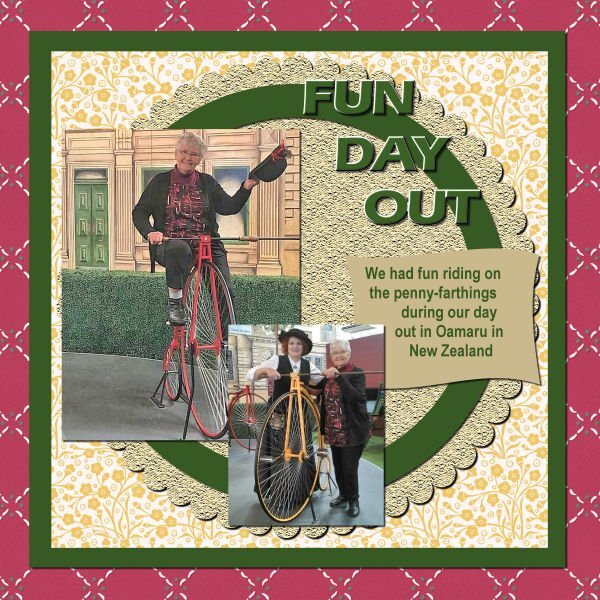
Hi, here is my Day 2. This is me visiting a friend of the family who works at one of our Historic towns, and they are known for the penny-farthing tricycle. It was such a fun day.
21 points
-
Day 3
21 points
-
Many of you will know what the very first tutorial I did when I first joined the campus, and that was the Flair Button, in the creative scrap. This page, I did for a challenge, where you had to create a page using 20 of the same element. Such as buttons, flowers, ribbons etc. I chose to do 20 flair buttons. In this page there are other techniques used found in the blog, masterclasses, and creative scrap. Extractions, text on a curve, blend modes, creating gradients, shadowing.
21 points
-
One of my favorite workshops was the Text Workshop Workshops Index | Scrapbook Campus. I constantly use these techniques when creating titles and text for my projects. The background paper was created using the Embossed Patter Tutorial Lab 12 – Module 5 | Scrapbook Campus.
21 points
-
Halloween Effects https://scrapbookcampus.com/master-classes/halloween-effects/
21 points
-
I learned how to make a folded edge https://scrapbookcampus.com/element-creation-index/folded-edge/
21 points
-
I'm still beavering away on Lesson 5. I love everyone else's work!
21 points
-
Lesson 6
21 points
-
Lesson 5
21 points
-
Here is Lesson #6. I had to reduce the size and resolution to stay within the size limit. Great Script. Thanks for sharing it with us.
21 points
-
I am a bit late posting but for some reason I couldn't sign in or register for the forum despite having done a previous workshop. I kept getting captcha verification errors. Kept trying & eventually re-registered. I must have 3 different forum accounts by now. Anyway, it was a great class. Just enough information to be interesting without overwhelming. My arrow was very wonky until I remembered about using the guidelines to get the bits aligned evenly. I am not artist and a sprained wrist doesn't help but I did manage something respectable though not very elegant.
21 points
-
Finally, I have five minutes to read the first lesson email, and came up with this for the heart shape, whilst having a bite to eat. I'll do the arrow this evening. I didn't check out what participants have already posted, until after I posted mine. Great work everyone, each one is different, and inspiring. I decided to create a gold heart shaped pendant for a necklace. After creating the heart, duplicate, resize, created the chain link. Merge visible to a new layer. Added some gem stones.
21 points
-
20 points
-
Not much for embellishments here ... going to send to family and see how many want to go!
20 points
-
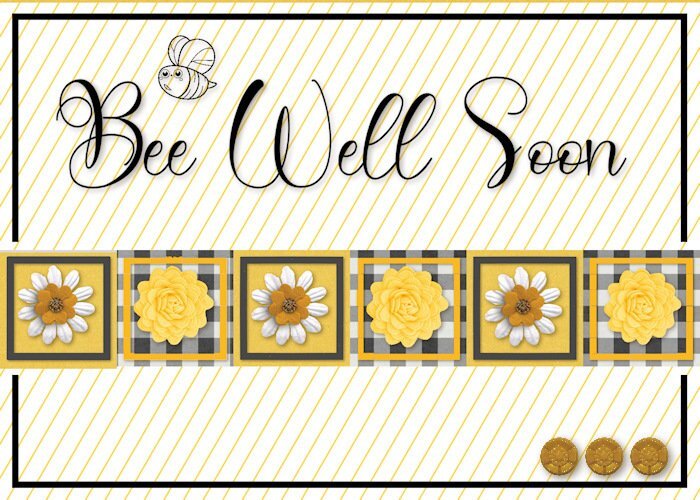
Here's card number 3. I added a little bee stamp and cute yellow buttons to finish it off. I wasn't sure about the colours at first but....it turned out nicely I think.
20 points
-
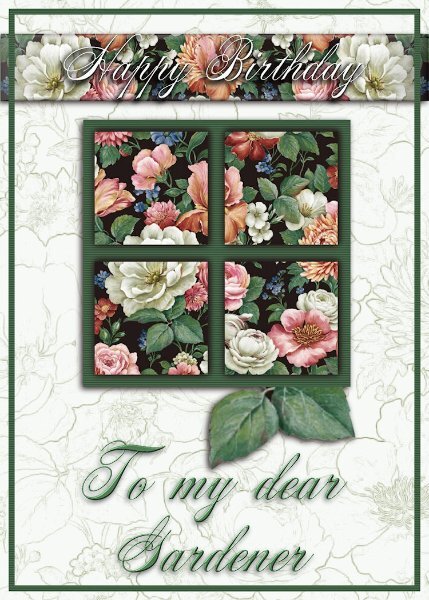
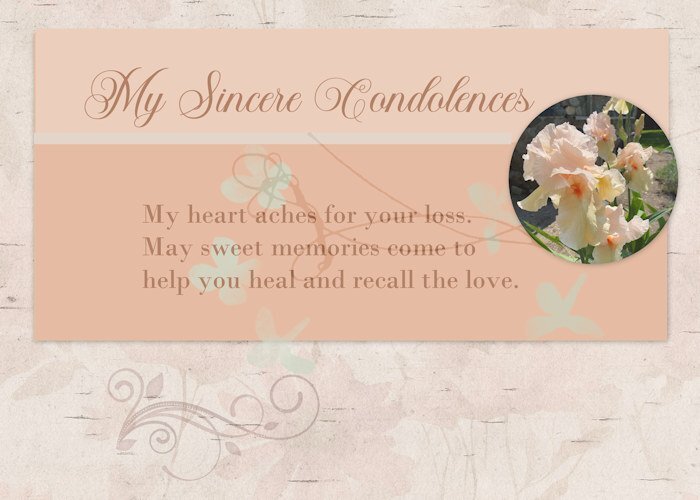
Lesson 2 Greeting card (extra template) I send cards for the usual events, but I also seem to need quite a few sympathy cards these days. Age-related, no doubt. I always struggle with store-bought cards for this occasion, so making my own sometimes is a better choice. I took the photo yesterday in a garden near me. Such lovely tall bearded irises in a soft pastel.
20 points
-
L2 Card2.
20 points
-
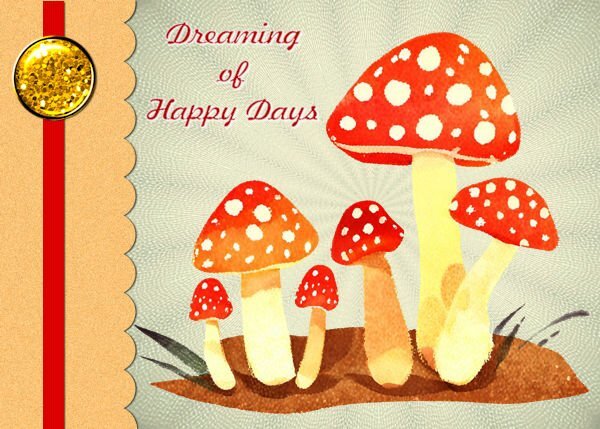
Day 1 I used a background and mushrooms from Creative Fabrica. Font Freehand526 BT The button was as suggested by Carole. I did adjust the colour. I could not get the canvas to get to correct size so just left it as it was.
20 points
-
My Card 2. Not sure I liked the outcome of this one but I did learn a new technique so that's a good thing. I needed to re outline the image before colouring as the original outline was a bit bitty after I had made it a transparent image using the plugin Cybia Alphaworks. I used a font called Peaches en Regalia. TFL
20 points
-
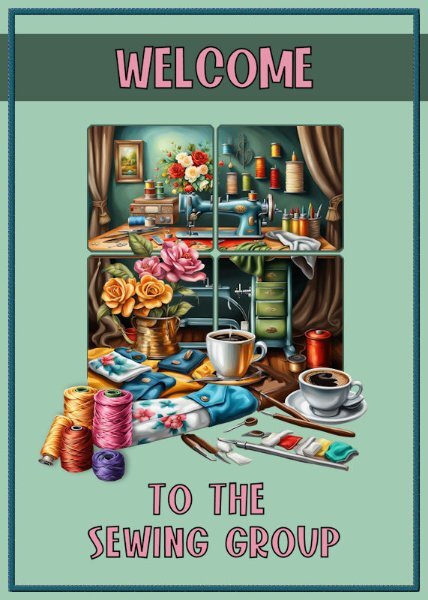
I sew in a group in Florida for the Greater Federation of Women's Clubs/RWWC - and we are ALWAYS thankful for new members to participate. We sew for many charities and organizations that just need help ... the Cancer Center, Pregnancy Center, whatever locals ask for help. We have only about ten members right now but hoping for more! We do lots of other things, too, to make money for teen scholarships and support many groups that do good things! When I am not playing in PSP, you'll find me at a sewing machine. LOL
20 points
-
First one just using just what was given and a drone shot of my neighborhood. I've just returned for the summer - early - and wow, it's still chilly here! The second one I played a little more and made my graphics and tube in ai ... then wanted to try Carole's duplicate text shading trick. Yes - nice. Always something to learn.
20 points
-
Card # 1 I used the extra template for 2024 and I changed the landscape format to portrait format to accommodate the photo I wanted to use. I'm very happy with the new extra templates for diamond members, because I have used the ones from the first workshop over and over again. That's not a problem as such but new templates give new ideas! As soon as I had taken this photo, I thought of a friend who loves purple very much and her birthday is coming up next month. I used a ribbon that I have made earlier and recolored it with hue, saturation, lightness. the flowers at the bottom are a sticker and the font is itsadzoke S01 and I think it came from a lab. The name of the flower is Echium candidans - Snakeweed
20 points
-
20 points
-
I have had a go at this first one but is taking me longer than it should as I am suffering with an inner ear condition making me a bit/very wobbly headed. Anyway, I will be going at a snails pace and dependant on weather me head feels it is screwed on alright shallbe posting my efforts. Hope everyone is doing ok.
20 points
-
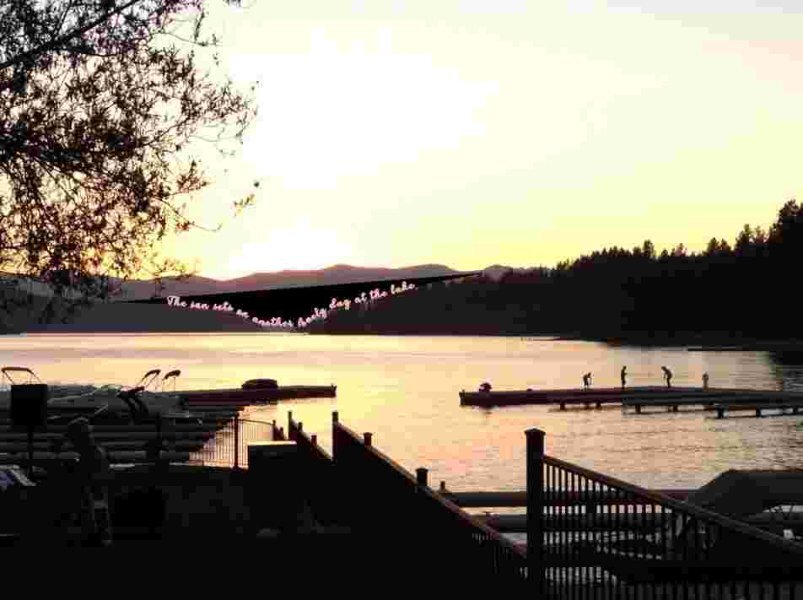
Patiently waiting for spring - for now. Impatience should be taking over by the end of the week.
20 points
-
Day one Yesterday we had a tiny, tiny bit of snow with temperatures between -2 C at night and +2 C in the daytime. Here in the Netherlands we don't get snow every year and today was sunny; so I took some photos and used one of those for this day 1 layout. The kit I used is a favorite of mine and is called Winter Morning by DBMagnolia for the Blogtrain January 2022. I didn't use the layer with the circles, hided it and added a new raster layer with snowflakes made with a brush. The font is Fantasy Magist a freebie by Creative Fabrica (one of their everyday freebies)
20 points
-
I just used this template for the wedding layouts. Here it is for ice cream which was reallly frozen yogurt. The text is wordart...I can't find where it came from...I did add a bevel. Scollop paper is from Digital Scrapbooking and even though, I just used it, I now can't find who created it.20 points
-
Great lesson. Easy to follow though choosing papers was tricky... the more scrap kits you have the harder it is to select down to something specific. I didn't use the dots as they were just too much because of the busy papers I was using. And I lifted the text bar above the photo circle as the bottom of the picture had a ribbed textured fabric in another colour palette so it had to go and hiding it behind the text bar seemed the easiest solution. Font is Cotton Candies and the papers are from kits by CathyK and LilyFee. Looking forward to another template tomorrow. Sharon
20 points
-
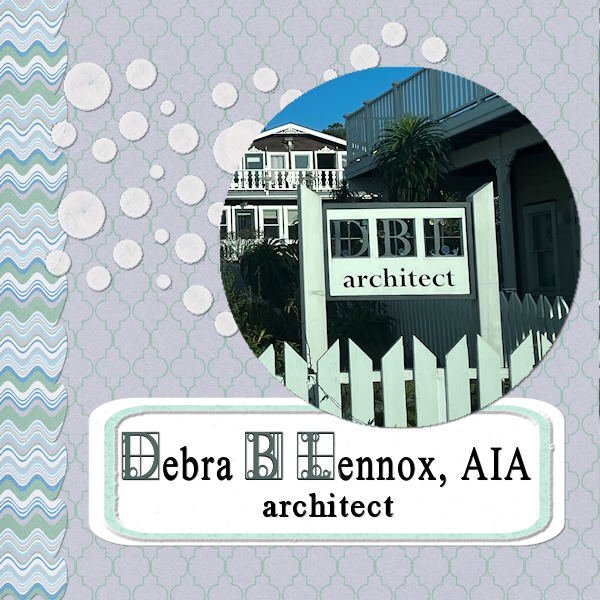
My daughter, the architect, has a new sign. I went out and found the font "walrod"
20 points
-
This is a result of the SCRIPTING course https://scrapbookcampus.com/paintshop-pro-scripting-course/ I am currently taking. This was in the beginning (lesson 2 of 25 lessons). Now I will be able to tweak the script to have the user choose their own color as we just learned how to make it interactive with the materials palette opening for the user to choose a color, pattern or gradient for each circle. So cool! We are now at lesson 7, I wonder what surprises await us.
20 points
-
This is my project 5a - text on a path on a picture. I had a time with this - I used Baby Lovely font at first and my computer really locked up - couldn't understand it. tried it several times and every time it locked up. I finally just used task manager and closed PSP. Then I opened it up and looked at one of my other pspimage files and they all worked fine and the PSP didn't lock up. So I just deleted the one with the Baby Lovely font and started from scratch. This time I used Ambrogio font and it worked just fine. I'm not sure if I have used Baby Lovely font before, but it sure didn't like me this time. Anyway. The pic is by my son Chris at the Gulf of Mexico.
20 points
-
Well, I took the entire weekend off so I didn't get to lesson 6 until this morning. Here is my Lesson 6 result - a sailboat with VectorTubes applied to the outside edges of the sails and the top edge of the boat. These paths were not enclosed since I drew 3 separate lines to make the paths.
20 points
-
I was just playing with the nodes on the first one and, boy, was it fun; I used one of Cassel's chain tubes. For my initials, I used one of her gimp trim tubes (I found it interesting that the tube was applied differently on the S, almost like it was reversed). Then I thought I would have some fun with the lips I made for Lesson 2 and used a sequin tube I made a while ago from one of the tutorials. For the last one I used a star cutout shape I made several years ago and a star tube I also made. I wonder what is in store for us in Lesson 7!20 points
-
Day 5/Lesson 5-Thank you Carole for finding the glitch with viewing the videos! I still can't download the guidebook tho... Had a little bit of time this afternoon, but had to break it into 2 work periods. I think I learned some of this before, but it didn't 'stick' in my brain....maybe it will this time? Or not!
20 points
-
I really enjoyed this, some people did such a fantastic job.
20 points
-
This is not the most accurate image of a curling rock but as a lesson in exporting vector shapes it does the trick. I love all the submissions. They qualify as lesson 2a because I learn as well from the great images that are sent in. Bonus!!!
20 points
-
I tried combining the heart and arrow. The background of the heart is from Gina Jones at Digital Scrapbook.com.
20 points
-
My attempts at lesson one. My problem was also getting two nodes when I was adding (i just did undo and it went away). The other problem is when I want to move the nodes I would inadvertently add a node or it would move the whole vector object. Do I have to click on the node to make it active then move it? What does the cursor look like when I can move it? I see squiggley line, a plus sign and 4 arrows. My heart comes to a weird pointy point, how would I get rid of that? Good lesson and I see how you can fiddle around with nodes for some time. Good idea from everyone who said use the grid/guide lines. I will try that. I need more practice. I see some very cool hearts and arrows from everyone. So cool to see so many posts when I got home from work. side note: does anyone remember the spoof movie Airplane. The pilot says to the co-pilot, "What's your vector Victor?" hahaha. Now it's running through my head as I learn about vectors.
20 points
-
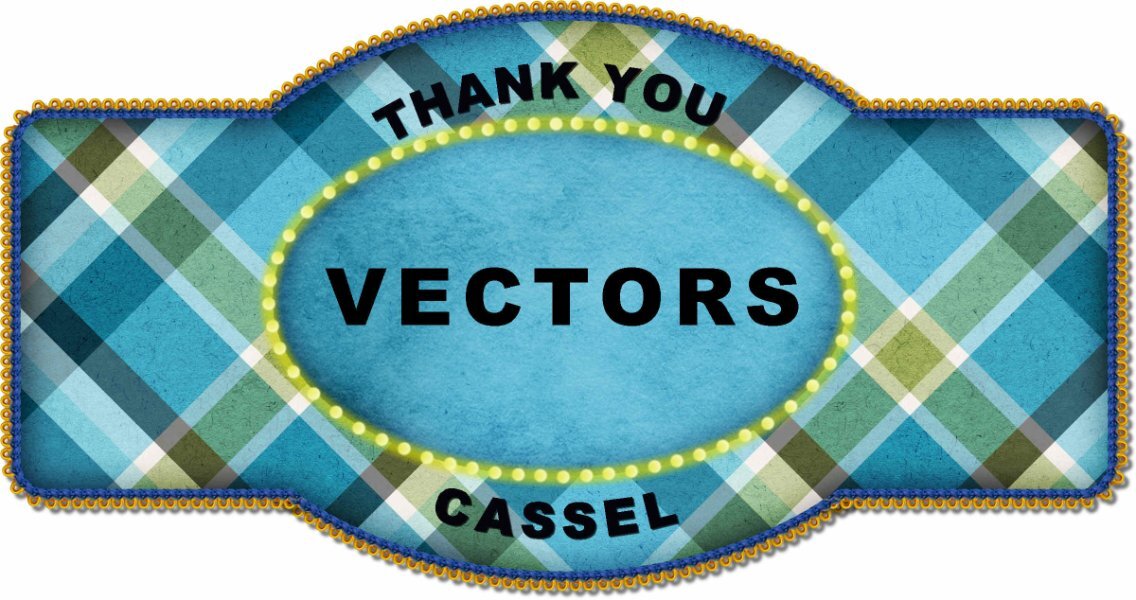
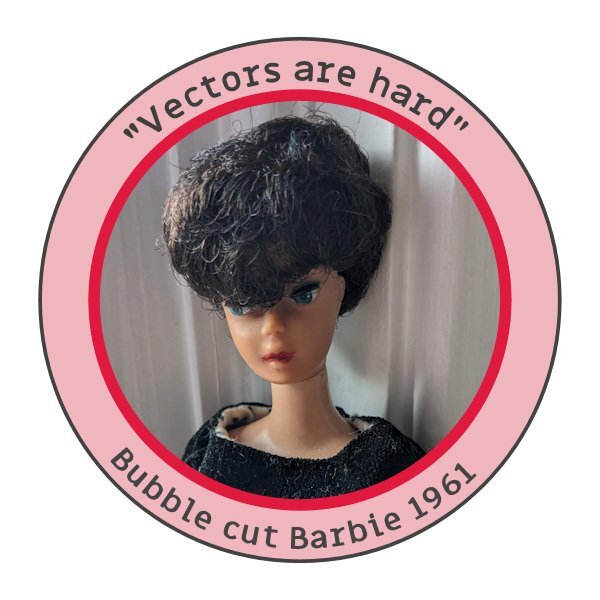
Lesson 6 Vector Tube. I really wanted to say thank you Cassel for arranging this for us. Giving your time to help us learn about these darn vectors, they can be a bit tricky.
19 points


.jpg.208cd26df487ecaab0db48990a4de93c.jpg)

Resized.thumb.jpg.d25811db03a63358cedab1e79f527635.jpg)

.jpg.3007603d8eae23c96396e8e6587299b9.jpg)