Leaderboard


Popular Content
Showing content with the highest reputation on 09/11/2023 in all areas
-
I think this was one of my 1st workshop projects and I am so grateful to all the help we get from our amazing leader.
 9 points
 -
April 2022 Bootcamp-
9 points
-
OMG the trouble I had with masks.
8 points
-
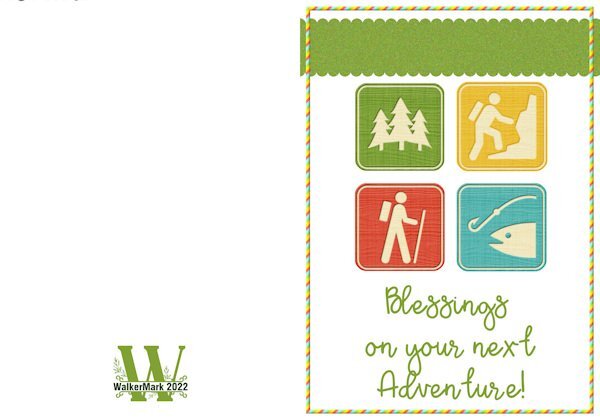
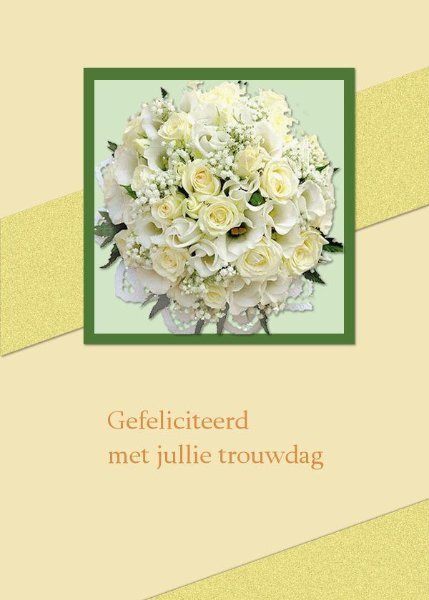
I did this for the Greeting Card Workshop in 2022.
8 points
-
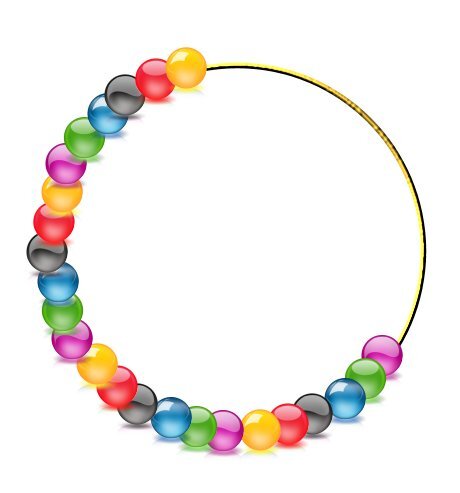
WOW! There is just sooo much to look at in this thread! Here is another one from the Vector Workshop....again, I don't know how to find the link to post ?
7 points
-
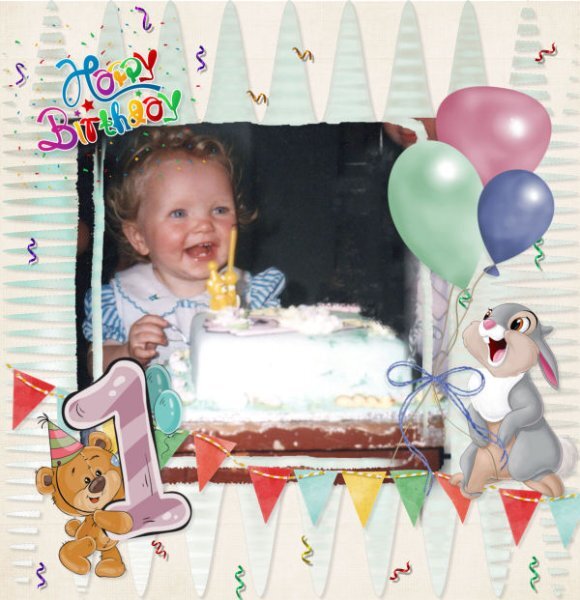
Page 3 1st Birthday for 30th birthday scrapbook
6 points
-
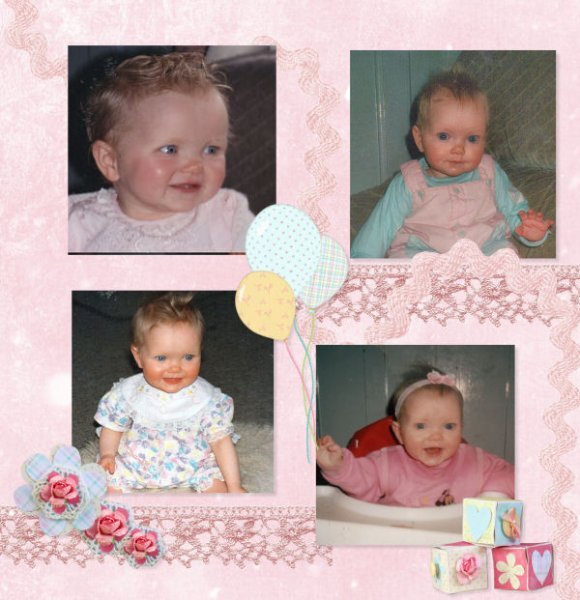
Page 2 Baby shenae for 30th birthday scrap book
6 points
-
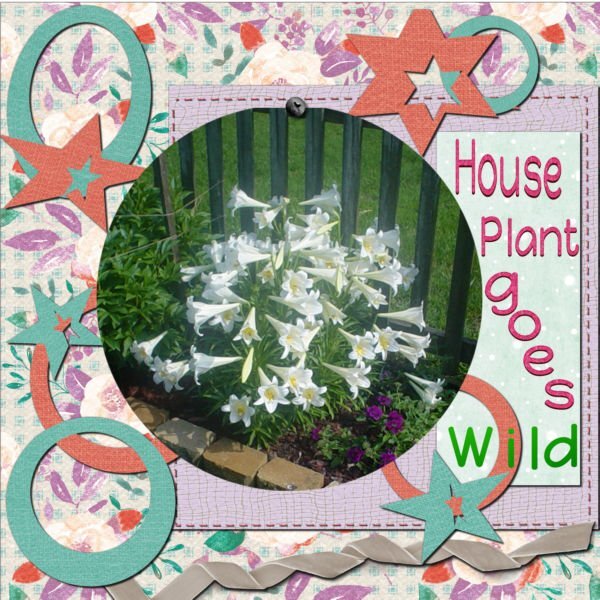
After the August windows update, my Mura's filters, as well as some others, quit working. It saddened me greatly especially as I could no longer make circular images. Imagine my delight when I came across Carole's lesson for making Circular Elements! I had completely forgotten about the polar effect. I tried it out on this v-e-r-y simple quickie image.
6 points
-
After the Q&A session last night I tried to find ParticleShop but via 'Effects', I still couldn't find it. With PSP, however, Painter was included so I opened Painter 7 and found the Speckle brushes and so so much more. Don't know why I hadn't looked at it before. Maybe thinking too much to learn. I Speckled away and think there must be so much we can do with it. Thank you for mentioning ParticleShop in the Q&A.
5 points
-
This was one of my entries Greeting card workshop 2022 Greeting card workshop
5 points
-
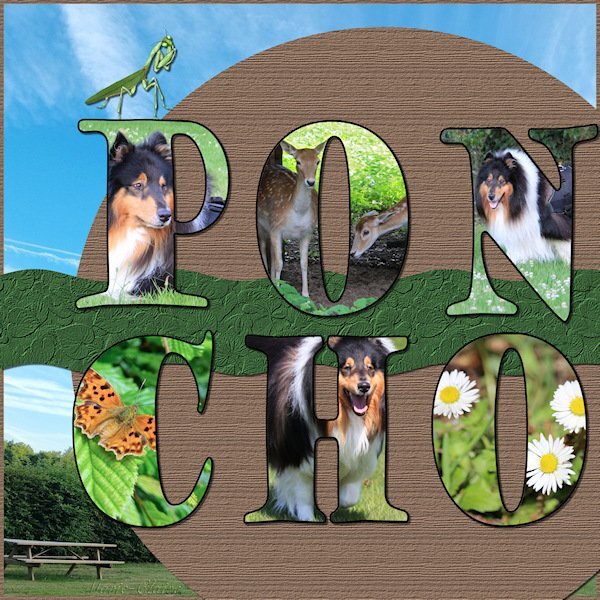
Mix and Match This is comprised of two photos I took. The wooded path is at Sycamore RV and the two deer were in the backyard of the house we just sold.
5 points
-
Basic scrap course 1 One of my favourite projects from the basic scrap 2020
4 points
-
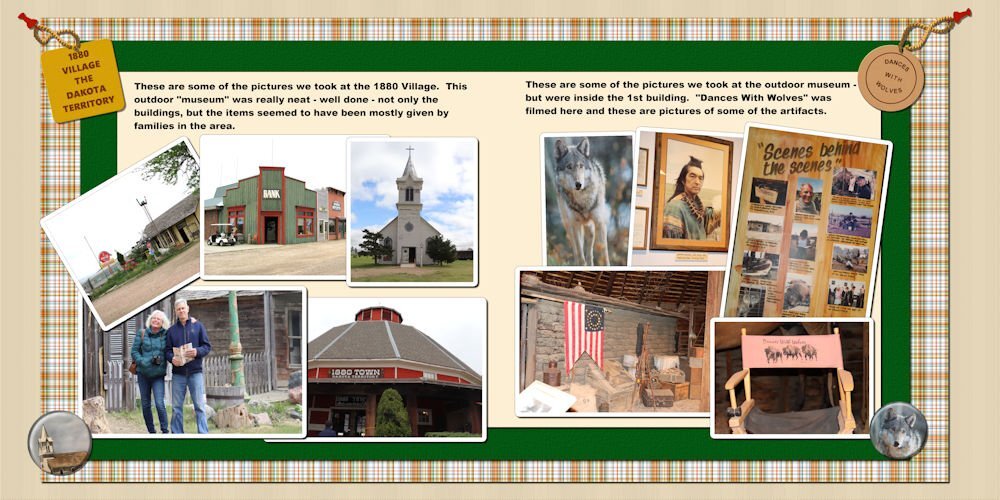
https://scrapbookcampus.com/promo/masks-workshop/lesson-6/ MASKS WORKSHOP - Lesson 6 This is a composite moon I took, one exposed for the moon and one exposed for the cloud below it. the background paper is lino pattern found in "Tutorials" https://scrapbookcampus.com/element-creation-index/linoleum-pattern/ . this is a very interesting tutorial to get very unique papers. All the layouts prior to June 2023 are really dark, I had really bad monitors that couldnt be adjusted any further than they were. I didnt realize how light they were (I was darkening everything to compensate) until I saw some of the these layouts I'm posting this weekend.
4 points
-
https://scrapbookcampus.com/promo/masks-workshop/lesson-1/ MASKS WORKSHOP 2023 - Lesson 1 Extra (for Diamond members)
4 points
-
Hello and good evening here it is now 20:05 CEST I think the live Party is over here are my pictures with the 124 points
-
Entry to party (a dozen eggs) along with my bottle of Sauvignon Blanc:-
4 points
-
I know I am too late but you deserve this. To make this I opened the 2018 edition. As all my psp numbers are out of order.
3 points
-
I agree; the technique is easy, but I also have to follow the instructions. ? I liked the color, as it's so different from what we initially get with a solid color... It looks like you added a Sepia toning effect... It gave me an idea to use it as a subtle background. I am always inspired by what everybody posts here!3 points
-
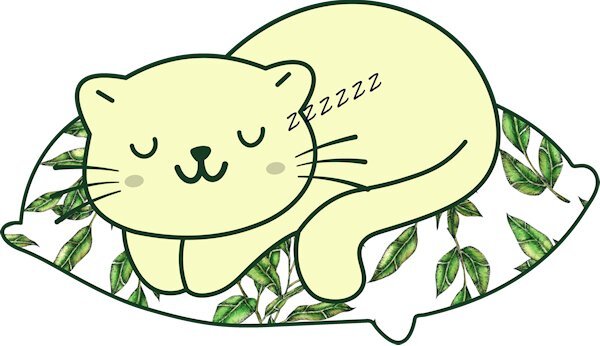
Z = zzzzzzzzzzzzzz's (what you won't get if you drink too much coffee late at night.)
3 points
-
Well I was a little late for the party (as having Sunday lunch at the time) so didn't have anywhere to upload my images for it. I had kept a look out for the start but I think the zone time differences put pay to me seeing the invite. I also do not have a web camera on my PC. Never mind, it is a great achievement Carol to have taught yourself, set up businesses and taught all of us, especially in the friendly manner that you do. In this day and age it is a pleasant approach. My greetings card to you is based on a card I made for your 60th which I have adapted. The other image is the one for the party.
3 points
-
# 4 Basic Scrap Course Module 5 https://scrapbookcampus.com/basic-scrap-course-1/module-05/ 1 patterned paper 2 solid papers 3 various papers (patterned or solid) 1 alpha (or 2 if the kit has more) 1 brad 1 curly ribbon 1 decorative paper element
2 points
-
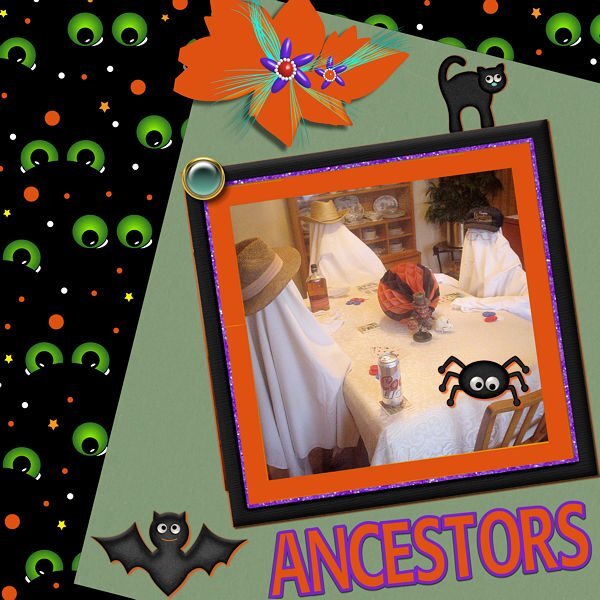
De5111 Ancestors challenge
2 points
-
This is the 2nd one - finished off in PSP.
2 points
-
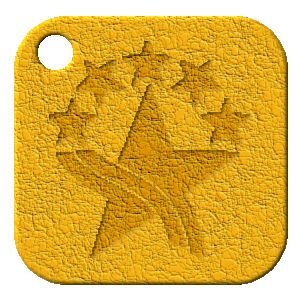
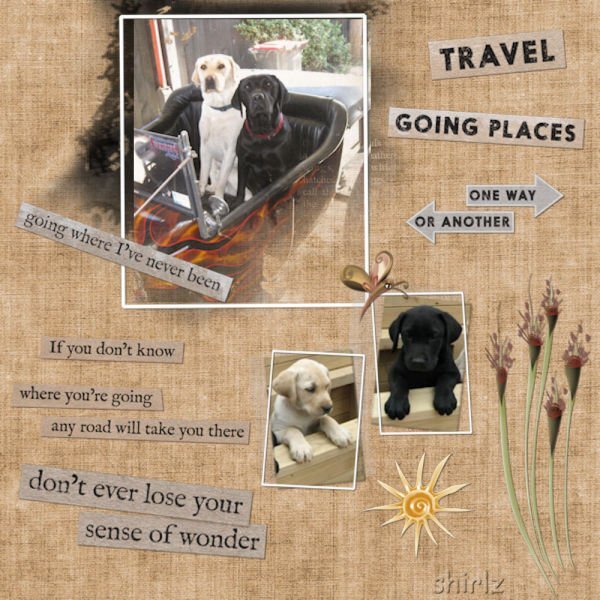
Guess I'll be posting my Travel Challenge balance of pages in the "What are you working on..." forums, cause it's going to take me into October (maybe even November) to finish. Then, there is that Alphabet Challenge from 2022 that I still have 3 more to do - X, Y, Z. Here is page 10 and 11. All my own papers and elements. Having fun with the leather tag making and decided to do some flare buttons too.
2 points
-
I'm rather late too, but I wish you sincere congratulations on all your achievements and hard work in making this a fun, supportive, and creative place to learn and be inspired. So glad I found this group!2 points
-
MoniqueN, I also love this layout and the colors you used. Great work!2 points
-
Love this! This is really nice denim too. Are the rivets a picture tube?2 points
-
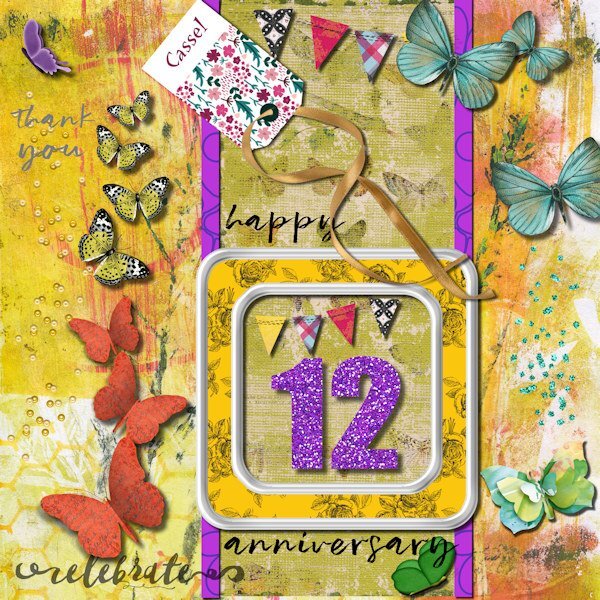
I just wanted to congratulate you with the 12 years of Campus. We are celebrating our holiday here in our country, so not at home/ at the computer, I only openend my laptop to add two projects to the dozen subject.? I have learned so much here!!2 points
-
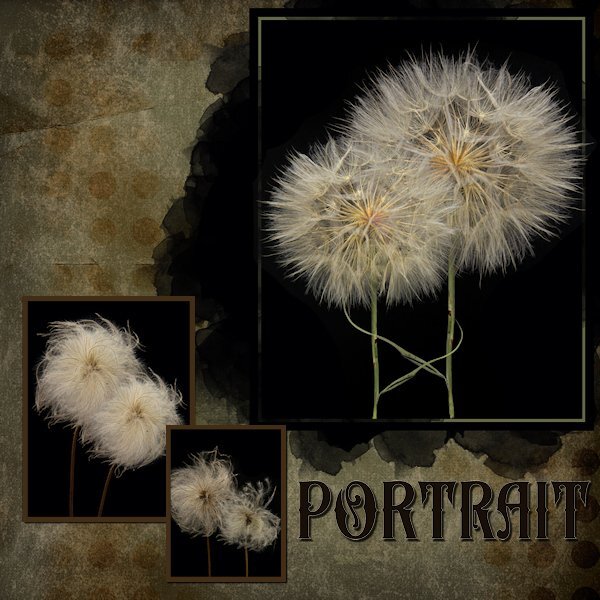
I love dandelions, and this project was inspired by the June Forum Challenge using a Creative Fabrica Font. The pictures are all my own. The background is from a nighttime desert photo by my grandson. The dandelion seeds were made with Particle Shop.
2 points
-
Another element from the Build-A-Kit Workshop. I made a custom tag from Lab 8, Module 11. I added a word to it by doing a simple cutout from a selection from the text vector. Lab 8 – Module 11 | Scrapbook Campus
2 points
-
Yes! More flowers and most especially if they are sunflowers. My favorite! Using two colors for the text really made the whole image pop.2 points
-
https://scrapbookcampus.com/the-lab/lab-6-module-03/ NOTEBOOK LAB 6-3
2 points
-
It's really exceptional denim. It looks real.1 point
-
here I used the Lab6 02 tutorial1 point
-
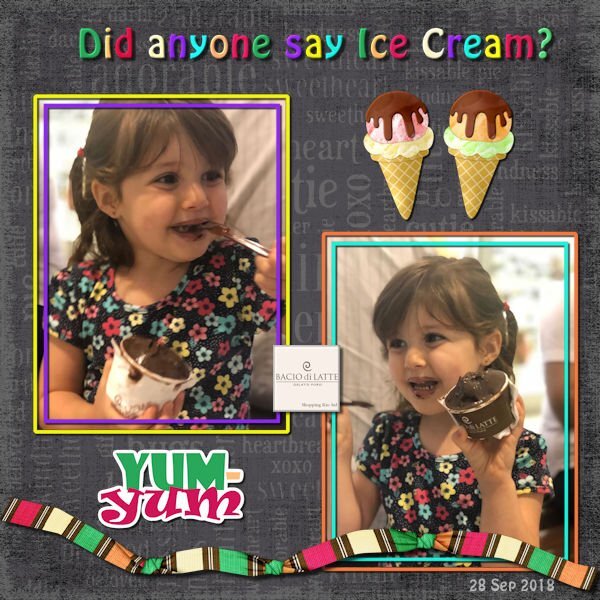
This page was created for a 2020 Color Challenge, using Sherwin-Williams's color of the month -- Perle Noir = R79 G77 B82 or HTML = #4f4d52. Techniques, freebies, etc., included in the page: Tutorial Flair Button Masterclass Background Overlay Word Stickers Lab09-Module05 Ice-cream Cone Template freebie. The scripts can be found Here - Wafer Script or Here - Ice Cream Treats at Creation Cassel Store.
1 point
-
1 point
-
https://scrapbookcampus.com/element-creation-index/leather-tag/
1 point
-
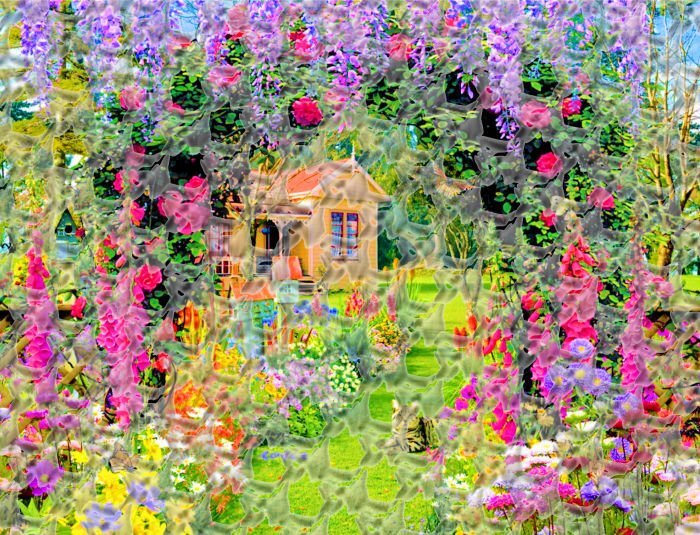
I downloaded Dozi's brushes, as suggested in Grunge Magic and I was mesmerized by the odd shapes. Using Dozi's Background 5, I just clicked it once, then clicked again next to that image, etc., until I had a pattern. Then, I copied and pasted that pattern repeatedly, until I had filled a page. It reminded me of some sort of energy field. So, I used the page I'd created as an overlay to a garden scene. I made the garden very bright and saturated, since I wanted it to be other-worldly. Then I adjusted the opacity of the energy field overlay to show that there's a barrier, but so it wasn't obscuring the garden. I call it Garden Seen Through Dimension Rift! Of course, I had to shrink it to fit on this venue, but I hope you can get the drift.
1 point
-
Learning how to use shadows especially with the layering of papers. Using reversed shadowing can help things look more realistic and for me help them pop a bit.
1 point
-
This one was to practice the Lab10-Module09 tutorials: Diamond2 pattern Banner Alpha Interlocking Pattern I also added some Layered Flowers using Cassel's script. The Lifted Shadow technique is from the Realistic Shadows Masterclass. The String is a picture tube from Cassel's Store.
1 point
-
I created the scalloped edge with what I learned from the Double Scallops lesson in the Diamond members scrapbook section but now when I click the link for that lesson it takes me HERE which is obviously the wrong destination. In any case, the paper used is from Joyful Heart. I made the Hello September greeting and the mask. I generated the woman image with Bing Ai. Other things are from Just Because Studio.
1 point
-
tag made with mixed tutos (without old but with 25 layers counting the shadows ? ) https://scrapbookcampus.com/master-classes/tag-youre-it/ https://scrapbookcampus.com/master-classes/tag-again/ and elements free CreativeFabrica & TheHungryjpeg1 point
-
No Kit Scrap 2 | Scrapbook Campus :
1 point
-
Lab 12 – Module 11 | Scrapbook Campus : Swirl Pattern Here you will learn how to make the pattern and different ways to use it(recoler)
1 point
-
This is my sandwich from my second bootcamp.
1 point
-
This was made following a tutorial from the Lab on making a stencil with an adorable image of these little owls (a freebie by Creative Fabrica)
1 point
-
Folded paper tree : Lab 12 – Module 12 | Scrapbook Campus1 point
-
I absolutely love the look of the Out of Bound Technique and so have done several versions of it. Here is another.
1 point
-
8/I made this one for a book summery
1 point
-
Halloween Effects https://scrapbookcampus.com/master-classes/halloween-effects/
1 point


Resized.thumb.jpg.d25811db03a63358cedab1e79f527635.jpg)