
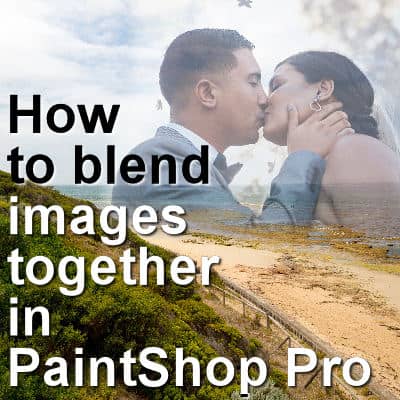
Since PaintShop Pro allows users to work with layers, we can get some impressive results with a very simple techniques. Let's see how you can blend two images together to get a dreamy effect.
Since PaintShop Pro allows users to work with layers, we can get some impressive results with a very simple techniques. Let's see how you can blend two images together to get a dreamy effect.
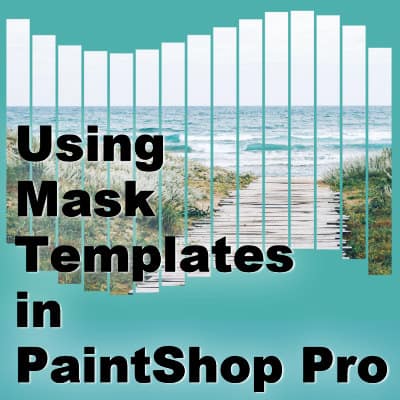
Many templates you will find online are in .psd format. Most often they only show individual layers for papers, photos, and placeholders for decorative elements. If you are lucky to find templates in .pspimage format, they will include a mask group. How will you use that?

In traditional scrapbooking, photos can naturally appear lifted since corners can come off the paper. In digital scrapbooking, there are various ways to achieve this effect, however, it often uses frames. This might only create a partially realistic effect. Let's see how you can recreate that effect on any photo, with your PaintShop Pro.
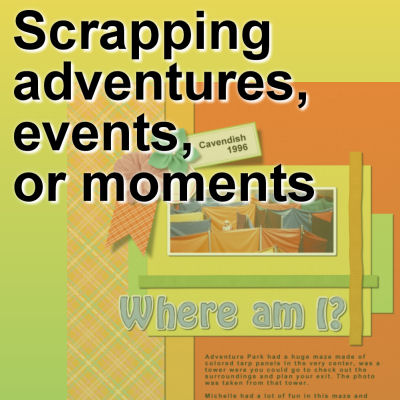
Some scrapbook projects will cover larger adventures that often span over several days, like a vacation, a trip, or a journey. Other projects might document specific events that tend to take place in a single day, like a wedding, a party, or a visit to the zoo. Finally, other scrapbook pages will be about candid photos taken when something just catches our eye (or the camera lens). What will you scrap?
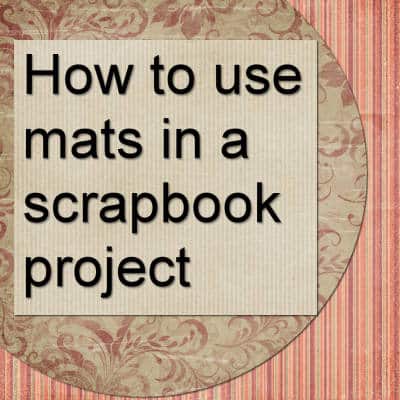
In scrapbooking, a "mat" refers to a decorative element that is used to enhance and frame a photo or other focal point on a page. It is typically a piece of paper or cardstock cut into a shape slightly larger than the photo or focal point, creating a border or frame around it.
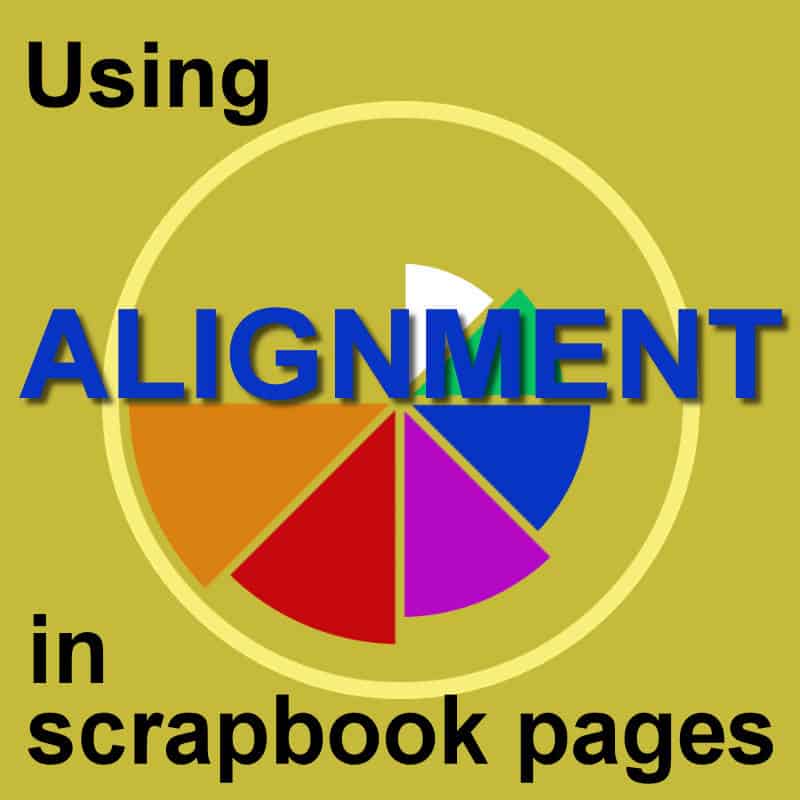
Alignment is an important design principle for a lot of things surrounding us. It can be applied to how you arrange the frames on your wall, or how you decorate a cake. It is just as important on a scrapbook page, where you can line elements in a pleasing and balanced way. Let's have a look at different ways you can use alignment in your project.
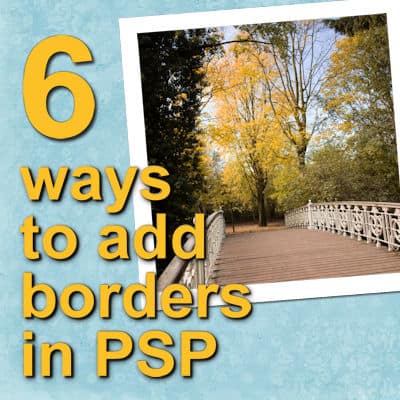
Whether it is a photo or a quote, there are situations where you want to add a border. Although there is an Add Border command in PaintShop Pro, there are other ways to add something around your image. Let's have a look at some of those.

When working with images in PaintShop Pro, you are likely to need to resize them to fit your project. Sizing down has never been a problem but sizing up can be challenging. We would always recommend avoiding sizing up since it would cause blur and loss of quality. But, since version 2021, PaintShop Pro now has a new command: AI-Resize.
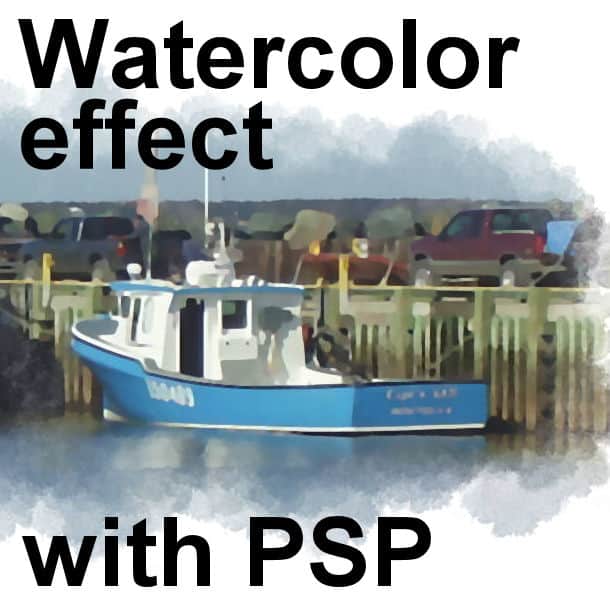
The main characteristics of watercolor image include a semi-translucent color, an unevenness of the “brush strokes”, and often fading edges instead of definite ones. Let's see how you can recreate that effect with PaintShop Pro.

Journaling is a common term used in scrapbooking, but what does it really mean? Does it mean writing a journal, like when those "personal diaries" were so popular, in high school? Not at all. Of course, if you want to journal in that way, that is fine. It is YOUR project after all, but that is not the necessity.


