

In traditional scrapbooking, photos can naturally appear lifted since corners can come off the paper. In digital scrapbooking, there are various ways to achieve this effect, however, it often uses frames. This might only create a partially realistic effect. Let's see how you can recreate that effect on any photo, with your PaintShop Pro.
How do you know a photo is lifted?
Before recreating an effect, you need to understand the details of that particular effect. When you lift a photo off a page, two elements are in play: the distortion of the image, and the shadowing. In order to recreate that effect, you will need to address both.
Why not use a template frame?
The simplest method to add a lifted effect would be with a premade frame, like this one.
In this case, you need to replace the black area by the photo of your choice and the result would be this:
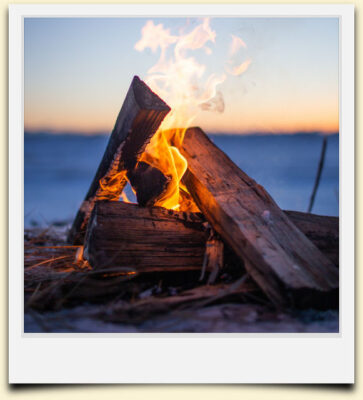
It does not look bad, does it? Then, why not use that technique? If you are tight on time and in a hurry to finish a project, it might work. However, you have no flexibility in how the photo is curved. There is one "style" and that's it. Maybe you need to have only one lifted corner. Or maybe you would want a more obvious lift. Whatever you want to do, you can replicate it yourself.
Let's create a lifted shadow
What made the previous frame look like it was lifted is the shadow effect. But for this example, let's choose to add only one lifted corner, on the bottom right. The first step is to add a typical shadow. Make sure it is on a separate layer because we will need to manipulate that shadow.
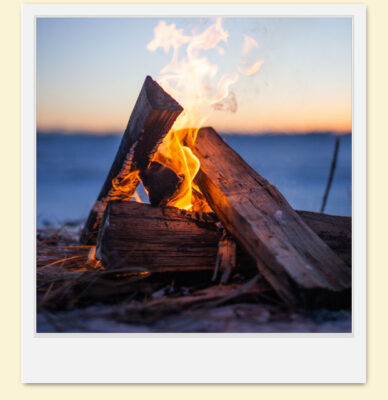
An element that is away from a surface will always cast a wider shadow than an element that is flat on that surface. That means that the lifted corner will need to be stretched outward. Since the light source is typically on the top left, we will need to stretch the shadow toward the bottom right. The most effective tool to use is the Warp Brush, set to the Push mode. Then, you push the shadow from the bottom right corner very slightly. Just a little push will give the necessary effect.
Let's lift the photo too
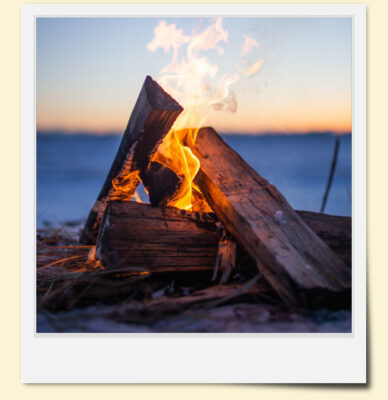
Although we could stop here, if you have a lifted corner, it means that we can see a distortion of the photo itself. Logically, a lifted corner will appear closer to the center of the photo, so let's use the Warp Brush again, with the same setting used for the stretched shadow. But this time, you would push the photo layer, toward the top left.

How cool is that?
Different corners, different directions
One thing to remember is that you have to be consistent with the angle of the light source. In the example above, the shadow was stretched toward the bottom right, while the corner itself was pushed in the opposite direction. If you want to lift a different corner, the angles will need to be adjusted.
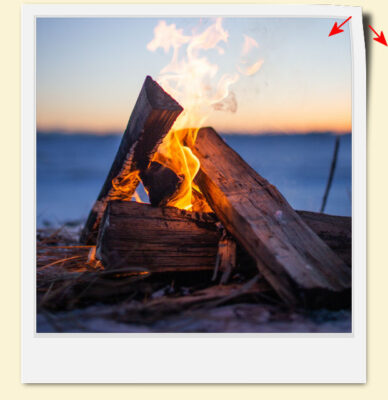
For the top right corner, the shadow will still need to extend toward the bottom right, while the photo will be pushed toward the bottom left.
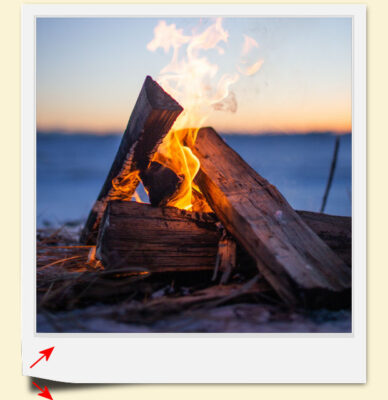
If you prefer to lift the bottom left corner, here are the directions for the individual layer distortions.
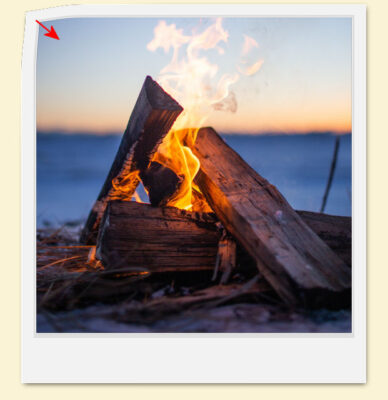
However, be careful when you need to lift the top left corner. In that case, both layers will be distorted in the same direction. This will make the shadow "hide" under the photo.
Now that you know how to lift a corner of a photo, you can apply the same steps to lift the end of a ribbon, a piece of paper, or a leaf. This will add a lot of realism to your digital project.
If you want more ideas and techniques, check out the Master Class called... Lifted Shadows.


2 thoughts on “Creating lifted photo effect”
What is that large round illustration at the top of the article?
I don’t see anything odd. Maybe it is gone?