

Since PaintShop Pro allows users to work with layers, we can get some impressive results with a very simple techniques. Let's see how you can blend two images together to get a dreamy effect.
Choose your starting images
Depending on the project you want to create, you will just have to be careful in the type of image you will use. Look for a "base" image that has a section that is less busy. This could be a sky, a wall, or any other area that has few details. This area will allow you to showcase the second image better. Let's plan for a montage to illustrate a destination wedding. We'll start with a photo of the destination.
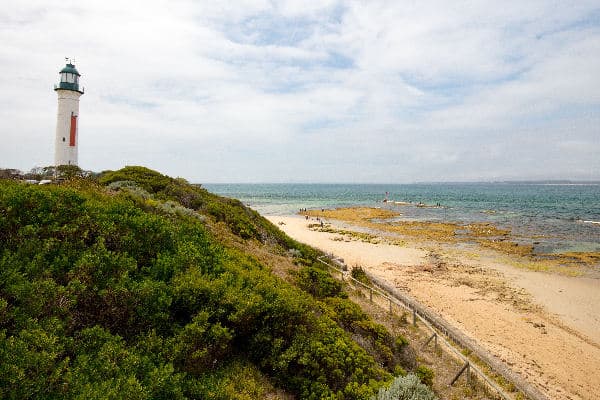
On this photo, there is a fairly "clear" area on the top right, so that should allow me to place the second photo.
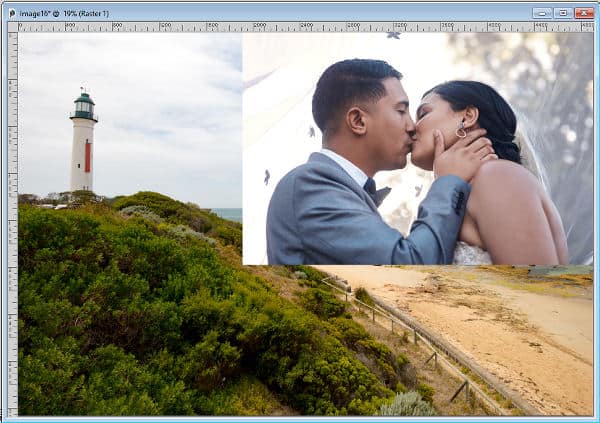
And a photo of the happy couple.

Arrange the layers
I will be using the destination photo as a base and add the couple's photo on top. Based on the photos or the look you want, the top one will likely need to be resized, then placed in the correct location.
Adjust the opacity
You can find the Opacity setting on the top of the Layers palette.
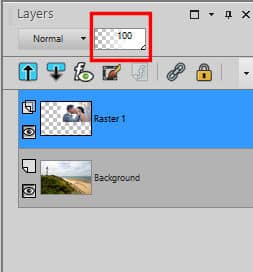
By default, it is set at 100, but you can reduce that setting with the little slider underneath. The exact Opacity level you will choose depends on the photos you have and the effect you want. For example, if you want a very "dreamy" feel, you will lower the Opacity a lot more than for a more traditional look.
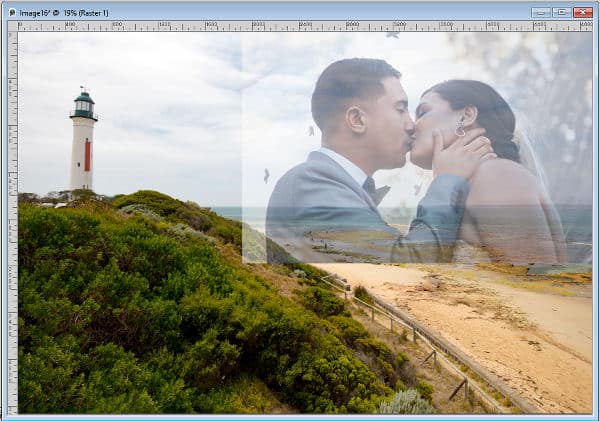
Here is the composition with an Opacity level of 50%:
And here is the same composition with the Opacity level set to 75%:
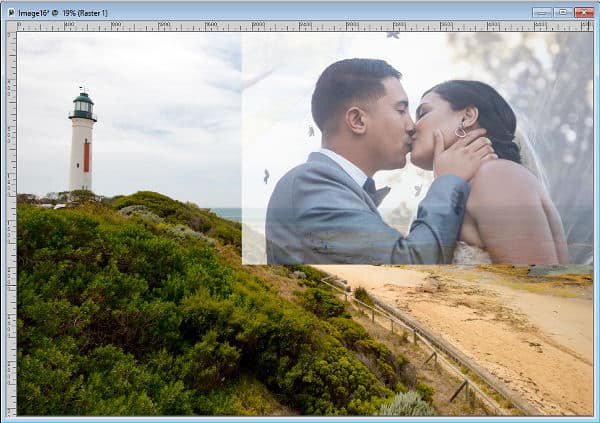
The color of the photos will also be a factor in choosing the Opacity level.
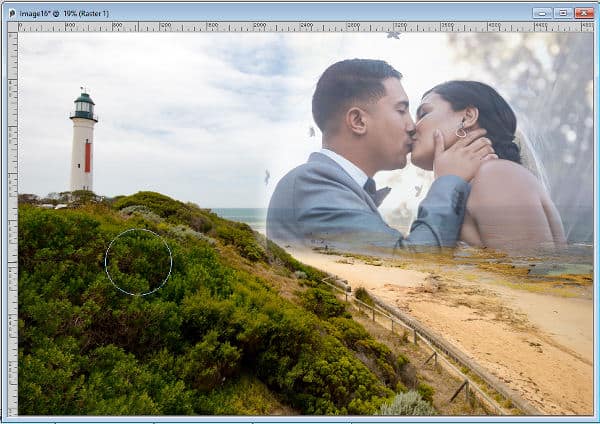
Finish the edges
In the composition, you can see a sharp edge on the outer part of the top photo. If that suits your vision, you can leave it like that. However, if you prefer to have the photo blend in more, you can erase that edge with the Eraser tool.
Activate the Eraser tool. Choose the round shape, set to a size based on your current image, and a Hardness set to 0.

Then, brush on the edges of the top photo. On this composition, I brushed the left and the bottom edge of the photo. I didn't bother with the top and right sides because they were right on the edge of the base image. If your photo is not on the edge, you might want to erase all around.
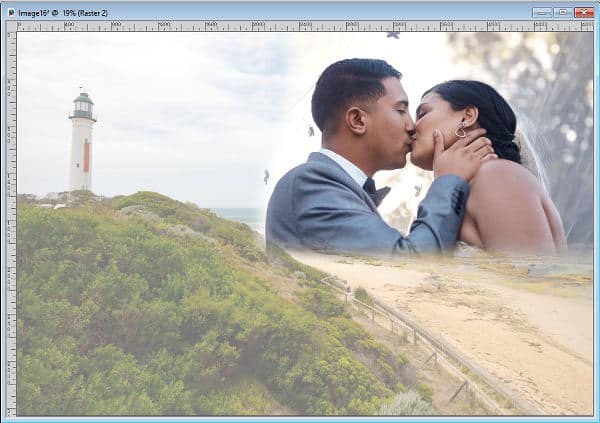
And you have a nice composition showing two adorable photos.
Other ideas
Depending on your taste, you can keep the top photo at 100% opacity, and reduce it for the background image. The result will be different, but still interesting. This composition has an additional white layer underneath the destination photo.
For more details on this approach and other projects you can create using blending photos, check out the full-length master class called Blending Pictures. You can purchase this class on its own, or join our DIAMOND membership to access our whole vault of classes, tutorials, and workshops.


