Snacks are beloved by many for their convenience in providing a quick and easy way to satisfy hunger. They serve as a convenient way to keep energy levels stable throughout the day, preventing that mid-afternoon crash. In addition, snacking can be a helpful tool in controlling hunger before a meal, reducing the likelihood of overeating when it's time to sit down for a full meal.
Snacking can also be a social activity, providing an opportunity for friends and family to come together and enjoy some delicious treats. Whether you're hosting a movie night with popcorn and candy or a game day with chips and dip, snacks can bring people together and add an element of fun to any gathering.
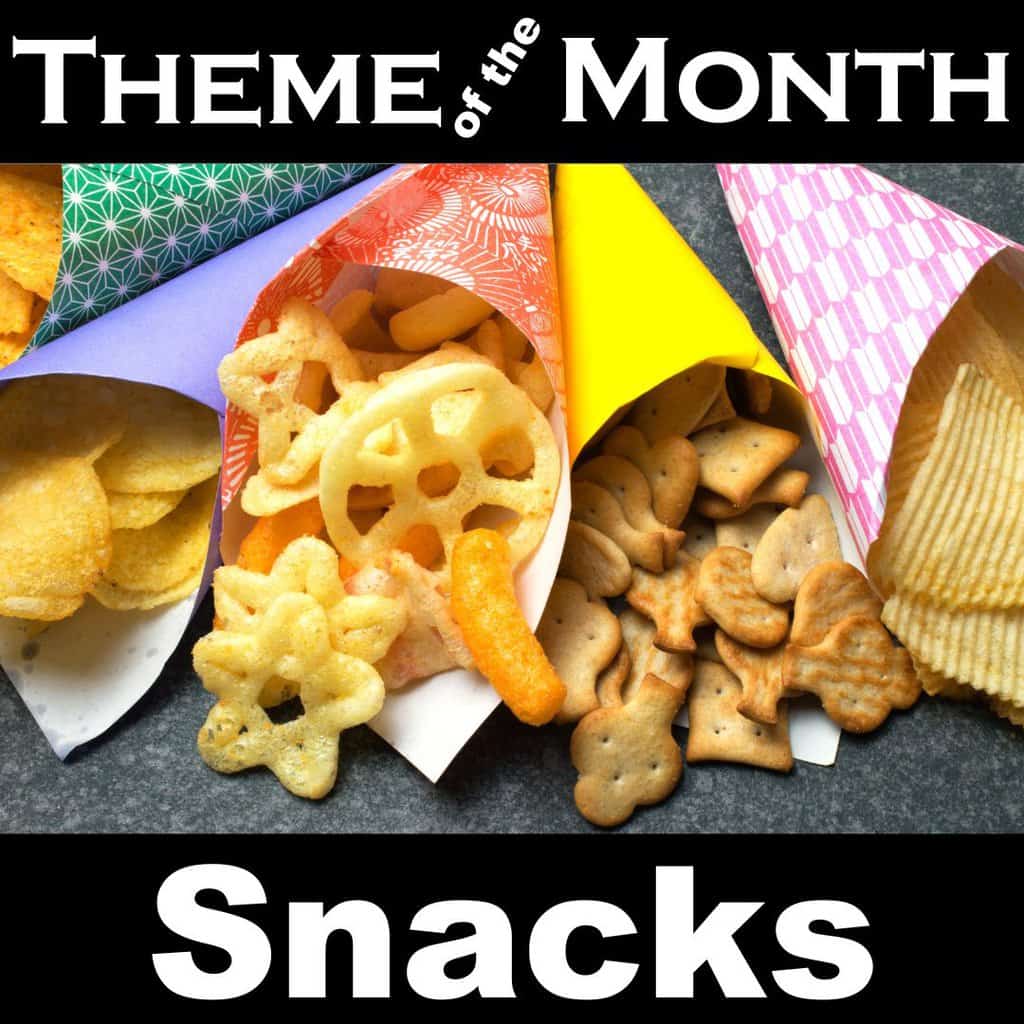
Ranging from sweet to savory, nutritious to indulgent, and everything in between, snacks can vary greatly in flavor and type. Whether you prefer crispy chips, creamy dips, or sugary treats, there is a snack to suit every palate and satisfy your hunger pangs. What’s your favorite snack? Share your unforgettable memories involving that dearest snack of yours! Below are several snack-inspired digital scrapbook layouts that will give you ideas on how you can present your next snack-themed project.
Read more