Often, a PaintShop Pro user would want to use a vector path. Although some simple shapes are easy enough to draw with the existing tools in PaintShop Pro, sometimes, you need a custom shape. LeviFiction has come up with a script that can convert a selection into a path. This opens up so many possibilities. Having a path available allows you to run some staple scripts, namely, the VectorTube, VectorPaint, and VectorStroke scripts.
selection
The Smart Selection Brush in PaintShop Pro
PaintShop Pro introduced a new selection tool with version X6. It is the Smart Selection Brush. How is it different than the existing selection tools? How do you use this new feature? Let's see.
6 ways to add borders with PaintShop Pro
Whether it is a photo or a quote, there are situations where you want to add a border. Although there is an Add Border command in PaintShop Pro, there are other ways to add something around your image. Let's have a look at some of those.
Using the Lock Transparency
If you have followed some classes or tutorials in this Campus, you might have noticed the use of the "Lock Transparency" command. You might have just repeated the steps, without necessarily understanding how it works. But it works, right? Let's have a look at that specific command that we use so often in our tutorials.
Troubleshooting – My Brush is not working
When working with PaintShop Pro, there are so many settings that can influence how a tool works! Occasionally, a tool is not behaving the way we expect and it can be frustrating. Let's have a look at various explanations of why the Brush tool might seem to not work.
How to move a Selection
PaintShop Pro has a variety of Selection tools, and even more were added in version X6 with the Selection Brush and the Auto-Selection tool. Although selecting a specific area is simple, sometimes we would like the selection in a different area. That is possible with PaintShop Pro.
Text Wrapping with PaintShop Pro
Users have asked for The text-wrapping feature for many years and finally, in version X7, Corel added it. This long-awaited feature was incredibly useful for scrapbookers who could now add text in odd-shaped areas. Graphic designers can wrap text around subjects on their photos. Let's see how to use this fantastic feature.
The Magic Wand in PaintShop Pro
This tool is called "magic" because it is powerful, but those powers can be intimidating when you don't understand all the intricacies of what can be done. The Magic Wand is probably one of the most commonly used tools by many PaintShop Pro users, are they using it in the best way possible? Let's look at the many settings that can make this tool do magic.
10 minutes to scrap – Papers
Creating a complete layout could take some time and feel overwhelming, especially if you have many photos to use and several pages you plan on doing. Did you follow the previous tutorials to work for 10 minutes at a time? If so, you might already have several projects on the go, so let's see what you can do in the next 10 minutes.
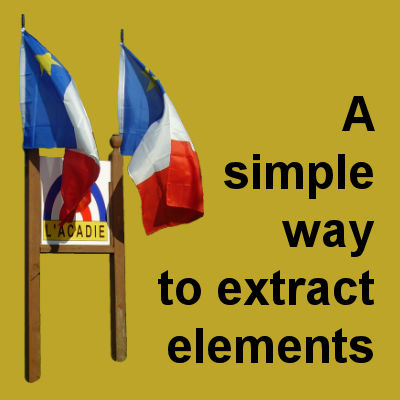
A simple way to extract elements
Whether you are doing scrapbooking, cards, or collages, you might want to extract a particular element from a photo to use separately as a decoration. There are multiple ways to select the outline of an element. You can use the Magic Wand or the Object Extractor. What tool you will use will depend on various factors. What type of element do you need to extract? and the background that needs to be removed. However, there is one lesser-known technique that is easier to use than most of the others.


