Leaderboard


Popular Content
Showing content with the highest reputation on 02/17/2024 in all areas
-
Day 3
 14 points
 -
Lesson 5. Font is Twinkle-Fairy.
14 points
-
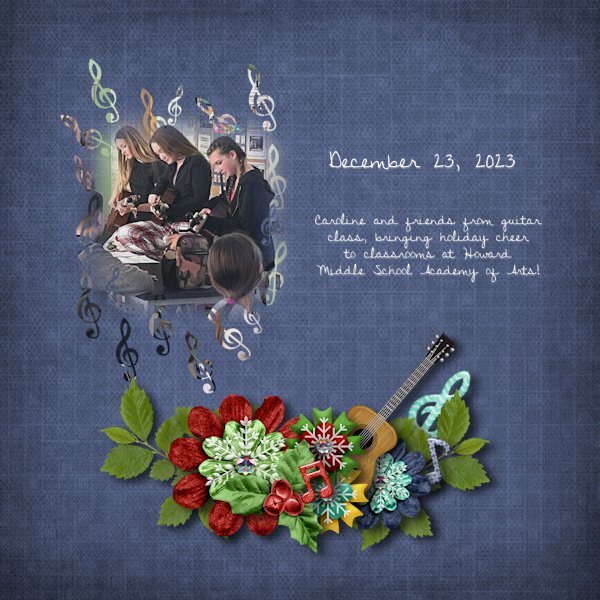
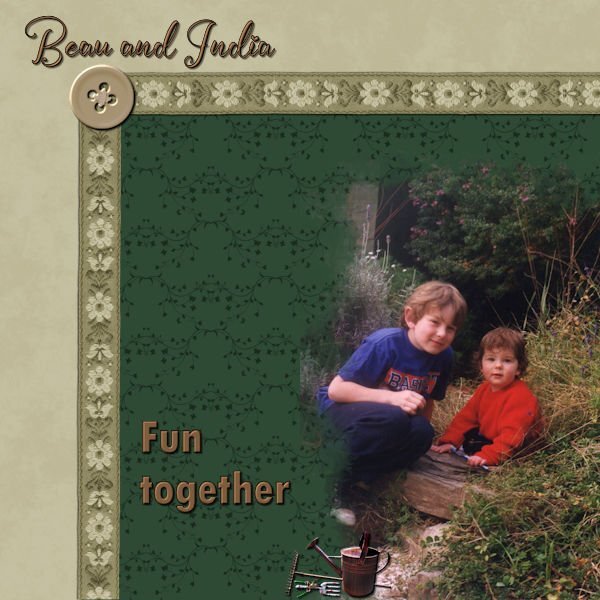
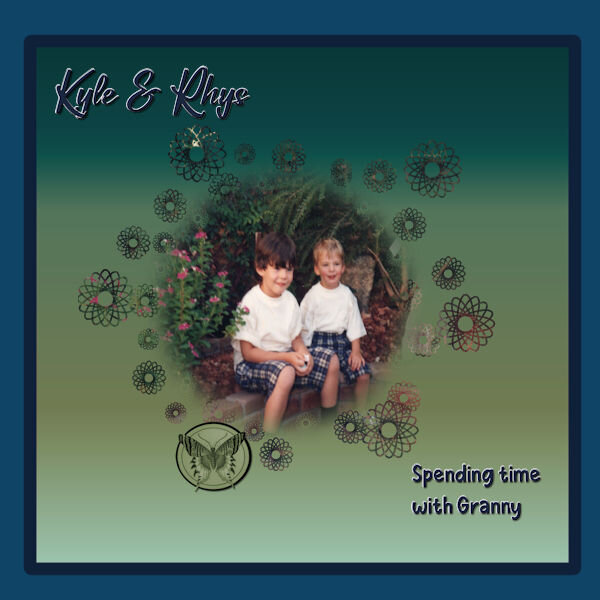
Day 5. I again used the retired Christmas Cheer kit from Bella Gypsy. When I put this layout in a book for my cousin, it will right after my Day 2 layout, so I coordinated them. I also used some foliage from a CU Foliage kit (#1) from Kristin Aagard which is available at The Lily Pad. And, I used a guitar from another Kristin Aagard kit "Faithful" also available at The Lily Pad.
14 points
-
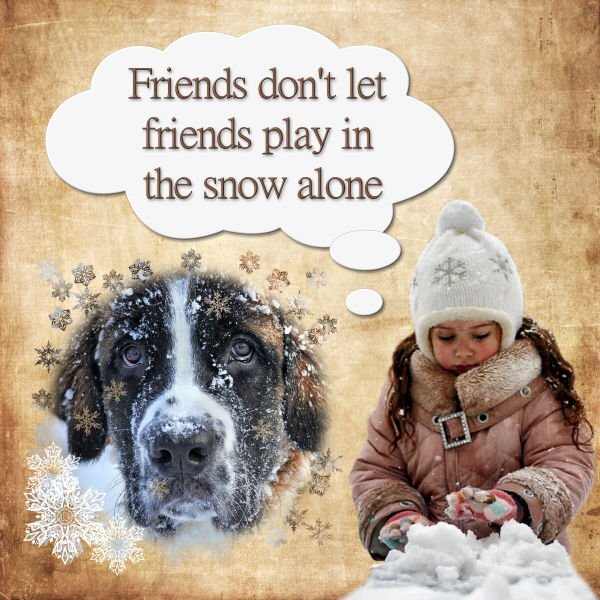
Day 5 - Am caught up now. Unfortunately, paint brushes are not my favorite tool. All their specific settings can be frustrating at times. Maybe that is why I make pngs of all my brushes & use them that way. Anyway, I had to do this assignment three times in order to get snowflake brushes as part of the mask. The photos are from Pixabay and HClipheart,, the background paper is from Freepik, the snowflake brushes are from Deviant Art, and the font is MingLiu from FontsAddict.
14 points
-
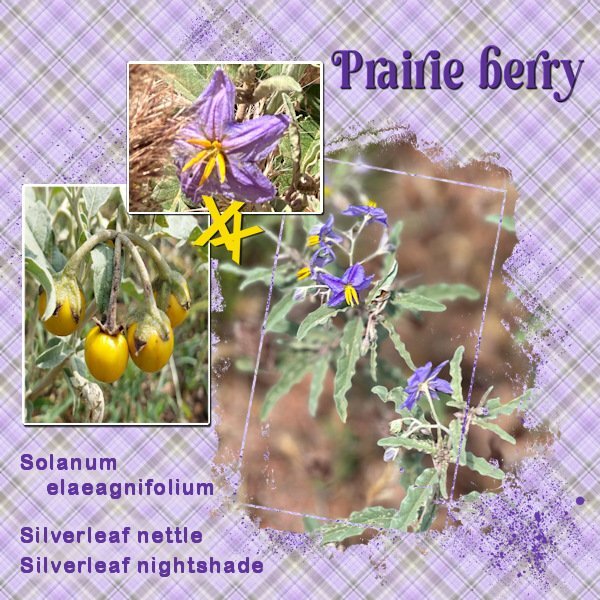
Day 5 and again a photo of a plant that I saw on my trip from last year. I used a hexagon brush to make the mask with some imprints of a leaf brush. A hexagon frame with a bevel and the font is Bahnschrift. The background and the corner punches I have in my stash and I don't know where I got them from.
14 points
-
Day 4 of the Mask Workshop. Learning a little more each day. I love these workshops because it helps me so much.
13 points
-
Lesson 2, the plaid background was such fun to make.
12 points
-
Day 2! I'm just moving right along now. I might even get done by the end of next week! Yeesh, what week to have a heavy workload. Continuing on with playing with the PencilSketch2 Script and some old tools left by the previous homeowner when we bought the house (and he was "kind" enough to leave numerous mystery liquids in unrelated containers that we had to take to the hazardous materials dump since we didn't know what any of it was 😨). But, the tools were cool so I kept them. the railroad spikes I had already. I used the Lady 22 template 158 and changed it to fit my photos. I didn't do the plaid...mostly because I forgot and because it didn't fit with the idea I had, although plaid shirts and tools go together so maybe I should re-think that. For the title I used the Letterpress Script (Creation Cassel) and I used the steel version but added a bit of color. Background paper is from Sheila Reid VPS Set 01 - paper texture - 06 (Digital Scrapbook) - it's originally blue, I did a negative image then changed the color with HSL. I love the PencilSketch2 script, there is a lot you can customize with the layers you get after the script is finished. You might see a little more color in the smaller photo. The photo you use is also in the layers palette (a duplicate as your original is not harmed in any way) so I brought it up above the background layers then lowered the opacity so add a little more color.
12 points
-
Lesson 6 Font used is Mistral
11 points
-
Day 5, and still loving this workshop. These are another 2 of my grandsons when they visited me in Alice Springs.
10 points
-
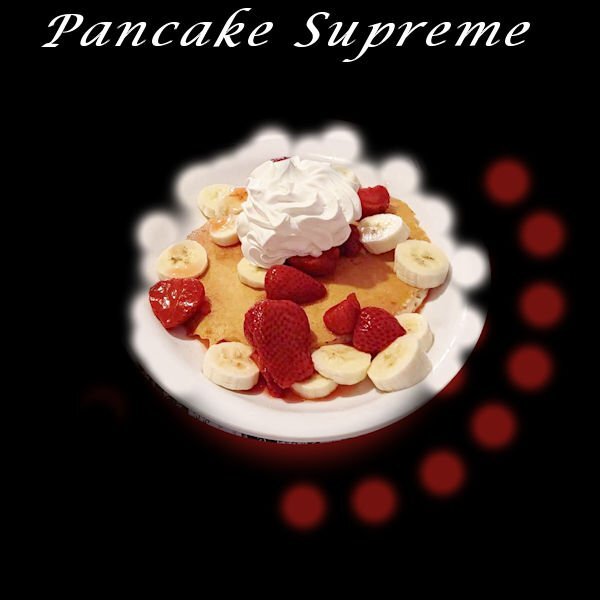
DAY 5 One of my granddaughters really likes this treat. So I took a picture of it. I wasn't sure exactly how to put this together so did some dots on the image and decided to add a coloured background and punched holes in for it. Then added the black background behind it.
9 points
-
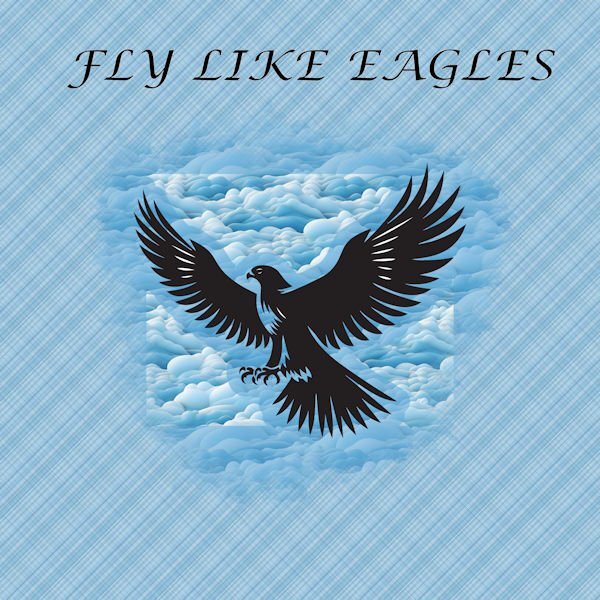
Day 4 Eagle and clouds from Creative Fabrica Font is Lucida Calligraphy
9 points
-
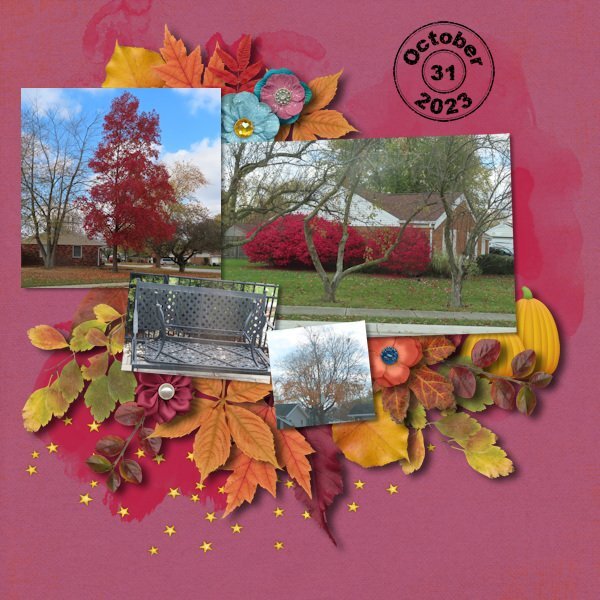
For the last 2 years (2022 and 2023), I have done a project in October of taking photos of the fall foliage every day of the month. In 2022, I was able to scrap the layout within a day or two. But with surgery the beginning of the month in 2023 and then getting the flu at the end of the month, I only got a couple of pages done. Then with another surgery the week before Christmas and a 3rd surgery Jan 18th, I never got the project finished. I made it a goal to get it done by the end of February. I'm happy to say that I got it done today! I used templates from Fiddle-Dee-Dee at The Lily Pad. She has 3 sets that are autumn themed so I selected from them according to the number of photos I had for the day. I also have a lot of kits of the autumn theme (I love the colors) so tried to use the ones I had never used. And, Days 1 and 2 were made using the kit I made from the 2023 Build-A-Kit workshop along with the title page. I used the same kit for the 2 pages that will be next to each other in my album (for example, days 1/2, days 5/6 etc). Day 31 was on its own. I also used Cassel's Date Stamp on every page to show the date. Here is the Day 31 layout: Kit is Evening Autumn by Kristin Aagard with some additional foliage from her CU Fall Foliage kits #2, #4 and #5. All available at The Lily Pad.
9 points
-
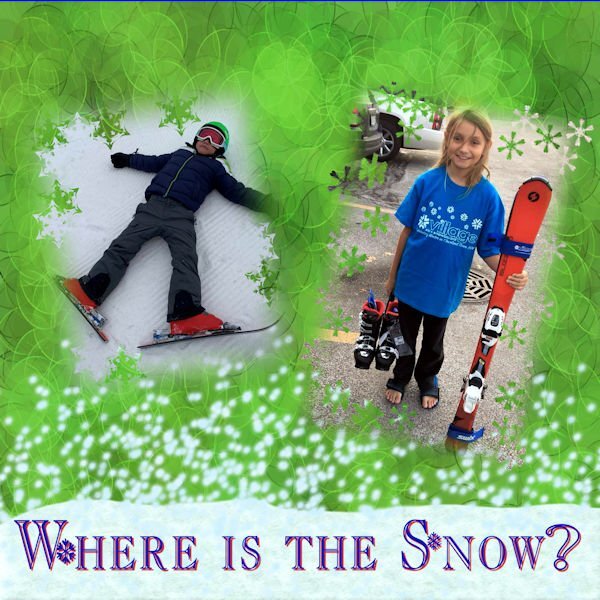
My youngest grandsons ski and the oldest snowboard. I used the younger ones since snowboarders haven't sent me any good pictures yet even though there is snow in the mountains near Las Vegas. The photos and background are my own. The snow was made with a cassel script and the flakes were made with a brush. The font is Christmas Flakes which is a free download. This mask was not my favorite since the pictures were too close to the edges.
9 points
-
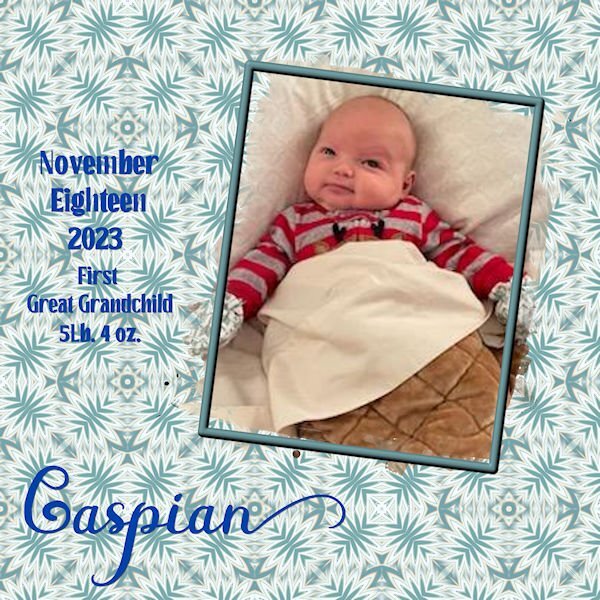
Lesson 3 My first Great Grandchild. Unfortunately the only photos I have are sent through messenger. The quality pretty much stinks. I just copied Carole's setup. The background was made according to lesson 3.
9 points
-
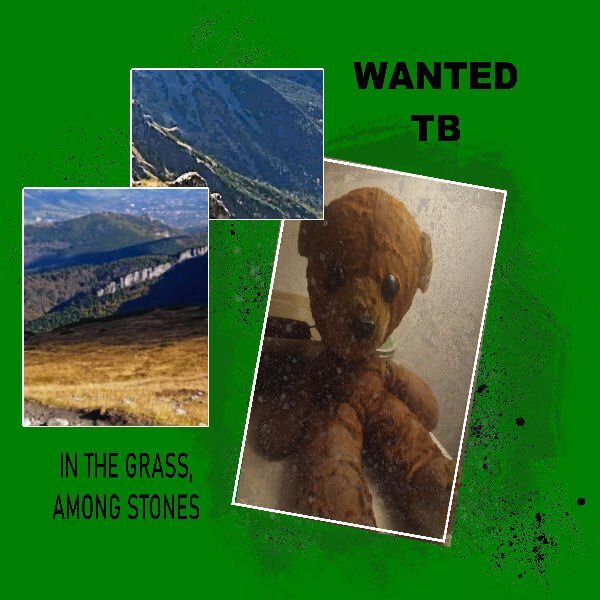
Day 4 - Am a bit behind but hope to finish 2 assignments today to catch up. I used a watercolor brush from Sweetpoison over at Deviant Art (they have such intriguing names there). It took a couple of tries to get it right and I did cheat by placing the photo to one edge. Then I got the bright idea of using another photo as a background paper. The background that was being masked out was a bit dark so it doesn't really blend that well with the background photo but at least I got the concept right, I think.
9 points
-
Day 3 and 4 🙂 "Zo gaat de molen" is the title of a Dutch song for children, my granddaughter loves to sing it with me, well I sing, she does the movements (she is 2 years now since thursday🥳) The kaleidoscope I totally forgot it was in PSP, was nice to use it again. Sometimes it's nice to have a "calm" pages, with not too much things added. Day 4 is a shipyard form the old days from the Netherlands. It closed in 1947 and rebuilt in the museum in 1948. Font is Bree serif and I used a brush form the link Carole had in her lesson.
8 points
-
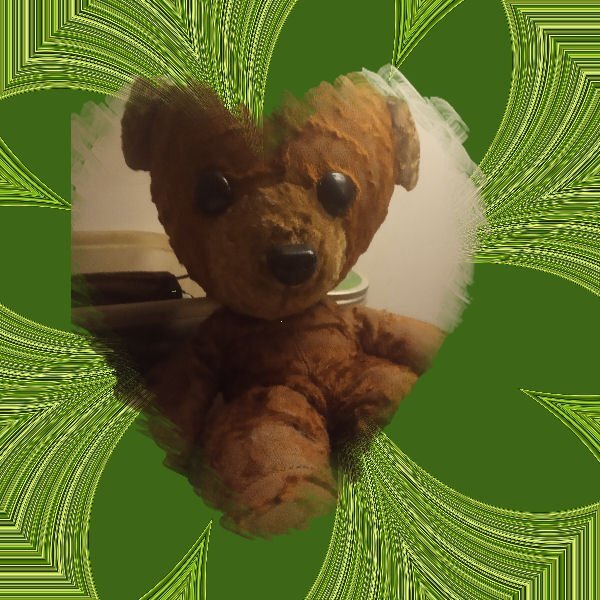
Carole, you were right , TB means Teddy Bear.
8 points
-
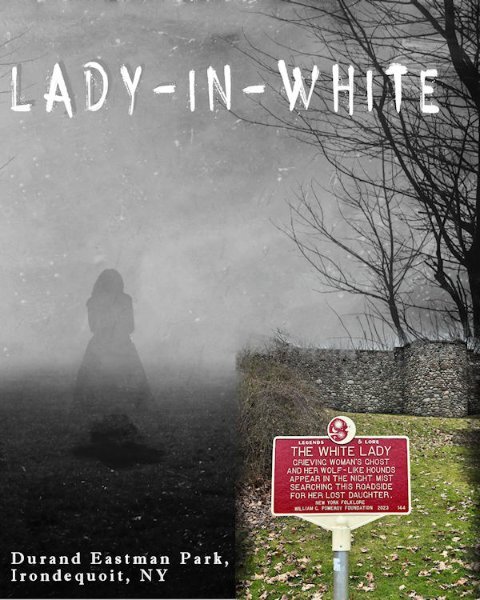
Here is my Lesson Five - Lady in White (A local tall-tale) The title font is Horror Story and the other is Imprint MT Shadow.
7 points
-
Day 3 - variation I decided to try to make a copy of the image and use that, as smaller, for the background. I could have taken more time to clean around it, but I like the effect.
7 points
-
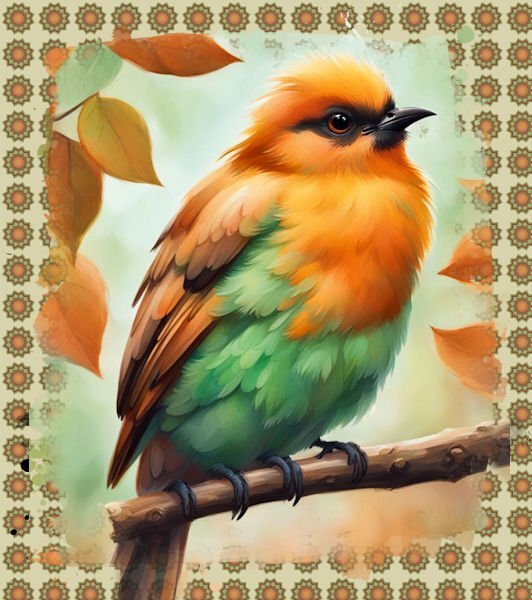
DAY 4 Cluster: Jessica Dunn (digitalscrapbook) Fonts : Forte and Molly Script The birds is a free photoshop bruche that I downloaded once, I think on Deviantart For the paper, I applied 3 large strokes with green, light blue and darker blue on a blue background, using a watercolor brush.6 points
-
Day 6. Felix is my youngest great-nephew. The top ribbon is from Marisa Lerin at Digital Scrapbook. The bottom one was created using the Ribbon Factory script from Cassel. The mask was created with the help of the Paint Slash script, also from Cassel. The font is Retro Real Wavy from Creative Fabrica.
6 points
-
Lesson 6. The photo was taken yesterday in front of my house. What a beautiful sunset after getting 5 inches of snow that day. I did the background and then had a copy of the original photo behind it and lowered the opacity just a little to let a hint of the other one show through.
6 points
-
Day 6 - The photo is from my daughter in law. I made two backgrounds with different colors. The font is Lovely Valentine and Love Valentine Extruded from Creative Fabrica. I had to go to the blog to figure out how to do layered fonts. I made a picture with the font, the background and the preset shape, merged and copied into the circle mask. I really need an intervention on fonts since I cannot stop downloading them. Now I am looking for layered fonts because of Carole's explanation of how to use them.🤣
5 points
-
Such wonderful stuff you all are coming up with. I have loved browsing through all the layouts. Such creativity. I love what you all are doing!5 points
-
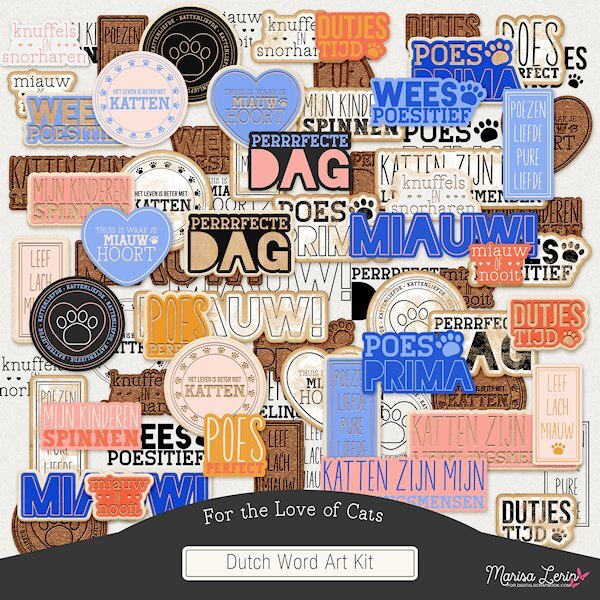
Corrie: Forgive me for changing the subject but I wanted to show you what I found in a Marisa Lerin "For the Love of Cats" bundle that I just purchased. An entire folder of Dutch word art.
5 points
-
DAY 3 Template: Lady22 (lady22.eklablog.com) - Butterfly: Janet Kemp (Digitalscrapbook) - Cluster: Jessica Dunn (Digitalscrapbook) - Wordart: Freebie (Creativefabrica) The kaleidoscope patterns were always overpowering, so I solved it this way.5 points
-
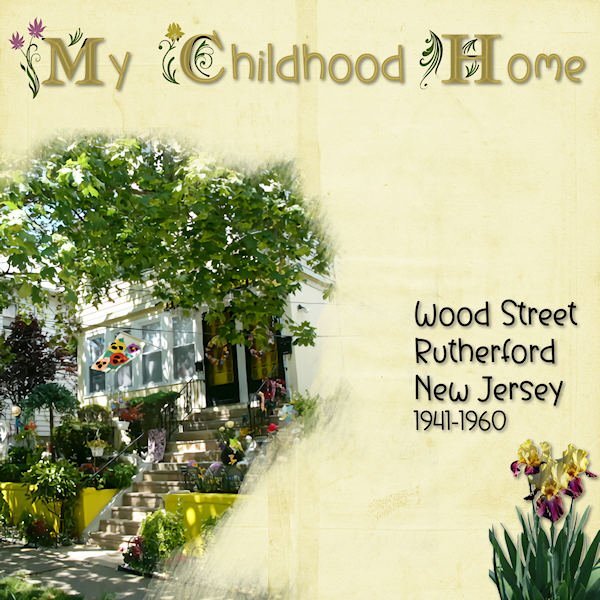
LESSON FOUR - MY CHILDHOOD HOME - I didn't get to do this in January so I used it for this mask lesson. The title fonts are am_intex for the decorated ones and Before the Rainbow for the san-serifs, treated with an inner bevel and shadowing. I found the bearded iris with Google Images and removed the background. The background paper is from Circle of Life mega kit.
5 points
-
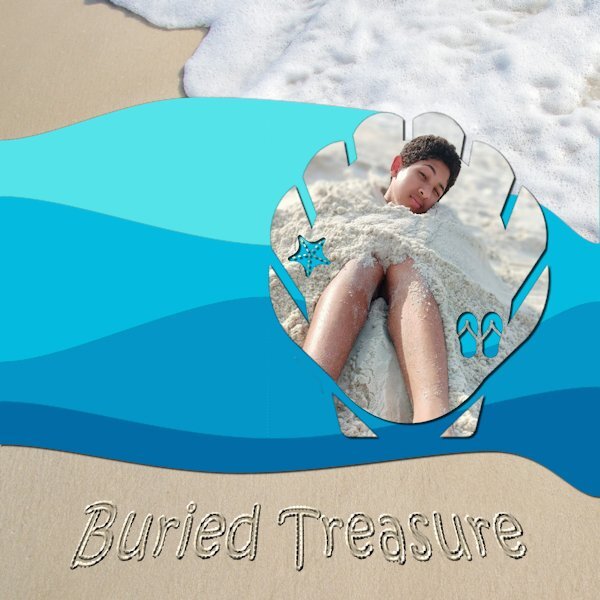
Day 5. The mask was made using Summer Punches from Cassel. The waves were made using the Waving script, also from Cassel. The beach background is from Pixabay. I used the Sand Writing tutorial in the Campus to create the title. The "treasure" is my oldest great-nephew, Brelan who will be 16 in a couple of months.
5 points
-
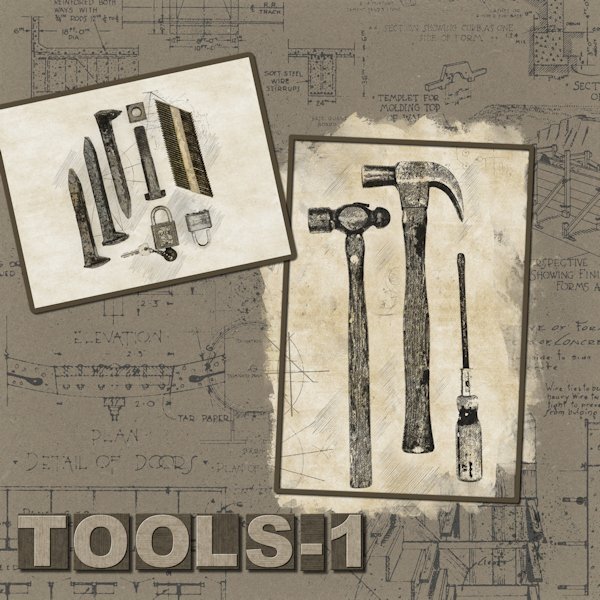
Day 3 Plugging along at a snails pace. Had fun with this one. I wanted one object in color but still with the Pencilsketch2 effects. I believe I used hard light blend mode with an extracted version of the pipe wrench (is that what it is?). The two little box wrenches(?) in the corners were originally photographed (along with a third ugly one that I didnt include in the layout) with the main group of tools. So I extracted them, inner bevel added. I used the Letter press script again with Gill Sans Ultra Bold font (formerly from MSWindows). This time I added the spaces you get when you add a space (I think) when entering the text. And this is a one row box you have the option of making. I did desaturate it to make it look like metal and I had to resize it because it was wooden and the box bottom shows through. The Letterpress script is quite customizable with the each element on a separate layer (when you choose adding the box for it it all goes into layers and I recomend using this because you can choose to use or not use the box and you can also group it all for easy resizing all at once for for copying and pasting into a layout as a group. It's much easier than handling each element separately. And like everyone else, I went down the rabbit hole for a good hour playing with the kaleidoscope effect. One to Day 4 now.
4 points
-
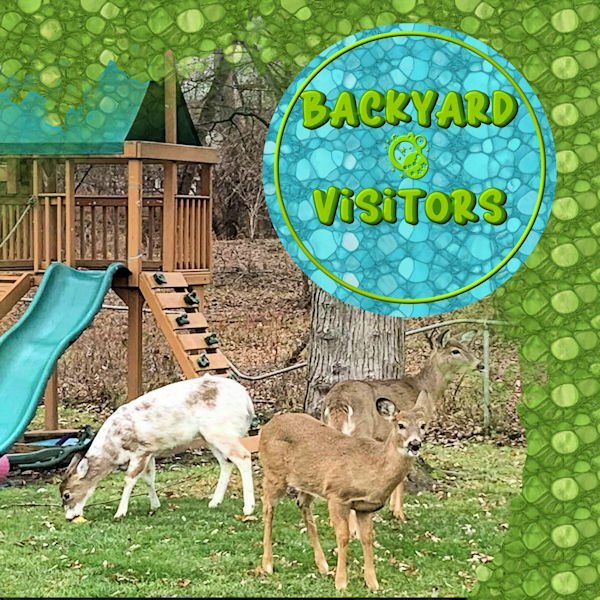
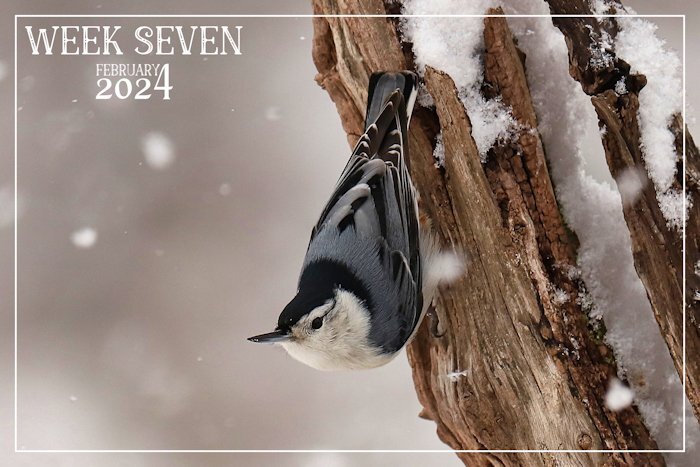
This past week we have had snow, and blowing snow. Once again the landscape is blanketed in the white stuff. A delightful White-breasted Nuthatch. Nuthatches are short tailed birds which walk up and down and a round tree trunks and limbs. The ones I have here, and enjoying the suet, sunflower seeds, and peanuts.
4 points
-
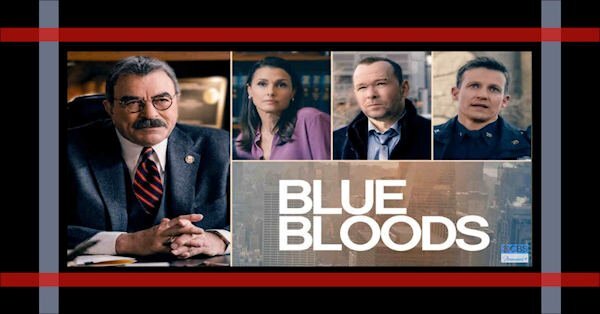
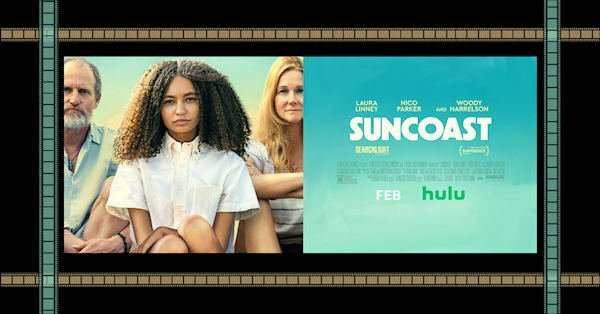
A small project I've been working on to populate my new 32" monitor. I'm using the cass-painted-frames and I've made one for Cable or Streaming TV shows and a separate one for Streaming Movies. For the Movie one I went and found a film strip and duplicated it all over the place on top of the color painted frame strips. Here is one I did for my Friday Blue Bloods TV show and another for the film, Suncoast, which I will watch tonight on Hulu.
4 points
-
I never save the templates with the template name which is what save as does! Each layout gets its own unique name that is quite different than the template name and I save them in a folder specifically for my working files so I have to change folders as well.4 points
-
Love that plaid!3 points
-
Great job! I am so disappointed that this is the last season for Blue Bloods. I love this show. Let me know what you think about Suncoast...so much to watch, so little time.3 points
-
I like how you used the kaleidoscope pattern3 points
-
You are right on the money. Doing what you are used to. I am a "Save As" girl, which is how I learned with general computer stuff. I must admit to cringing when I have to compress files. Throwing away detail and pixels; might as well throw away all my money. I'm a dinosaur, I think in terms of photography from back in the "film/slide" days. I will compress to the least amount for the forum (Sorry Carole, I'm probably being a space hog) every time. I don't limit myself to specific numbers since every layout is different, more compression is more loss of detail. I get that it's just for the forum, but with such fabulous layouts (from everyone) I'd love to see them in all their detailed finery. Not everyone posts on FB, I'm bad for even remembering to do that myself. I also do that Rene, where I will open a template or image and if I do do shift D (because I'm too lazy to re-type the name when I do "Save As"), I'll just do Save As right away and usually I add WIP (Work in Progress) to the end so can find it right away. When I'm finished I take the WIP off or I'll put FINAL in it's place. I really enjoy seeing how everyone's work flow, flows, it's quite interesting to me.3 points
-
Good evening, phew, I don't understand why working in the layers is so complicated in PSP? In PI and PS you can work with each individual level separately. I don't understand what "floating" means and why you should constantly move a layer somewhere in between. That's when you get on your nerves. I was able to easily insert and edit the small photos in PI as a PSD file. I hope that the end result should look like this. Titel: Girls & Horses3 points
-
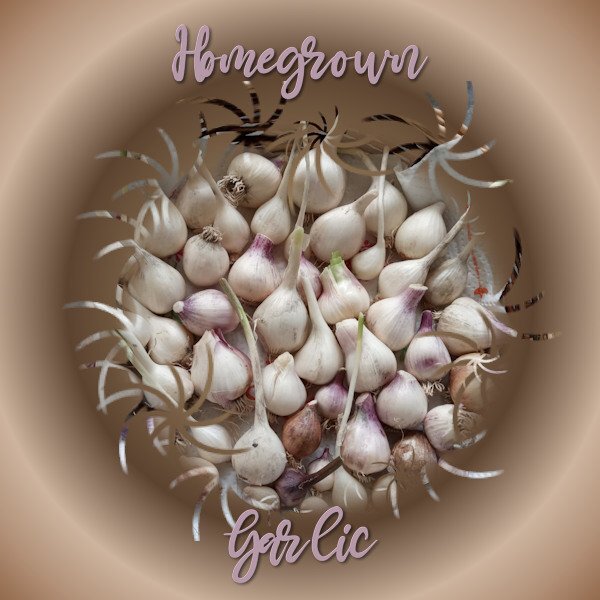
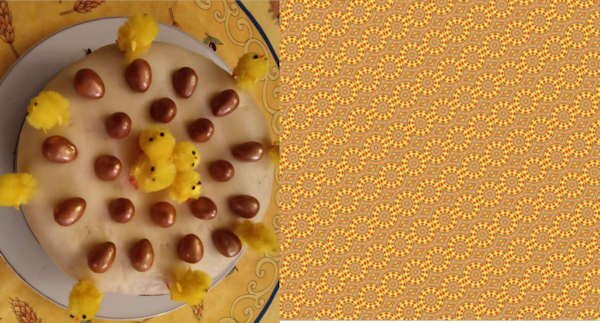
Lesson 5. I made a kaleidoscope pattern originally to use with my garlic photo but it didn't suit it. I was so fascinated though with the way the colours and shape from my original photo of an Easter cake worked in the pattern, I saved it for viewing. For my garlic photo: Brush tip ' Twirly Star. Text: Mama with white inner bevel and black shadow. Off to make my dinner now. Looking at garlic has made me hungry.
3 points
-
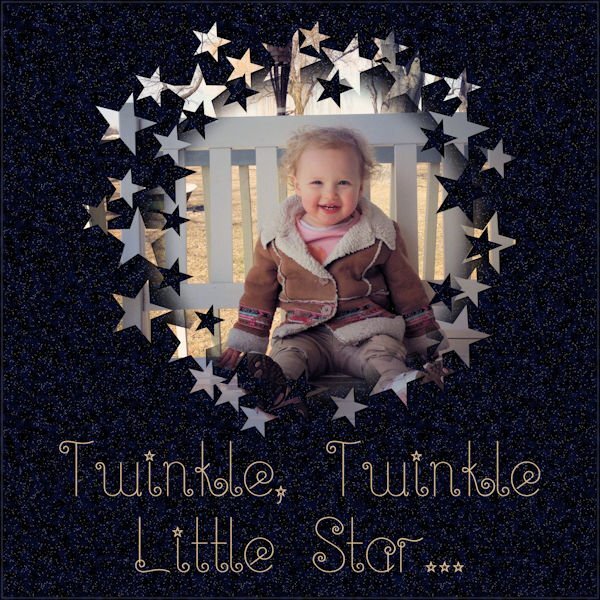
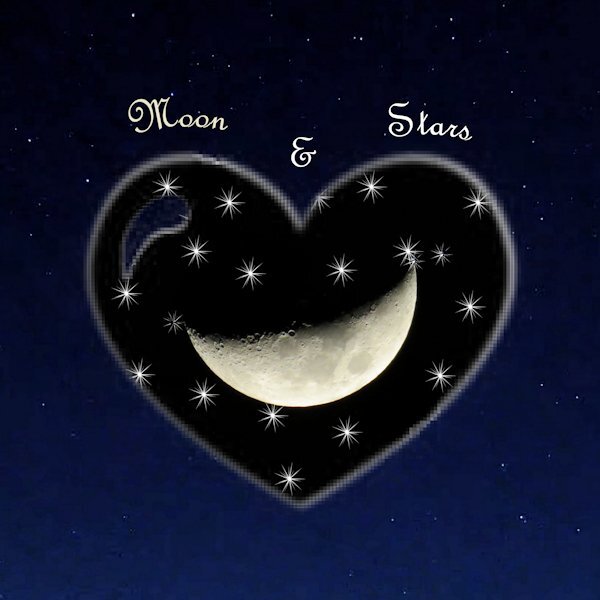
My day 5. I did something different. I used a heart brush set to white on the mask and also star shaped brush. I then used the same heart brush set to white on a new layer and put it behind the mask group to make it show up better because it was on the dark background. The moon pick is mine. The background paper was created from a screenshot taken on an Explore.com live cam. It is so much fun to play play play.
3 points
-
I think I need to join you in that intervention. I'm so bad and I have loads I haven't loaded (installed) yet.2 points
-
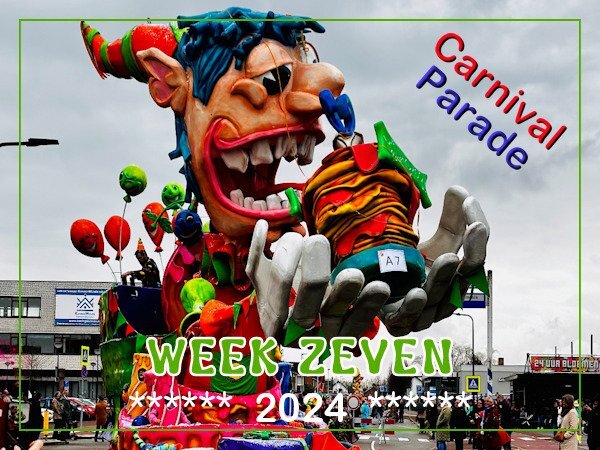
We had the 4 days of carnival this week and I went to watch the parade. Unfortunately the weather was not great on that day, with a bit of sunshine it would have looked so much better. Carnival is always a colorful spectacle so I used more colors to enhance my layout and I filled the week seven with a color otherwise it wasn't readable. If and when I have some free time I'll remove the streetlight on the left.
2 points
-
I agree with you Corrie, the boy's name Caspian derived from the Caspian Sea. Caspian is derived from the latinword Caspii, meaning white. It's also the name of the Central Asian people in the Caucasus. I wonder if CS Lewis named the hero of his children's book Prince Caspian in The Chronicles of Narnia. It is an area of outstanding beauty.2 points
-
The brush work on your Day 4 layout is really beautifully done. So perfect for that image.2 points
-
The kaleidoscope really suits this image and design I think.2 points
-
2 points
-
This was a good refresher for me. Font used is Perfectly Imperfect.
2 points
-
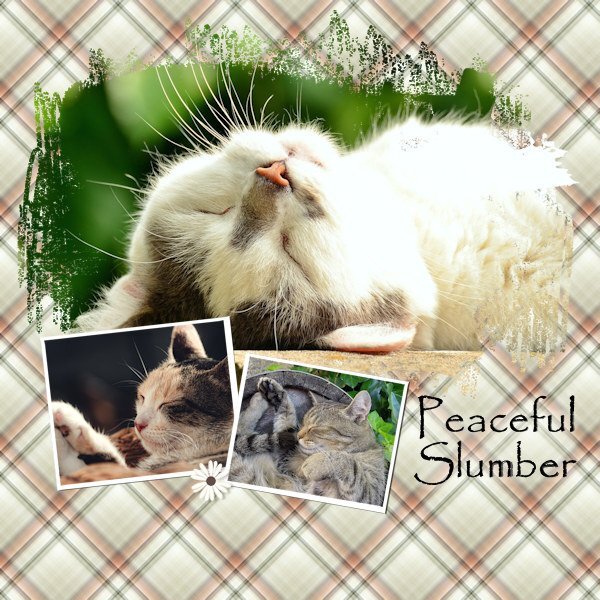
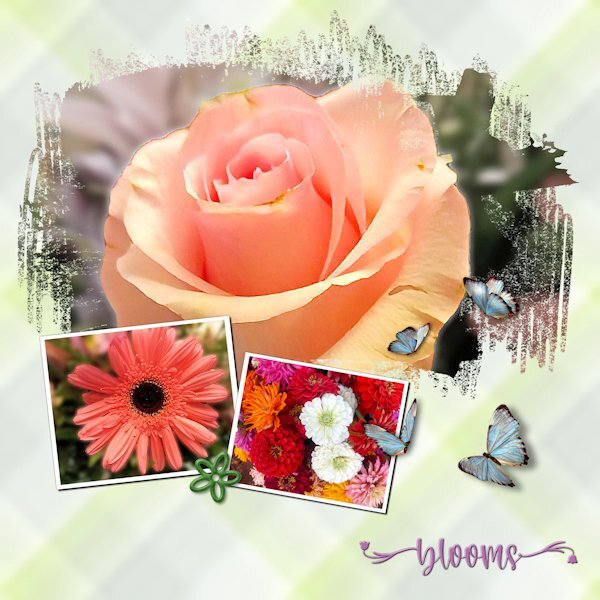
I spent lots of time experimenting with the plaid, including tinkering with the settings for seamless tiling. Since the photos are "busy," I wanted a pattern that wouldn't compete. The green "plaid" looks closer to a grunge effect. The photos are mine. Although I'm not a good photographer, I keep finding little bits of a picture that look nice enough to showcase. The font is Welcome Spring from Creative Fabrica. The butterflies came from Pixabay. They already had shadows but in the wrong direction. Flipping them solved the problem.
2 points
-
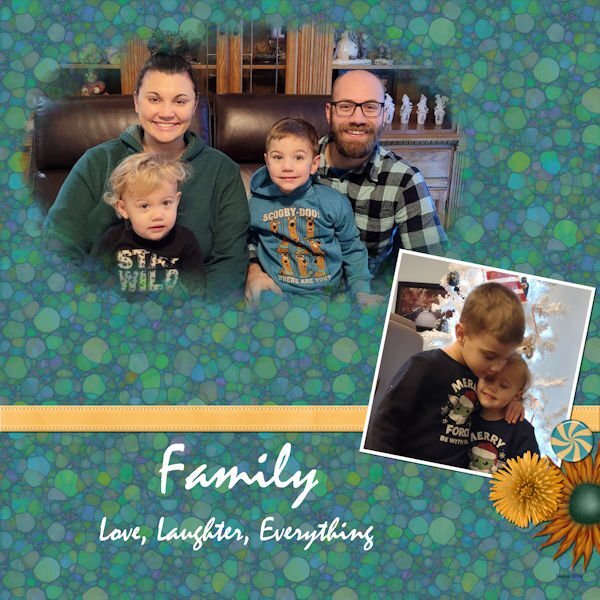
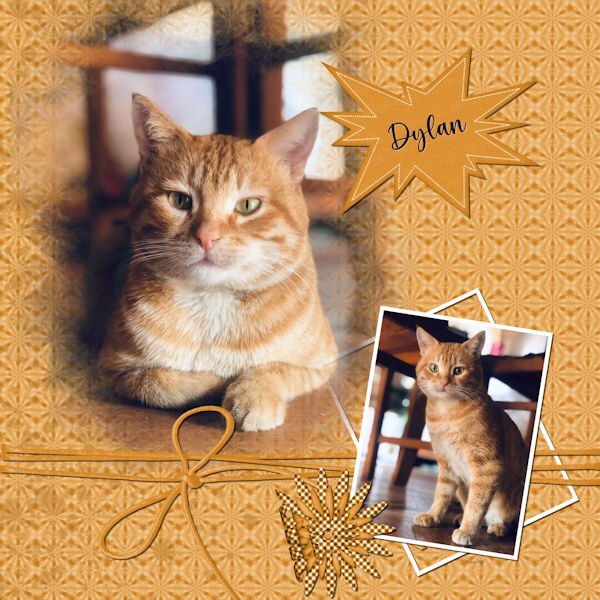
I started a bit later today and noticed a new link for a template which I used, although I have the old one and the Diamond one too. I have both used, but a new template is always welcome! For this template I could use a couple of photos that are narrow and long without having much resizing. I made different plaids until I had one that I liked and that went well with the colors of the photos but I reduced the opacity otherwise it would overpower the photos. Fonts are Perfectly Vintages and Arial rounded. The smaller photos had no borders or a mat underneath, so I made very thin borders to make them stand out a bit more.
2 points
-
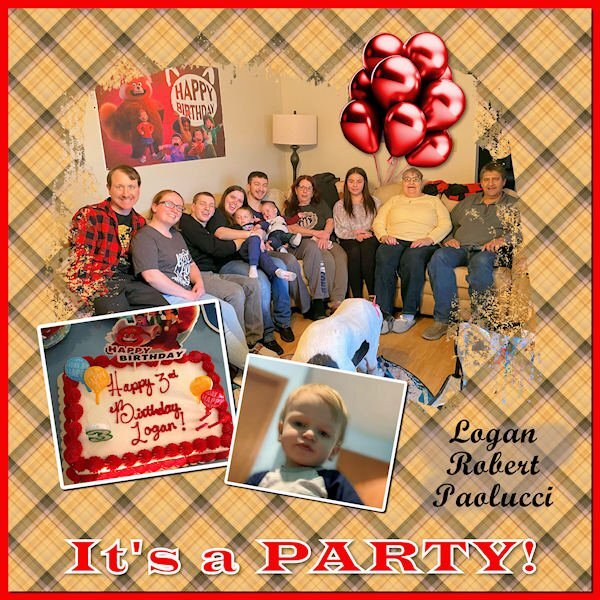
My Lesson Two - It's a Party! This occurred Saturday, Feb. 10, though his birthday was on the 6th. I used the same old template as last time. Discovered some strange layers. 😁 It happens when I'm struggling with masks, especially if they're in French! 😆 I created the plaid, and the balloons are a template from Marisa Lerin. I do struggle to align photos in a mask that is on an angle. I tried the Free Rotate tool but didn't see much change with it. Is there a trick to it?
2 points