Leaderboard


Popular Content
Showing content with the highest reputation on 08/29/2023 in all areas
-
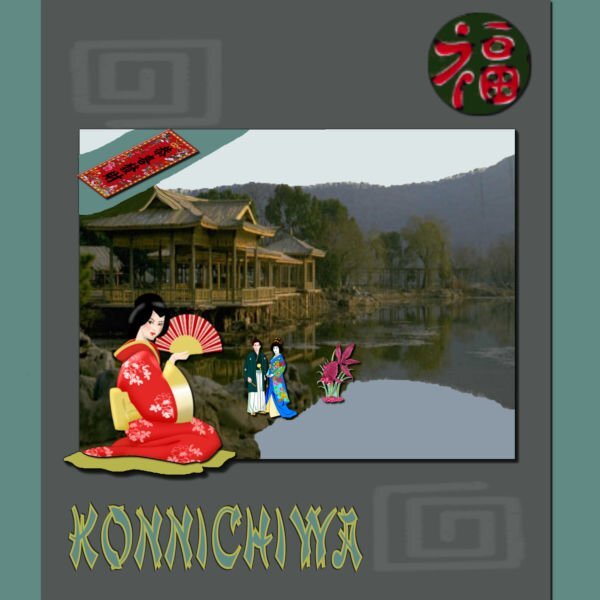
Here is Day 5 with the layout template: Mr. Red has been kept busy landing on many different spots. We both really enjoyed the work of the street artists. They just set up their painting supplies and make an ordinary plain street look beautiful. I guess they have to get the city's permission to do so. One of our favorite paintings was the Musketeer. Around that time, they filmed a remake of the 3 Musketeers movie in Wurzburg. The other large picture shows an aerial view of Wurzburg from the top of the Stein Burg Castle. The smaller pictures show the gate to the Residence Court Garden and the spring flowers. The font I used is Santika Script, with inner bevel and drop shadow, the photos are mine. I added a date stamp and a texture (crumble) to the brown background. I will work on the stamps tomorrow.
 10 points
 -
Day 7 Imprint. I wasn't successful with the images I had chosen using the tutorial for the imprint. In the end I used Cassel's script: cass-imprint which gave a slightly different effect but is very easy to use. So glad I purchased it. Thank you Carole. My sand background image and my starfish are from Digital Scrapbook and the font is Swiss721HV BT. I intend to use the image I have created on another of the templates supplied. As I ran out of time at the weekend to complete each one I hope to have them ready by the end of the week.
9 points
-
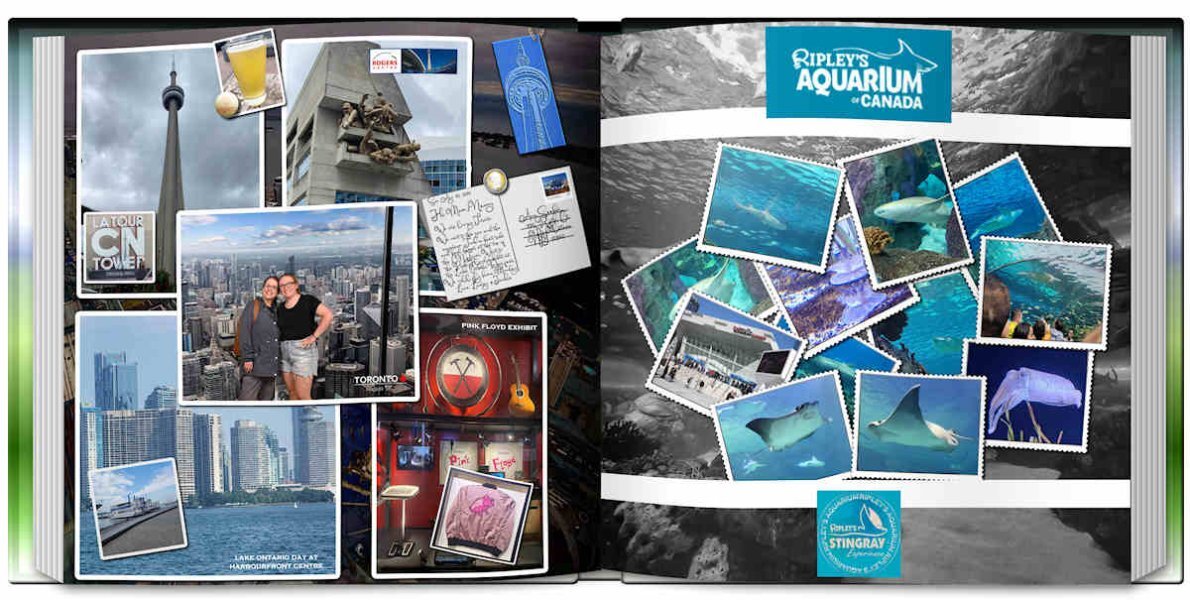
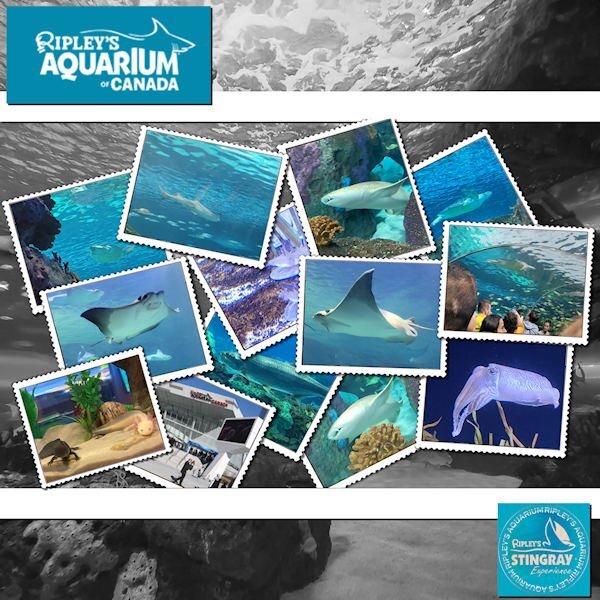
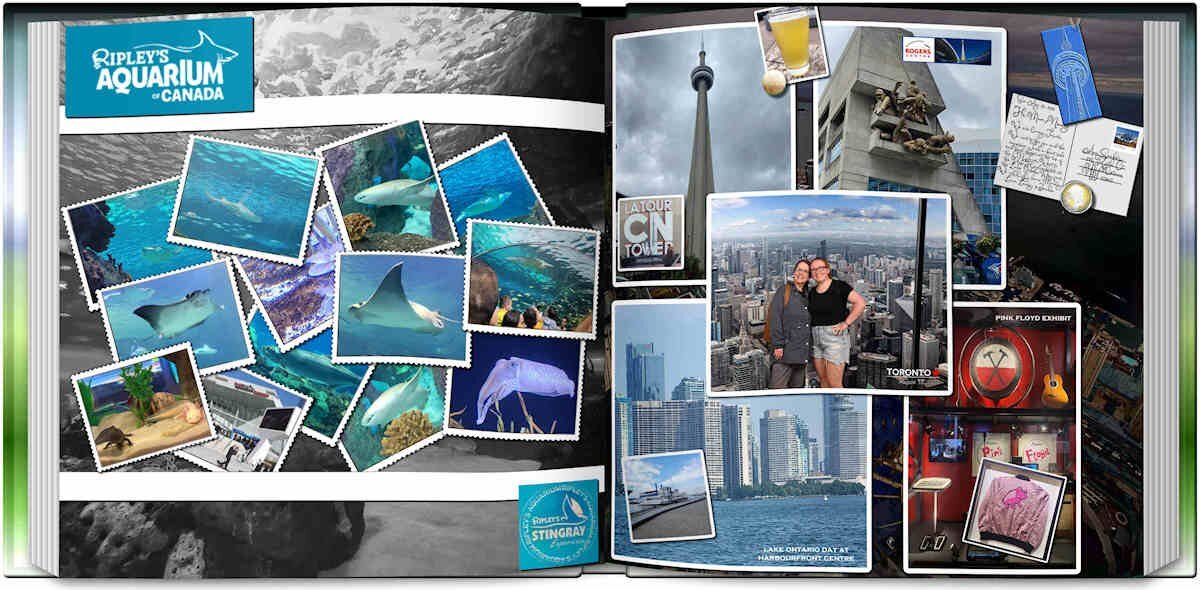
As I speculated, I did change my final Open Book Page 5 & 6, by swapping the pages. I also rearranged the Ripley's Aquarium page by centering the top label and the bottom Stingray date stamp. Plus, I moved some of the stamps around to put the stingray photos near that date stamp. I also enlarged the postcard and the leather tag.
9 points
-
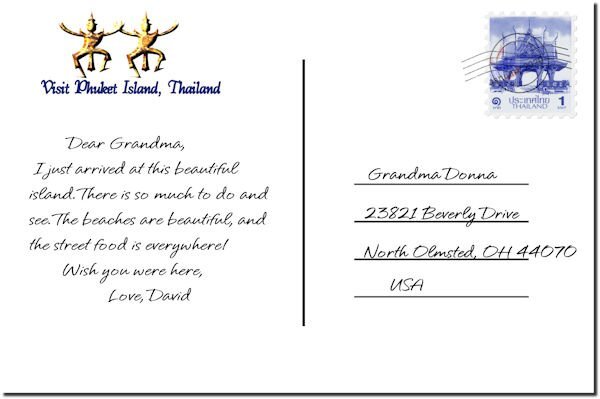
Here's my postcard for Day 6. I updated my Day 3 date stamp by adding some wavy lines I see in most postmarks. I drew a straight line, converted it to a raster, and used Effects: Distortion: Wave.9 points
-
You all already posted beautiful pages!! Due to unexpected circumstances I have not yet been able to continue. This is what I'm doing for day 3, with the date stamp. I don't know if I will be able to finish this workshop. But then it will be for next time. I also wanted to use the openbook script, but I immediately made the design in a double page and the script only works with 2 pages of 12 x 12. I thought of that too late.
8 points
-
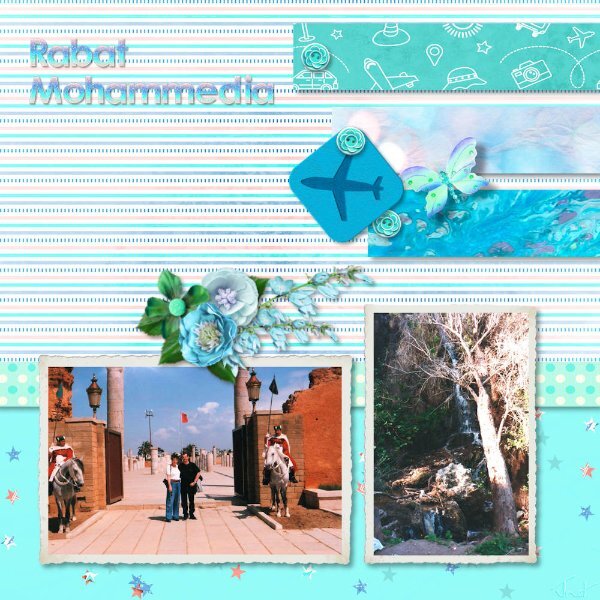
Days 4, 5 and 6 - Continuing the Thailand theme. Page 2 is actually Page 1 and Page 1 is Page 2. I numbered them incorrectly. The pineapples and coconuts are from AI. The shells are photos of shells picked up on the beach, except for the middle one which is from Marisa Lerin. Pictures on the stamps are pngs downloaded from favpngs. Palm tree is a tube, and the coconut string is a directional tube that I made with the cass script. Background papers are mine. Fonts are Hallmark fonts.
6 points
-
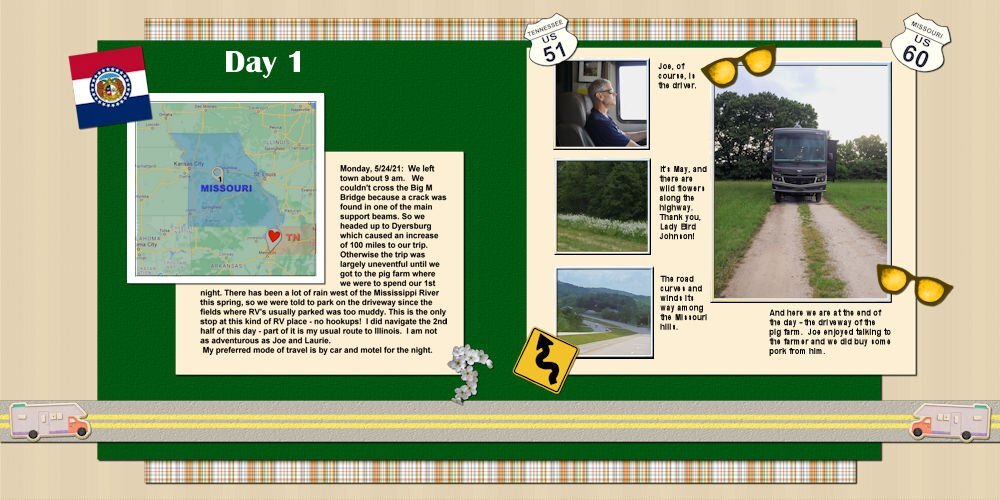
Well, I finally finished the 1st 2 pages after the opening. The sunglasses and curvy road sign are from PS DiHiller; the RV stickers are from PS Marisa Lerrin; the rest of the elements and papers are mine; the MO state flag and state flower (Hawthorn) were obtained from the web. The Day 1 font is Britannic Bold and the journaling is Arial.
6 points
-
Never saw that but I did download it and reduced it as a jpg so it will show up here for everyone.
5 points
-
Ok, so here's my Day 5 & 6, individually and as an Open Book, plus my postcard for readability.
5 points
-
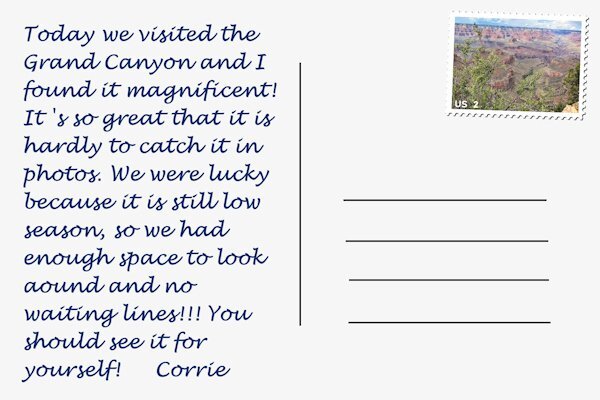
The postcard which is hard to read on the template.
4 points
-
It took me more than an hour to understand the written tutorial - I got discouraged and it was when the page transferred to my main screen that I saw the video. I added it to my page 4
4 points
-
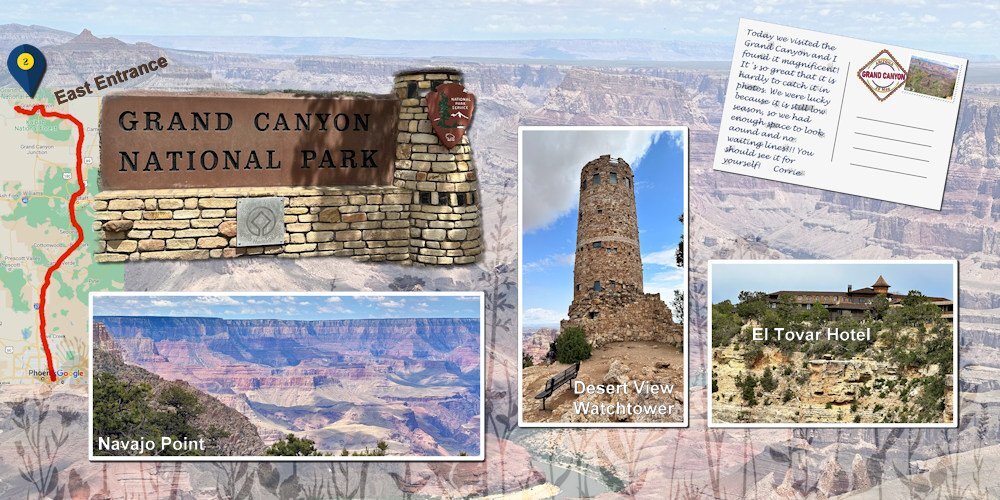
And this is my 2nd layout of the Grand Canyon and the photo of the condor comes from the internet. I have seen 2 condors perched on a rock but I don't have the photo equipement (very big telelens) to get a shot like this. I have takken a couple of photos of them but when I would use those here it won't show much, but everybody seeing them was very excited, there was a general buzz going round. On this page is my tag and I used a photo for the background too. I found a nice journaling card in my stash for writing the dimensions of the canyon, it is huge!!! On the day I was visiting, there were birds flying around, so that's why I included some.
4 points
-
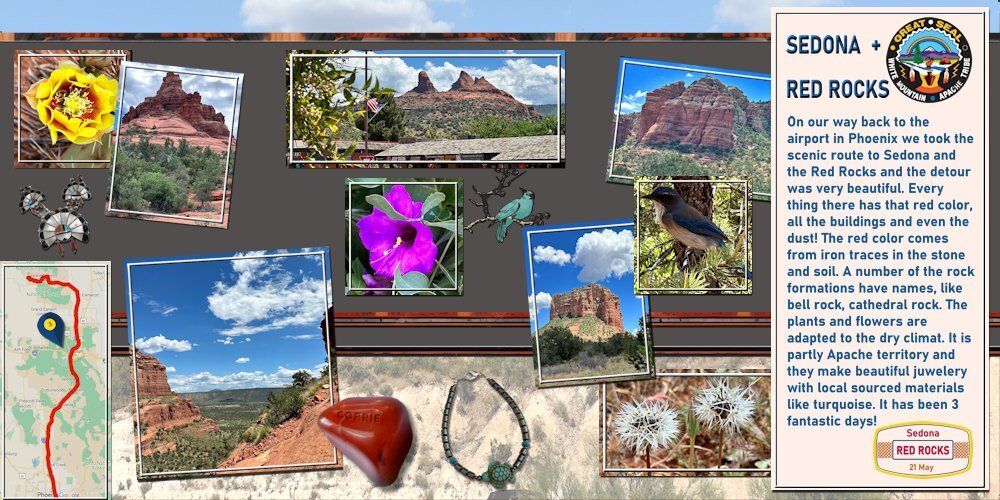
This is the last double page for this workshop. This one has a little story of the area and its Apache roots. Their great seal and the left necklace come from the internet, the bracelet I bought over there and I engraved a red gemstone which is a picture tube and is included in one the versions of PSP. I used the template from day 6, but a bit altered for my photos and again with a photo as background. I must admit the engraving was much easier to do this time round, I finally understand the cutouts! I hope you all enjoyed my trip and for me it was as if I was there. I would love to come to Arizona again, because there are much more fantastic sites to visit (this trip was only 3 days). The rest of my time was spend at my daughters home and I was happy to be part of their day to day live; spending time with the grands, like attending a school concert where my youngest granddaughter played in the band. It always is hard to leave not knowing when we shall see each other again. Of course we have video calls, which is great but a substitute.
3 points
-
Thanks, @Suzy. If you watch the video for that day, Cassel had us select the bottom right stamp on the sheet and promote it to a layer. Before deselecting, we moved back to the original layer and deleted that space. Then we could move the promoted stamp anywhere we wanted. Of course, with my OCD I tried getting all the holes to line up on the sheet, but I think I needed a square stamp in order to do that. ?3 points
-
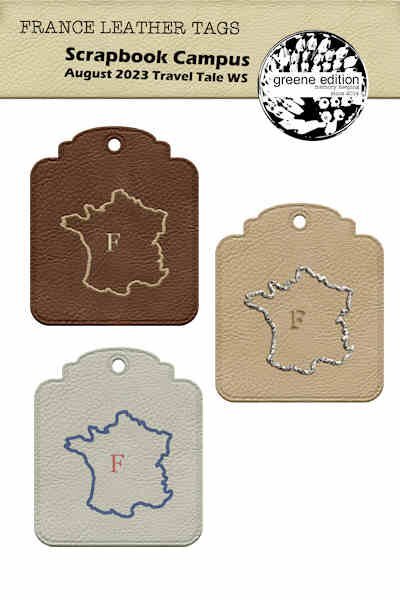
I have to say the book script is awesome. And those stamps look ready to mail, Michele. So realistic. I’m not sure if it’s a script on not, but the cocked stamp that Michele and a Bonnie had in their page of stamps is really nice! Bina, nice to see you here. Your leather tags are beautiful! I ALSO have to say that everybody here has become the equivalent of a professional scrapbook artist in just the single year I have been here! Truly, these LOs are amazing, as are the photos. (Or the cropping in some instances, I imagine.) And Corrie, I’ve lived here my whole life and have only ever heard of about half of the Arizona stuff in your LOs! I had to Google several of them. I read that in the “early days” (they didn’t give an actual date that I saw) of tourism to the Montezuma castle, they allowed tourists to take rope ladders up to the formations? Can you imagine that??? I had to attend other things over the weekend, but I’ll get back to it this week and just post here as I go. I have all the photos laid out for 2 more pages, but they’re all way too big, which put me way behind. But I just remembered I also have to clean the basement. I hate when housework interferes with my PSP time!3 points
-
I thought I'd have more time when i got older and I seem to have less time. go figure.3 points
-
I don't have access to the pics I took in Ireland as they were not digital and they ended up in storage. Instead, I decided to make stamps from some floral pics I had taken during a spring walk a number of years ago.3 points
-
Carole, I know now that I haven't done this workshop before... It's different than I thought and I like that it's different. Day 3 & 4 Doing the stamp took me the morning of yesterday and today I did the double page but I forgot that I had to do a logo. I'll add it tomorrow, it's too late to continue now. I like the achievements presented so far. Nice job everyone!
3 points
-
here is my page for day 5 and 6 papers made by me from the photos using the tutorial for the postcard and stamps, recolored a button made by me, and used the datestamp script by Cassel template by Marisa Lerin3 points
-
speaking of which, now that I see my open book page 5 & 6 in the forum, I would like to shift page 6 to the right; it appears too tight to the binding. I usually create on separate pages; the double size slows down my renderings, though I have on occasion, @Marie-Claire, made a 7200 and then split it by duplicating the whole so I could crop for each side for the open book.2 points
-
Makes me sort of glad I don't even have a basement... ? Odd, photos being too big is never a problem, whereas too small used to be until PSP got its AI act together.2 points
-
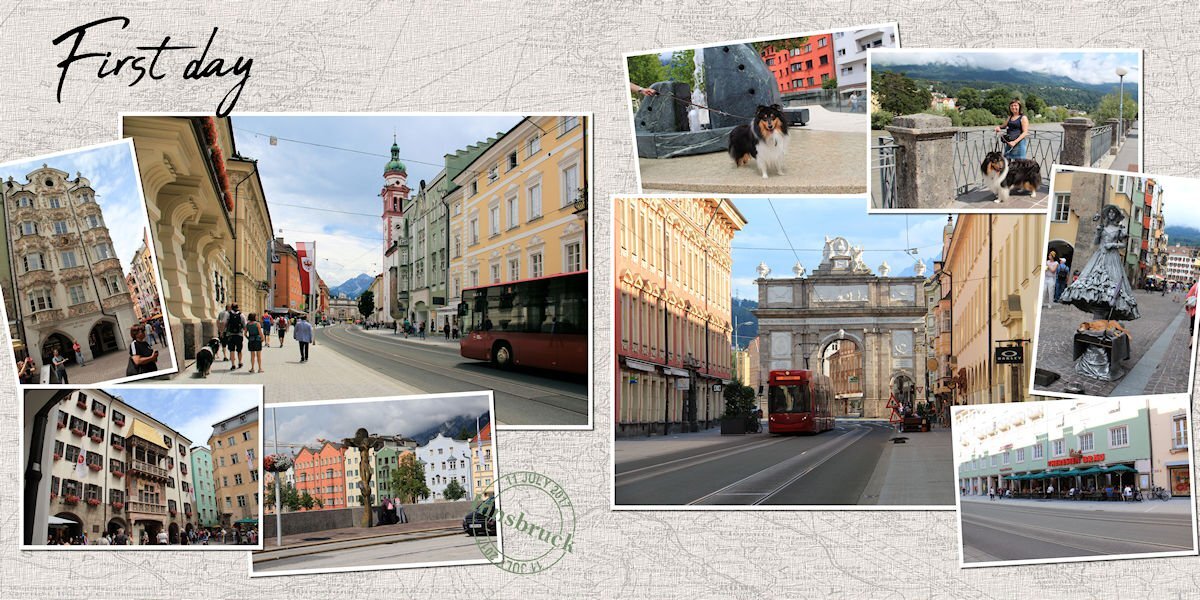
.It's Sunday and I found some time for this incredible workshop. Many thanks again, Caroline and everybody else who has posted their fantastic projects here!. This is my day one with the region shape done in what I intended to be a distressed or chalky stamped look. Not sure if it is recognizable as such but I am not too unhappy with the way the shape turned out. Supplies I used are all freebies by Robyn Denton of Dancing Tiger Designs (dancingtigerdesignsaustralia.blogspot.com) Here is my day 2 indicating the way to get to the destination. Again supplies are all by Robyn Denton, except the background by myself. My version of the day 3 prompt 'postage stamp'. Leather tag was the prompt on day 4. I'm sharing them here. [img]https://i.imgur.com/GzsnyJu.jpg[/img] I made a tutorial on how to make a chalked look (like on the day one prompt layout) in Corel PSP. You can dl my tut here. I must have mixed up something with the postage stamps.... Anyways here are the missing days, and some snail mail elements and a frame template that I am sharing here. Some more leather tags, prompt day four. These tags are a bit traveled , which happens going from France to Belgium.... Click image to download.
2 points
-
I had a lot of trouble with this tutorial. It's taken me a couple of days to get these done. In fact, I tried so many different things that I'm not sure I know what I did. By the time I got a result I liked, I had no idea how I got there. For someone who usually keeps great notes, this is very frustrating. lol2 points
-
I have another OPEN BOOK for you. This is page 3 and 4 of the Toronto trip my daughter and granddaughter took last week. This time they visited the zoo (of course, because Jackie is also a zookeeper. Can we call it a "busman's holiday?") I already posted page 3 earlier but now I changed it.
2 points
-
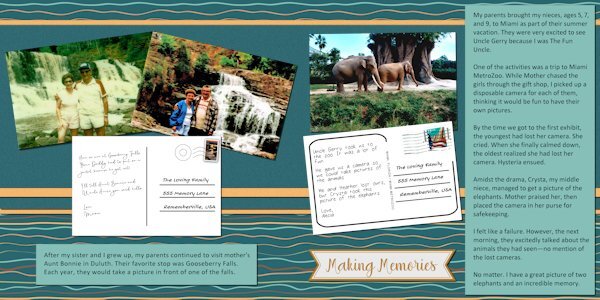
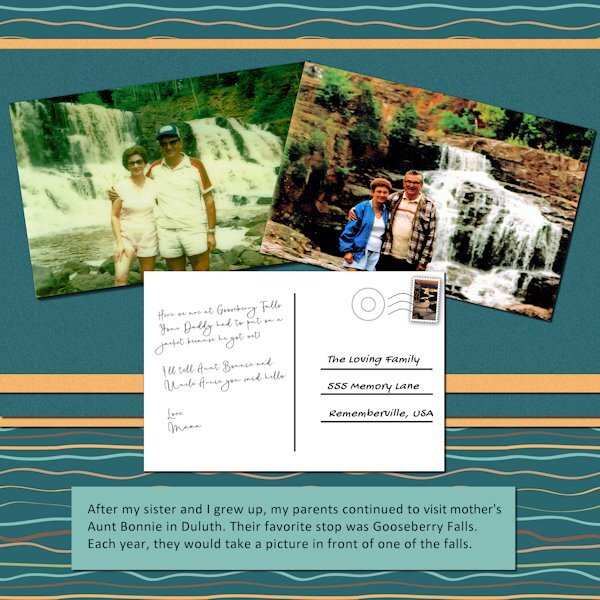
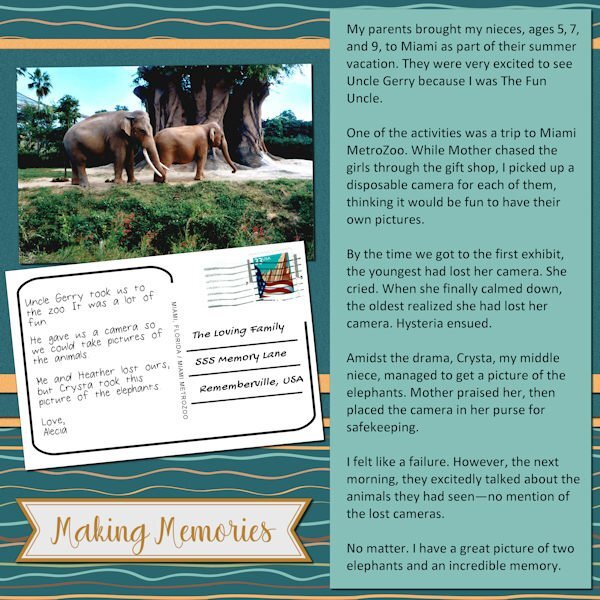
Day 6. No more Carmen Sandiego adventures - for now. Stumbling on these photos triggered some fun memories. My dad would plot elaborate routes from Alabama to Minnesota, but Gooseberry Falls was always on the list. The elephant picture reminded me of the many times when I felt inadequate in my quest to be The Favorite Uncle but fell short. They always had a good time, which was what it was all about.
1 point
-
Love the colors in this and that background paper is gorgeous!1 point
-
I know you call the hat "Mr." but I think of it as Mrs. since all I've ever known of the RH group is female. Do you have male members? I really have to find out if there's a group near me; this looks like so much fun! ?1 point
-
These are really beautiful Ann, they all go together really well. That open book script is fabulous for this workshop.1 point
-
Sports elements. Animal hoof prints/paw prints.1 point
-
Funny how life can get in the way of our plans, eh? Happens to me a lot.1 point
-
It's almost a rite of passage for kids to do the mason jar thing in areas where these little critters show their lights.1 point
-
I was reading about them, captured in jars. They will last longer, apparently, with something damp placed in the jar. But they must be released or their little short lives will be much shorter!1 point
-
When I first moved here and walked the dogs near dark, the fireflies would be all around. Now, only a few in the yard. But I'm happy to see them nevertheless.1 point
-
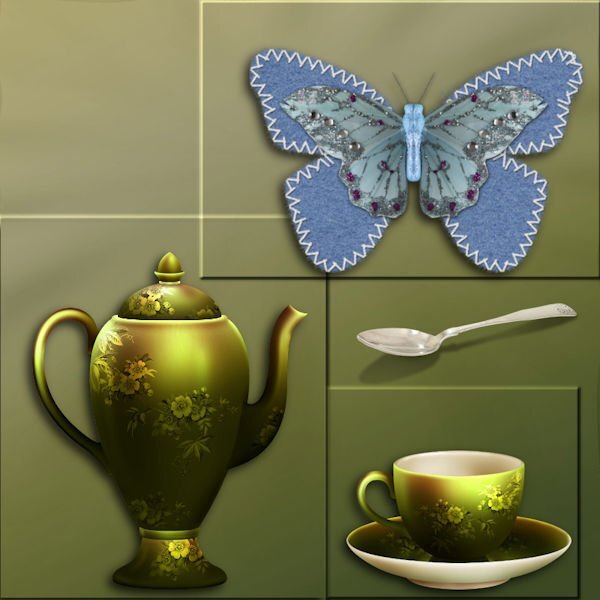
Yes, being PSD files, they are not always the best to use with PSP, but sometimes, you can just rearrange the layers (move it out of the group) and create your own PSP mask from any shape. Notice that in this mockup, the shape is clear below the mask layer, so you can use that particular layer to either move it out, or make a selection of it, and in the mask layer, invert the selection and fill the outside in black. That would then become a PSP mask.1 point
-
These are beautiful. dont you find these look amazingly like real stamps. It's a great tutorial.1 point
-
I'm getting on track now and this one counts for day 6 because I made a postcard with a little story. I used the Extra template of day 4 as a starting point but I changed it (as always) for my photos. The Grand Canyon is thrilling and the photos don't do it justice. My photos were a bit hazy because when we started out it wasn't clear, but I'm becoming a fan of the new Haze removal tool! However it should be used with care not to overdo the effect. Later in the day it became more sunny and my photos are ok from there on. I'm going to make a day 2 as well. I included a separate image of the postcard for better viewing here. On the big layout I smudged the text a bit, my cards always became smudged when they arrived. One more advantage of using email of facebook, whatsapp etc.
1 point
-
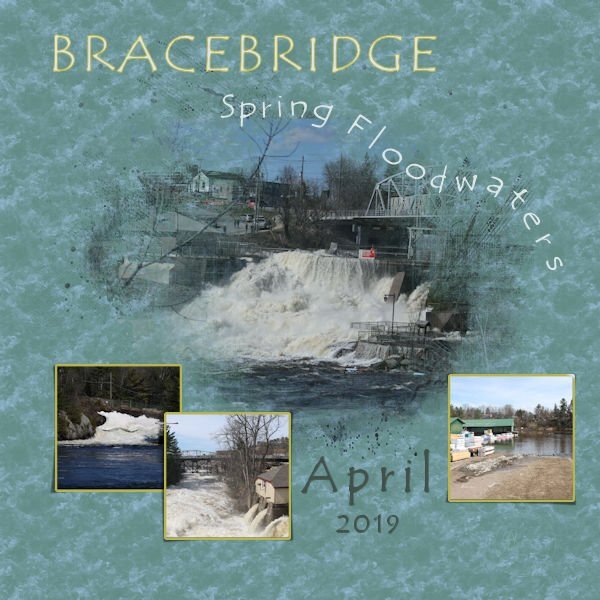
I started the Masks Workshop and decided to combine the August Palette Challenge. The pictures are my own of the heavy flow of spring melt which flooded some properties like the lumber yard in town. The Template is from the class courtesy of Alinamaria. I used the Wet Fall Leaves texture scaled to 250 to give the background a tumbling water look, and used Tempus Sans font with some kerning near the end on a vector path to give the look of the letters going over the falls. ? Both are included in PSP. Thank you Carole for all the lessons taught that I managed to learn to create this page. @Sue Thomas your Humming bird layout is beautiful and your back stories are always so interesting.
1 point
-
Travel Tale -4: I used a different template so I could place the 2 pictures. better. The template is part of the Templates Carole offered during a workshop. (Template P) The pictures show the Residence Palace in my hometown Würzburg. The photos are mine, I added the date stamp and Würzburg's Coat of Arms. The Font is Franklin Gothic Heavy, which is one of the default fonts on my computer. I will work on the fine leather tag tomorrow. Here is a short description about the Residence Palace which is right downtown Würzburg. I used to sped a lot of time in the beautiful gardens to do my school home-work and feed the birds and squirrels. One of Würzburg's famous landmarks is the Würzburg Residence Palace with its Court Gardens and is considered by UNESCO as “one of the largest and most beautiful” palaces in Germany. It was built in the 18th century by the most skilled architects and artisans from all over the world, led by Balthasar Neumann. .
1 point
-
What difficult colors to mix. But I found one and another that comes rather close to the required ones. I made just some outer bevel shadows from a selection around the attributes to suggest a template.
1 point
-
I felt like I was putting the cart in front of the horse doing this challenge.
1 point
-
HaHaHa! I do too! I have used quick pages more for ideas. I have saved many of my favorites to go back to when I feel stuck on a page. I LOVE watercolor. I have even dared making my own recently. I started that back when Covid shut the world down but I have been slacking the last few months. I wouldn't say that I am good at it, maybe creative is a better word? HaHaHa1 point
-
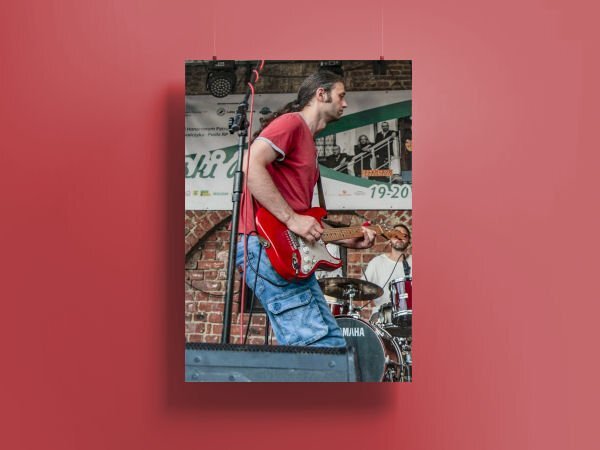
i will not probably participate in this challenge but I have been tried to play with a very, very simple mockup. I used a free template and a shot of my friend. He plays guitar. I've played a bit with the photo.
1 point


Resized.thumb.jpg.d25811db03a63358cedab1e79f527635.jpg)