Leaderboard
Popular Content
Showing content with the highest reputation on 07/19/2023 in all areas
-
14 points
-
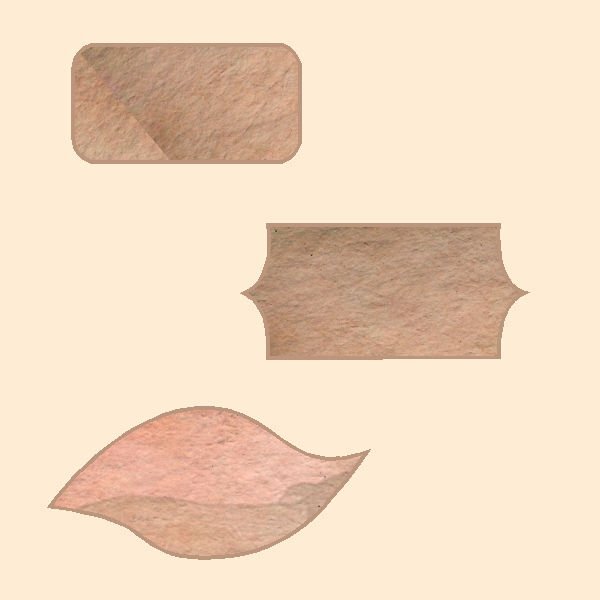
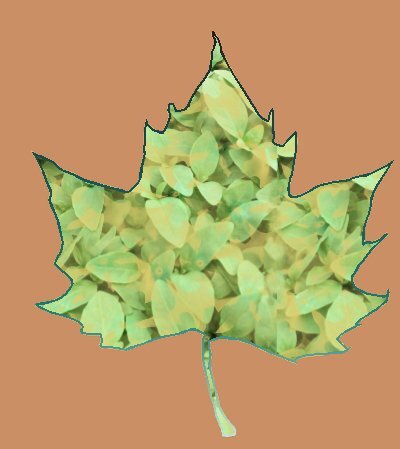
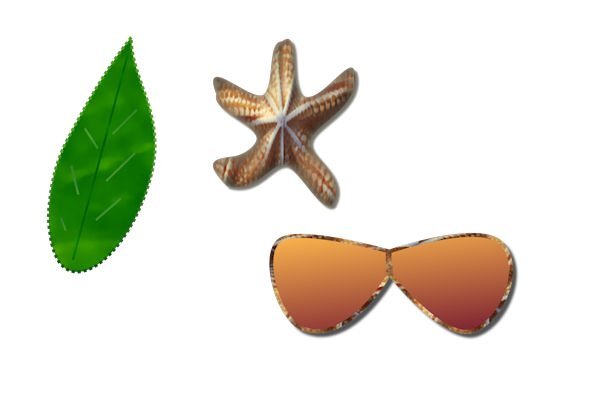
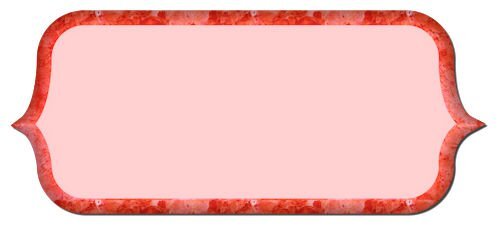
It's hard to follow the lesson when you have to keep stopping to assist a needy husband.? I finally finished. I'm not happy with the leaf. I tried to make a texture from a picture of one of my leaves. I hope you will cover how to make the lines on a leaf and flower. As you can see, my lines were too straight. The starfish texture was generated in Adobe Express. The sunglasses were originally black, but when I created them from my preset shapes, I had the starfish texture and color in my material palette and decided that I liked it. The stroke in the label was made in Procreate.14 points
-
14 points
-
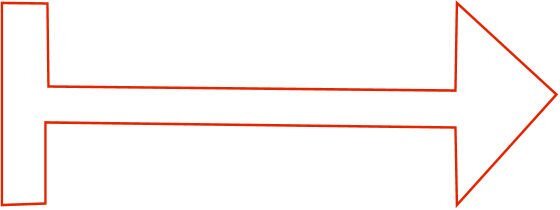
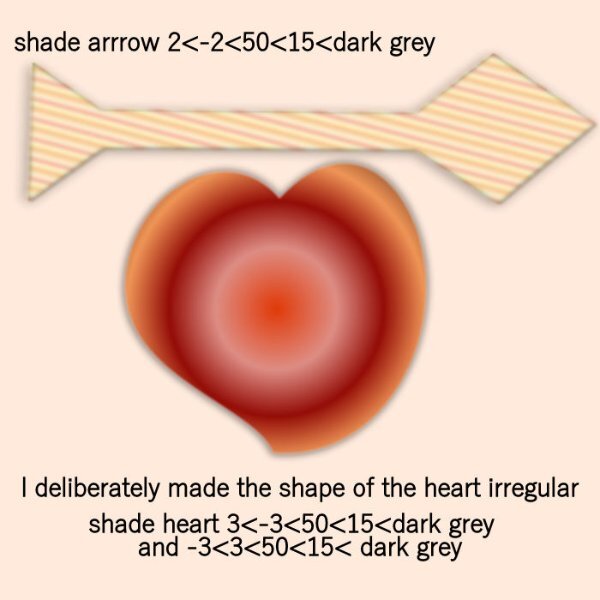
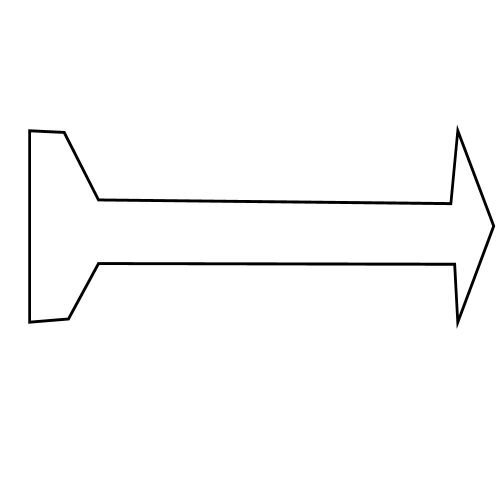
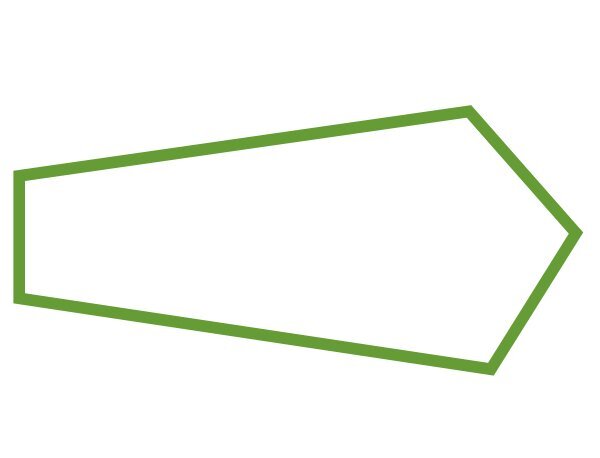
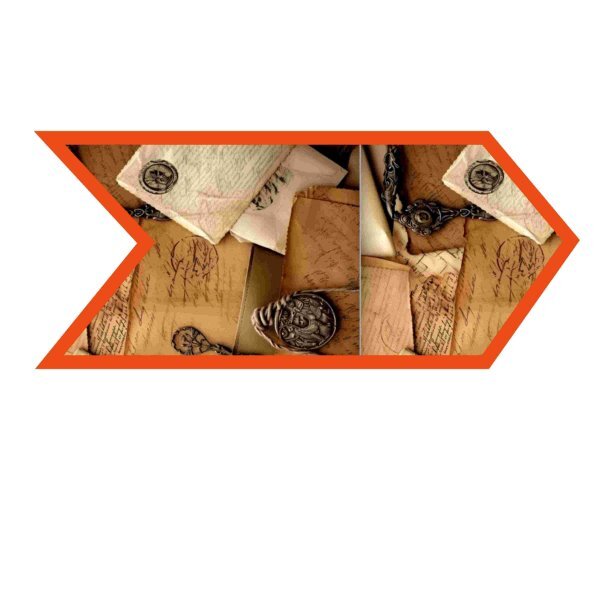
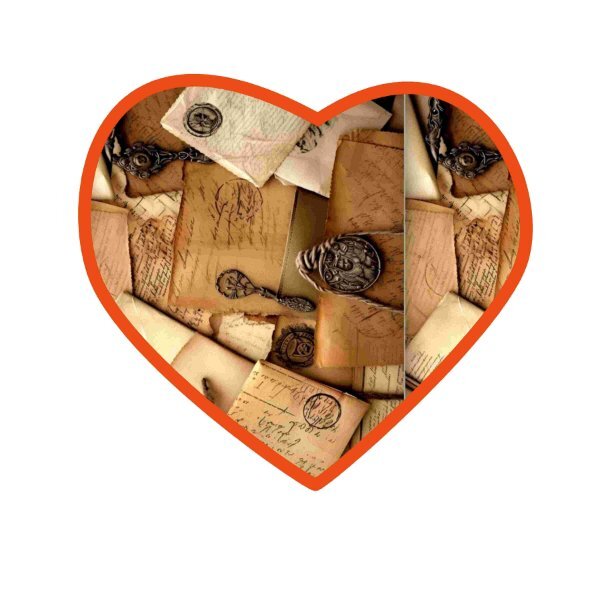
I am totally new, 10 days into the 30-day trial. I ran into some issues accessing the classes, but I have now had success, and what a great teacher Cassel is! I finished Monday's lesson and created my arrow and heart. Tomorrow I will try to catch up. I know my shapes are pretty basic, but I am happy that I am learning how to use the program.14 points
-
13 points
-
12 points
-
12 points
-
12 points
-
11 points
-
11 points
-
11 points
-
11 points
-
11 points
-
11 points
-
11 points
-
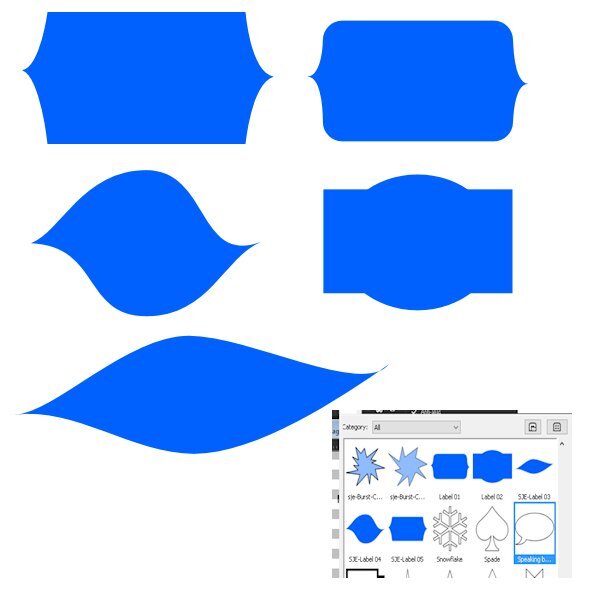
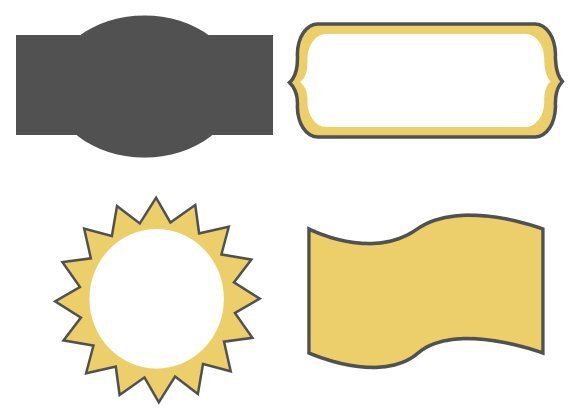
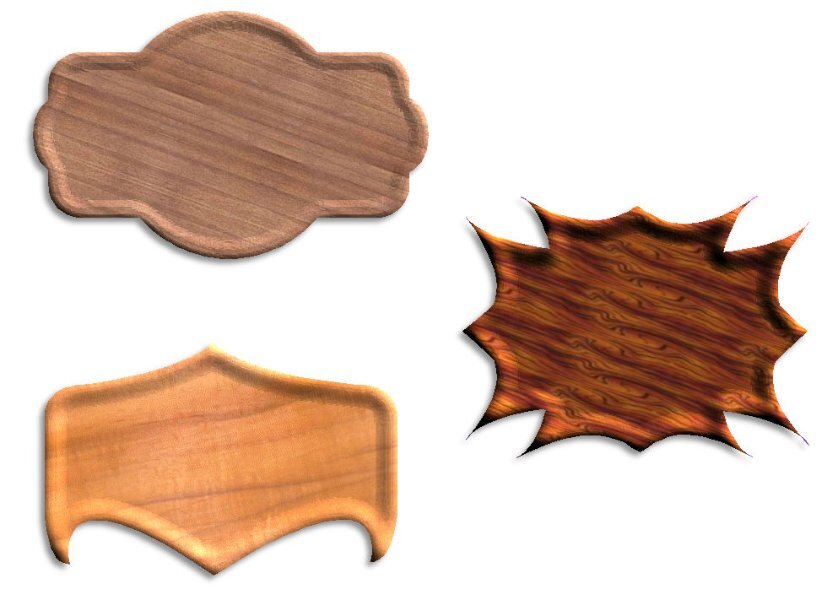
I'm so exhausted after doing these. I had to keep deleting, redoing, and re-saving my image files and shape files. I think I understand the process now; we'll see when I do Day 3. LOL I have a couple of labels for you, a label that ended up being a hat (?), and a pair of lips. I'm going to get some sleep now.10 points
-
10 points
-
10 points
-
10 points
-
9 points
-
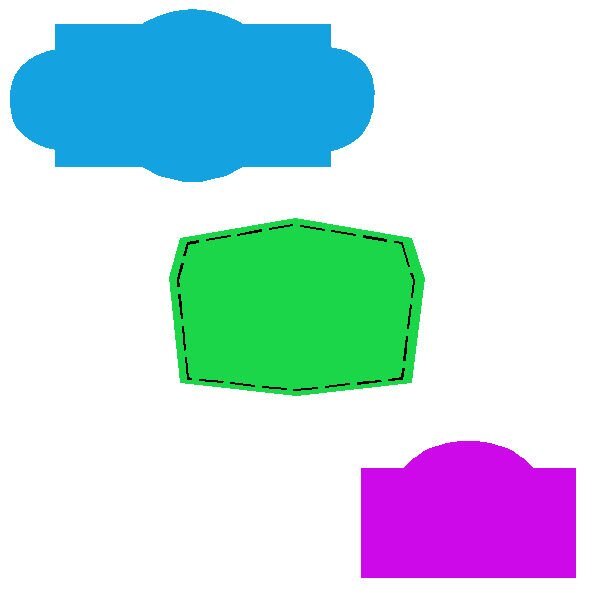
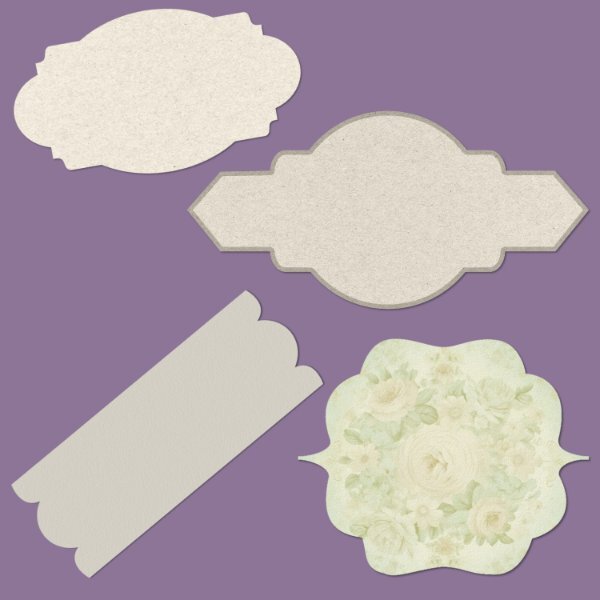
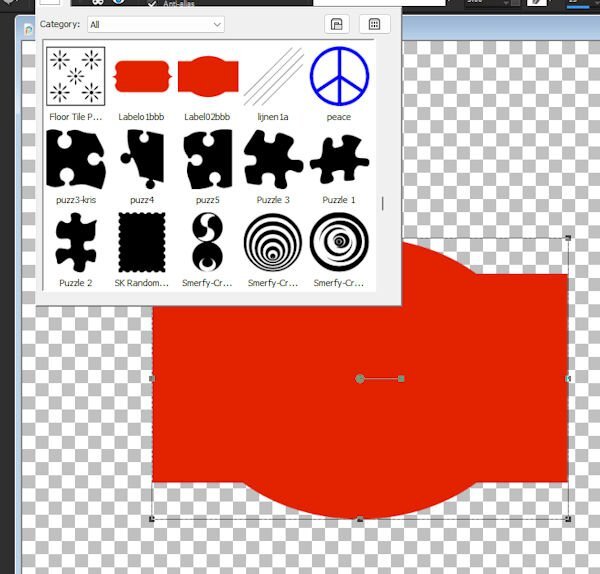
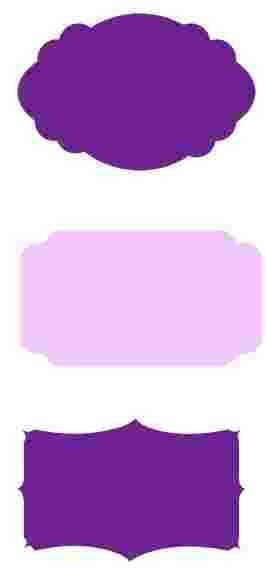
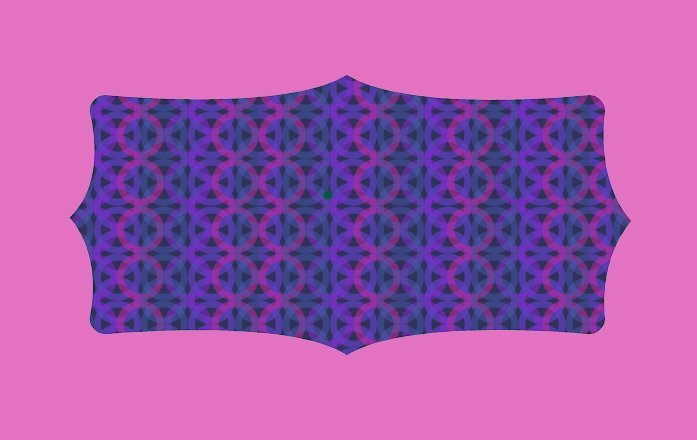
I made my shapes in purple so they stand out in the shapes folder when I export them and then made them a bit more fancy. Carole I have a question: In this lesson you told us how to export those shapes and I did as in the lesson, so I have label01and label02 who I have given the name ck-label01 and ck-label02 in the Vector Property box. The labels 03,04 and 05 where exported together with the name ck-labels for the Vector Property box. (ck is my prefix) Is there a possibility to bring the label 01 and 02 in the same Vector Property called labels. Or is it impossible to change that once they are exported?9 points
-
9 points
-
Day 2 of the vector workshop. I used all of the techniques demonstrated in the 2 videos, and a few more, which I'm sure will be demonstrated throughout the week. For those that may be interested, I will often see a label or a tag that I like, invariably, they are either PNG or JPeg. I will take a screenshot, creating my own vector version.9 points
-
8 points
-
Hello everyone! Already 10 pages on the third day on vector! wowww I couldn't make it before, I was out and about and couldn't get my work done on the right day because my Wi-Fi connection at the cottage is so bad. I'm in town with a good connection and will stay there until the end. Having already had labyrinthitis, I get dizzy when I'm at the computer. I'll try to read everything that was said before my message when I'm feeling better. In the meantime, here's my Day 1 - I hope to catch up soon. Thanks Carole for this workshop, I really need it as you can see from my work today. My lines aren't straight :-(8 points
-
Excellent Lesson 2 Carole, thoroughly enjoyed it ? There is some wonderful work on these pages. I have done the very basics in doing my shapes, but I will be practising more and more, especially with node placement and the clicking on them to get the arms of the node types. I have read through many of the posts, and thank you to the participants who suggested the grids etc, made it a lot easier to deal with the symmetry of the shapes. And when using a few shapes, centring each one greatly helps. I love that you can export many images into one file and then see them come up individually in the preset shape menu. Anyways, here are my first attempts at the shapes, but there will be a lot of fun to be had with getting a bit creative as I practice more.8 points
-
7 points
-
7 points
-
7 points
-
7 points
-
7 points
-
7 points
-
6 points
-
6 points
-
wow this workshop is great, Here is my lesson 2, I made some different shapes and exportet6 points
-
6 points
-
6 points
-
I thought the PhotoBlocks script would go well with the theme; it's the top layer. The original artwork (before all the blocks) is by Michael Lang. I added some Gaussian Blur to the original layer, lowered the opacity a lot, and put a light blue layer under it. The font is Microsoft Tai Le.6 points
-
6 points
-
6 points
-
6 points
-
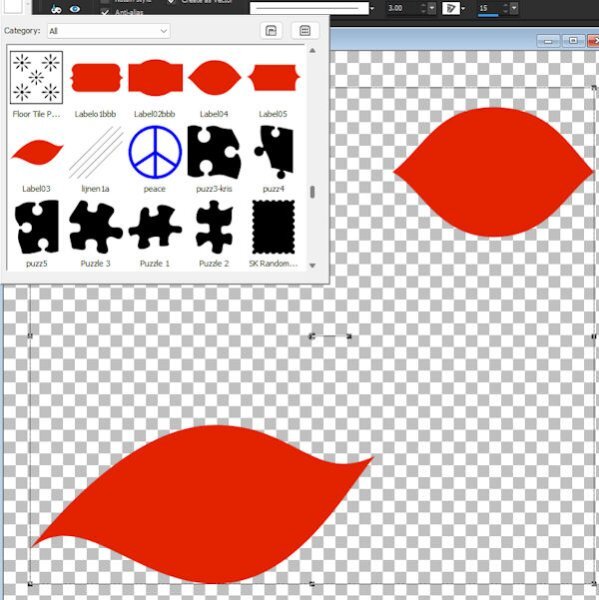
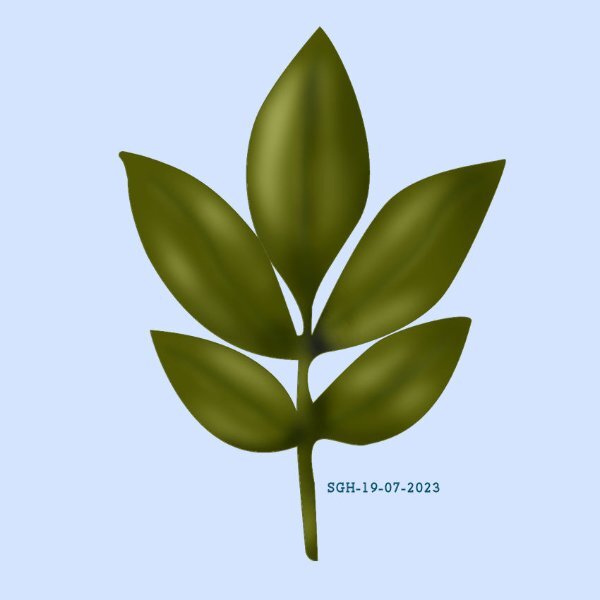
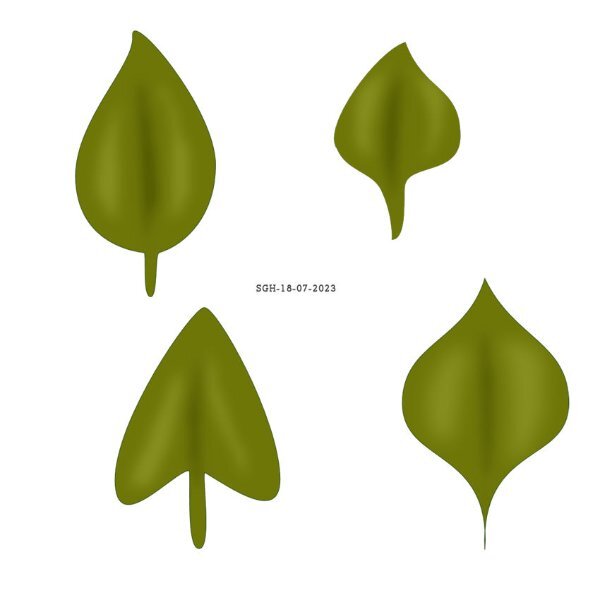
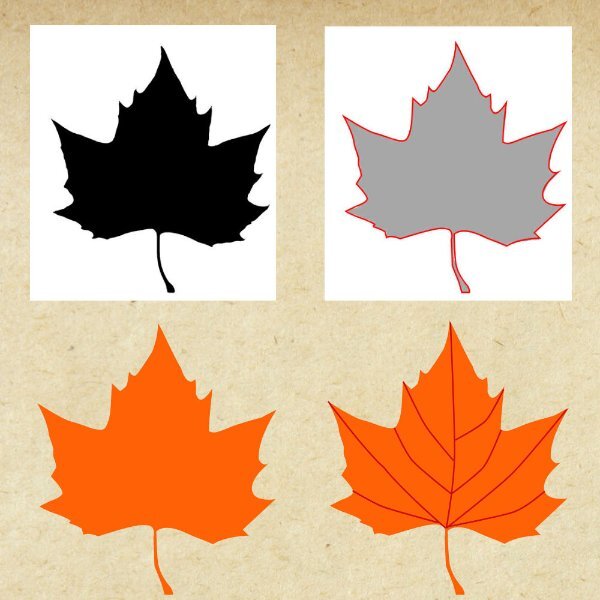
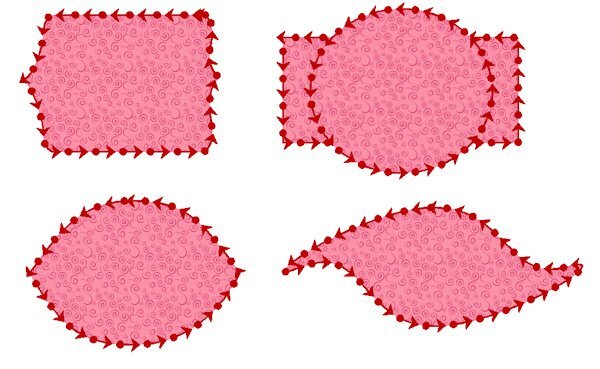
Here are the leaves I made and exported as shapes. I'm more familiar with those nodes now and have made some notes from Carole's comments. It is getting easier and I didn't have to start all over this day, but I have to take it more slowly because it is very strenuous on my hands. So nothing fancy, only the shapes I did. I want to be able to follow along the coming days, so the other shapes will have to wait.5 points
-
5 points
-
5 points
-
Here is Lesson 3. As I started late, only tomorrow I will do the extra practice. The first time I did contour was long ago, probably a Masterclass, not sure... So this was a good exercise... Just need time and patience with all the nodes to edit, but the result is rewarding...Also, we can do so many things with technique... I made one preset and added some lines to it for practice.5 points
-
Keep with it @SHARON HUGHES even though you're not working with 2023. I use PSP 2022, and as for time wise, I purposely don't spend too much time in one go doing the projects - probably no more than an hour each time. I find it overwhelming also with watching, re-watching, pausing, clicking, going back to the project etc. I tend to keep to the basics with the workshops because of this, and when time allows I have a play around adding effects and backgrounds etc. I also write down a lot of notes and what things mean etc so I can go back in case I 'forget' ? I'm enjoying the workshop and it is worthwhile. I'm surprised how much I've learnt in just a couple of days. Good luck with your craft show ?5 points
-
5 points
-
5 points
-
5 points
-
5 points














Resized.thumb.jpg.d25811db03a63358cedab1e79f527635.jpg)
