Leaderboard


Popular Content
Showing content with the highest reputation on 02/12/2024 in all areas
-
I found the cutest photo of a kitten online at https://picjumbo.com/latest-free-stock-photos/ I made a card front using the kitten. Thank you for the lesson Carole.
 7 points
 -
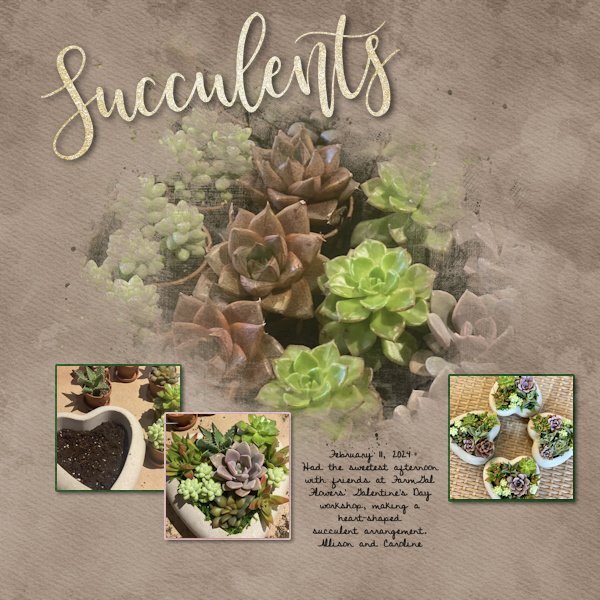
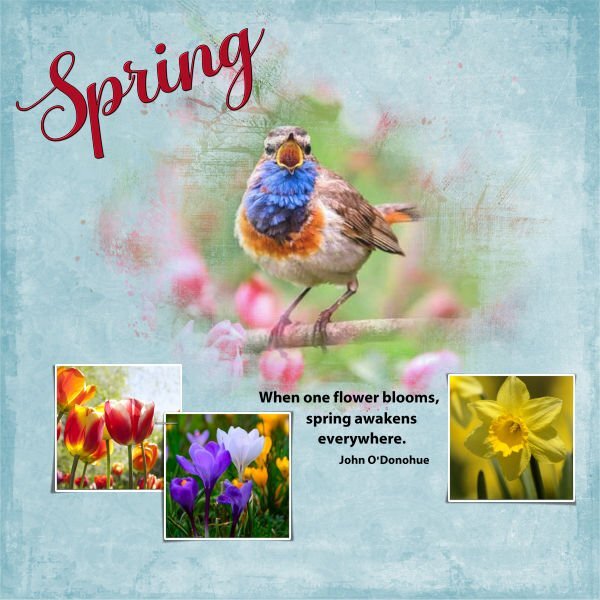
My cousin's daughter posted photos just yesterday that were perfect for the day 1 templates! I used a kit called "Plant Life" by Studio Flergs from Sweet Shoppe Designs. A kit I've had for awhile because I loved it but had no photos... until yesterday! I copied Allison's description from Facebook for the journaling.
7 points
-
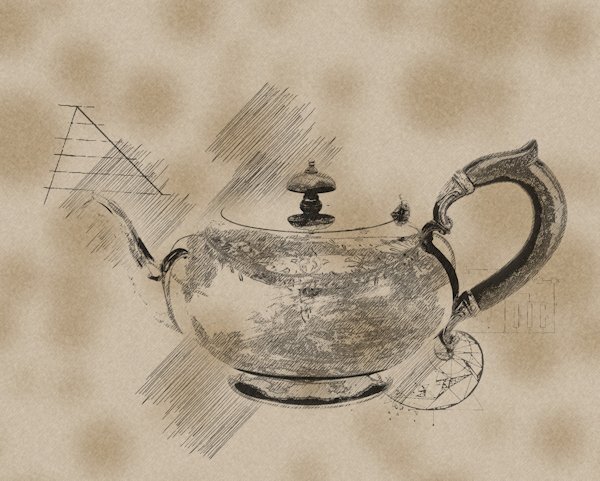
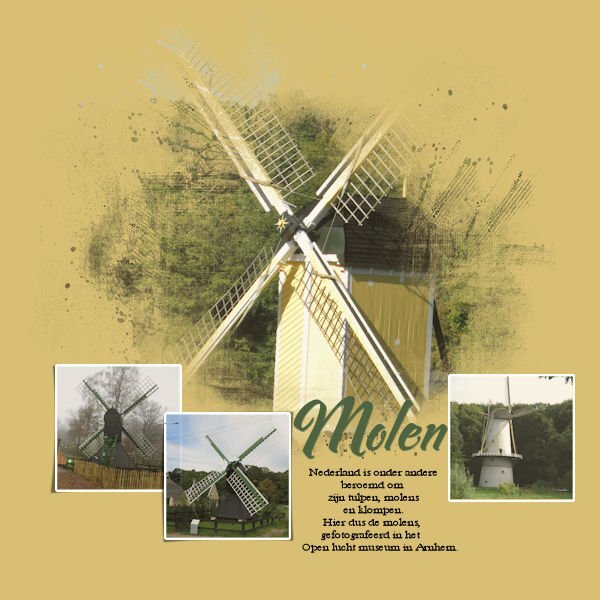
My first lay out for the mask workshop is about mills (duh) The text says: The Netherlands are famous for tulips, mills and cloggs. These photo's are taken at the "Openlucht museum" in Arnhem (Netherlands) I forgot to write down what font this is for the title, the the text is (I think) Baskerville old face.
7 points
-
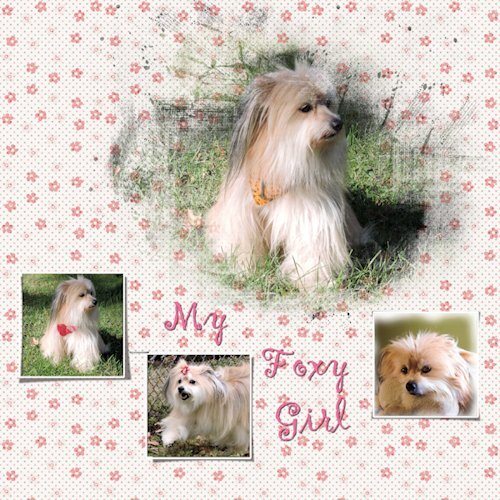
My day one Foxy Girl
6 points
-
Hello @Cassel and many thanks for this WS! 💓 Hello everyone!! Lovely template.6 points
-
The mask bits are getting easier. However, choosing papers & fonts to go with the layout is more difficult for me. I somehow always end up in scrap kits by Brown Owl & Cathyk for papers and then adjust the colours. Script fonts are a **** at times as they never turn out quite like you want even when using Fontrunner for previews. I kept getting error messages when trying to attach my image. It was 600 pixels but exceeded the max kb size by quite a bit. It took me several minutes to realize that I had saved it as a png rather than a jpg... rookie mistake.
6 points
-
Hi, I've been working on the Masterclass video cutout today because I love cutout design so much. I'm still having a bit of a problem with the buttons. And I actually got the beginning right first time. So that it doesn't look so boring, I framed it a bit.6 points
-
This will be the 3rd time I'm doing this workshop and it will be a rehearsal of the masking techniques for me. Especially because I normally tend to use the Raster to Mask script and now I will do them manually. I have a lot of flowers from my last year's trip to the States that I haven't used in other projects like the Calendar or Travel Workshop. Last year I used the templates for the Diamond members, so this time I will probably use the given templates. For the background: 2 papers from Escale Amoureuze with a blend mode and an inked edge overlay by Rachel M Hailey. The font is Montana Rough.
5 points
-
Day 1. The script is Shocking Script from Creative Fabrica. The paper is from Pet Papers by Marisa Lerin on Digital Scrapbook.
5 points
-
Took Judy shopping for new pickleball shoes. While she has played PB for years, this is her first pair of pickleball shoes. Our DSW has Sketchers PB shoes in stock which means we can try them on before buying. Judy is very difficult to fit, so being able to try shoes on is a real treat!4 points
-
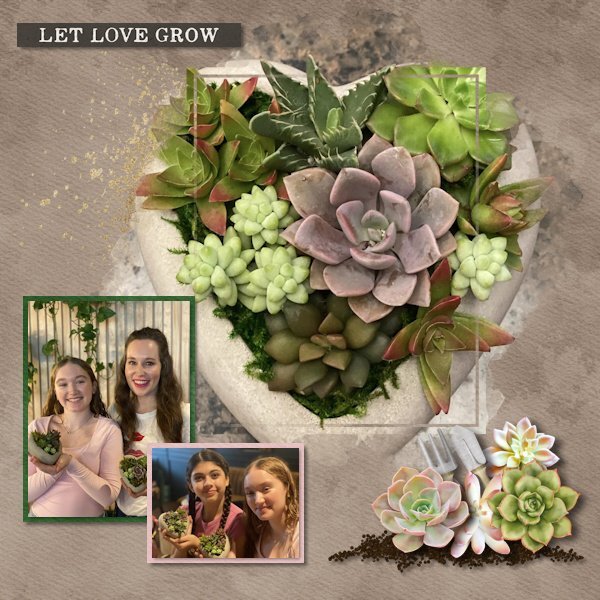
Here's my day 1, I used a paper from the kit you linked too and colorised it and the font is Poemiore for the title and good old Arial for the journalling. I did the making the picture subject clearer a little differently as it was not the middle of the picture I wanted to make clear but rather their faces which were closer to the edge so I used a large paintbrush and set the hardness to about 30 and the size to approx 1500 and painted in white directly onto the mask. I tend to like the appearance of an outer frame so promoted a selection of about 50pixels round the border to a new layer and used an inner bevel on it. Promoted to a new layer in case I want to change the edge at any time. Great lesson I often forget how to make those templates into masks.
2 points
-
I'm looking forward to this class to see what new things I can learn. Thank you Cass for doing this subject for us.2 points
-
The top one is a redo of the original from 2017. In case you guys don't remember, the game has been reusing themes for over a year now. Since FB pic size has changed, I've been trying to adjust to that format while using some skills I've learned in the past seven years (within the confines of the time I have every day). I'm sure you can all recognize Cassel's corner punches; I think I have them all. The font for this year's is Abongia from Creative Fabrica and the older one is Reybro from Fontbundles. The magnolias and the girl are from so long ago, I don't remember where I got them.2 points
-
Found it! No idea why the preview was lost: https://scrapbookcampus.com/element-creation-index/lacy-ribbon/ I'll go add the preview in the index.1 point
-
I think you might have skipped the INVERT command. Right now, it is trying to add the bevel to the inside of the holes. If you invert the selection, it will then apply outside the holes, which is on the button itself.1 point
-
Masks have always eluded me, too, but would be so useful. Based on the comments above, I will have my note-taking app at the ready. 🙂 Can’t wait to learn!1 point
-
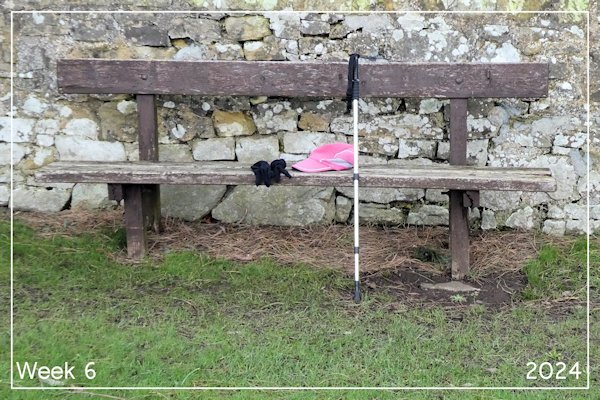
Week 6 A quiet week. The photo is of four things I need when out walking – my gloves, my baseball cap (great for the sun and the rain), my walking pole and a bench. I know where all the benches are on my local walks!
1 point
-
Amazing what a difference when you mirrored the portrait. Love it!1 point
-
Like you Michele, I to have evolved over the many years under the tuition and guidance of Cassel. When I look back at some of my very early work, I realize how basic, simple and amateurish my work was. Both are lovely, but the latest one is even more lovely. I love the blured frame, which blends the image into the background paper prefectly. As for the corner punches, they resonate pure elegance. As I am a huge fan of all the Punches.1 point
-
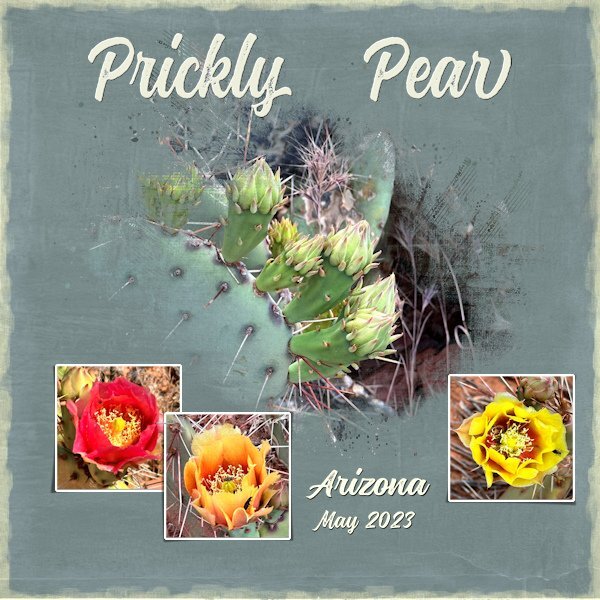
I made this using some pictures I took last month.
1 point
-
So excited to learn more. I have tons of Masks, but it's been a while, so I need a good refresher1 point
-
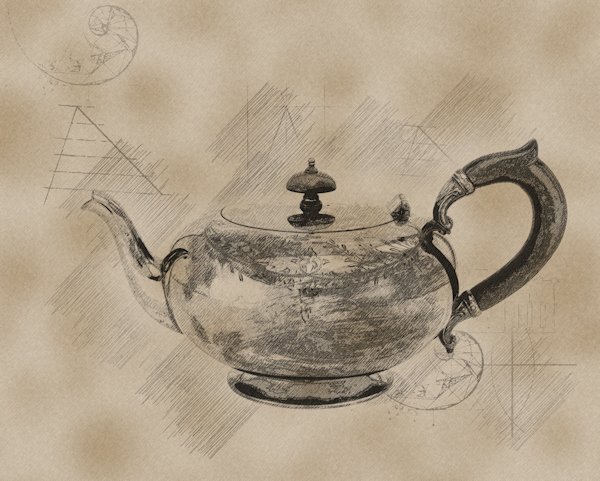
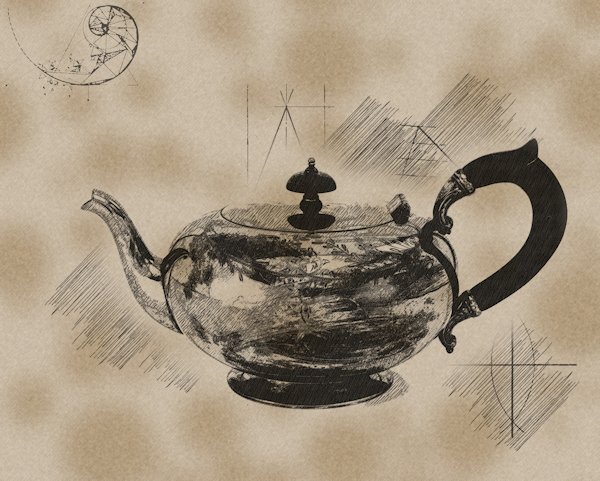
So I put the two together in layers with the light one (script2 using photo2) on top and used a blend mode of screen and opacity at 73. then I put the darker script1(photo1) on top and use dissolve and 40 opacity.
1 point
-
The darker photo 1 resulted in a darker end product and the light photo resulted in a lighter end product. the dark was too dark and light was too light is some areas where I lost detail.
1 point
-
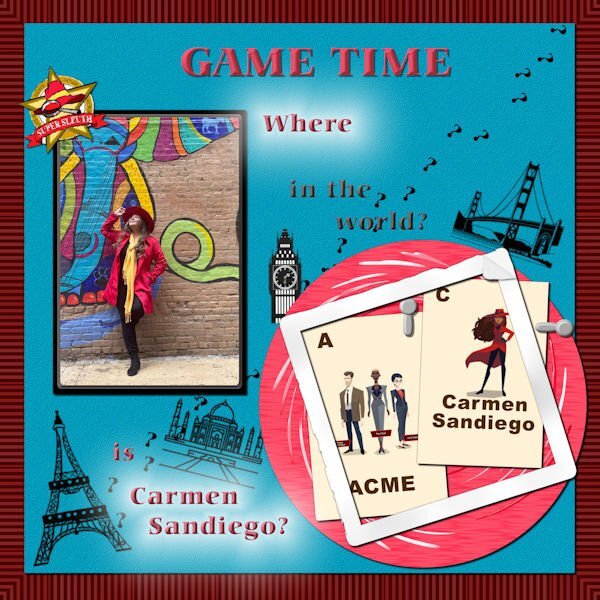
Lab 12 Mod 2. Requirements: Flash cards; I made several and decided that this would be about the Carmen Sandiego game I used to play on my Windows 98 computer many moons ago. The gal in the photo is her older sister who likes to play games and she is Carmen Sandiego in that mystery game played by grownups in Memphis, TN. My granddaughter and I used to try to discover where Carmen was by following the clues. Was it Paris?, India?, London? Or maybe in the USA in San Francisco? Another requirement was photo clips – I did make 4 so that you can use them in any orientation for holding down photos or whatever – here are 2. And the last requirement was a distressed frame – I did follow directions for this one and it covers the 2 game cards. The red circle I made some time ago when I was just playing around. The place stamps are from Nice Png. I made the question mark and employed the Cass-CustomDirectionalTube script. In one of the recent tutorials, the “layer Styles” tool was discussed. I employed it on the text and how I like it. I believe I like that bevel a whole lot! And of course the Emboss is really great too – And I used the Outer Glow on the bottom text and the “Where”! What fun this was! The background paper is a bulls eye paper I made last year or the year before when we were discussing making bullseye papers and I changed the colors on it with one of the tools but I can’t remember what it was now. The font is Carmina Blk BT (Can you guess why I chose that one?) The blue paper is texturized with a texture I got from Pixel Scrapper – Marissa Lerin. Of course I used the Clip-To-It script from Cassel – it is on my top list of tools – for the photograph. I did use the template that was given with the lab module, but it was customized by me!
1 point


Resized.thumb.jpg.d25811db03a63358cedab1e79f527635.jpg)