Leaderboard


Popular Content
Showing content with the highest reputation on 01/19/2024 in all areas
-
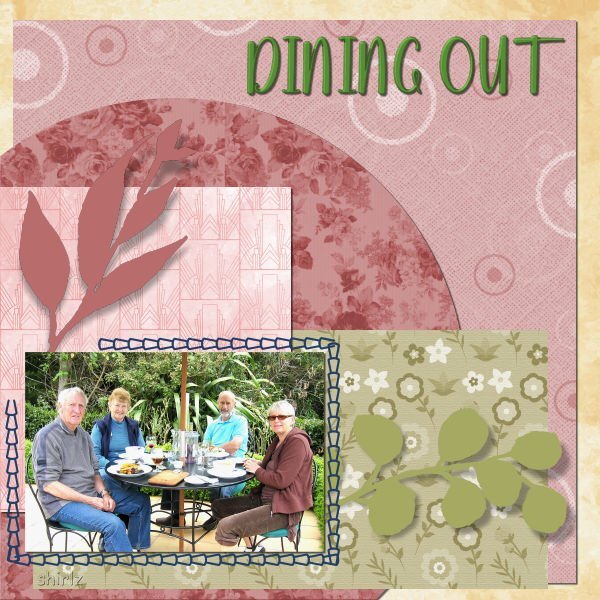
Hi, here is my Day 3. " Dining out" We were travelling around in our holiday bus, and stopped off to visit some relatives. Looking at it, it looks like I have missed a drop shadow.
 15 points
 -
15 points
-
I'm on a roll. Here is Day 2 Papers: Riley B Graphics for the dark brown and light beige inside the frame Scallop: Creative Fabrica (I think) The ring: a gradient with lots (like 253) repeats then inner bevel I added frames (with inner bevel) around the photos to give them separation Quote/paper under it: Frank Lloyd Wright and paper chosen from photo and textured Font: p22 FLLW Exhibition (found on the internet - based on a font made by Frank Lloyd Wright)
15 points
-
Day 5
14 points
-
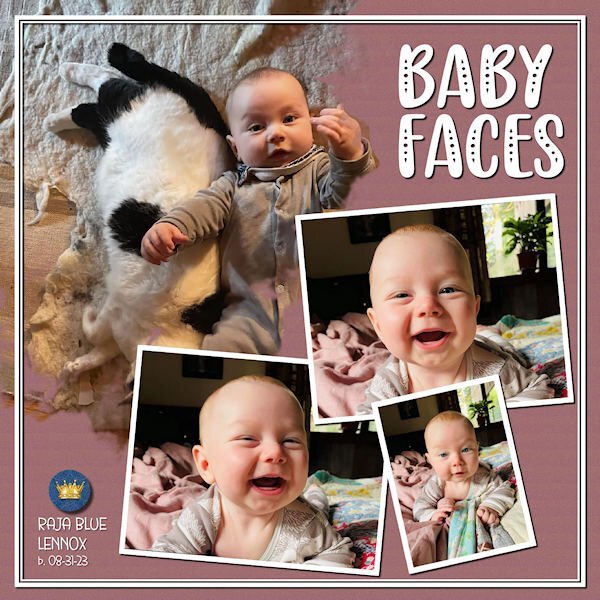
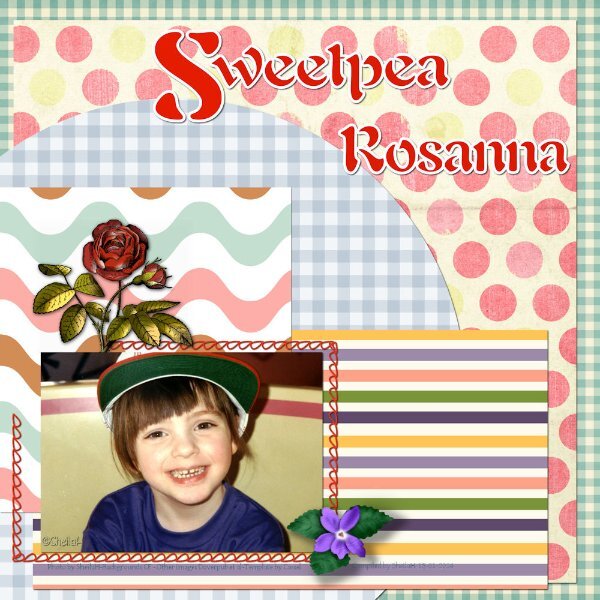
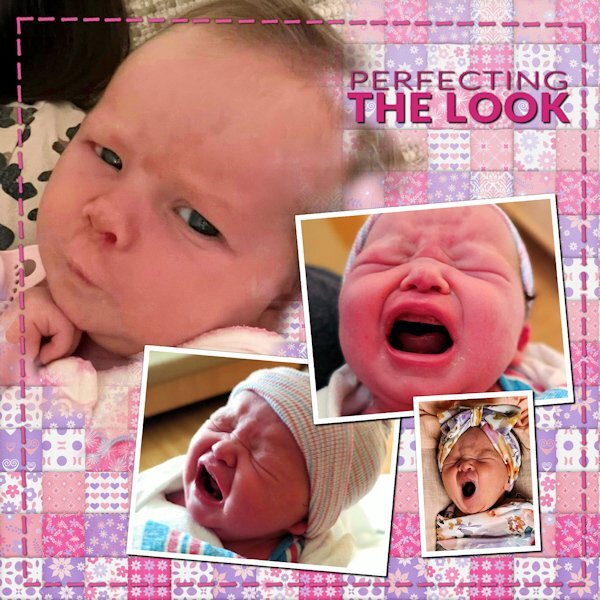
TEMPLATE WORKSHOP-LESSON 4-BABY FACES - FEATURING GREAT GRAND RAJA, MAGIC'S LITTLE BRO. AND PANDA, THE CAT. Actually, he's not so little. He's less than 5 months and already weighs 20 lbs.! Title Font = Baby Olivia Text Font = Over the Rainbow Crown - Marisa Lerin Background-color fill, blinds texture, noise, soft light
14 points
-
Thank you for all the pretty templates, @Cassel. I moved things a tiny bit. Fonts: Algerian and Massiva. I used a glitter style by Violet Irisovna and a shadow style by Sheila Reid. Both at digitalscrapbook dot com.14 points
-
Day 4 completed. I found this a little harder because I did not have the script "Clip to it". No worry I did learn how to do it manually.
13 points
-
Day 3 done. Ready to start Day 4. There is just so much to learn. Thanks Cassel for your amazing instructions.
13 points
-
Template 3 done, not as quick as Carole can do it but done none the less. Made a few changes but kept it mainly to lesson.
13 points
-
Day 4 I got the photos from Creative Fabrica
12 points
-
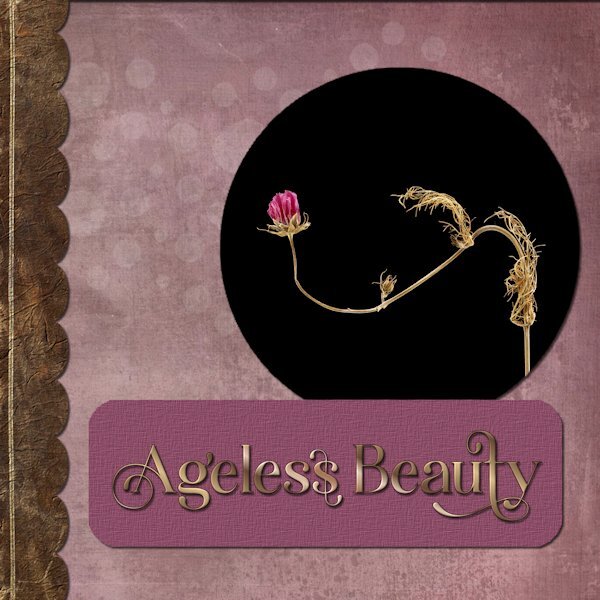
I finally got on the board. here is day 1 I still see the beauty in flowers long after they are done. I originally left them in the garden for the birds to use in the winter but found their lines and shape were interesting and beautiful. Papers: Riley B Graphics (Creative Fabrica) (I highly recommend her, if you love grunge backgrounds and some overlays that include a video! - In PS) I added texture to the dark brown scallop piece. Font: Hostania (Creative Fabrica) Inner bevel was added Magenta paper for Title: chosen from photo then texture added
12 points
-
Woo whoo! Day 3 Done! This was an accidental photo. I had just photographed these and had them lined up on the table and thought they looked like "players" on a theatre stage, so I snapped them, even with their little stands showing (kind of like looking under a skirt *GASP*). Papers (all): Riley B Graphics (hmmmm...a pattern forming here eh?) Fonts: title is Action Is and the written script is Adorable Mother Script - both from Creative Fabrica It took me some time to find the right color to use with the blend mode to get what I wanted, but it was fun to see what the modes do. I love in 2023 that is shows you as you scroll the modes. Onto Day 4 now... I'm really enjoying all the forum posts, such beautiful and creative work from everyone.
11 points
-
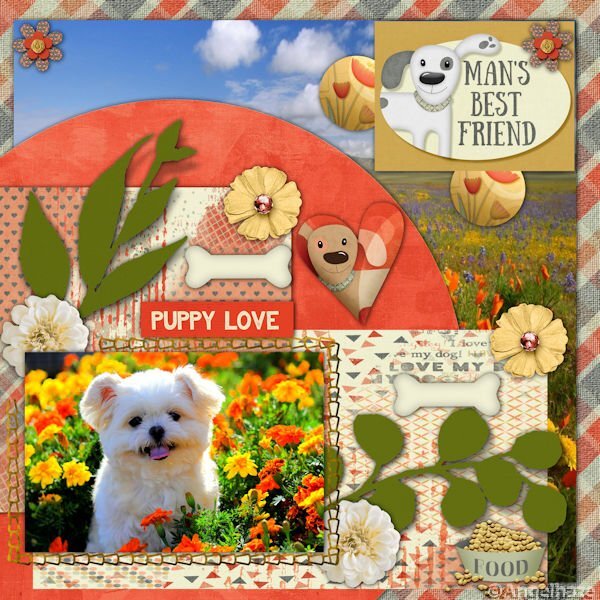
Template 3 Font Candara – which is free at https://www.dafontfree.io/candara-font/ Dog images were free this week at Creative Fabrica Valentines Day Dog Sitting in Tea Cup Graphic by PrintExpert · Creative Fabrica https://www.creativefabrica.com/product/valentines-day-dog-sitting-in-tea-cup-9/ I played around a lot with colors with different things including accidentally creating a new layer with colour and used blend mode. >>> Carole, regarding the spacing between lines of text, the Leading was not zero so I changed it to zero. But the font I was using was also adding space above and below the text. So I chose a new text and this helped a lot too.
10 points
-
Template Lesson 4: cass-Template4.jpg Done with, Green Acres Bundle by Jessica Dunn
9 points
-
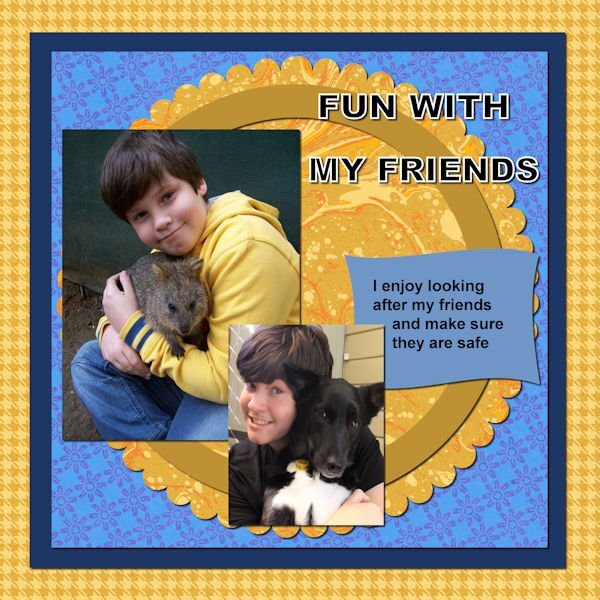
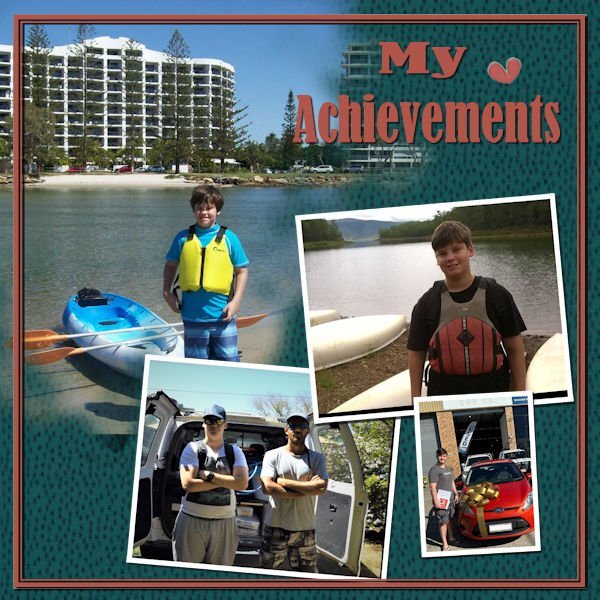
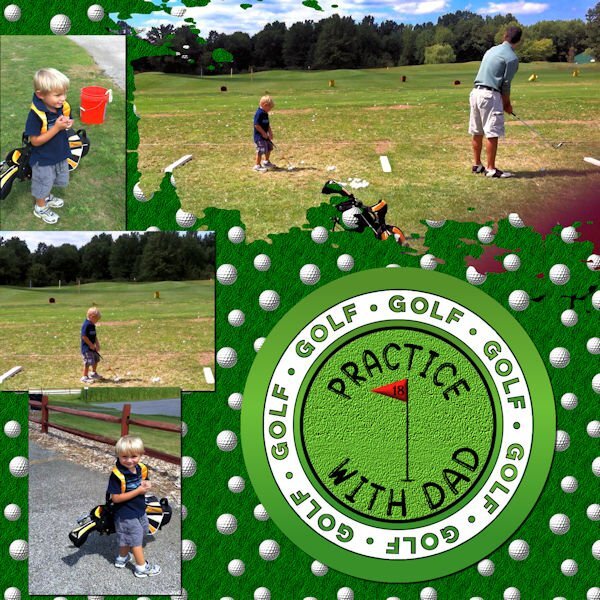
Day 4 - I created the background using balls and bubbles to make the golf ball, then cass seamless pattern script to make the pattern and grass texture from Paintshop. The circle is from a Marisa Lerin sport kit. The flag is from a font called Sports and Hobbies which froze my Paintshop so I had to use Photoshop and save it as a png. The font is Gomuno Bubble which is an oft font. I had to reduce the painted area in order to get the photo of dad and son to fit properly. After I merged the mask, I used the eraser to remove bits of black that remained. The photos are my own and may be a little fuzzy since I captured them from a video.
8 points
-
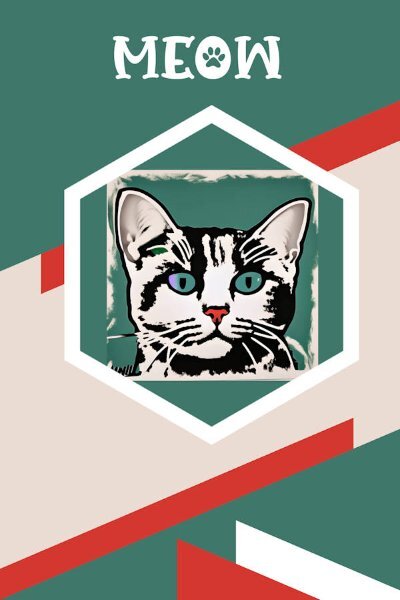
Template 3 Extra – I’m treating it as a poster. The subject is my AI Andy Warhol cat from CF Spark, the font is Catlover from Creative Fabrica, the colors on the papers are from the cat.
8 points
-
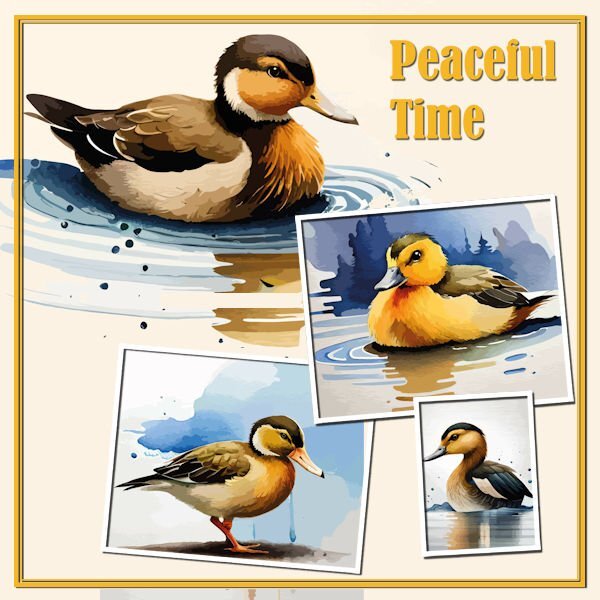
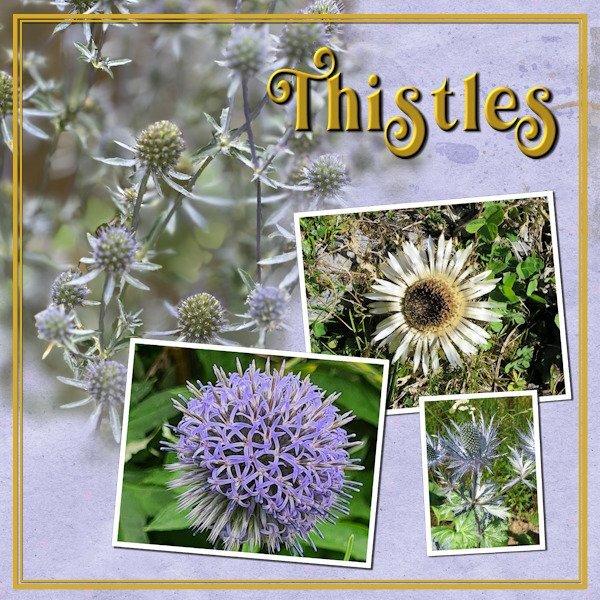
Day 4 I hadn't planed to use flower photos this time but after the photos of my plants in the snow I decided to stay with flowers/plants. So here are a couple of thistles. I like the idea of making the hard edge of the mask softer by using a blur! I must have forgotten that trick..... now I'll hopefully remember. The background paper is again made by using 2 papers from the april 2022 blogtrain with the blendmode lighten and the font is Bilderberg. I haven't put the names of those thistles on the page because I don't know the English names and most if not all belong to the Echinops family.
8 points
-
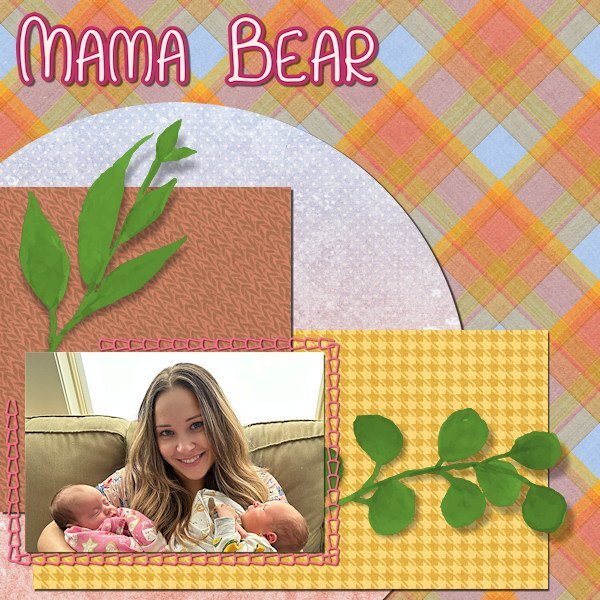
Day 4. Ansley, born in September, is the newest addition to my sister's roster of grandkids. We have one more coming in April and added another one by a recent marriage. The background is from Chantahlia Designs.
8 points
-
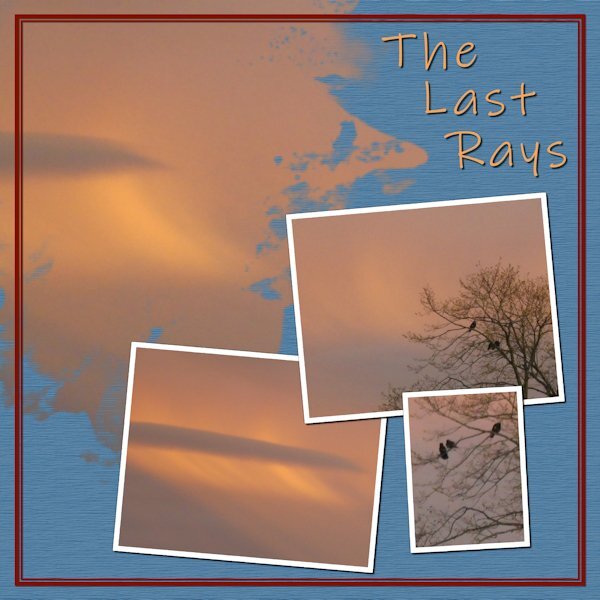
Day Four: Photos I took of a local sunset. The background is a flood fill with added texture. The font is ‘Ink Free’.
8 points
-
Day 5. Felix was born this past summer. The pictures are some of "The Firsts" of his first year - winter (in Illinois), Halloween, and Christmas. The papers are from Annie Digital. The fonts are Lato Light and Belgium.
7 points
-
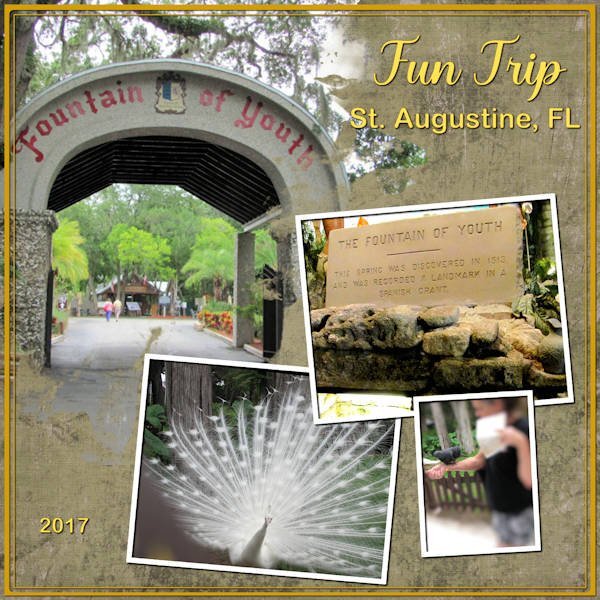
Day 4 Template. St. Augustine, FL in June, 2017. I did increase the opacity of the lower right photo layer as directed (I originally forgot that little trick but the picture came out dull, so I then remembered and did as directed). The picture I used Adjust>Depth of Field in order to focus on the bird Anna was feeding on her arm. I used Adjust>Brightness and Contrast on both the main picture and the picture of the fountain of youth. The background paper is a double layer each a paper from PS-marisa-lerin-change. I treated each of the layers (including the white layer included on the template) with different blend modes: the white layer is normal, the green layer is luminance, the cream color layer is color and an opacity of 38. The title font is Violenty Script (CF) and the St. Augustine, FL and the 2017 are Arial Rounded MT Bold. All the fonts were duplicated and changed to raster layers, then I inner bevelled each of them. The layout frame I colored, then selected it and modified, expanded it and then colored the expansion too. Then I innerbevelled it.
7 points
-
Template Lesson3 : cass-Template3.jpg done with, Fido Bundle By Gina Jones
7 points
-
This layout could serve a double purpose...workshop and All About Me. I used a purchased kit...Travelogue by Connie Prince. I also rotated the two larger photos. The masked photo is of the State House. The historical markers tell of the burning of Columbia. During the Civil War Columbia was attacked and burned by General Sherman. The bronze stars mark 6 places where artillery hit the State House on February 19, 1865. My high school was about 3 blocks behind the state house. I love my home state!7 points
-
Day 4 (running a day behind). YEAH!!!!!!!! Finally got text to wrap around. Thanks to Cassel for that extra link to another video. I had my curser in the wrong place..... such a simple thing to learn the hard way. Got to use it in this lesson though. Paper is from a kit by ETD, font is Victoria Cat (free from DaFont) and the photos were snagged from the internet. Having all those layers makes it easy to change things but I have to label everything before I start scrambling them. And a bonus, now I know what to do with all those large grunge and watercolor brushes that I have - when in doubt, use them like masks.
6 points
-
I worked around. Selected the pawprint paper, went to the background paper, promoted selection to layer and moved it directly below the pawprint paper. Added shadow to the promoted selection. Problem solved. There may be a simiplier solution but this is what I did.6 points
-
Day 5 My cat, Rocky, who crossed the Rainbow Bridge many years ago. Rocky was a rescue and already named when I got her. She was named by children. I also had a male cat, Misty...also a rescue and named by children. Carole, the white circle inside the stitching...I achieved the brown pawprints using a blend mode...white paper, black pawprints, background paper. I had to hide the original white circle but am unable to add a shadow without changing the colors...the blend mode works with the layer directly underneath.6 points
-
My day 3
6 points
-
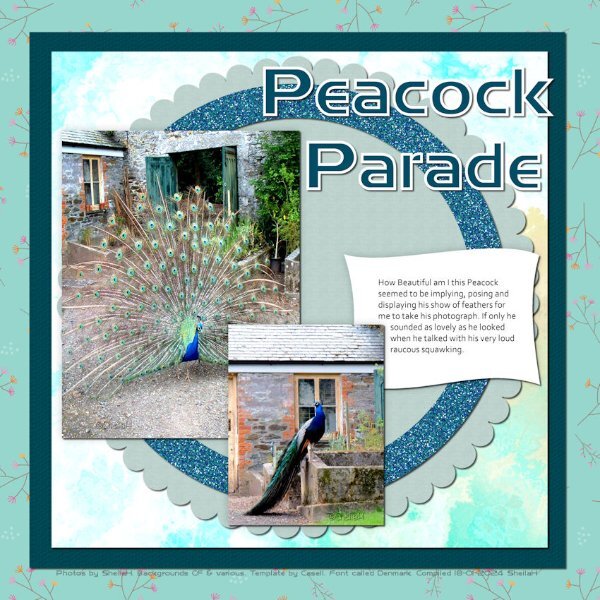
Thanks for this gorgeous template @Cassel. There is soo much in it. I moved things slightly around and turned it since I wanted to feature my poem as well. Font is Beach House. The huge layered flower in the top right is by Marisa Lerin.6 points
-
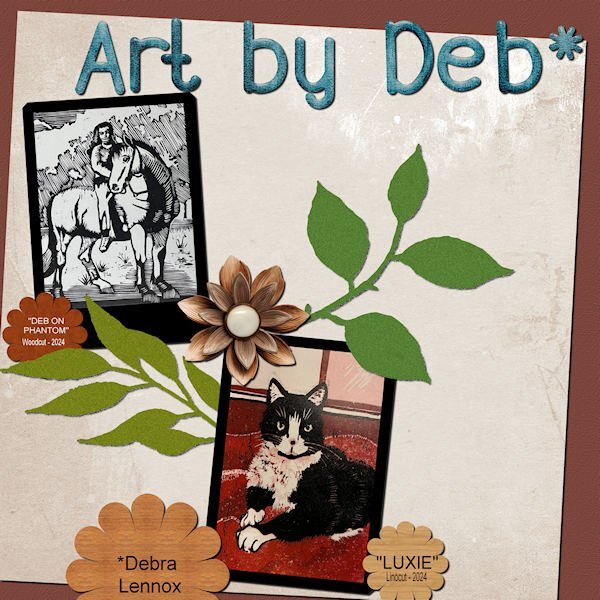
Finished Lesson 3 - I'm getting there! Used the Diamond template this time, featuring some new art from daughter, Deb.
6 points
-
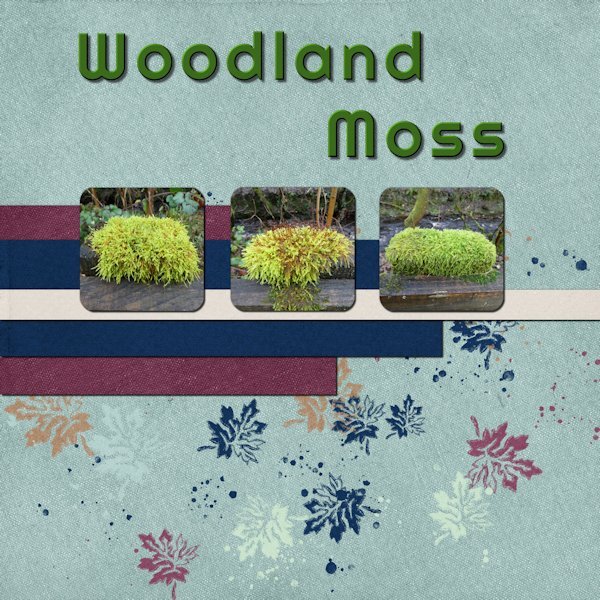
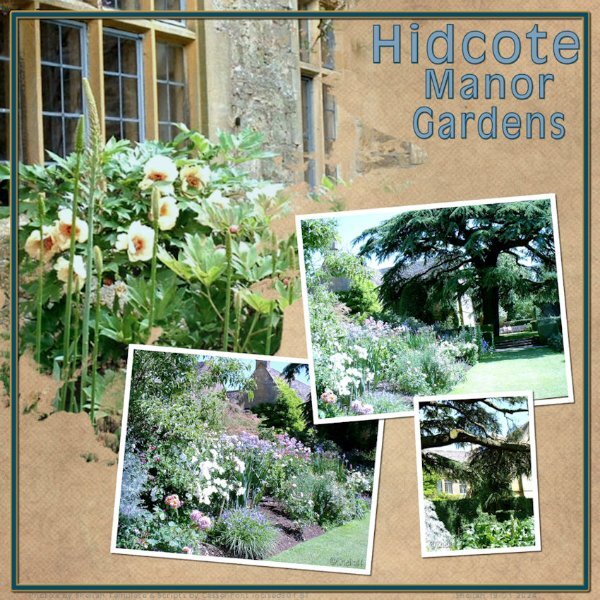
Day 5: I found the boxes in the template a little too small so I made them bigger and reduced the number to 3. The photos were all taken on a walk in local woods earlier this month (January). The font is Righteous. The Papers are from Jessica Dunn’s Wildwood Thicket kit.
5 points
-
5 points
-
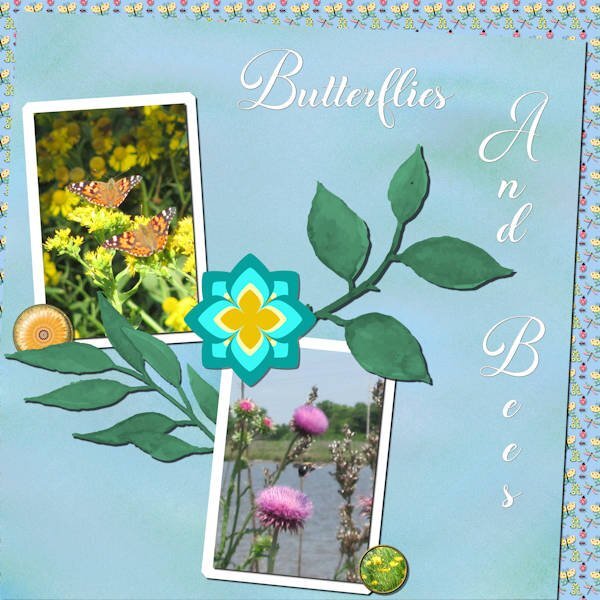
Day 3 - Diamond template. All the papers and elements were created from scratch – the flair buttons from tutorials by Cassel as well as the stylized flower in the center. The font is Butterfly Wish – most of my fonts are from Creative Fabrica. The butterfly picture was taken in Blue Earth, MN, and the bee picture was taken at an RV park in St. Peter, MO.
5 points
-
I managed to do template 2 and although I have Caroles scripts, I wanted to do this template as instructed and after a few attempts I managed to do it. I learn by getting it wrong first time rather than right and hopefully with good notes I remember how to do it. Anyway,here is my result for template day 2.
5 points
-
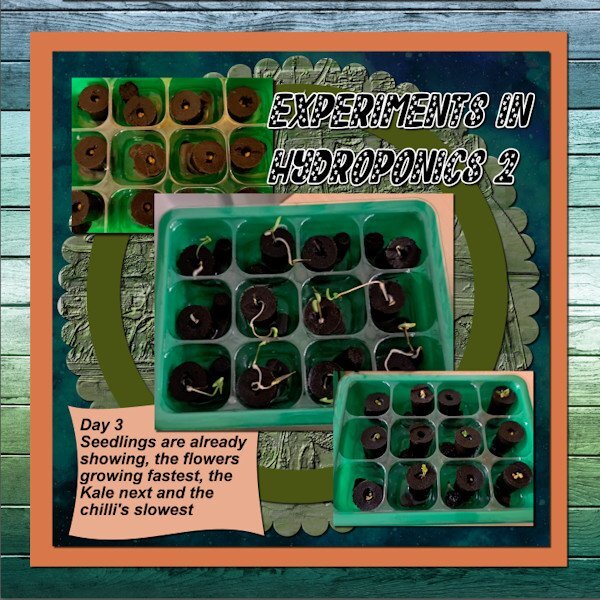
Ok so here's day 2, changed things up a little bit so I could display 3 of the 5 varieties of seed planted.
4 points
-
Lesson 5 - My daughter, Deb's, birthday is 3 days after Christmas. I just got these photos of their party in California. The dinner is crab and wild-picked mushroom risotto. The newspaper is what they used as a table cover as crab is messy! The title font is Monotype Corsiva. The flower is from cpjess-wildwood thicket kit. The hearts are labeled "SG_Exuberance_Emb_DCA_Hearts." The ric rac is labeled "AHA_somewhereintime_emb_ricrac."
4 points
-
My template 4 result, completed quite quickly thanks to gettting to understand how the script work. Have had them for ages but never used them as I got into such a muddle before. Can actually I love them and glad I have them in my stash.
4 points
-
Some of the text blurred in the reduced size, but is clear at full scale. They are adorable!
4 points
-
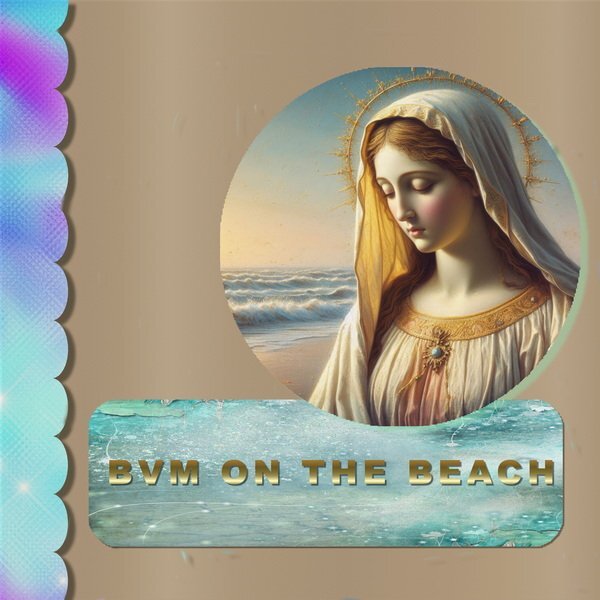
The Virgin Mary was made by AI text to image. Then, I used the day one template in Corel PSP.
4 points
-
Repost of Day 2. I did not put the drop shadows on the first one.
4 points
-
Speaking of text wrapping, I finally fixed my Lesson 2 - Collectibles text. It now looks as planned. I had no problem with the wrapping.
4 points
-
Day 4 I used stock photos from Pixabay. Font is Magnolia Script. I made the paper. And I added an inner bevel to the title.
4 points
-
I know I am a but late to do this, but it has been a very busy week. I know that is no excuse but I have decided that I am sick of doctor's appointments, x-ray, MRI's etc. This is my Day 2 attempt.
4 points
-
It was showing the effects of my torture! I was desperate to get it to follow the curve so I beat on it a bit the first time. 😁3 points
-
That really does look nice like that Ann.3 points
-
I created this layout for the template workshop...but it works here also. I was born and raised in Columbia, South Carolina, USA. Columbia is the state capitol.3 points
-
A very nice and original use of those photos!3 points
-
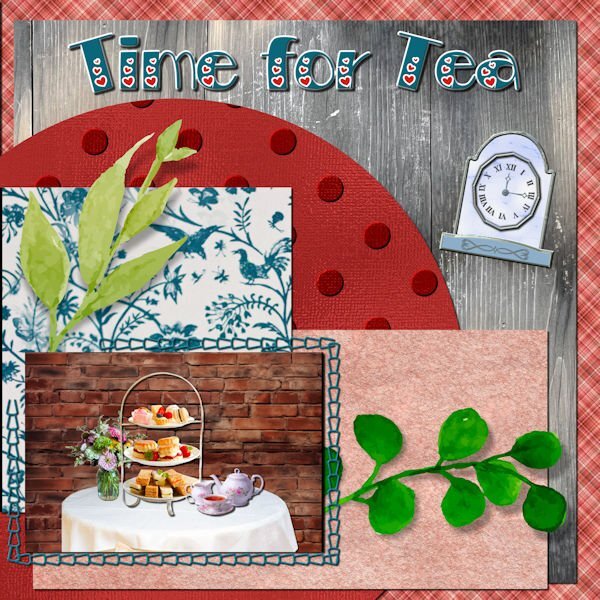
My daughter found an afternoon tea event in Fredericksburg that we will be attending. Since I don't have any good teahouse photos, I created one using Canva for the table, tea tray and tea set. The brick background is from deeezy.com. The bird paper is also from Canva; the polka dot paper is my own, the parchment is from FF, the wood from one of my daughter's photos, the plaid is one of my own and the clock is from my build a kit. The font is Bravo from Creative Fabrica.
3 points
-
Great use of complimentary colors, Also nice 3D effects!3 points
-
Finally got started so here is my day 1
3 points
-
Day 3 template. Kit used: cpjess-tomorrow-folder-mini for the 3 patterned papers; I colorized and texturized the 2 small papers; the font I used was Brailganta Script (Creative Fabrica); I made the tag in back of the title from a preset shape which I texturized. The picture is from another Jessica Dunn kit. I did colorize the stitching and innerbevelled it.
3 points


Resized.thumb.jpg.d25811db03a63358cedab1e79f527635.jpg)

.jpg.a470b800ab1ac9400350beff4e68bbc1.jpg)