Leaderboard
Popular Content
Showing content with the highest reputation on 07/29/2023 in all areas
-
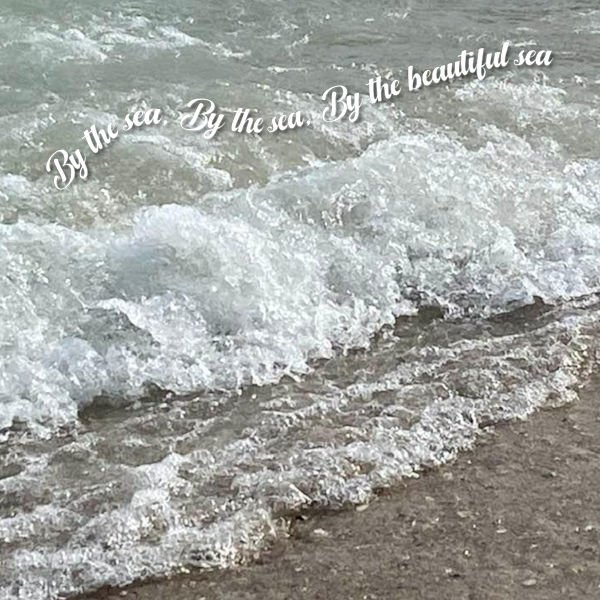
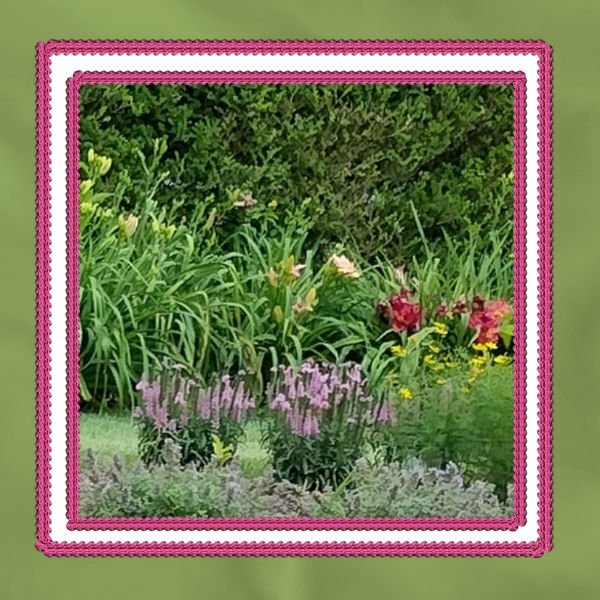
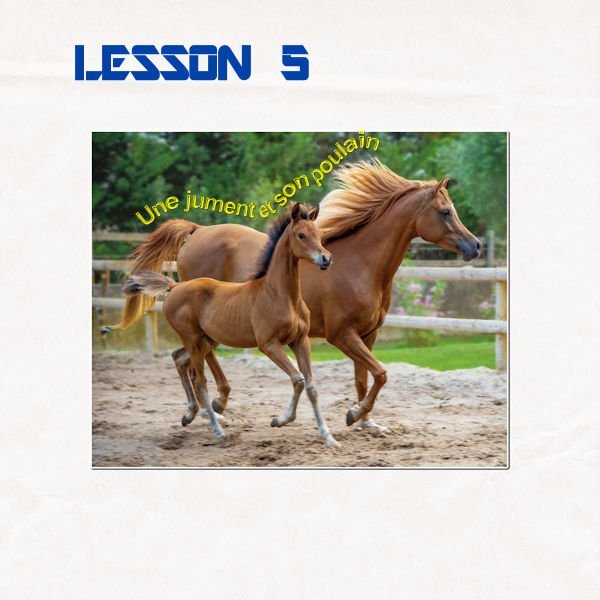
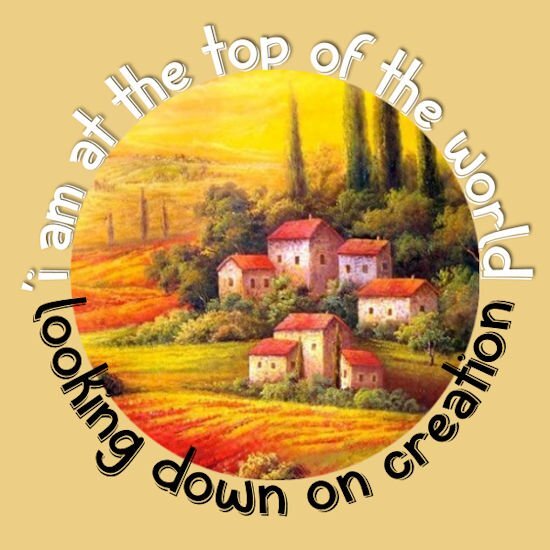
This is my project 5a - text on a path on a picture. I had a time with this - I used Baby Lovely font at first and my computer really locked up - couldn't understand it. tried it several times and every time it locked up. I finally just used task manager and closed PSP. Then I opened it up and looked at one of my other pspimage files and they all worked fine and the PSP didn't lock up. So I just deleted the one with the Baby Lovely font and started from scratch. This time I used Ambrogio font and it worked just fine. I'm not sure if I have used Baby Lovely font before, but it sure didn't like me this time. Anyway. The pic is by my son Chris at the Gulf of Mexico.14 points
-
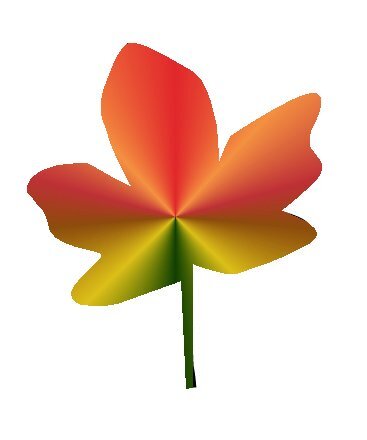
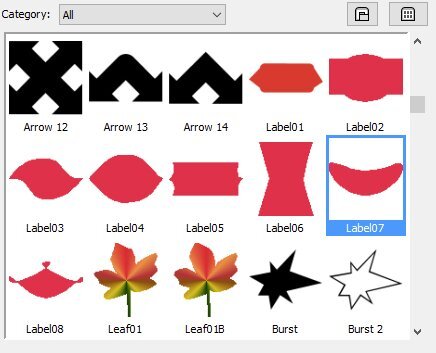
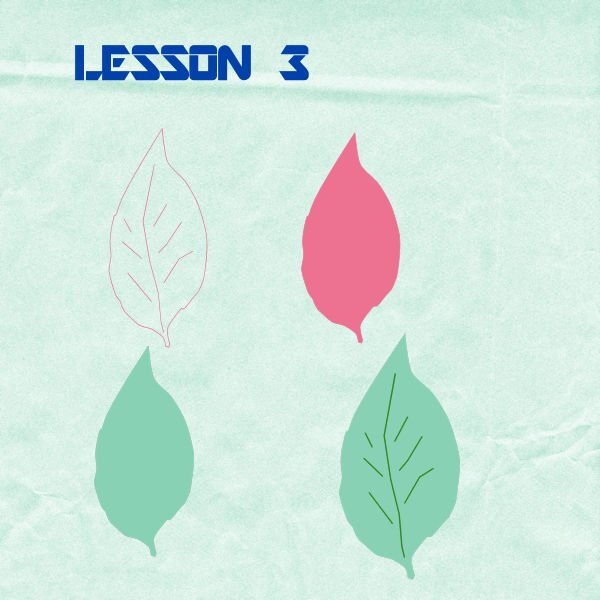
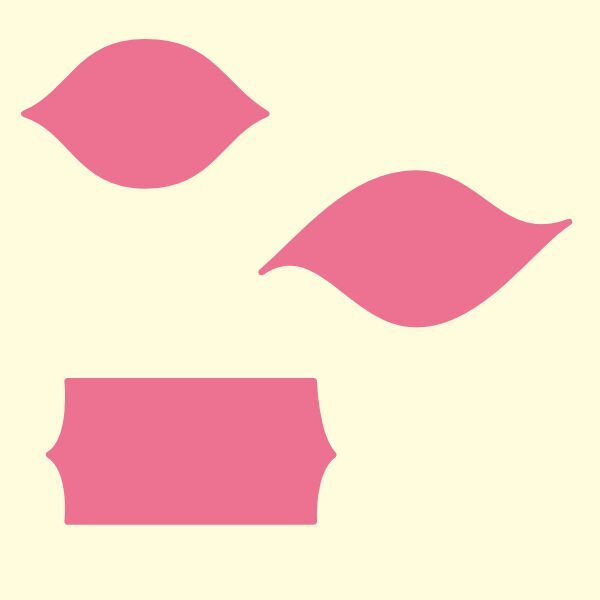
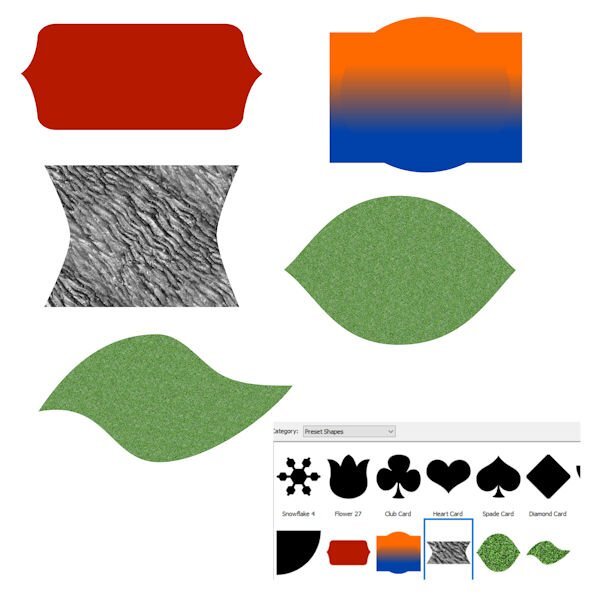
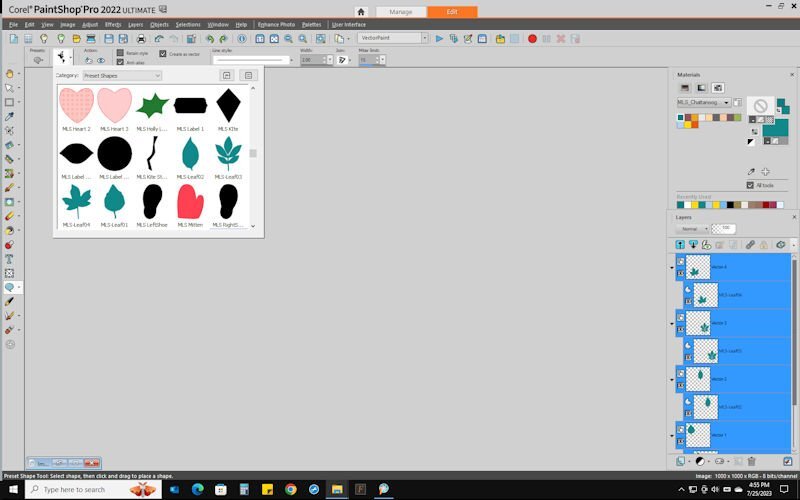
I just finished Lesson 3. I chose Leaf04 and it took me quite a while, it is not perfect, and still a bit pointy, but I am getting more comfortable with vectors. I actually made 2 of these leaves, because after I exported the first try, I saw where the corners were still pointy. So I edited it and when started to I export it, I had to change the name, so I named it Leaf01B. I now have both of them in my shapes Library. I will go on to Lesson 4 for now, but will play more with Lesson 3 when I have more time.13 points
-
9 points
-
7 points
-
7 points
-
7 points
-
6 points
-
6 points
-
6 points
-
And now to 6a. Tried (with Artistic Effects>Balls and Bubbles) to make the original tweaked shape into a plumped pillow (I know - it needs work). Before I did that, I used the shape and Cass Blue Braid to do what the project is about. Then (since it was a pillow) I added the font (Aryaduta) and the corduroy heart I made earlier in this workshop. Anyway, this is the result. Oh - I forgot - I also used the warp mesh to give the pillow more depth and played with the words because they had to mold with the plump pillow!5 points
-
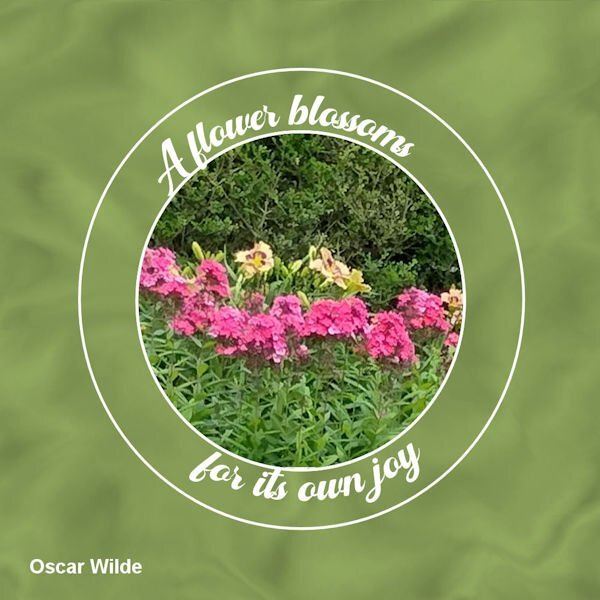
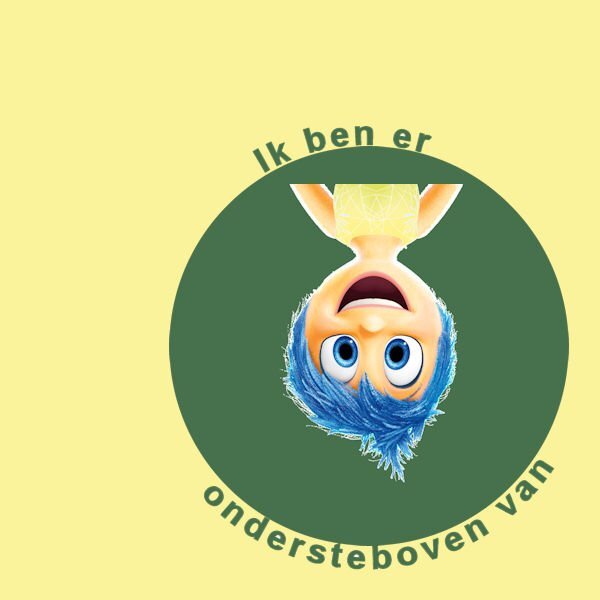
Okay - project 5b. Really had fun with this. Made the background paper using a portion of the greenery in the picture and smudging it, blurring it, lightening it - and then saving it for use later; used a copy of the original vector circle to crop the picture to fit the vector; used a copy of the original vector enlarged to make the top circle; and then relearned how to make the text go the correct way at the bottom (at first it went in reverse - why???) but I did get it to go the correct way when I followed Cassel's instructions by just typing it after reversing the path and then offsetting it. Whew! Fun learning. Need to practice that again.5 points
-
Dit is de helft van les 5. Ik dacht: 'Deze les doe ik wel leven af in een minuutje. Ik heb het in de X2 en deX5 vaak gemaakt. maar dat ging tiener toch heel anders. de tweede opdracht van les 5 de tekst rondom de cirkels had ik klaar. ?Maar op het laatste moment vlak voor het opslaan van PSP uit. Weg was mijn crea . ? Carole is het mogelijk om de tweede cirkel een andere kleur te geven voor meer onderscheid??? Ik probeerde het maar het lukt me niet. vraag 2: Tot hoelang kunnen we crea's inleveren. IK KOM IN TIJDSNOOD.5 points
-
4 points
-
4 points
-
4 points
-
4 points
-
4 points
-
4 points
-
4 points
-
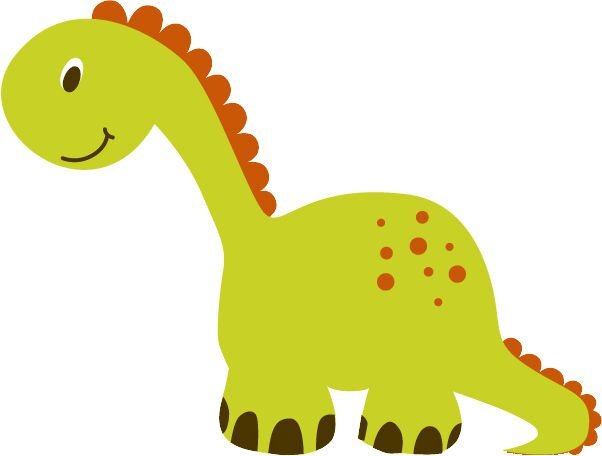
I did do a dino; however I didn't do it with vectors etc., but with the magic wand. One has to practice with it too. I copied the dino from the group with it; pasted it in a new image and began working on it to separate all the different colors on separate layers, creating a pspimage. Now, please don't ask me why. I never know exactly WHY I do anything. Anyway, I have it saved as a pspimage, a png (so it is an element I can use later on in a layout), and a jpg so I can post it here. This is the result after I hide the original and put together all the pieces!. I really have to move on to Project 5.4 points
-
3 points
-
3 points
-
3 points
-
3 points
-
3 points
-
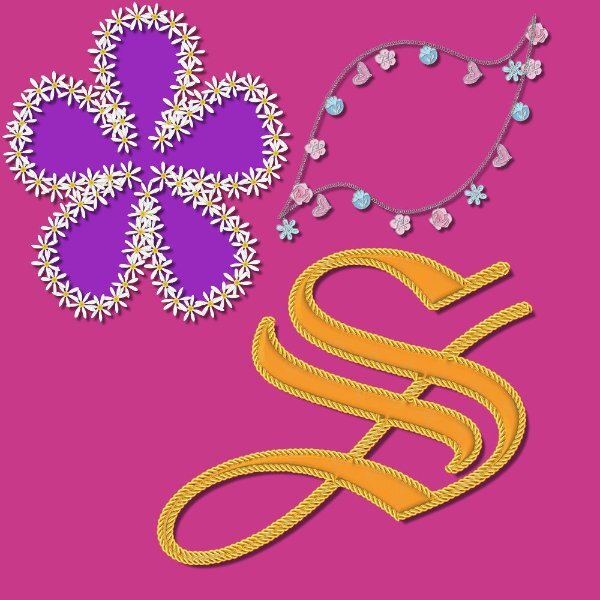
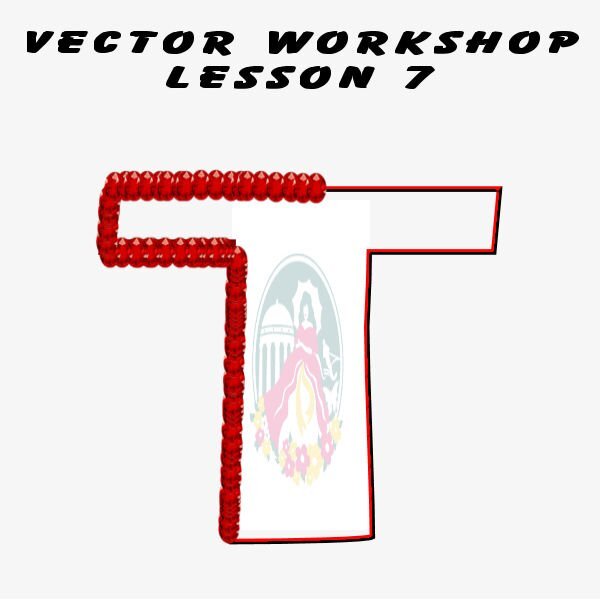
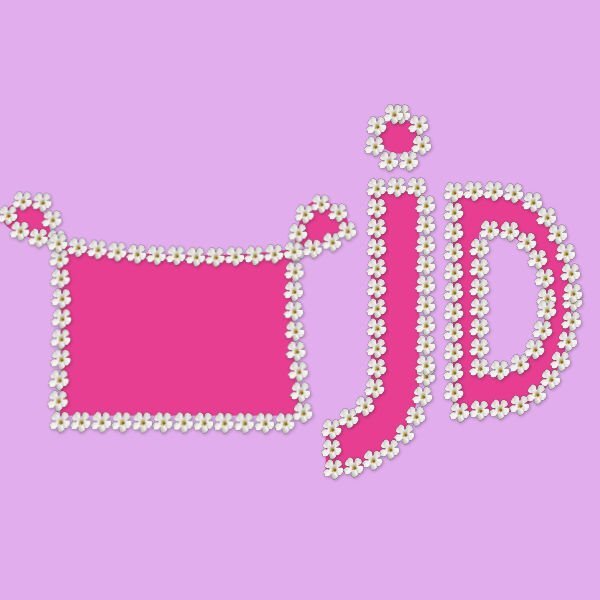
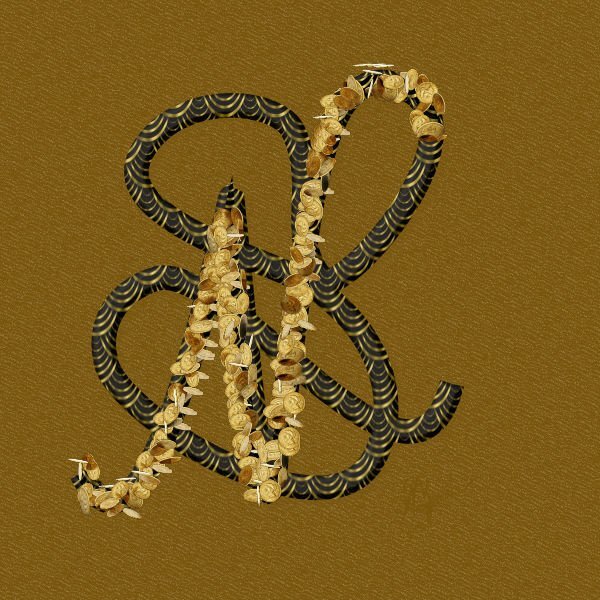
Having finally completed Lesson 7, I just wanted to say thank you again Carole for always encouraging me to step out of my comfort zone. I played around a lot with this lesson and I think I have created MY new dollar sign if ever I own a currency! I decided to free hand draw my stylized initials. I used a coin picture tube and then filled in the under vector with a pattern that was just on my pallet swatches ( maybe from the coins?) Played around with bevels, shadows, layers, blend modes, and opacity until I got something I liked. This workshop was challenging, sometimes frustrating, full of information and tips, and SO MUCH FUN in the end. I will definitely use vectors more often. My classmates are / were inspirational and have a great deal of talent . I loved looking at all of the submitted work. Thank you for having me. CHEERS until next time.3 points
-
3 points
-
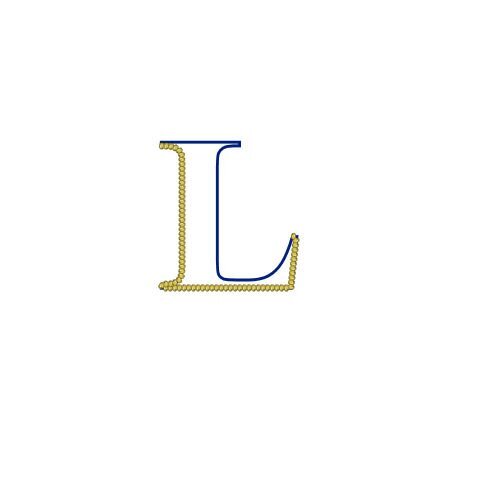
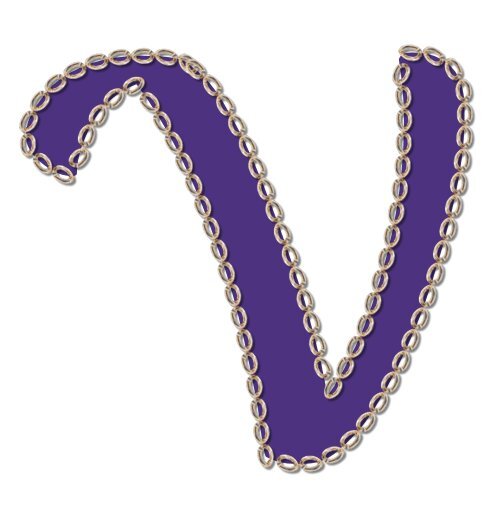
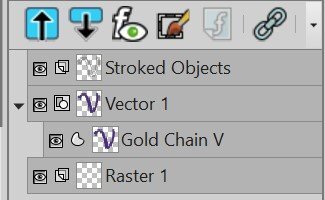
Is there a way to save the images created in Lesson 6 as a picture tube or reusable shape? When I follow the steps in Lesson 2, Shape is greyed out. When I try to export as a picture tube, it tells me that the image needs to be 24 bit and have only one raster layer with a transparency. I have a Raster 1 layer on the bottom that I am unable to delete. The Stroked Objects is the top layer. The middle layer is the Vector layer. See image attached. I'd like to create an alphabet/font that I can call within PSP without digging through a bunch of individual files; hence trying to save a letter as a pre-set shape or picture tube. Perhaps I am asking too much or the wrong thing.2 points
-
2 points
-
That's really cool. I like the shadowing on the cup/saucer too. I think I need to schedule in time regularly for Vector practice/play. This will also help me going forward with the LABS because they have Vector Tuts in them too.2 points
-
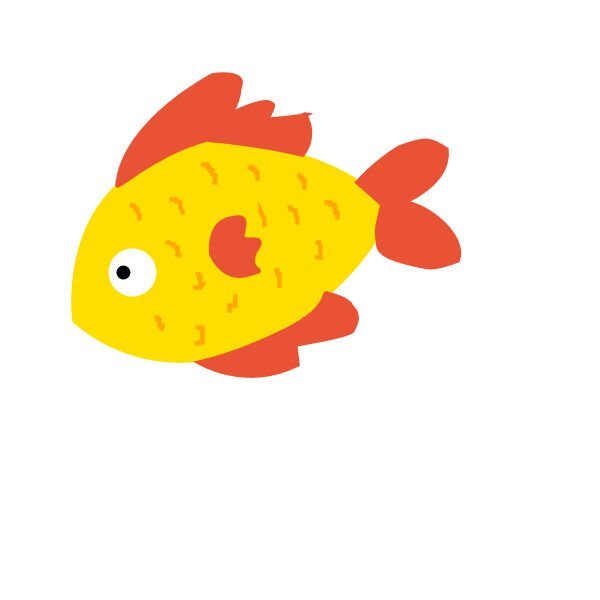
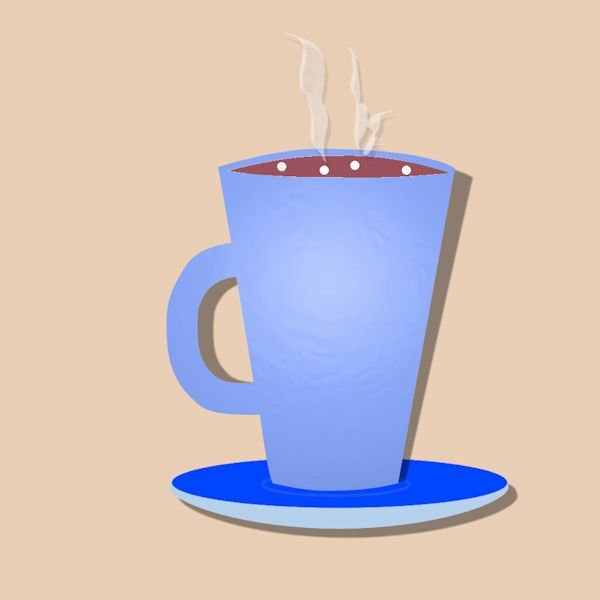
I went back to the cup and added a saucer today using the cup shape. (I did not save the cup and saucer as a shape). I added the artistic bubble effect on the cup to give it dimension. Again used Particle Shop Smoke for the steam, added shadows. I'm not moving forward yet, even though I'm just on 4. The fish looks good as an element - the shape will turn out as a silhouette, but I like it as an element. May have a go at the dinosaurs later today and then move on to Project 5. I'm slow - but there is so much to learn! Oh, the saucer I made using 3 ellipse shapes one for the top, one for the recess where the cup sits (just an outline here) and one for the bottom part.2 points
-
I'm unfortunately more than a little bit behind. I was sure at the beginning I could participate more regularly but as always the job comes first. I decided to continue anyway. I flew over the pages and just thought WOW again. So many great works, a lot of very interested participants and many new among all. Now Lesson 2 and 3.2 points
-
2 points
-
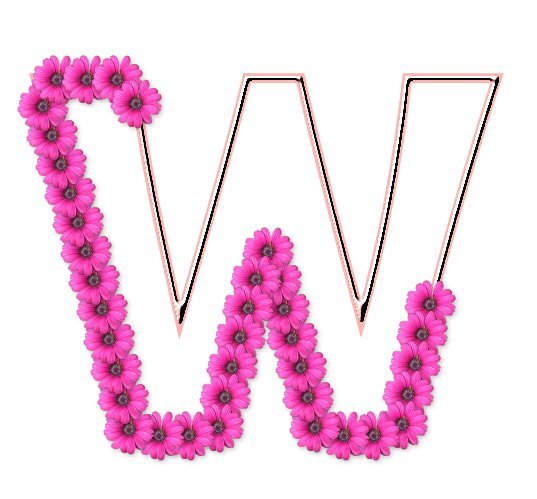
Lesson 7/day 7-- I feel like it has taken me a while to get here to lesson 7! Sometimes I can't follow directions, sometimes PSP doesn't follow directions or just doesn't want to function right, and sometimes it may be all of the above. I know I have learned many things. I need to make more notes so I can do a few of them again! I dug around and found more tubes on an old Jasc PaintShop Xtras disc. I think that is where the pink flowers were. Thank you Carole for a challenging and informative workshop, and the extra help!2 points
-
2 points
-
2 points
-
1 point
-
L = Low and Slow is the technique for cooking meat for a relatively long period of time at a low temperature.1 point
-
1 point
-
1 point
-
1 point
-
1 point
-
1 point
-
1 point
-
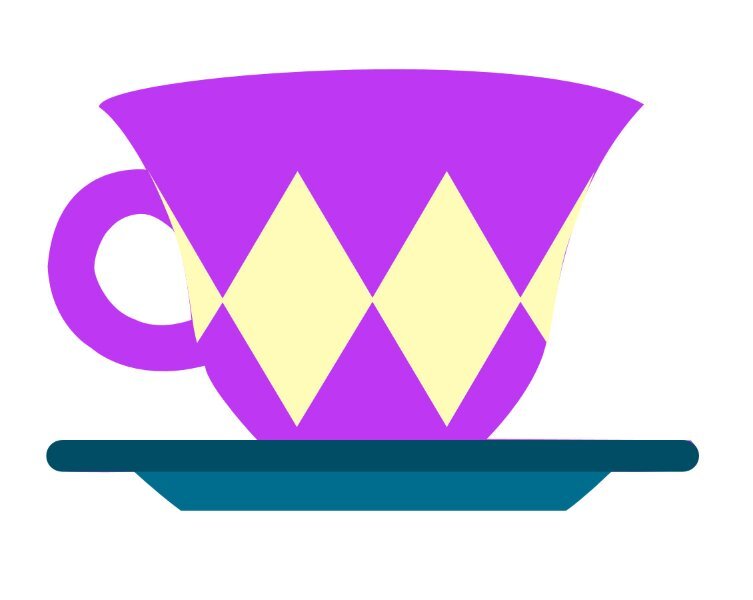
This one was a little bit harder for me...and I used some learning from the previous modules. I didn't color the handle because I didn't have enough time...it would be done just like the saucer and diamonds though, so I think I could do it. If you look closely, you can see a few flaws on the edge of the cup where the diamonds are...again, not enough time to make it perfect. One thing I learned is when selecting nodes I hover my mouse over the center of the node until the cursor changes to a four-way arrow (like when you are moving an object) and then left click to select the node. It worked every time. All you pros just keep posting your results because I learn from just looking at how you put your ideas into the graphic. Also, you can chuckle a little at my lack of artistic abilities (like the color combinations I choose, etc.).1 point
-
X = Xenial: Adjective used to describe a friendly relationship between a host and their guests.1 point
-
1 point
-
1 point
-
Party (barbecue can be something to eat, a method of cooking, or a get together or party) Libera, Happy Bastille Day! I’m sorry those Germans don’t celebrate it with you! ?1 point
-
1 point





















Resized.thumb.jpg.d25811db03a63358cedab1e79f527635.jpg)

