Leaderboard
Popular Content
Showing content with the highest reputation on 07/27/2023 in all areas
-
10 points
-
9 points
-
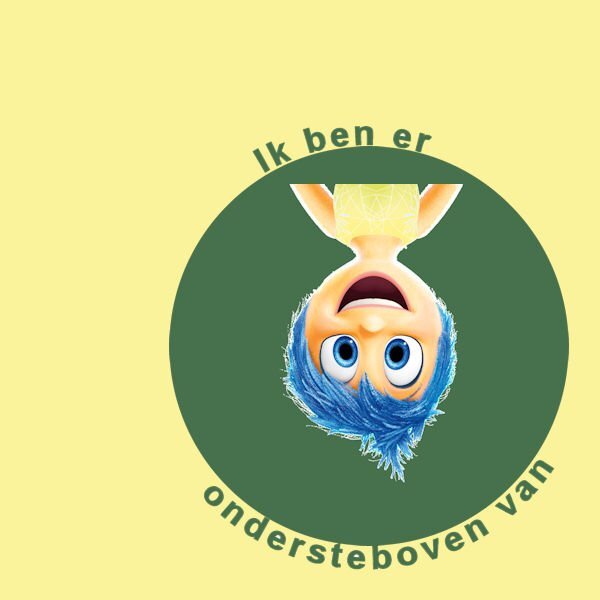
Dit is de helft van les 5. Ik dacht: 'Deze les doe ik wel leven af in een minuutje. Ik heb het in de X2 en deX5 vaak gemaakt. maar dat ging tiener toch heel anders. de tweede opdracht van les 5 de tekst rondom de cirkels had ik klaar. ?Maar op het laatste moment vlak voor het opslaan van PSP uit. Weg was mijn crea . ? Carole is het mogelijk om de tweede cirkel een andere kleur te geven voor meer onderscheid??? Ik probeerde het maar het lukt me niet. vraag 2: Tot hoelang kunnen we crea's inleveren. IK KOM IN TIJDSNOOD.8 points
-
8 points
-
8 points
-
8 points
-
8 points
-
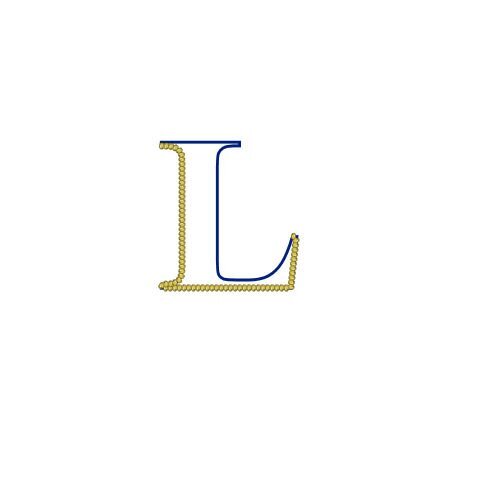
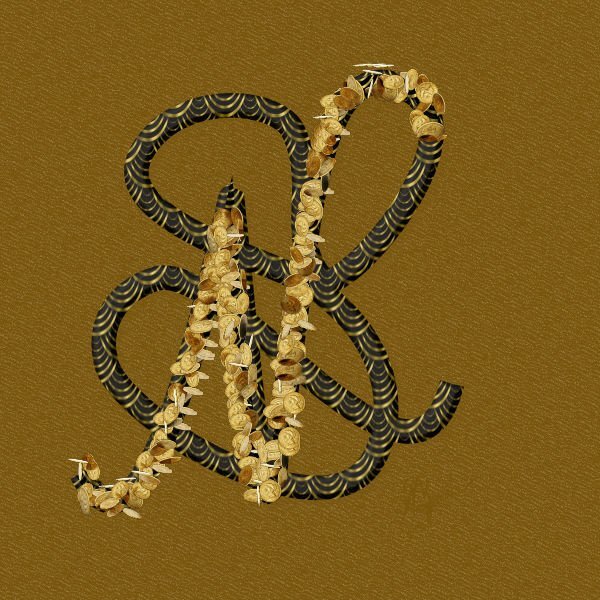
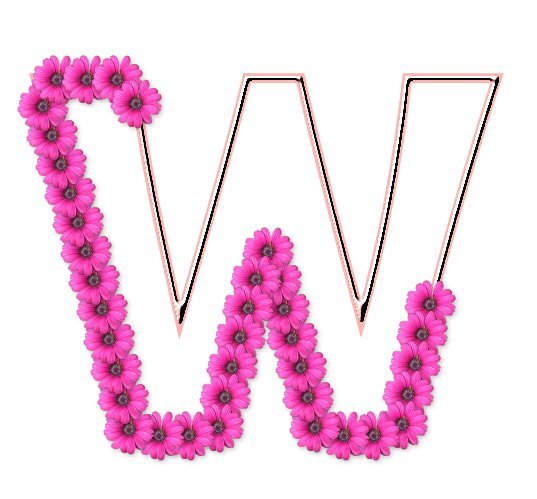
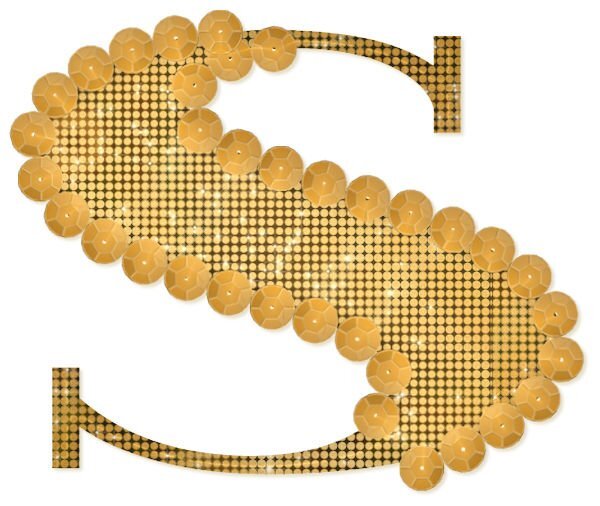
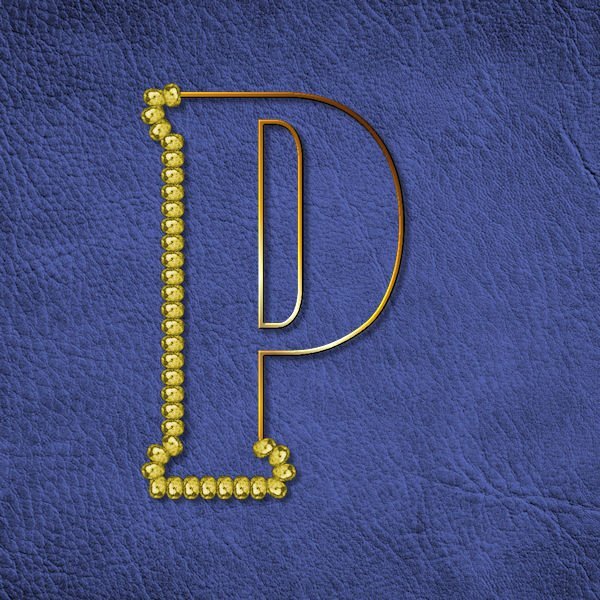
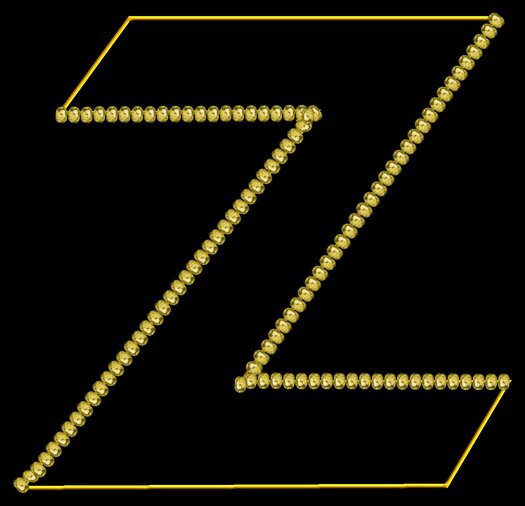
Having finally completed Lesson 7, I just wanted to say thank you again Carole for always encouraging me to step out of my comfort zone. I played around a lot with this lesson and I think I have created MY new dollar sign if ever I own a currency! I decided to free hand draw my stylized initials. I used a coin picture tube and then filled in the under vector with a pattern that was just on my pallet swatches ( maybe from the coins?) Played around with bevels, shadows, layers, blend modes, and opacity until I got something I liked. This workshop was challenging, sometimes frustrating, full of information and tips, and SO MUCH FUN in the end. I will definitely use vectors more often. My classmates are / were inspirational and have a great deal of talent . I loved looking at all of the submitted work. Thank you for having me. CHEERS until next time.7 points
-
6 points
-
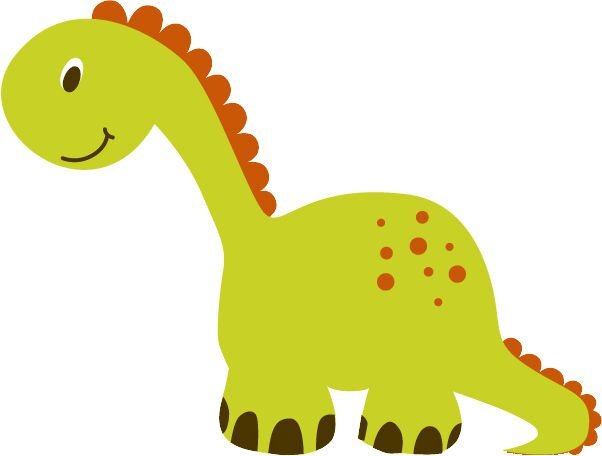
I did do a dino; however I didn't do it with vectors etc., but with the magic wand. One has to practice with it too. I copied the dino from the group with it; pasted it in a new image and began working on it to separate all the different colors on separate layers, creating a pspimage. Now, please don't ask me why. I never know exactly WHY I do anything. Anyway, I have it saved as a pspimage, a png (so it is an element I can use later on in a layout), and a jpg so I can post it here. This is the result after I hide the original and put together all the pieces!. I really have to move on to Project 5.6 points
-
5 points
-
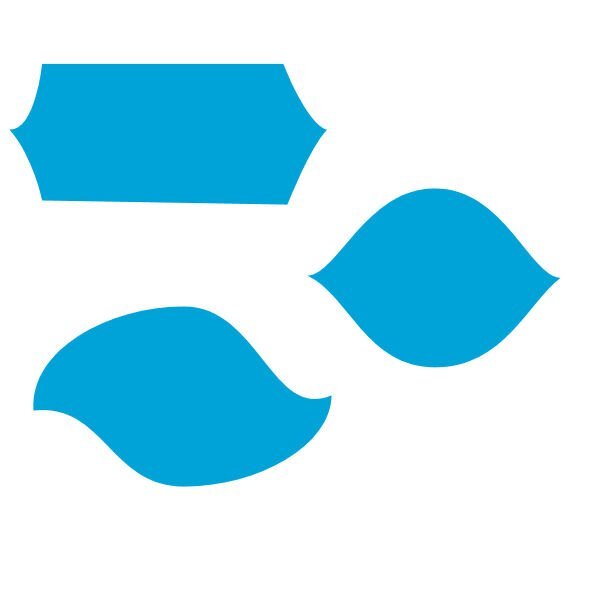
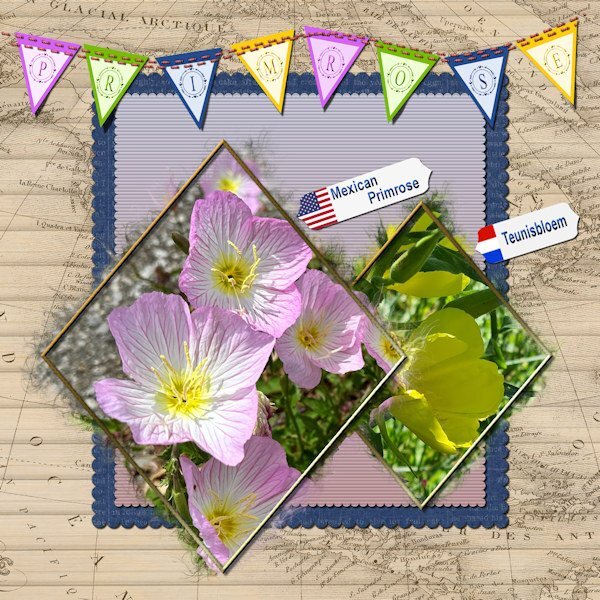
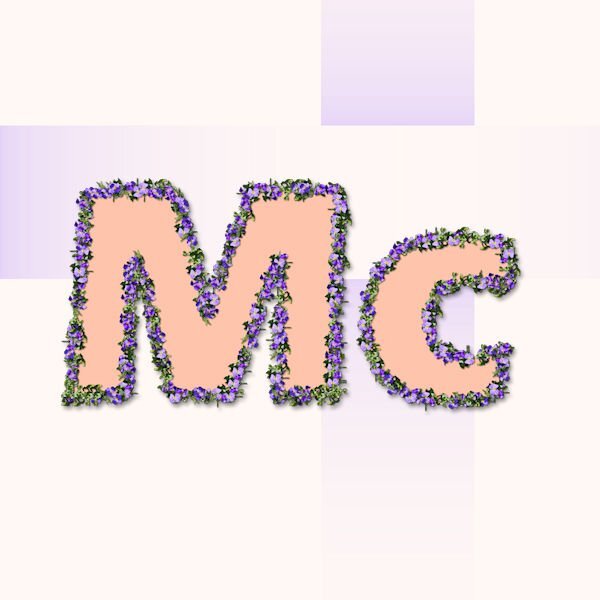
Here is: 1 banner with letters (font is Heart Arrow Monogram), 2 of my photos with a mask and 3 papers. I mostly start with a template to roughly get an idea where I'm going with my layout and then change it to something that suits the photos better. When I was in the States it was a surprise to see an American primrose which I immediately recognized because we also have primroses, I had some in the garden of our house before we moved. This one has the common name Mexican primrose, I found a white one called Prairie evening primrose and the Dutch name is Teunisbloem and ours are mostly yellow. Their Latin name is Oenothera. The European primroses all come from the Americas, at least that's what I read when I searched for info on them. So correct me if I'm wrong. Thanks to the Vector Masterclass it was very easy to make a path for the stitching that I used to hold the little flags of the banner in place. The backgroundpaper is one of a series of old maps which I have in my stash. I found it fitting for my topic.5 points
-
I'm unfortunately more than a little bit behind. I was sure at the beginning I could participate more regularly but as always the job comes first. I decided to continue anyway. I flew over the pages and just thought WOW again. So many great works, a lot of very interested participants and many new among all. Now Lesson 2 and 3.5 points
-
4 points
-
Cristina I too would welcome such an Advanced Vector Workshop, as I feel that I'm starting to master those nodes now! So after some time, maybe next year, it will be great to take those vectors a step further. It means a lot of work for Carole though to prepare another Workshop. We can hope, can't we ?4 points
-
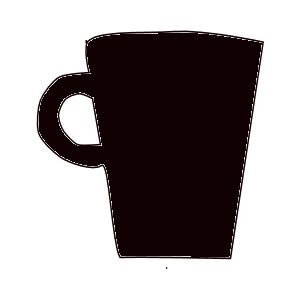
I went back to the cup and added a saucer today using the cup shape. (I did not save the cup and saucer as a shape). I added the artistic bubble effect on the cup to give it dimension. Again used Particle Shop Smoke for the steam, added shadows. I'm not moving forward yet, even though I'm just on 4. The fish looks good as an element - the shape will turn out as a silhouette, but I like it as an element. May have a go at the dinosaurs later today and then move on to Project 5. I'm slow - but there is so much to learn! Oh, the saucer I made using 3 ellipse shapes one for the top, one for the recess where the cup sits (just an outline here) and one for the bottom part.4 points
-
3 points
-
Lesson 7/day 7-- I feel like it has taken me a while to get here to lesson 7! Sometimes I can't follow directions, sometimes PSP doesn't follow directions or just doesn't want to function right, and sometimes it may be all of the above. I know I have learned many things. I need to make more notes so I can do a few of them again! I dug around and found more tubes on an old Jasc PaintShop Xtras disc. I think that is where the pink flowers were. Thank you Carole for a challenging and informative workshop, and the extra help!3 points
-
3 points
-
3 points
-
I totally agree Corrie, the point about spending too much time on it excel. That's time away from what we should be doing .....playing with PSP. I am someone who can organize myself into not doing the hobby I was organizing for in the first place. I have to watch myself. I can take days to organize something and then not do PSP stuff. I'm trying to break that habit and create first, organize second. I spent most of today (after many errands) getting a new program loaded. It was super picky, took me (read: my husband had to do stuff to the computer - driver updates, turn off Norton, clean up some other techy stuff I never want know about etc) several hours to finally get it loaded. Now to learn how to use it. At least they have a supposedly good manual and lots of tutorials. (ha, they have nothing on the Campus...bar none, the Campus has the most tutorials EVER!)2 points
-
That's really cool. I like the shadowing on the cup/saucer too. I think I need to schedule in time regularly for Vector practice/play. This will also help me going forward with the LABS because they have Vector Tuts in them too.2 points
-
2 points
-
Hi Fiona Oui, votre Français est correctement écrit. Yes, your French is correctly written.2 points
-
Lesson 7: Thank you so much for this workshop @Cassel Informative and a lot of fun on all the tutorials, and I've learnt a lot. This was a little challenging for me, but I got there in the end and will have another go tomorrow. I ended up giving up on a few that I was working on as I tried to run before I could walk when I was trying different shapes to use ? One question, can you use a picture tube or a custom made preset shape and convert to path? I tried but the convert to path was already greyed out, yet there wasn't a path icon showing on the layer. Apologies if I've missed something on the earlier tutorials, and maybe if time allows tomorrow, I'll have a look. Anyways, here's the one I did do successfully ?2 points
-
2 points
-
2 points
-
2 points
-
2 points
-
Phew, Lesson 7! All the way through this course, I was having a heck of a time selecting a vector object. I just couldn't figure out how to do it. So I looked it up on the Corel site, tried a couple of keyboard shortcuts (notably Ctrl-Shift-B) and suddenly my PSP 2021 sort sprung to life and worked properly. Yay. Persistence pays off, I guess.2 points
-
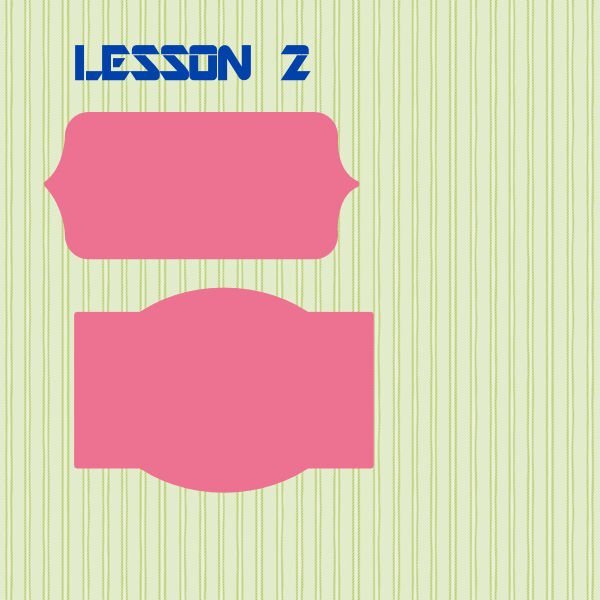
Completed Lesson 2. ? Here are some of the vector shapes I played with. I added color, pattern, gradient and stroke. Then added a background with texture Asphalt. Thank you Carole, for all your help getting around the glitches in PSP23 Ultimate. I also played with the little loop option you showed me. (First shape on top left) I love it and I feel more comfortable with all these nodes.2 points
-
2 points
-
2 points
-
2 points
-
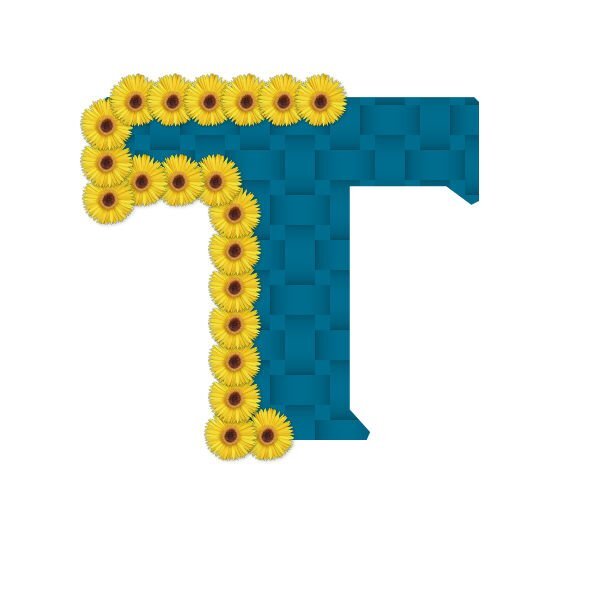
I made now the second cutout for my cup and decorated it with my letter A from lesson 7 , I changed the stroke after finishing the letter to fill and added innerbevel and a shadow2 points
-
2 points
-
2 points
-
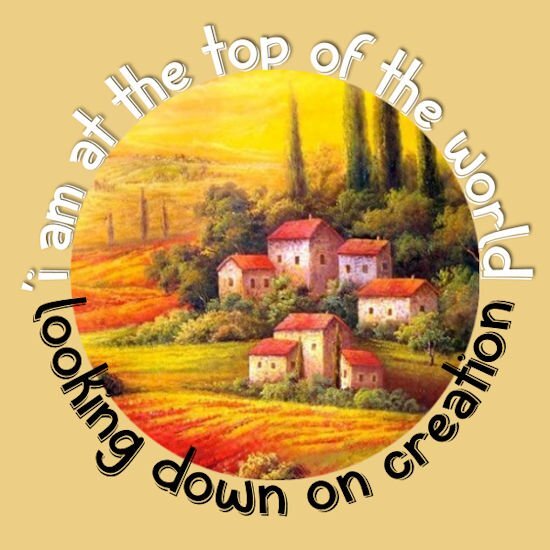
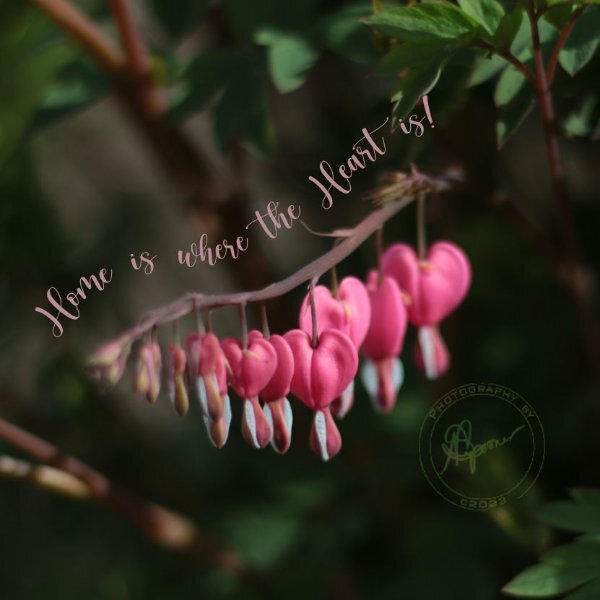
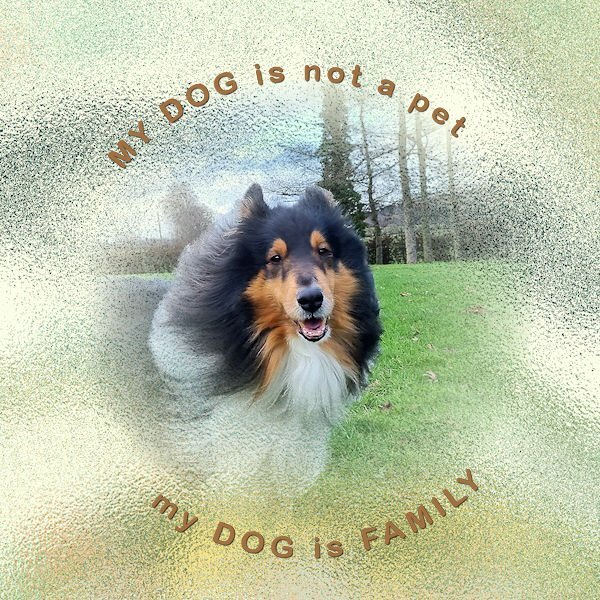
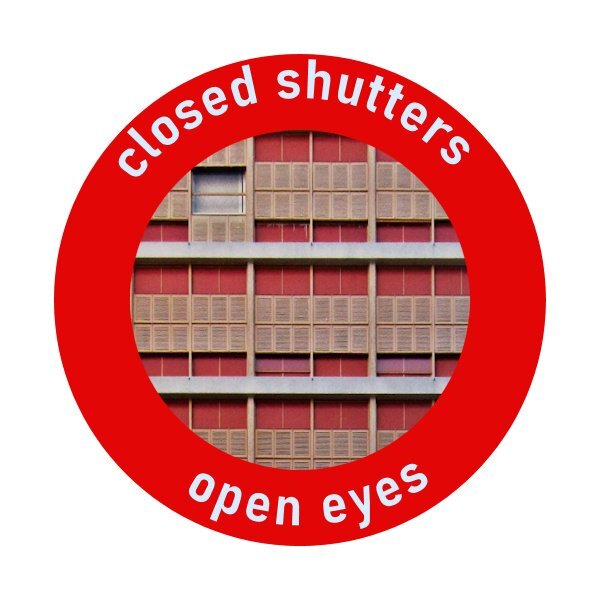
Here is my Lesson 5, Text on a path and a circular "stamp " with text top and bottom. I had already created a brush tip of my photo signature a long time ago and just added it to the center of the new "stamp". As I use mostly all my own photos for these clases I decided to make the stamp a Logo of sorts and turned it also into a brush tip. I then put it on a separate layer so I could change the blend mode to Luminence and the opacity to 59 for this lesson. I usually blend my signature to barely visible on my work so it acts more like a hidden watermark and doesn't take away from the photo. Now to tackle lesson 6!2 points
-
2 points
-
2 points
-
2 points
-
lessons 3 a lotus flower and 4 a mug. k heb flink geoefend, ik had de nodes op groot gezet maar toch maar week op klein. en dan flink vergroot. Bij les 4 ging het einde niet zoals het hoort. Ik kreeg steeds de verkeerde swatch om het te vullen. dus veel geprobeerd en toen opeens was die leeg. Goed uitgesneden en gevuld nog wel. Maar er zitten wel witte streepjes lijntjes op. Dus ook deze les moet ik over doen. IK begin het steeds beter te begrijpen wat ik aan het doen ben. Alleen één vraag: Er komen heel vaak GEEN bezier handeltjes aan de nodes????? Hoe komt dat en waar kan ik ze nemen???Ik vind ze nog niet mooi genoeg om op te slaan.2 points
-
Very cool technique, Carole. This workshop has taught me so much. Thank you so much for putting it together.2 points
-
2 points
-
2 points
-
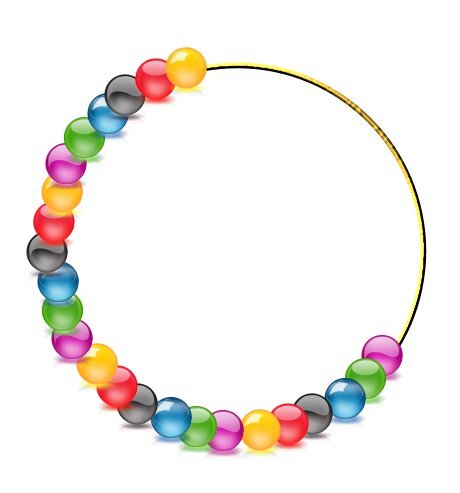
Lesson 7 This is cool. I had only used the knife once before for a lab. I did have to duplicate the 'S' vector layer twice for each side of the 2. It is hard to grab the right nodes to peel back. I had less than 50% average for grabbing the right one. And sometimes had to make the only one I could grab (the wrong ones) shorter so I could see the other node. Is there another way to do it? I need to still make the multi colored beads. Might get it done tonight. I loved this class. I sure was clueless about Vectors before, now I'm a little more informed. One key thing I learned...when I want to "convert to path" I need to switch to the pen tool. I kept forgetting it and that option would be greyed out. Questions: in case they are burried in my text above and you miss them. Is there an easy way to select the right node after using the knife tool. what if the wrong one (the one you want to keep) is ontop? can I shorten it a bit so I can grab the node I want? Is this correct? when I want to convert to a path I ALWAYS need to switch to the pen tool?2 points
-
2 points
-
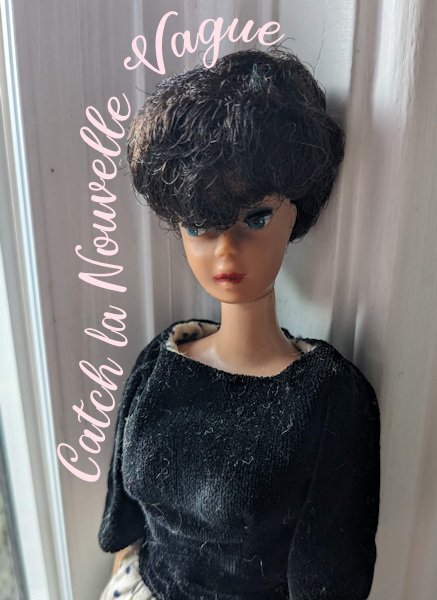
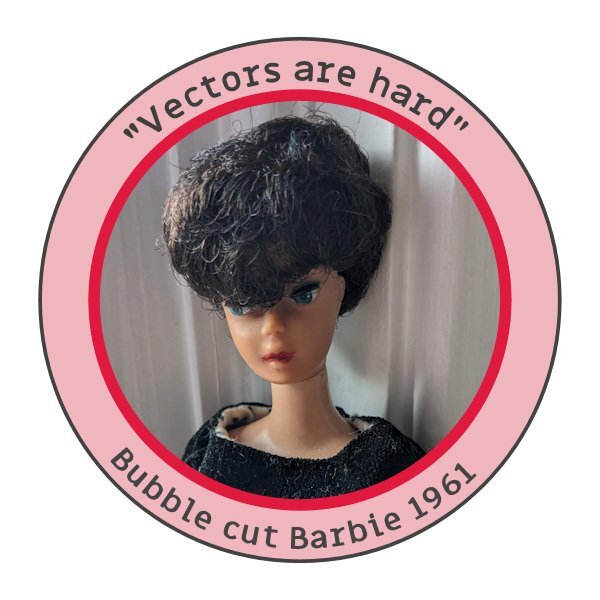
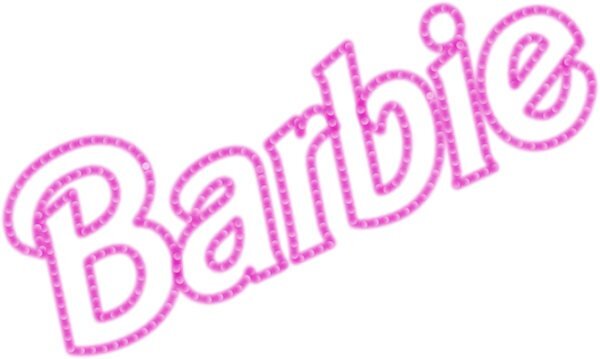
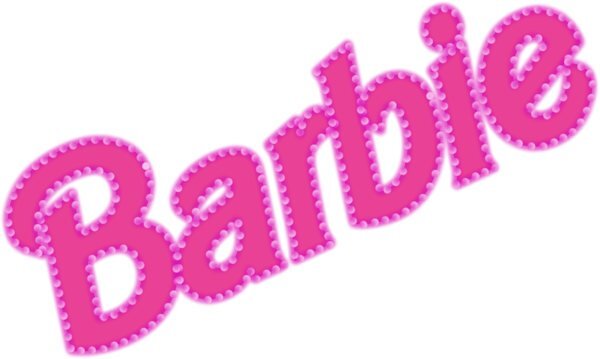
Day 6 "Come on, Barbie, let's go party!" The flower uses pink pearls from Creation Cassel. The outline for the logo is the pink LED light also from the store. The font is Barbie Medium which was used for the logo from the 90s. The new logo doesn't have an official font, although Dollie Script is a close approximation. Of course, the font color is Barbie pink (#e94196). And just in case you really need more Barbie projects, the Barbie font is available for the Cricut as well as ALL of the logos going back to 1959. And now I'm done. No more pink for today.2 points
-
2 points
-
2 points

