Leaderboard


Popular Content
Showing content with the highest reputation on 07/25/2023 in all areas
-
I'm still beavering away on Lesson 5. I love everyone else's work!
 15 points
 -
Lesson 6: I can see I need some more tubes. But I made do with what I had. What a lot of fun this has been and I've learned a lot. Thanks, Carole!
14 points
-
Lesson 5. Another valuable tool for me. I really should have proofread what I wrote, but I was too focused on the process.
14 points
-
Phew, Lesson 7! All the way through this course, I was having a heck of a time selecting a vector object. I just couldn't figure out how to do it. So I looked it up on the Corel site, tried a couple of keyboard shortcuts (notably Ctrl-Shift-B) and suddenly my PSP 2021 sort sprung to life and worked properly. Yay. Persistence pays off, I guess.
13 points
-
Lesson 7 The last two lessons went easier, but I'll have to practice with those nodes and arms Most importantly, I now have a better understanding of how those nodes and arms work. Thank you Carole, this was once again very well explained.
13 points
-
I made now the second cutout for my cup and decorated it with my letter A from lesson 7 , I changed the stroke after finishing the letter to fill and added innerbevel and a shadow13 points
-
Lesson 6
13 points
-
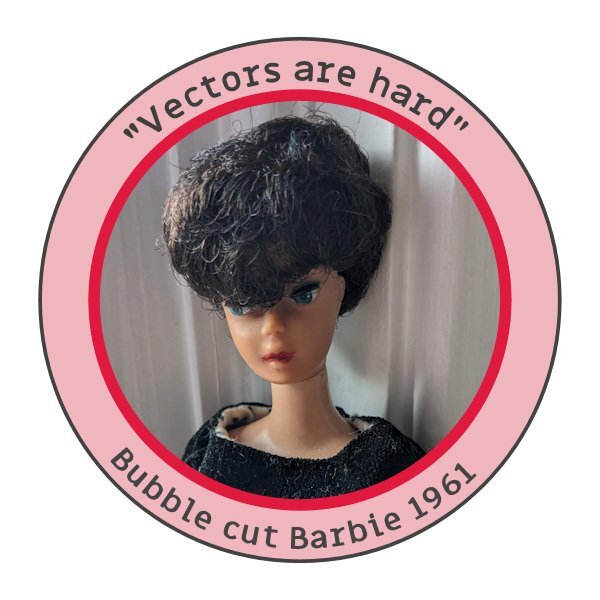
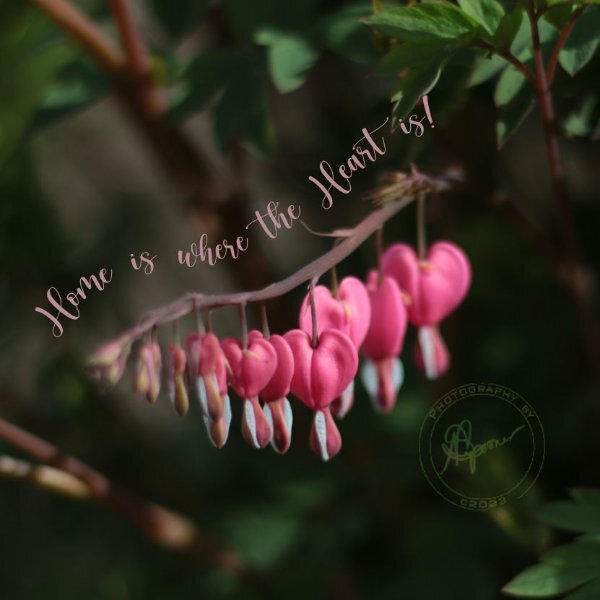
Here is my Lesson 5, Text on a path and a circular "stamp " with text top and bottom. I had already created a brush tip of my photo signature a long time ago and just added it to the center of the new "stamp". As I use mostly all my own photos for these clases I decided to make the stamp a Logo of sorts and turned it also into a brush tip. I then put it on a separate layer so I could change the blend mode to Luminence and the opacity to 59 for this lesson. I usually blend my signature to barely visible on my work so it acts more like a hidden watermark and doesn't take away from the photo. Now to tackle lesson 6!
13 points
-
I've had a busy week, so a little bit behind. But here is my Lesson 6 attempt.
12 points
-
I made a Christmas rope using the customdirection script. I adjusted the size to 50 with 8 across and 9 down. I think it came out a lot better than my previous ropes.
12 points
-
Lesson 5, and I've fallen behind again, and so much has been added in the meantime, nicely done everyone!
12 points
-
Lesson 7
12 points
-
I have really enjoyed this class...I hope I can remember it later. Here is my Lesson 7 result. I found out when you convert a letter B to a path it makes one path for all 3 parts of the B. I had to cut 3 paths to get just the straight parts, but it was more practice doing it.
12 points
-
I tried to make a string with the cass customdirection script. It saved a lot of work, but it doesn't seem to be as tight as the ones from Carole. Carole, am I missing something?
12 points
-
Well, I took the entire weekend off so I didn't get to lesson 6 until this morning. Here is my Lesson 6 result - a sailboat with VectorTubes applied to the outside edges of the sails and the top edge of the boat. These paths were not enclosed since I drew 3 separate lines to make the paths.
12 points
-
Wow! Now completed Lesson 7. I have never worked with Vectors before, some I found very hard and complicated, but I got there with the help of these lessons. I have included my effort.
11 points
-
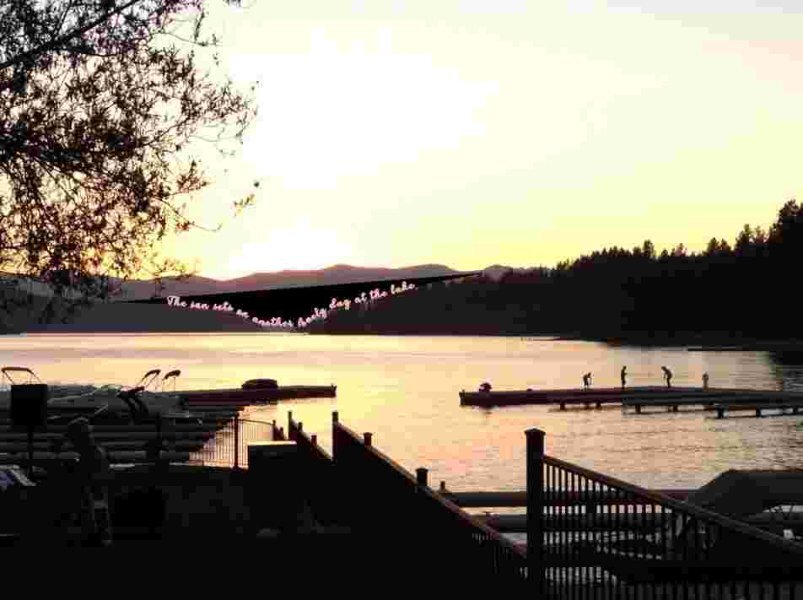
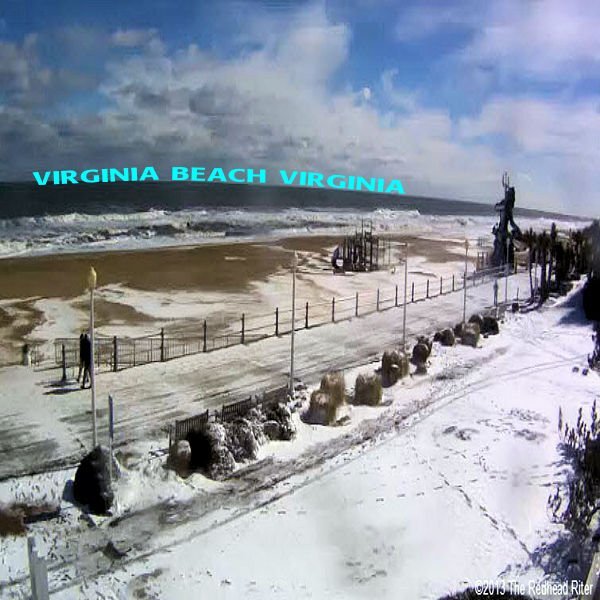
CASSEL: Thanks for asking but I now have Lessons 1 through 5 downloaded to my computer to review after I get through the last lesson. I am so glad you liked those funny cups of mine. Here is my take on Lesson 5. 1- The Beach here with snow. 2- Something I played with in Bryce 3-I used the Basketball Vector and some 3d modeling on the interior and exterior on this one.
11 points
-
Completed Lesson 2. ? Here are some of the vector shapes I played with. I added color, pattern, gradient and stroke. Then added a background with texture Asphalt. Thank you Carole, for all your help getting around the glitches in PSP23 Ultimate. I also played with the little loop option you showed me. (First shape on top left) I love it and I feel more comfortable with all these nodes.
11 points
-
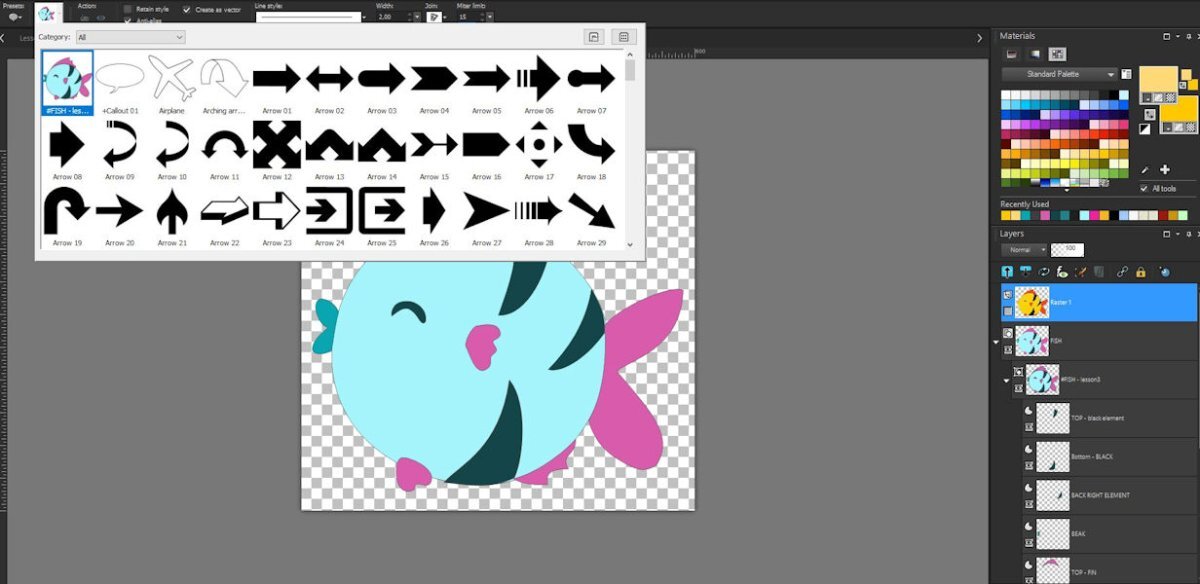
Great new additions to this thread. It's a joy to scroll through all the creative work posted. Here is Lesson 3, extra practice. It is a screenshot of the workspace, as creating the shape was already a lot of work... This was a good practice, but I am not keeping the preset. Now, onto Lesson 4, extra practice... I still have to figure out how I will do the "dots as cutouts and have the large piece underneath."... But I am closing up shop for today. ?
11 points
-
Finally completed Lesson 6 and just to show you what I did. I think I will be able to have some fun with this one. Included a little something to thank you Carole. Is there a way to make a shape that would include the text and the tube, something similar to the one I have downloaded?
10 points
-
I too loved this lesson, it was so much fun to watch the script run around! I too played a lot with this script. Here are some of my favs...
9 points
-
Leçon 7 Mon dernier jour. Je suis content de l'avoir fait. Merci Carole pour ce bel atelier. Ces cours seront très pratiques. Je commencerai à parcourir les messages plus tard dans la journée.
9 points
-
Very cool technique, Carole. This workshop has taught me so much. Thank you so much for putting it together.9 points
-
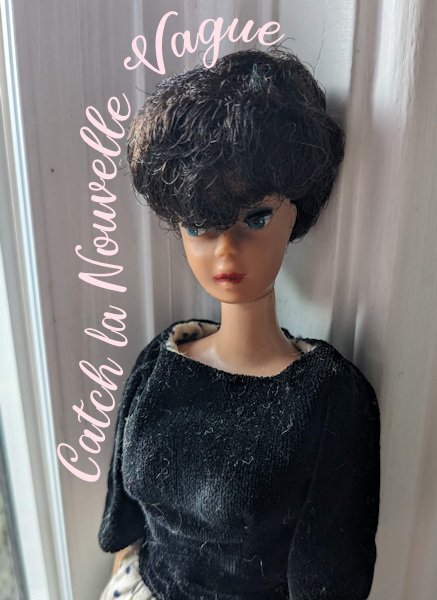
I'm sorry I didn't react (yet) to all the posts here........been doing a lot of other things.Now trying to catch up ? My lesson 5 ? Picture is from the internet ?
8 points
-
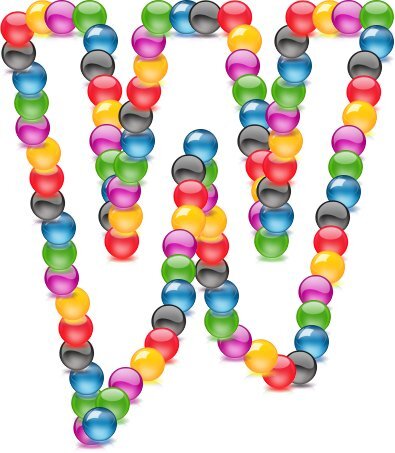
Lesson 6, part 2 or 3, not sure...that last one, with the text! I fought with this last night-I'm not sure if there is a glitch in PSP, or in the script, or in my laptop. Carole and I will look at it later today. But for now, I will post my 2 attempts that I saved. I had many empty layers, multiple times ? On the one with the balls, I edited the nodes first...maybe that sent PSP into a tantrum ?
8 points
-
Lesson 5
8 points
-
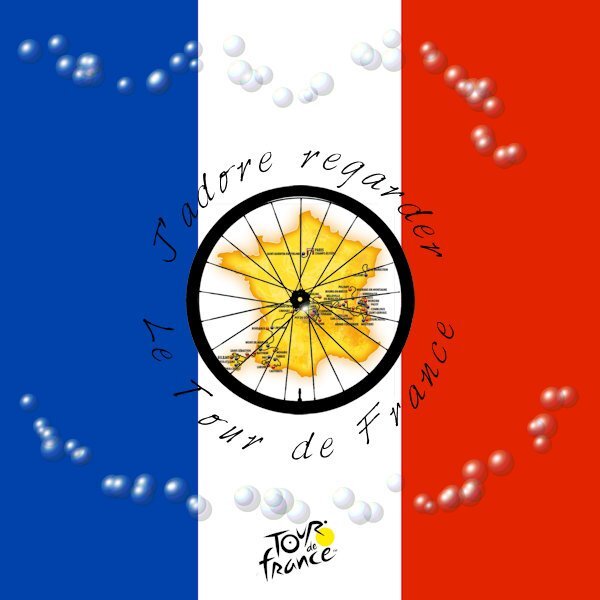
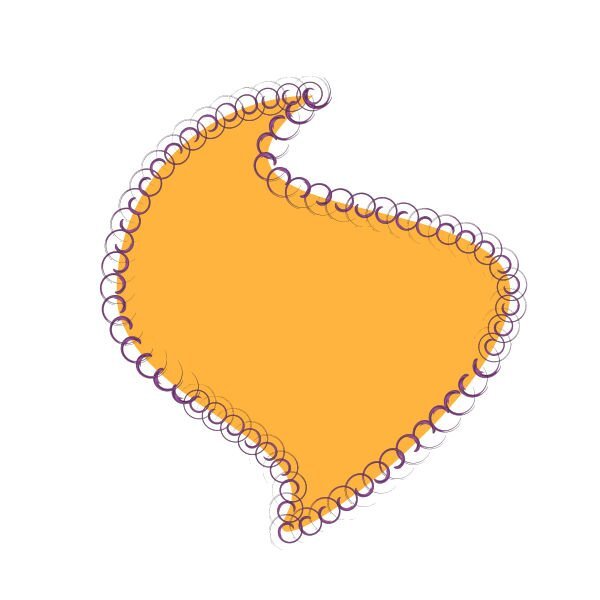
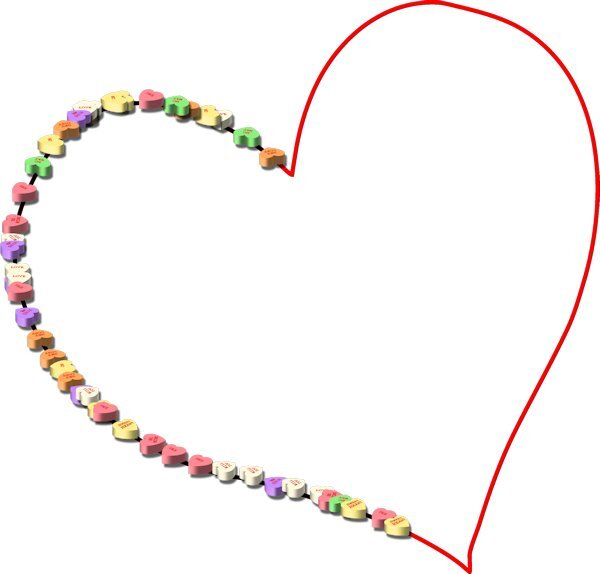
For the last 3 weeks I have been glued to The Tour de France (except for when I attended the workshop!) so now the Men's race is over I thought I would make an image for it practicing some of the vector workshop skills. I used one of Cassel's Picture Tubes trying to represent the polka dot jersey but I was fascinated by the accidental effect I created so left it at that; The background colours show through the transparent bubbles. Coolio! I think my French here is correct.
7 points
-
Lesson 6 - I loved it. I have played and played with this. I can see myself using this a great deal. I took one of the labels I had made and used it for this lesson. I placed the silver glitter tube around it and then hid the label and added text. Thank you again for a very useful lesson!
7 points
-
Lesson 6 Made yesterday but didn't have time to post
7 points
-
lessons 3 a lotus flower and 4 a mug. k heb flink geoefend, ik had de nodes op groot gezet maar toch maar week op klein. en dan flink vergroot. Bij les 4 ging het einde niet zoals het hoort. Ik kreeg steeds de verkeerde swatch om het te vullen. dus veel geprobeerd en toen opeens was die leeg. Goed uitgesneden en gevuld nog wel. Maar er zitten wel witte streepjes lijntjes op. Dus ook deze les moet ik over doen. IK begin het steeds beter te begrijpen wat ik aan het doen ben. Alleen één vraag: Er komen heel vaak GEEN bezier handeltjes aan de nodes????? Hoe komt dat en waar kan ik ze nemen???Ik vind ze nog niet mooi genoeg om op te slaan.
7 points
-
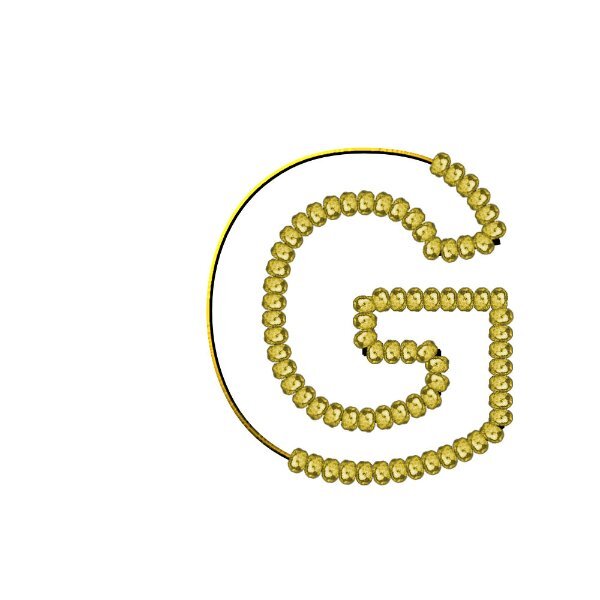
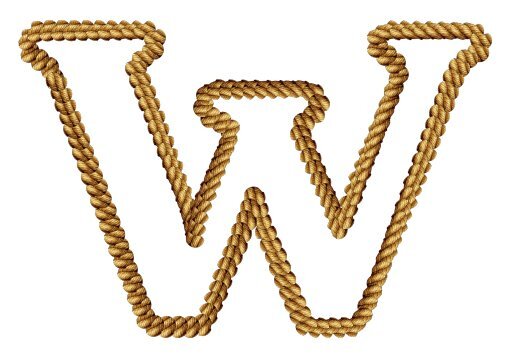
I have had another look at my gold' Cook' and have been inspired by others using cutouts so I have made another version. I made an outline of the text with no fill as the basis. Duped the layer & filled to make a cut out using Selections From Vector Object. Then created the Picture Tube, bevel outline & shadow effects.
7 points
-
Sorry for the two mailings, I couldn't put them in the same message.
7 points
-
I used one of my shapes for this , after work I do it with a letter . background made with a solid color and some brushes in different colors.7 points
-
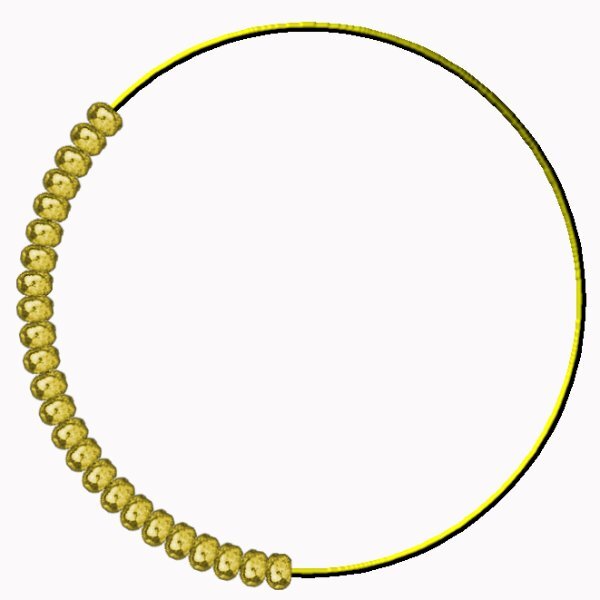
Thanks, Cassel. I downloaded the Q&A for June and played some more with the scallops (balls) in a line. It worked and this is now my shape.
6 points
-
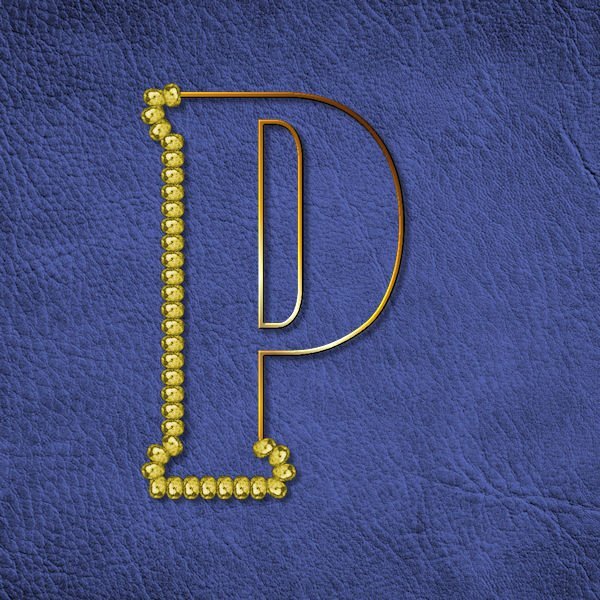
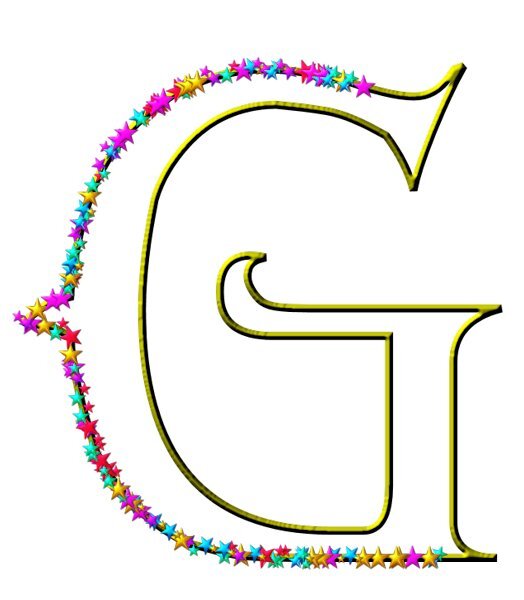
Lesson 7 was another great lesson that I will use! Thank you Cassel for the great workshop. I truly enjoyed it. I created a letter with flowers for this lesson.
5 points
-
I found that I have been skipping the step size. I started using 50 for the starting size, 5 across and 3 down, which seems to be working ok. I going to try increasing the rows across and down and see if that makes a difference.
5 points
-
Just wanted to thank Carole for these lessons. Got me back on track after my hiatus. Amazing how much can be forgotten when a skill is not used, even after a short time. Also want to thank the community for all their good work and questions. ?5 points
-
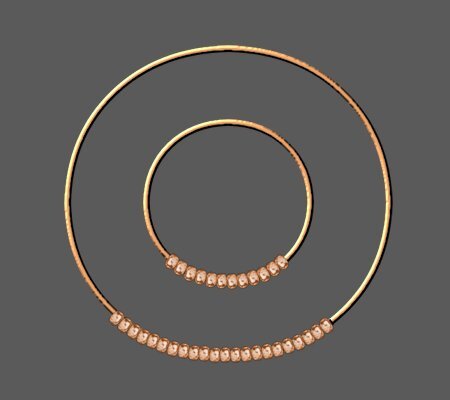
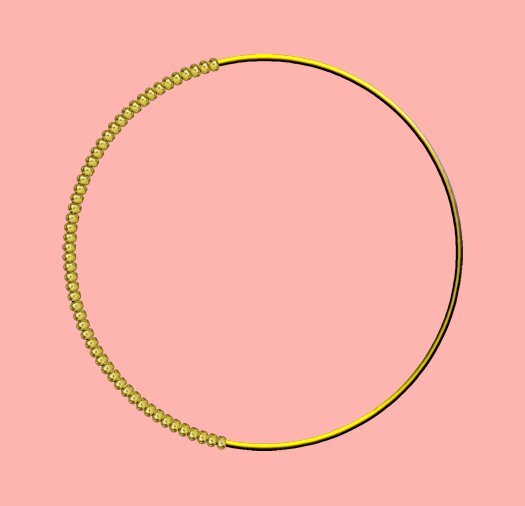
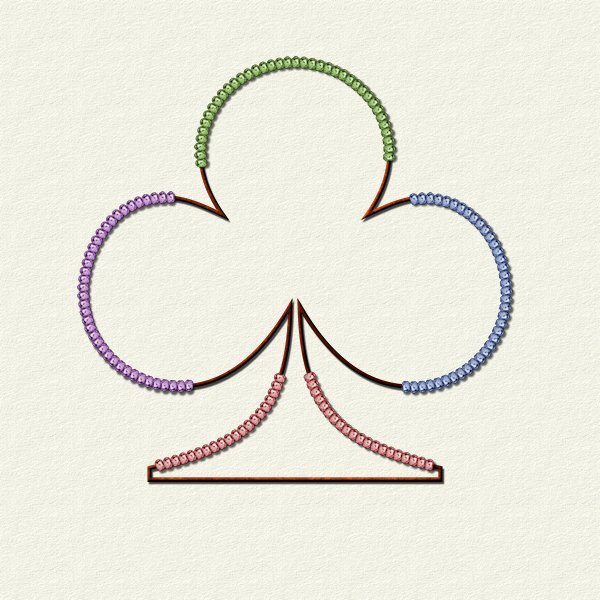
Lesson 7 Extra I used a preset shape and the Hue Map to change the colors of the beads. Added bevel on the wire part and shadows and placed on lightly textured background. Thunder and lightning, it's 1am and I cant sleep. gotta get up at 5am. I'm going to tired tomorrow. Thank you Carole, this was a great eye-opening workshop. I never thought I would understand Vectors and managed to bumble through them in the few labs I've done. This workshop has given me more confidence in using them.
5 points
-
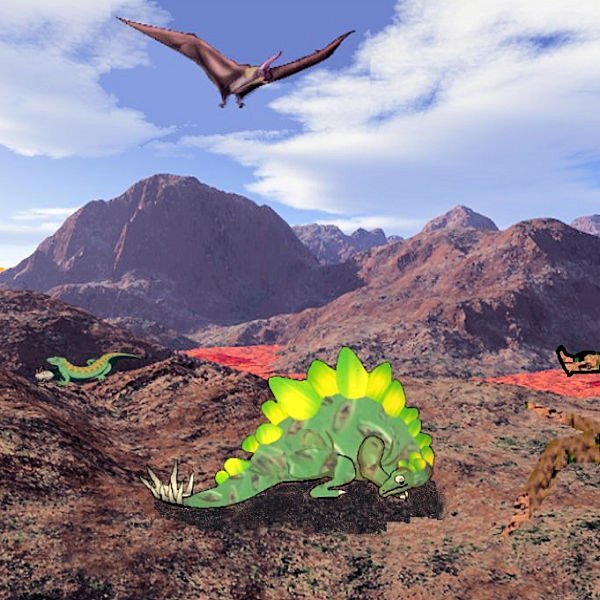
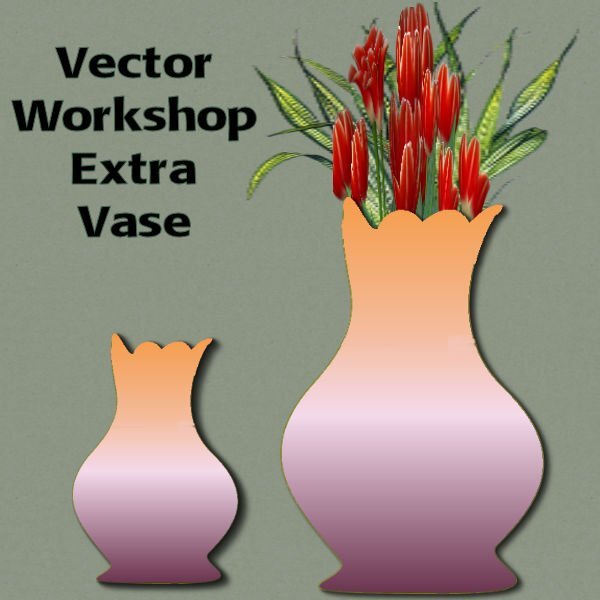
I think I figured out Lesson 4 from what you all have been posting. I hope I am right as it seems to be : 1) Cups and mugs 2) Dinosaurs 3) Vase I did not try to get into any lesson until I clear my cache as suggested but with a Trilobite drive it will take 2 days and I want to finish as I did need a refresher course on vectors. Cassel: it's 1:36AM and I got into Lessons 5 & 6. Still locked out of lesson three which I would like to have to see if I am doing things correctly. My thanks in advance for your help and for this workshop.
5 points
-
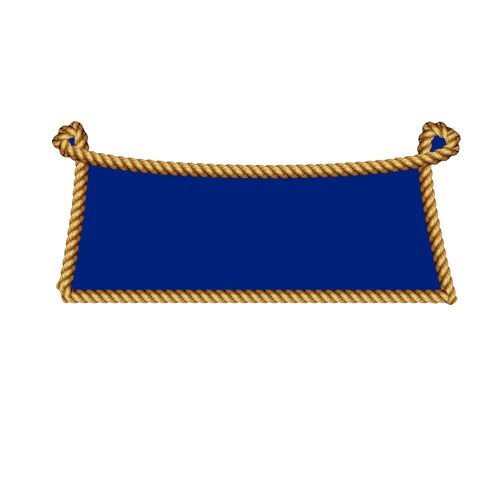
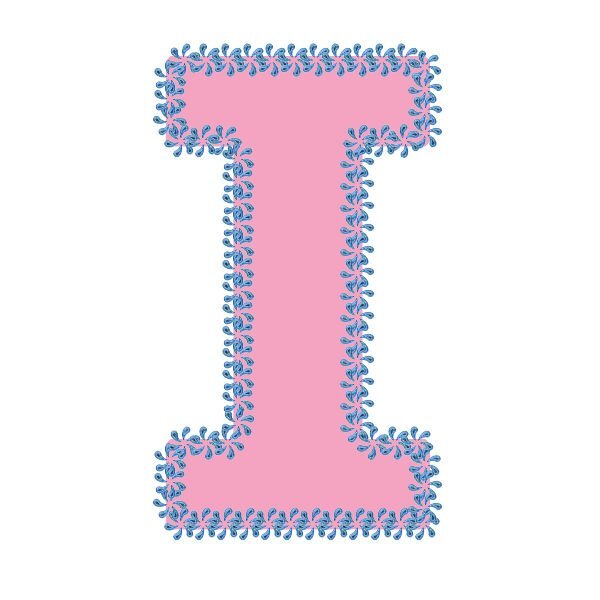
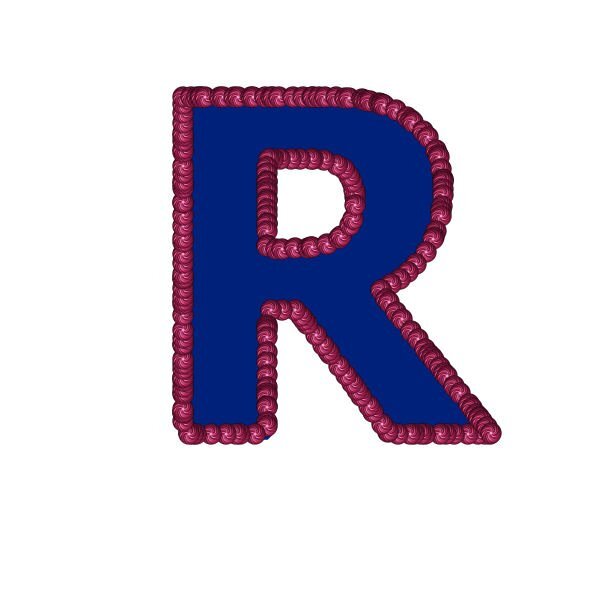
Lesson 6 - Loved this lesson, and could play around with this for hours ? I just noticed that in my haste I didn't bring in the bottom nodes of the gold rope frame in... 'I' is my grandaughter's initial (age 6) and the 'R' is my grandson (age 2) ❤️❤️ My few creations:
4 points
-
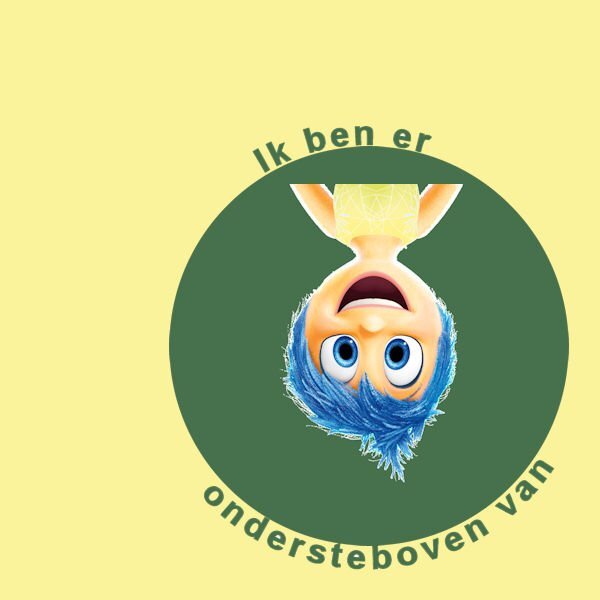
Lesson 5 part 2, text upside down Text says: I'm upside down. Picture from the internet. I wanted to have the top of the b and d against the green layer, otherwise I would of been inside the circle. Have to practice this once more!
4 points
-
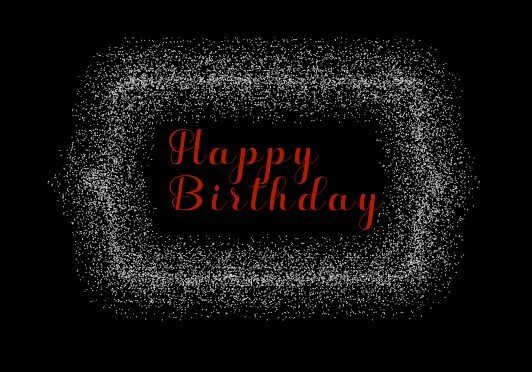
This is an updated version of a theme they first gave us back in 2016 (see 2nd pic for the original). If I want to reuse an idea from then, I have to modify the dimensions for FB. The background was made using the Balls & Bubbles effect over a black layer. Before you give me credit for that lovely text, on a rare occasion back then I used Flaming Text logo designer. I updated it for today's layout. I imagine I could have created it myself, but I didn't have enough time.4 points
-
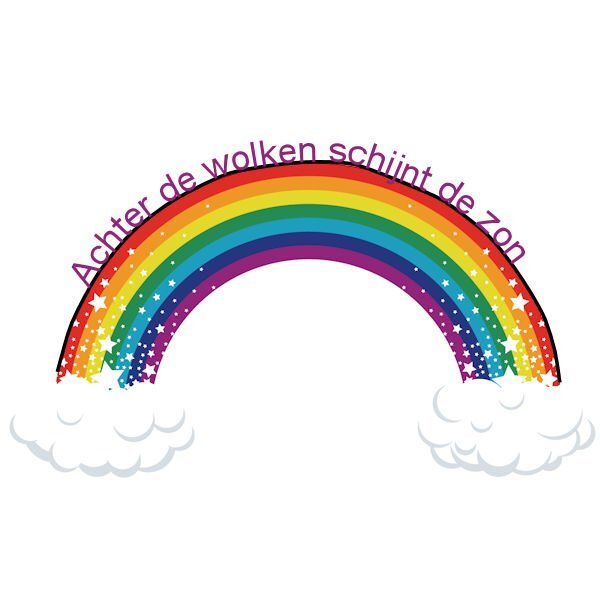
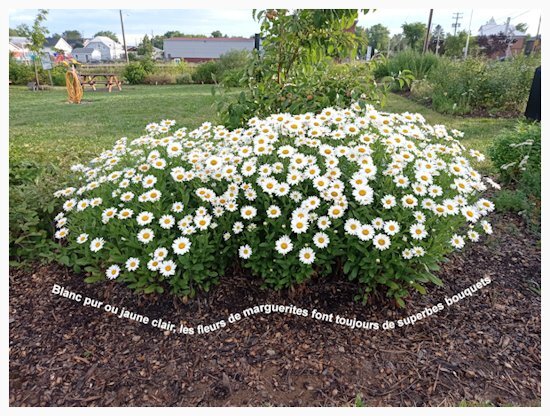
@Dorothy Donn Did you manage to watch the videos in the end? It is quite fun to see you add photos to those cups. That would be a very interesting way to showcase photos. @Susan Ewart The Hue Map can be a great tool to get different colors. @James Brady I am happy that you didn't give up when it was difficult. And yes, I knew that Vectors were challenging for a lot of people since MOST users don't tend to use them, and those who do, often use only the most basic functions. I can think of even more advanced features to explore, but I think this will be enough for a while. @Anja Pelzer Even an "odd" shape can give a great result. Those pearls look so good with those curves. @Jnet Allard Quel beau bouquet de marguerites! @fiona cook As you might have noticed in the lesson, I was "testing" the size of the rope tube. That is exactly because the script will use those last settings. @Mary Solaas Line Styles have been addressed in the June Q&A. Have a look and you can use the round shape to make the line. @Linda J Walker I am glad that I was able to scare your PSP into obedience! That is my super-power. @MoniqueN. On the rainbow, you could also hide the path so it would only keep the colors and no black. @Michele I hope to see those techniques applied to future projects, even for your gaming group! @Donna Sillia I am really happy to see so many participants start, but mostly, NOT give up when it was difficult. @Bobby Yeater That sailboat looks like a handmade craft collage with ropes. When you add some shadow to the rope, it will really pop out. @Anne Lamp Don't worry. I have added all the lessons to the Workshops section of the DIAMOND members. @Cristina That fish is so cute! @Lynda DiGregor So much gold! That was an expensive lesson ? @Marie-Claire Nice to see Poncho! Can we choose him as our Campus mascot? @Natalie Spooner You can also turn your logo into a picture tube. @Cindy Lawrence The process is the important part of this workshop. The details will be refined later. @Connie Collier What PSP version are you using? Did you download the Creative Content? It would have additional picture tubes. On the other hand, there are lots in my store (but they are not free), HERE. @Leslie Gifford Cook You are catching up nicely! Keep it up. You are almost done. @Anita Wyatt Yes, it is fun to twist those nodes as it creates very interesting effects.4 points
-
Thank you, Carole, for this wonderful, intense workshop!!! ? And thanks to everyone posting, I learn from each single post.4 points
-
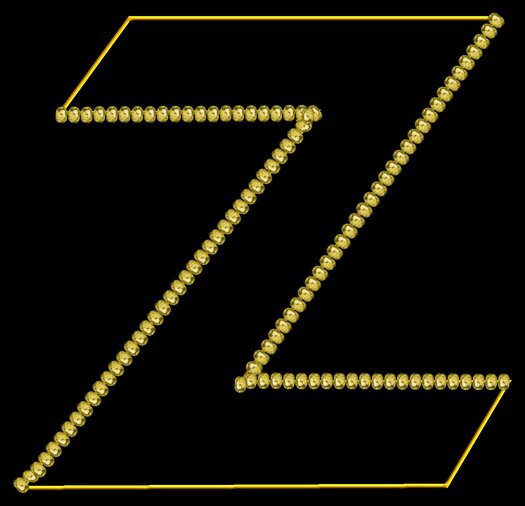
Thank you Carole for a very creative workshop with all your valuable help (and for everyone's inspirational and varied ideas and comments). The Picture Tube reminded me of embossing so I tried to make my surname look like it was made of gold metal. I presume that the VectorTube script knows to run with the settings for the last selected Picture Tube. Is that correct?
4 points
-
It's been a Great workshop. Very difficult at times but worth it. I used the candy cane picture tubes by Cassel, the Santa Claus from Janet Kemp at Digital Scrapbooking and some black paint I had in the garage. I had problems with my PSP 2023 early on and switched to PSP 2022 which worked fine. The problem with PSP 2023 was that it would "ghost Out Or make the text faint and unstable" when I tried to save it while doing these vector lessons.. I compared settings in my PSP2023 with those in PSP2022 and made them all the same as PSP2022. This found one problem. The "create as:" tab on the Text tool bar was set to "selection" rather than "vector". On the far left of the text tool bar is the Presets: tab. I opened it up and clicked on the "reset to default" icon. These two changes fixed the problem in PSP 2023. I recommend that each of you take some screen shots of your settings in "Preferences" and notes about the setting on your tool bars with "drop down" menus. Do it when your PSP is working good so you can check it out when it isn't. Thank you Cassel for all the work you put in on this workshop and all of you others for your comments and rating of my submissions.
4 points
-
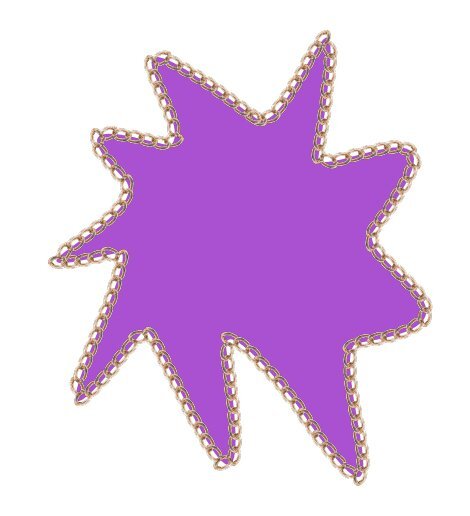
Thanks, Ann, but I cheated and used a pic of a podium on Google, removed the background, and changed the color (it was originally purple). I can't imagine how long it would take me to create it from scratch. Maybe I'll try that challenge!3 points
-
Carole, thank you so much for a wonderful workshop. I am going to repeat it so that maybe some of it will stick for future use. The directional tube script is addictive, and I love playing with it. I need to make some more elements to use with it. All your workshops are great but this one was outstanding because the subject is so difficult for me.3 points
-
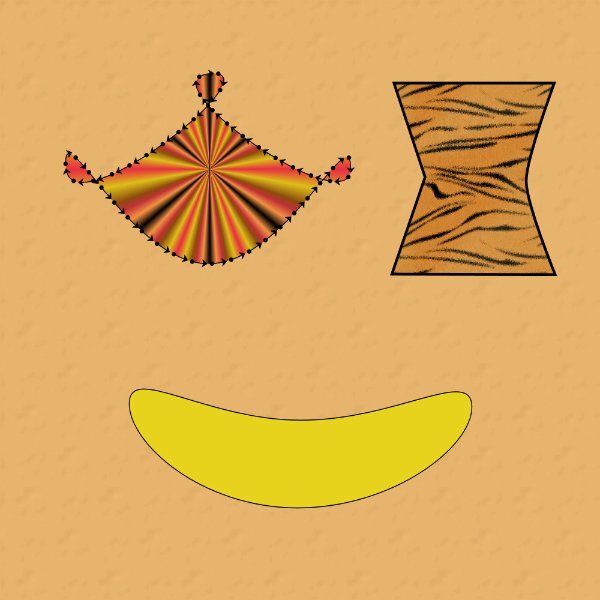
Day 7 The idea of the fringe on the B was to be an homage to the opening curtain of a Broadway show. But, it looks more like my hair "style (?)" in the 70s.
3 points
-
I usually add a few more elements but overall it turned out good. I made the template.
3 points