Leaderboard
Popular Content
Showing content with the highest reputation on 07/20/2023 in all areas
-
12 points
-
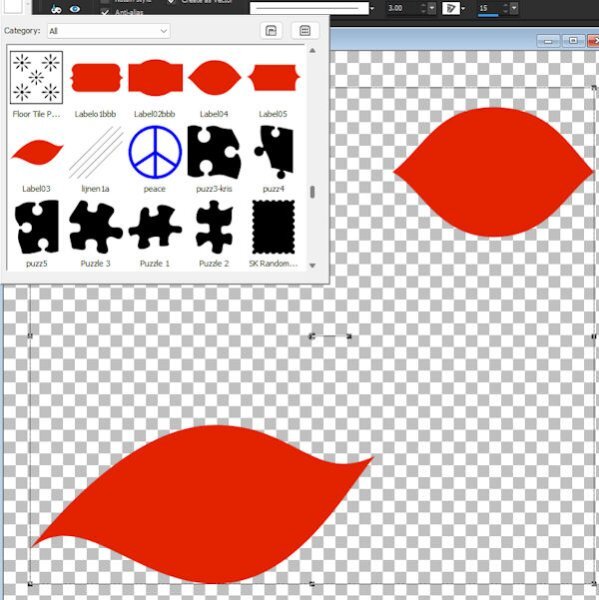
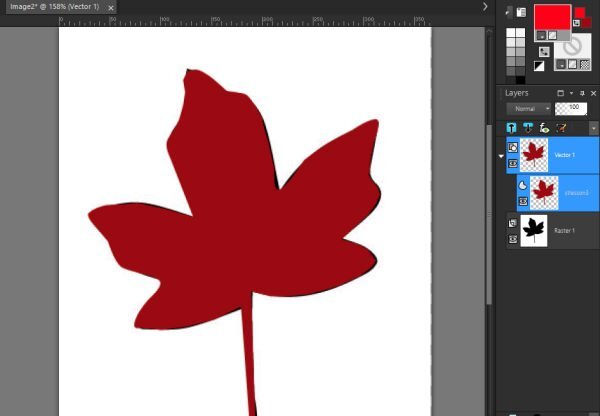
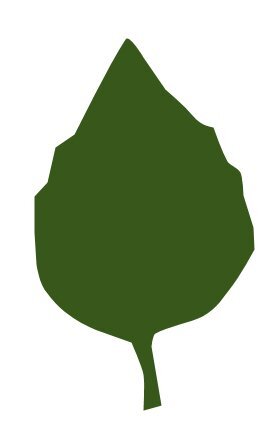
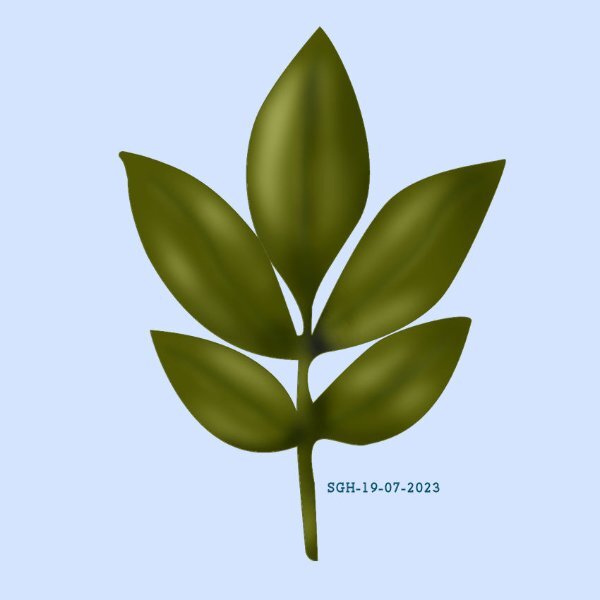
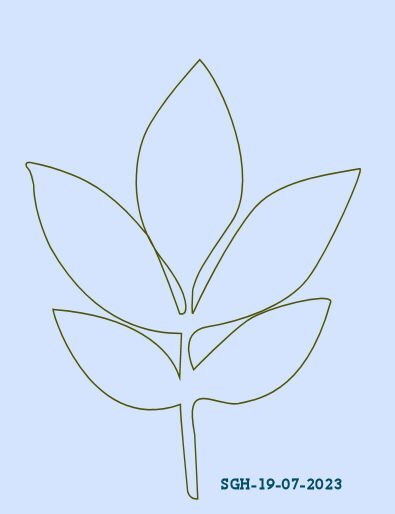
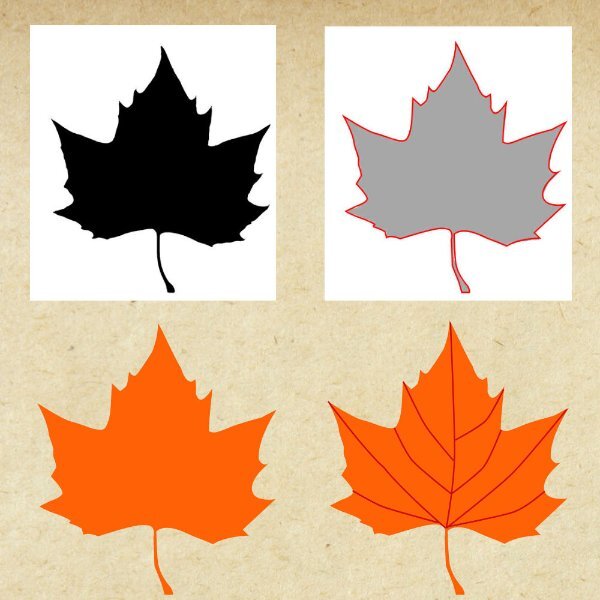
I spent most of the day trying to put lines on my leaves. I finally gave up, although I copied the spine of one my leaf pictures and pasted it on my leaf. It was very straight so I used the Warp noise brush, blend mode, and some gaussian blur. I darkened the middle and used a cloud texture under Effects - Texture. The green is a gradient. I just noticed a little tag left over from a misplaced node and just erased it.12 points
-
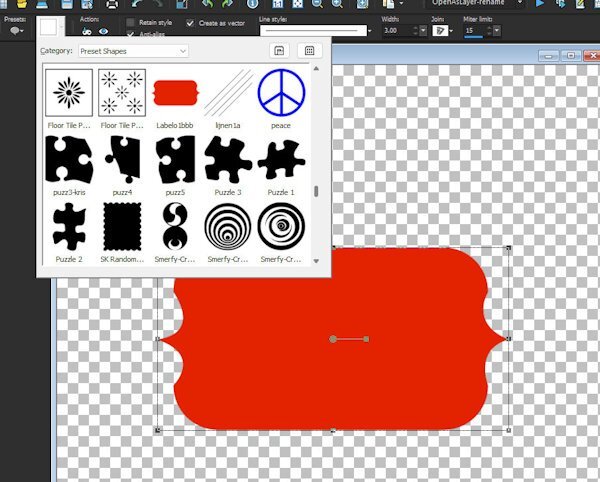
I was ready to wrap it up after the second one, but I pushed myself to do the third as it was more complicated. I ended up adding a bunch of cusp nodes for that one.11 points
-
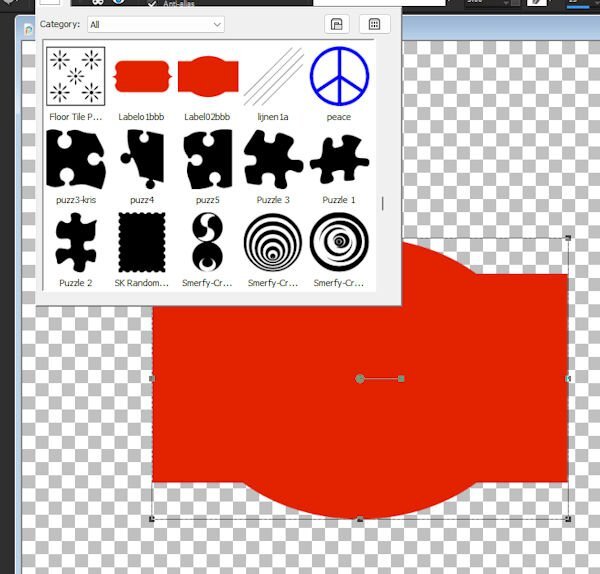
Thought I had better get going on this workshop as you are all handing in such awesome work. SO here goes my versions of the first two lessons. Like some of you I struggle with getting the order correct for getting to the nodes and changing them but I am loving the learning curve. Thanks again Carole for sharing your expertise. ?10 points
-
As these techniques are quite tricky, I have found it easier to do my first examples at the same time as watching Carole's video so I use the same image as in the video. (My version had finger grips for the handle only by accident!). I haven't had the time to do other ones yet but have taken notes and tried to summarise the main stages. I have a question on the CRAC and Paste stage. Should the Pen Tool be still in the drawing mode or Edit mode?10 points
-
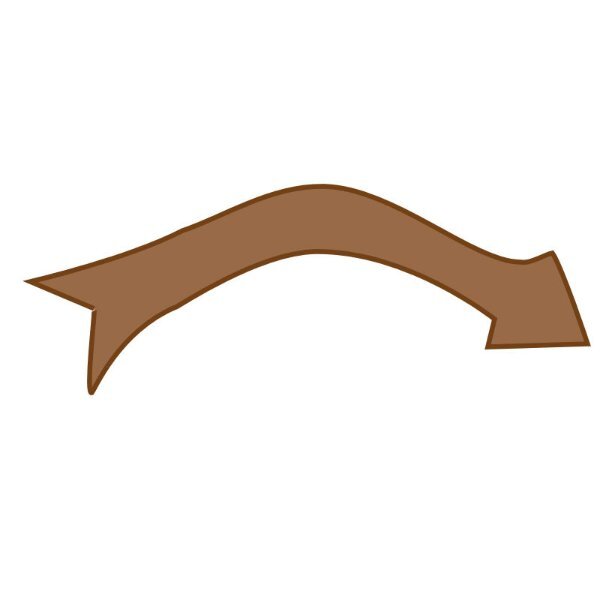
Crazy busy here so just finished lesson one. I will upload my crazy heart and arrow. I am finding it very difficult to get a hold of a node in order to move the contour of the line. I right click edit mode once I have activated the pen tool but can't consistently adjust the line at the node the way I want. Sometimes it just moves the whole image and sometimes it looks like it is trying to draw a box ....10 points
-
10 points
-
9 points
-
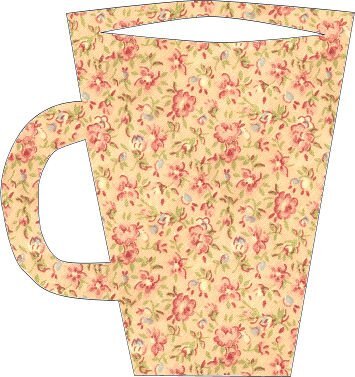
this was again a very interesting lesson, thank you Carole, you are a wonderful teacher, here are my mugs9 points
-
I'm back. Thanks to Carole sending me links to the lessons that were in my email that Bell was holding hostage due to technical issues with their system. I didn't get fancy, just tried to replicate the sample in the lesson. It looks like I am in good company with this group as most are finding the workshop tricky. I am beginning to appreciate all the work designers put into making shapes for sale. The price on those shape package that I was admiring seems very reasonable now. Anyway, here is my attempt. Sharon9 points
-
9 points
-
9 points
-
Day 3/Lesson 3 - I watched the video this morning. I felt a bit intimidated....but I had an appointment and errands to do, so I could procrastinate ? But this evening it seemed less intimidating, or easier. It was not as difficult as I expected it to be. And I tried to pick the easiest leaf ?. Gaining a bit of confidence, I think.9 points
-
My biggest problem was seeing the lines to move the nodes after you selected the node type. One thing that helped me in the leaf project was to set the leaf vector to invisible while I was trying to get on the line to move the curve of the node. It was a lot easier to see it when visibility was turned off.9 points
-
Hi, if you click on a node and then right click and all the choices for node type are greyed out, does that mean you really haven't clicked on the node? Is there any way to tell that you are clicking on a node or somewhere else? Also, often times when I am trying to click on a node I get the white circle with line through it. I know how to rectify that as you told me this morning to just go into the layer palette and click on the ellipse again, but do you know what I keep doing wrong? From watching your video repeatedly, you are able to manipulate the arms so easily. It took all day but I got an arrow and a heart.9 points
-
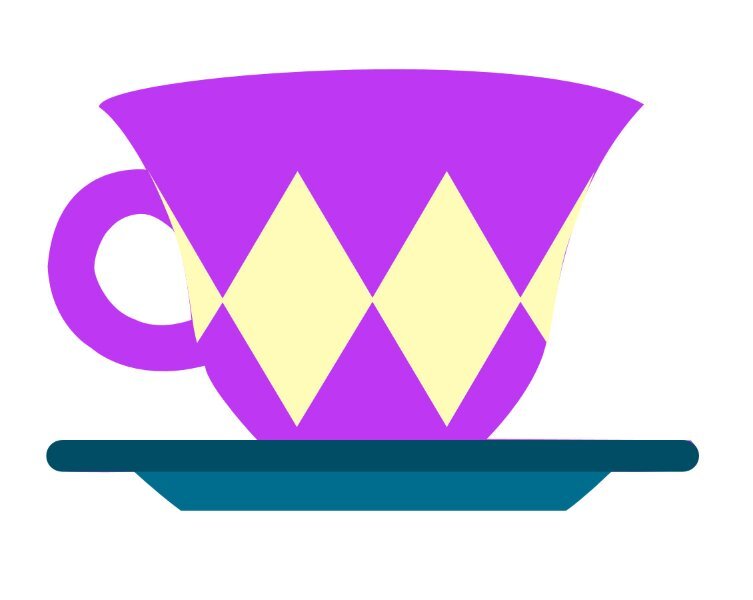
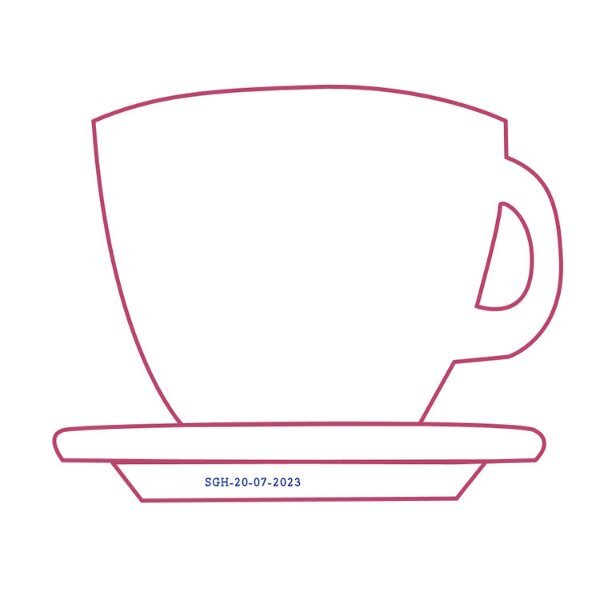
This one was a little bit harder for me...and I used some learning from the previous modules. I didn't color the handle because I didn't have enough time...it would be done just like the saucer and diamonds though, so I think I could do it. If you look closely, you can see a few flaws on the edge of the cup where the diamonds are...again, not enough time to make it perfect. One thing I learned is when selecting nodes I hover my mouse over the center of the node until the cursor changes to a four-way arrow (like when you are moving an object) and then left click to select the node. It worked every time. All you pros just keep posting your results because I learn from just looking at how you put your ideas into the graphic. Also, you can chuckle a little at my lack of artistic abilities (like the color combinations I choose, etc.).8 points
-
Lesson 4 - A bit of a challenge in a few parts but got there in the end. Not sure if a glitch in PSP 2022, but most probably me ? Had to watch and re-watch the C R A C instruction as after 'paste' I couldn't move my cutout even though it was selected - the 'move' cross wasn't there. This happened a few times, and then I don't know what I did different but suddenly it started to move.... With the popout/cutout on the inside of the mug I was impressed that when I went to fill it, it filled it with the colour without covering the background with it - that's what I thought would happen, but I'm glad it didn't ? Definitely need to work on the curves more, but here is my attempt:8 points
-
Working with vectors does require lots of time and patience. Things don't work smoothly all the time. But ultimately, achieving something I didn't know was so rewarding. Lesson 4 - Along with making the contour, there was a lot of hide-and-seek of the arms! ?? ... It happened a few times yesterday, but today was a lot... I had to move the nodes outward, trying to see where they were. If this didn't help, I would change the node type, back and forth, until the precious arms would be kind enough and show themselves... Sometimes they were so, so close to the nodes. Having said that, I loved this lesson. I learned a lot! The contour separating the cup from the saucer was done afterward, so it's not shown on the preset... I started working on the extra practice for Lesson 3, but it requires more time... Will try to finish tomorrow.8 points
-
8 points
-
7 points
-
Lesson 4 - I was doing okay, then I had to pause to tend to something else. It was downhill from there ? I thought I would get fancy and put one of my labels from lesson 2 on my mug....but I got tripped up there. Decided to just put the heart that was on the original . But I guess if I wanted to change the color of the heart on the mug, I think I needed to do that before I pasted it on the vector of the mug....my brain is confused now....so I think I am going to call it 'done' for now. There are more things on my to do list for today.7 points
-
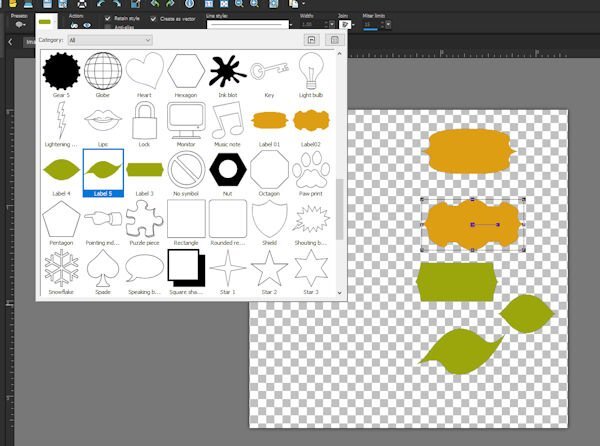
Lesson 2 assignment completed but not without issues as detailed to Carole already. BUT - I won't be able to do lesson 3 & maybe not 4 for a bit. my email locked me out saying that I was entering "invalid credentials". After a half hour waiting on the service line at Bell, I was told that they are flooded with similar calls from customers who can't access their email. Even their technical chat line is affected. Their only advice is to try again tomorrow several times as they have no time line on solving the problem as they don't know what is causing it yet. My cyberlife is becoming a black hole of technical errors. Time to bake brownies I think. I will resurface when my email is back & I can get the lessons. Sharon7 points
-
7 points
-
I just signed up. I hope it's not too late to join in the great little nodes hunt.7 points
-
7 points
-
7 points
-
7 points
-
I am glad to hear I am not the only one who 'deletes and starts over'.....sometimes several times.....6 points
-
Here are the leaves I made and exported as shapes. I'm more familiar with those nodes now and have made some notes from Carole's comments. It is getting easier and I didn't have to start all over this day, but I have to take it more slowly because it is very strenuous on my hands. So nothing fancy, only the shapes I did. I want to be able to follow along the coming days, so the other shapes will have to wait.6 points
-
Well, I must say, there are a bunch of talented people in this class. To everyone, I enjoy looking at what you create! Lessons I have learned so far: 1. Go at your own speed - mine is slow. 2. The only way to get better is to practice - practice - practice ( I wish I had more time). My wish is that one day I can be as good as y'all. Here is my Lesson 3 result...a fantasy leaf with LSU colors. Geaux Tigers6 points
-
6 points
-
They aren't intuitive to me either. PSP was a steep learning curve for me. Thank goodness I had the Campus was able (after some time) to join the Diamond Membership. I started with the bootcamp and then went on to the Basic Scrapbook Course and now all the Workshops (that are free but only available for a certain time when they are offered) are in the Diamond membership to use when we wish (as well as all the Lab tutorials and Master classes). It's perfect for giving you something to learn when you dont know what to do next.5 points
-
Susan, thanks so much for your comments. Geez, of course, a Diamond membership it the ticket! This workshop coincided with some time off from work so I usually don't have the time to devote to this (I need a lot of time, computers are not intuitive to me at all) but I think I will sign up. Thanks again!5 points
-
5 points
-
5 points
-
4 points
-
4 points
-
I wholeheartedly agree! For this workshop I print the guidebooks so I have them next to my pc and I write these very useful tips down and have them ready to refer to when needed.4 points
-
4 points
-
Here is Lesson 3. As I started late, only tomorrow I will do the extra practice. The first time I did contour was long ago, probably a Masterclass, not sure... So this was a good exercise... Just need time and patience with all the nodes to edit, but the result is rewarding...Also, we can do so many things with technique... I made one preset and added some lines to it for practice.4 points
-
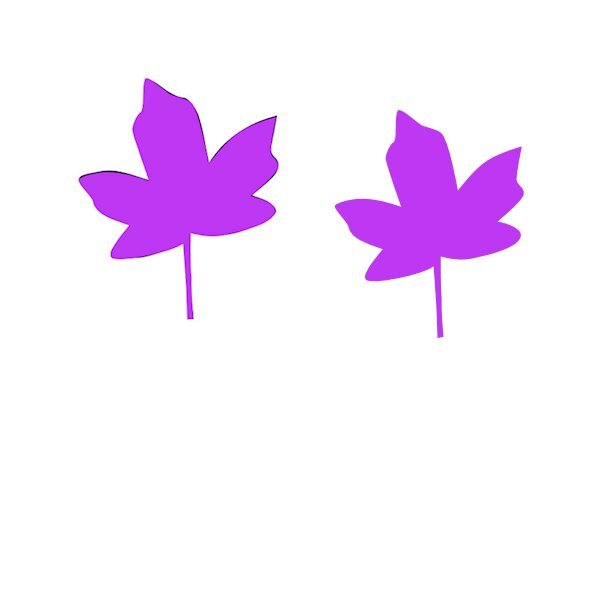
Lesson 3 Leaf Today I went back the basics of the way I learn. Sloooowly (thank you Corrie for that advice to slow down). I followed and paused the video at each node around the leaf. I used the same leaf so I could get a better result. I also realized I might be "over" clicking and getting weird results because of it. I think I was clicking the node to activate and then right clicking and I wouldnt get the same result as the video. Then I start hoving over it until I saw the 4 outward arrows. Sometimes it took some hovering to find it and not the other two symbols. Also I was not holding control FIRST then moving to the line to see the +ADD symbol. I have a few questions to straighten me out (below). The leaf on the left is with the black underneath to see how close I came and the second is after I saved it and tried out the preset. Of course I had a freeze up...only because I had forgotten to clear my temp files and do a disk clean up for 3 days. Do we in fact click to activate the node then do we right click on the node to select the node type? Or do we just hover over the node and see the 4 arrows, THEN right click to select the node type? (so dont click first, then right click again..what I was doing that didnt work) And do I have to see those 4 corners or does it matter what ever symbol is showing as long as I hover over the node and then right click? When you make a selection does it matter where you hover the cursor to right click to select nodes? Hope this makes any sense. I'm trying to learn the correct way to approach the nodes. I had a way easier time and only a few times using undo. At one point I was careless and moved the whole leaf over. It's hard, but today I feel like I had a little win.4 points
-
4 points
-
4 points
-
Jackie, Corrie is a Diamond member and we get guidebooks. You have to make your own with screen shots, but it can be done, and easily, too. You simply take screen shots of Cassel’s screen as she’s showing you the tool settings in the beginning, by using “print screen”. You can trim it up in PSP, and then use MSWord or your word processor to make the guidebook. Words will be the “meat” of what she’s showing, and you type them in. When she shows something, or zooms in, you take another screen shot and paste it on a new layer in .psp. You might have 12 of them at the end of one lesson. Trim them so just the video is showing and paste in the right order into MSWord. I’ve done this plenty of times and it’s easy to do, but now that I’m old and my kids are grown up, I have more money and also bought the Diamond membership. The good part of using MS Word is that you can add all the conversation here — whatever seems helpful - cut n paste. On Cassel’s guidebooks, they’re .pdf and you have to print it and then use a pencil or pen and do any comments by hand.3 points
-
I set up a spreadsheet when I first joined the Campus. Yes, it did take time but it has been worth it. I have pages for Master Classes, CS Tutorials, The Lab, Blog Tips and even one where I track what Scripts I have bought with the description of the script. On the Master Class page, I have columns for "watched video", "download video", "download pdf", "printed pdf" and "notes". A simple yes in the column when I've done any of those things. I have the oldest listed first and just add the new one each month to the bottom of the list. For CS Tutorials, I have them listed in the order Carole has them including the headers. Columns include "watched video", "download pdf", "printed pdf" and "notes". Again, yes goes in the column when I've done any of those. In the notes column, I have included the Lab and Module number if applicable. Same format for The Lab page. "Watched video", "download notebook" and "notes". Blog Tips has columns for "Blog Title", "Blog Date", "Download PDF", and notes. I only record those that I download.3 points
-
3 points
-
3 points
-
3 points
-
Hello everyone! Already 10 pages on the third day on vector! wowww I couldn't make it before, I was out and about and couldn't get my work done on the right day because my Wi-Fi connection at the cottage is so bad. I'm in town with a good connection and will stay there until the end. Having already had labyrinthitis, I get dizzy when I'm at the computer. I'll try to read everything that was said before my message when I'm feeling better. In the meantime, here's my Day 1 - I hope to catch up soon. Thanks Carole for this workshop, I really need it as you can see from my work today. My lines aren't straight :-(3 points
-
3 points














































Resized.thumb.jpg.d25811db03a63358cedab1e79f527635.jpg)

