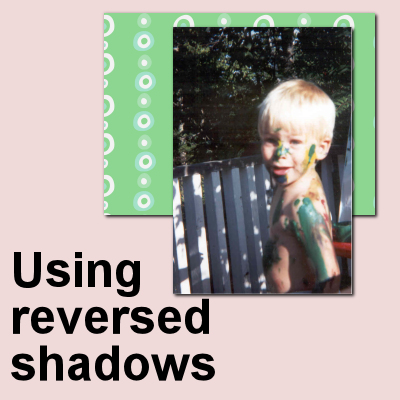
In creating digital projects, we have to be well aware of the power of shadows so we can replicate their effect and avoid a flat digital look, especially if we want to have a realistic layout. You already know that shadows will indicate the source of the light, the thickness of the element, and its distance from the surface the shadow is cast on. However, there is another way to use the Drop Shadow command in PaintShop Pro to mean something else.
PSP
10 minutes to scrap – Finishing touches
We are getting close to the end of our scrapbook project. We have all the elements we wanted, and they are placed pretty much at their final location. Of course, you can still tweak your project, as long as you keep a .pspimage version of it. The beauty of digital scrapbooking.
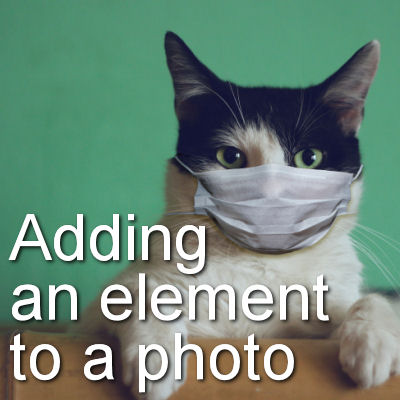
Adding an element to a photo
When you have a photo, sometimes, you would like to add a little something that was not in the photo. It could be for a laugh or something more serious but adding a new element to a photo can be used in many contexts. Let's see how we can add a simple element to an ordinary photo.
Add Text Along any Path
In various projects, adding text is essential, whether it is for a title, a name or additional information. By default, text will be displayed in a straight line. However, with PaintShop Pro, one can get very creative and place the text in different ways, following a different path.
10 minutes to scrap – Embellishments
After building the base of your page, with photos, papers, and text, you already have a very good idea of what your project will look like. At this point, although you can still tweak here and there, the changes are likely to be minimal. In this 10 minutes, let's add some embellishments.
Fixing your workspace
When you work with PaintShop Pro, you have the option to use one of the default display for the workspace or customize it to suit your own needs and preferences. Once you are set, it is important to SAVE your workspace. Follow this tutorial to learn how to do so. However, once in a while, some palettes or toolbars seem to disappear or misbehave. What is happening? And how do you fix that?
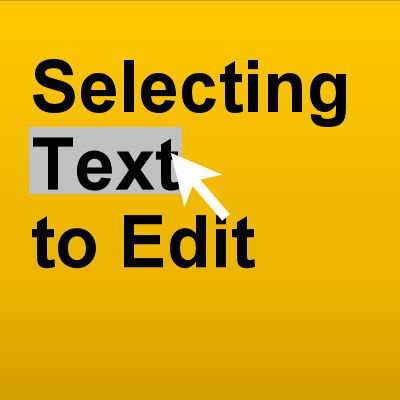
Selecting Text to Edit
When working with text in PaintShop Pro, you are likely to need to go back to it, to edit the spelling, to add more text, to change some attributes, etc. But how do you get that cursor to appear or the text to get highlighted? Let's have a look at a few tips that could help you.
Featured Resource – Pic-to-Painting
Pic-to-Painting is a new plugin available starting with PaintShop Pro 2019. It is free and can generate some very interesting results from any photo, whether they are particularly great to start with, or maybe not that great!
10 minutes to scrap – Text and Title
At this point, you should already have your project "almost" done. With the photos fixed, and the papers chosen, layered, and arranged. It is time to add some journaling and a title. Although a picture is worth a thousand words, it does not always convey all the information YOU know about it, so anyone else looking at it won't get the whole story if you don't write it.
Adding glitters to your elements
Glitters can come in many formats, whether they are seamless tiles, papers or brushes. You can use any of those to add a festive touch to any element, text or design. The process is simple and there are a couple of basic techniques that you can use.

