Leaderboard
Popular Content
Showing content with the highest reputation on 09/20/2024 in all areas
-
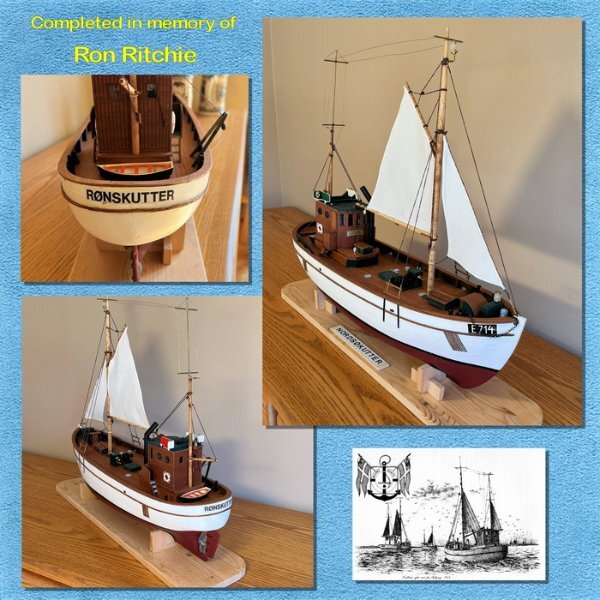
My friend Ron and I have been wooden model builders for years. These models usually take several years to complete as we always have other family responsibilities that are more important than hobbies. Anyway in the case of this model of a Danish fishing trawler, Ron bought is over 10 years ago but never really got too far into it. Unfortunately Ron recently passed away and his family asked me if I wanted to finish the model. I agreed and have worked on it for the last seven months. It in now finished. I even renamed the boat in his honour. The sad part of this story is that now I will have to work on future projects without my lifelong friend. The nice part of being part of being a member of Scrapbook Campus is that I've learned how to create meaningful images of my DYI projects to share with family and friends. Although I do not use all the nice add-ons I see in many of the works of other members, I still enjoy seeing all your work as it motivates me to continue.6 points
-
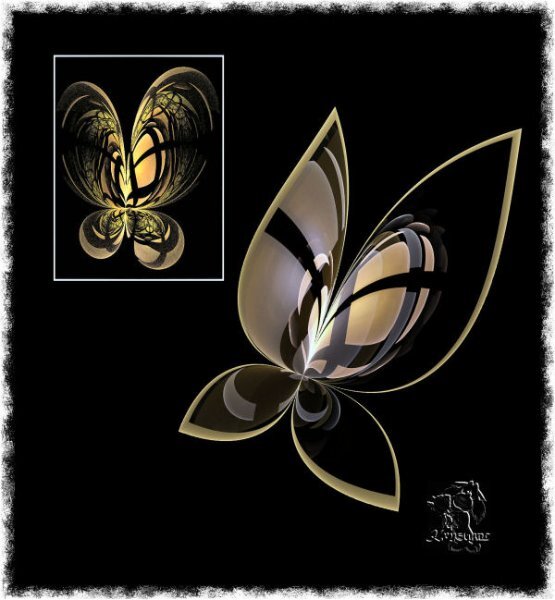
I have used recently my favorite fractal generator Apophysis=APO in short word. Sure, I use APO editor first of all but PSP later /everything, believe me/. I don't write scripts for APO, I only can modify in APO editor look/pic of used script. This time butterfly-before modification in a white frame, the second butterfly is without a frame. Excuse me English mistakes, please:)4 points
-
We are all learning here, no matter how long we've been here. We learn not only from Carole but also from each other. It's fun, and the community is very supportive.4 points
-
Donna, it has happened many times to me. I post something here, and it doesn't take long to see that something isn't right. And if it's a Workshop and I don't catch the issue, Carole has eagle eyes, and she immediately spots it! 😄 I like it, so it helps me to improve my work.4 points
-
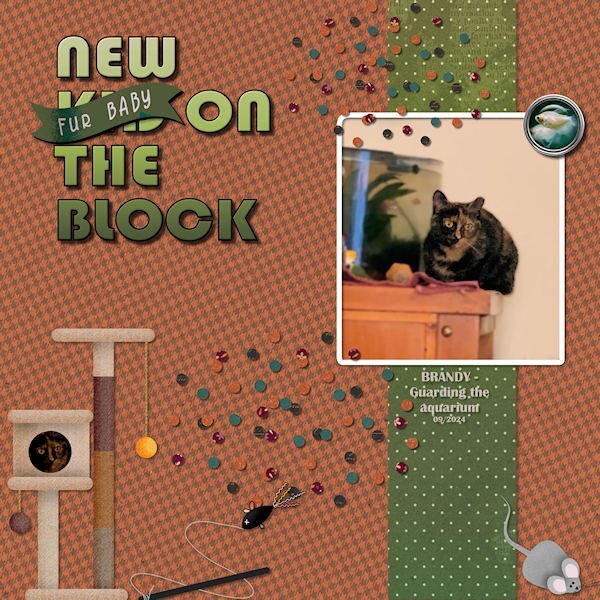
LESSON 3 - NEW FUR KID ON THE BLOCK 😉 This is the photo I showed earlier of Brandy guarding the aquarium with the White Skirt Tetras. (I made a flair button using a template from Marisa Lerin and a photo of the tetras.) I used the kit Carole offered cpjess-Behold-Autumn and I incorporated some cat accessories from the Gina-Jones-Every-Day-is-Caturday kit. I reduced the opacity a bit on the background paper. The title font is Bauhaus 93, the Fur Baby banner is from Gina Jones. The scatters are from the Autumn kit.4 points
-
3 points
-
3 points
-
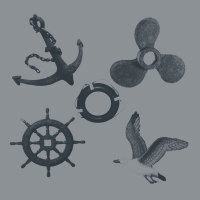
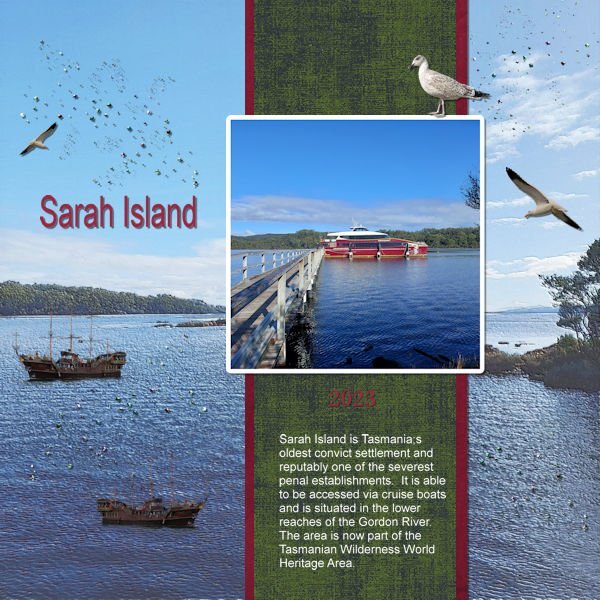
I said a couple of days ago, I was going to improve my nautical scatters picture tube and share it with everyone. Here is the results of that. My McAfee hiccuped when I double clicked the link below although it is OK. I suggest you copy the link and paste it into your browser address line to get the download. Place the PspTube file into the "documents/Corel PaintShop Pro/2022 (or your version)/Picture Tubes/" folder. The other file is just an image where I set the size at 30 and painted around the canvas (over a white background layer) as a sample of using the Tube. Noticed can't change the default "size" after you have exported the tube...I think the default is 100. The Images/paintbrush stamps were originally sized at 100. http://www.toroscope.com/shares/dhess-nauticalscatters.zip PS...This is assuming you are interested in a nautically themed picture tube to create some scatters. It's not exactly generic but good for anything that is boat or ship or ocean themed...or perhaps some other categories.2 points
-
@Cassel Had to look for it but found the registration link and signed up.2 points
-
I'm glad to hear that. I won't point them out. 😄 We are always our harshest critics.2 points
-
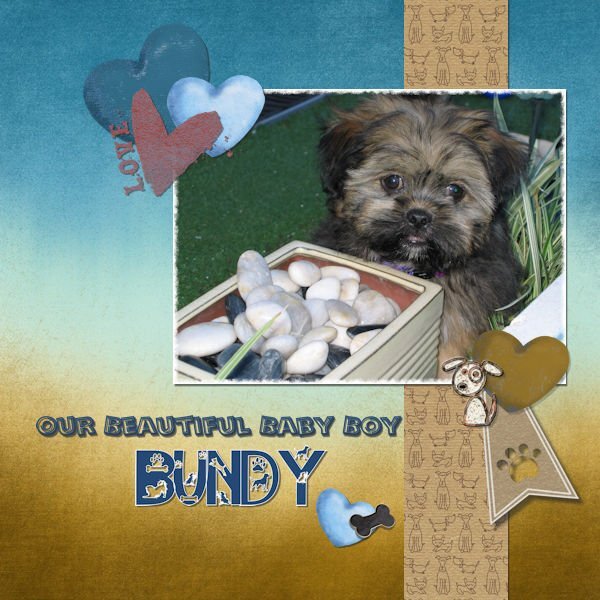
Beautiful, @CarolynRye. Do you have the name of that alpha or font you used for Bundy's name?2 points
-
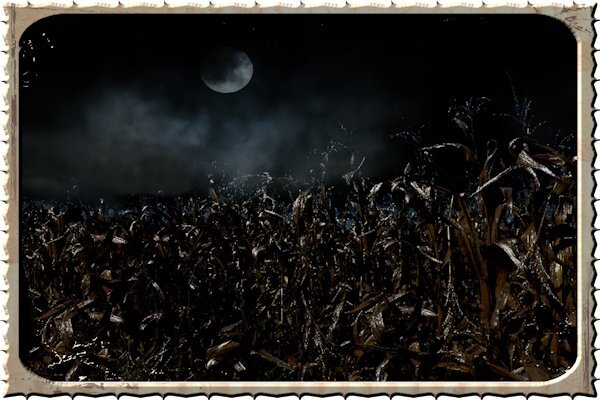
That frame fitted very well to the dark feeling of the photos!2 points
-
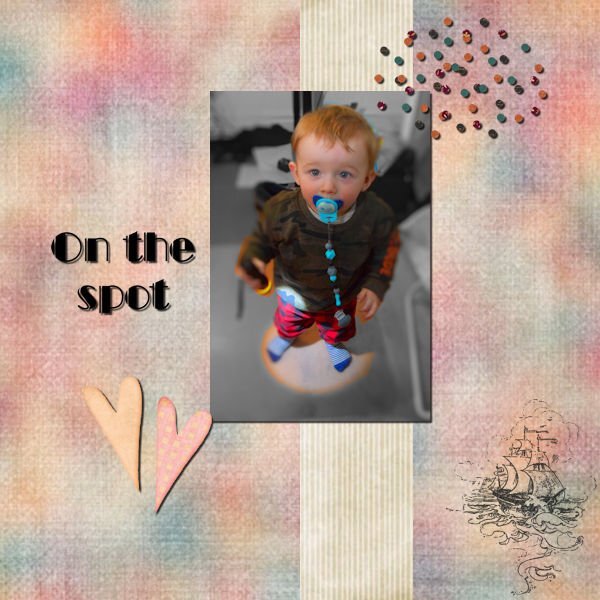
Day 3 ~ When my favorite aunt turned 90, the family got together for a wonderful party. This is a picture of my cousin and his grandson. I used a kit by EmeraldJay from the PS September 2024 blog train. The fonts are 11S01 Black Tuesday and January Is Coming. And, yes, @Donna Sillia, I am now seeing my errors. 😄2 points
-
2 points
-
@Cassel I found an abr file called 20 Nautical Brushes quite awhile back and imported them. Using that and some guides installed, I "stamped" five of them onto a small image to create a pattern. See attached. I also used the brushes to create a picture tube that I called nautical scatters. I took an anchor and a life buoy (same one as in the pattern) and made five SMALL copies of each, then magic wanded each and filled with a brighter color. Then I exported as a picture tube. I was working on the project that you said required (and demonstrated) scatters. I'm going to do that picture tube again but use MORE of the brushes and make a more random picture tube out of them. When done, I'll zip the file and post a link for it on here for any that would like it. I've gotten the day/project numbers mixed up apparently. I guess if you count the Sandwich as day 1 then this one was day 2-single photo and the one with my granddaughter was day3-adventure.2 points
-
2 points
-
Carolyn, we all started somewhere, that is what is wonderful amongst this gang of creatives, and we learn from each other as well. Have fun, and you will find the learning gets easier.2 points
-
That is so true. I think I am doing good, then when I post my masterpiece, I realize I have so much to learn.2 points
-
@Cristina @Michele @Daniel Hess @Julie Magerka Thank you all so much for your encouragement. This is why I love this group. Everyone tries to help each other out.2 points
-
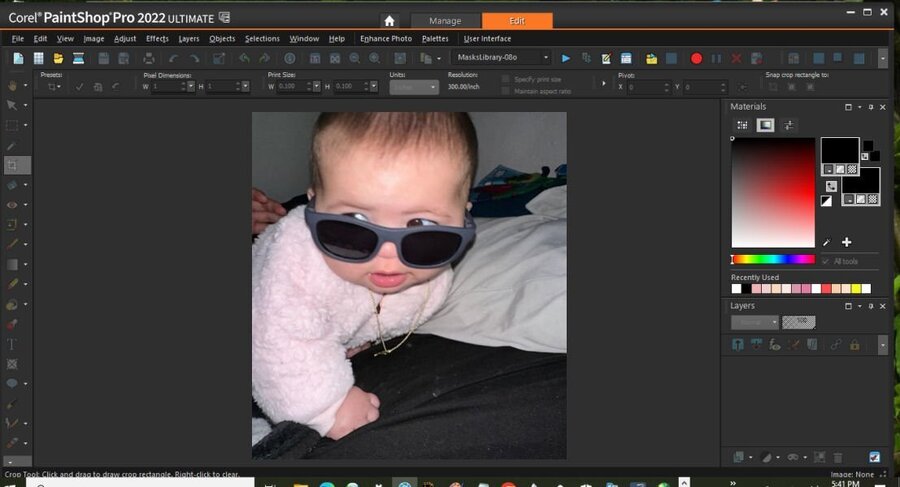
Hi everyone! I'm running a little behind, but better late than never! LOL I don't do scrapbooking, but love PSP and have been using it since around 2003. I spend most of my day visiting with my online friends in IO groups where my friends and I make signature tags for each other. It's a lot of fun. I like to use scripts and have purchased lots of Cassel's wonderful scripts. She invited me to bootcamp, and as you can always learn something new, here I am! Here's a screenshot of my desktop. I'm a little stuck in the mud and have used the same setup for years. The baby in the screenshot will be the focus of my work during the bootcamp!!2 points
-
Day 3, Project 1 I enjoyed playing with this one. My younger sister and I, not sure how old we are in this one, but it certainly wasn't yesterday I used a kit, Classy Mini, from Jessica Dunn at Curio Pantry. Instead of a scatter, I chose her string, changed the colour to copper then added picture tube hearts to the string, which I colourised.2 points
-
2 points
-
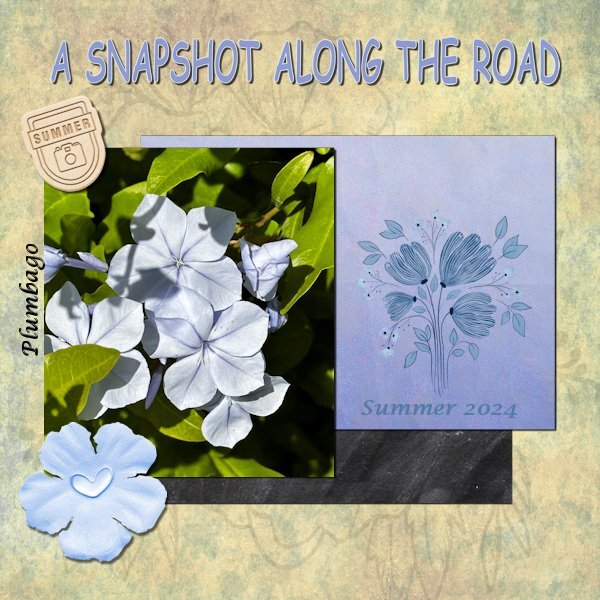
Project 2 I didn't use a kit for my layout but made a background with different papers from my stash and a blendmode. The other papers, the flower stamp, the flower and the little label are all from different designers and come from my stash. The font for the title is Comic sans and the other font is Lucida calligraphy. The plant's Latin name is Plumbago, in Dutch Mannentrouw, but I couldn't find an English common name, so if anyone knows?1 point
-
I have made these paperclips too and they look nice but I didn't try to use them jet. So this is an interesting problem and as it is already very late overhere I shall look at it tomorrow, maybe I can see a way.1 point
-
Daniel thank you, they look very nice and they can be used in other projects too. My McAfee was acting up too saying that the download was unsafe, but trusting you I choose to override it and downloaded them.😉1 point
-
Art sorry to hear this and good to see that you had the courage to finish his model boat. My husband has made some too but don't want to start on a new one because he is afraid that he never will finish it in the rest of his lifetime. By the way it is nice seeing you here again!1 point
-
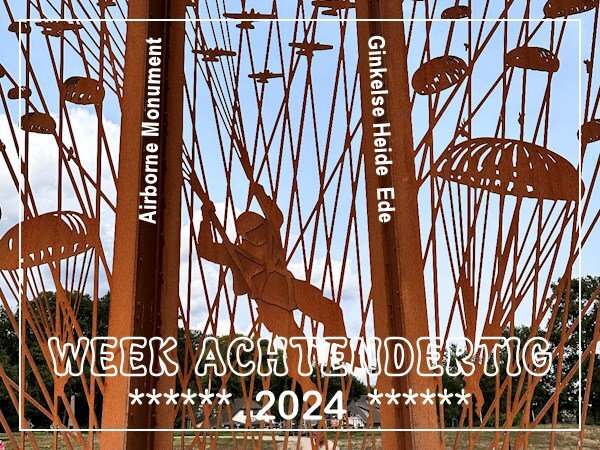
Over here this week it is 80 years ago that the airborne landings that were part of operation Market Garden in WWII took place. There is a special monument to commemorate the droppings on the Ginkelse Heide in Ede where they landed with their materials and vehicles. It is made out of Corten steel, 6 meters high and has 5 panels. At the bottom of the panels are plaques that tell the story. A couple of weeks ago when I visited my son we took a look at it when we were passing by on a walk on the heath. It was impossible to get all the panels in one photo because there were way to many people. In this photo is a full size para in his harness with the planes and other parachutes around him. The other panels all have planes and parachutes with all their gear and some other much smaller figurines. Besides that you could take a walk that had a great number of info panels at the side with the complete story of the Battle of Arnhem. The book "A bridge too far" and the rather famous film with the same title tell that story in detail. In the end operation Market Garden failed and the Netherlands had to face a terrible famine in the winter before we were liberated in1945 and the war ended. Sorry for the history lesson, but otherwise there isn't any context for this photo.1 point
-
1 point
-
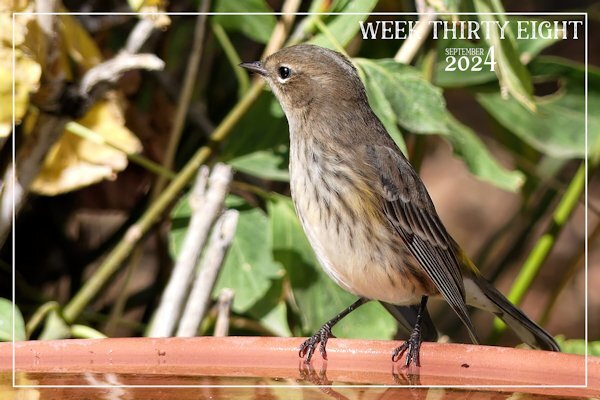
I love the way you have the bird walking the photo edge. An "out of bounds" effect without actually having to trick folks' minds LOL.1 point
-
Great to see some more projects posted by more participants! Keep them coming. @Carolyn Rye That is a beautiful layout. For our own curiosity, do you have references as what kit you used? @Euka Yes, it is so much easier to select a Blend mode in 2023. One of the great additions! I love how you used the photo in the background! @Daniel Hess If you want to save time in making those scatter tubes, you can use the Custom Confetti script. It will take care of all the resizing, and random rotation, displacement, etc. for you. It will work with any single element. I might actually work on one that would include multiple elements. Hum.... On my to-do list! I think you should register for the email series so you can follow along. Some links and tips are also shared between projects. If you register now, I can make you skip the wait until you catch up the others' email. Let me know when you register. @Sue Great table. Isn't it nice to have some flowers with our lunch? @Michele Such a fun title for that cute photo!! @Ann SeeberThat is a fun banner to add on top of the word "kid". So appropriate! @Jacques LacerteGreat to see you! Welcome to the Campus and the Bootcamp. You will see that you will be able to showcase many fun photos. You started very well with your first layout. Tomorrow, you should get the Day 5 email with the Project 2. But if you have not finished Project 1, don't worry. You can still post them "later" too. And you will have two days for Project 2 before another one.1 point
-
Well, I and my husband have done many DIY projects in the almost 55 years since we met for the first time. Some of them took more time than we anticipated but nothing as long as your banisters did. I have done a lot of crafts but always finished my projects; it simply is against my nature not to do so. The only thing that I still want to do is scanning all the photos in our photo albums that are not digital, but that is a gigantic undertaking and somehow I can't get started on it. I say to myself; "yeah this coming winter I will!", but never get to do it; there are always more interesting things like scrapbooking that cry for my attention!1 point
-
1 point
-
1 point
-
1 point
-
1 point
-
I use Canva which is not free. Canva has a free portion, but it is very limited. A friend bought mine for me because I was editing his book. My grandson who is a teacher gets the full version free from his school. Educators and students can get the full version for free.1 point
-
Not better, Carolyn, just different from yours. Mine, last time, was similar to yours. You added a spoon for stirring your coffee, that shows initiative.1 point
-
Carole, my psp google.io group do a weekly share and with that, I type in my search engine 'free png downloads' then the subject, eg 'slices of onion'. Many images come up and often, as with this exercise, many unusuitable,, but the odd one that can be utilised. Hope this helps someone who might not know how to find images.1 point
-
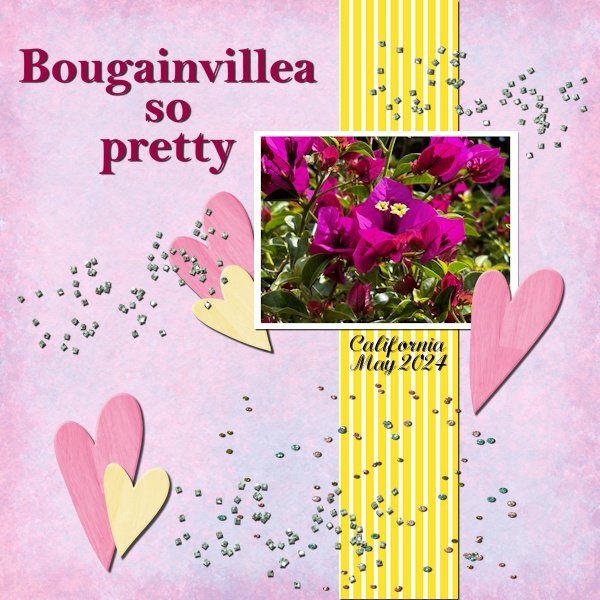
Here is project 1 and I used the photo I showed on my screenshot. I have done this bootcamp a couple of times now and I found it difficult to keep my layout simple as I nowadays use more complicated techniques. So really a good exercise to keep things more basic which I seem to have forgotten. But I found some papers to make my background, hearts and scatters in my stash.1 point
-
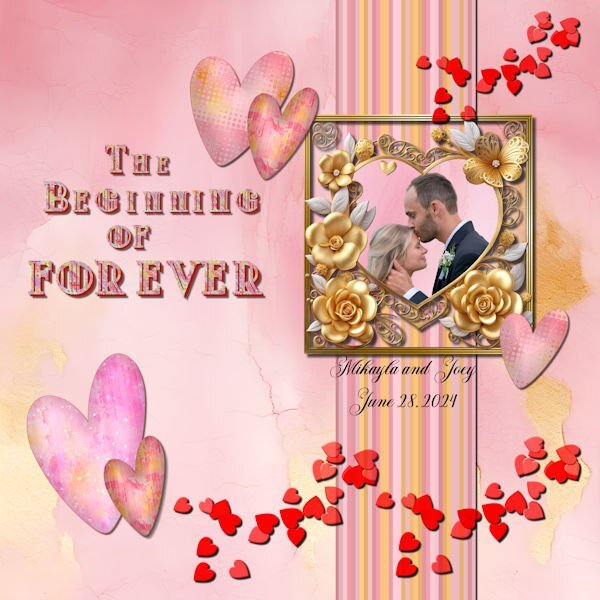
My beautiful niece married the love of her life. The background and the gold heart is from CF. I made the frame and the stripes (cass stripe2 script with colors from the background). the hearts were made with the dingbat font "Heart Valentine" from CF. I filled each heart with a variation of the background using FF to make different patterns. I used layer styles on the hearts to make the darker outline. The scattered hearts are from my build a kit with a blend mode added. The title font is called "Modecque" from CF. I added a pattern and extrusion to the font. The lower case for the font was the same as the upper case but smaller. I made some of the text smaller using the pick tool and snap to guide. I used the following cass scripts for the title: alpha sheet separator; alpha file stacker; and text creator. Carole, the alpha scripts worked perfectly in . The title was done piecemeal in the text creator because I didn't want to have to keep resizing.☺️1 point
-
Carolyn, I join the others who are reminding you that you don't ever need to compare yourself or your projects with others! We all learn slowly, then get better, and develop our own ways of doing things and find our personal styles. It can take a long time, but it's so much fun along the way. I like to remind myself: learning something new is HARD until it gets easy!1 point
-
Here it comes @Mary Solaas LOL. (2nd upload...I deleted the first one and subsequent post...wanted to lighten the background a bit). Now that I'm in the groove being registered in the class, this one is "Project 1".1 point
-
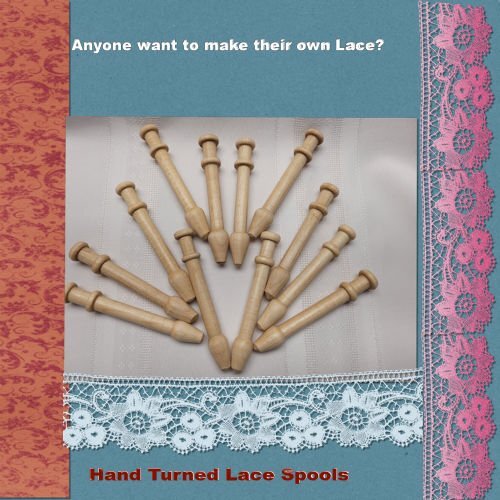
Hi everyone, I seem to have missed the email for Monday (Day 2) but since I am a returning student I'm sure I'll make out OK. I just got a new laptop and am still getting things set up, but here is my attempt at Day 1 project 1. I am a woodturner so the picture is of some Lace Spools I was asked to make this summer.1 point
-
My main hobby back in the 1980's was doing needle work projects like counted cross stitch or using plastic canvas and yarn. I did mostly counted cross stitch. I did a lot of birth samplers for the births of cousins' children or wedding samplers for friends. I got a magazine with patterns every month and they were usually quick and simple projects in series that were released over the span of several months. One of those series was for the 50 states. I made 3 of the Ohio (one for Mom, one for me, one for Grandpa). I made a Florida for Grandpa. Other states I made for gifts included Texas, Pennsylvania, Illinois and Michigan. Then I got the bright idea to make each state and have a quilt made from them. My step-grandmother had done quilting and was willing to do it. So I started making the states in 1990 and got 13 of them done. Then I left the job I had (it was a 2nd shift secretarial job in a hospital and during slow times the tech and I would cross-stitch). Then I went back to school and got a different job. No more time for this hobby. Then my step-grandmother passed away. So I left the idea of the quilt behind. A couple weeks ago a scrapbooking designer friend kept posting about a cross stitch project she was doing and it got me interested in it again. So I dug my stuff out and found a sampler that was about half completed so I started working on it again. I also found that I had actually started my 14th state for the quilt and will work on it next. I do want to finish all 50 states and will have to figure out how to display them since I don't know anyone local that quilts. I was thinking of a wall hanging but I saw an idea yesterday in a cross stitch sub-reddit that really intrigues me. That person showcases projects they don't frame in a portfolio. So now I'm thinking of using a scrapbook for this project! As for DIY stuff like your project, I don't do things like that!!!1 point
-
1 point
-
Mary you are on a roll! Nice to see you are continuing this workshop after your trip. You did a great job so far and the lessons can be used in all kinds of projects.1 point
-
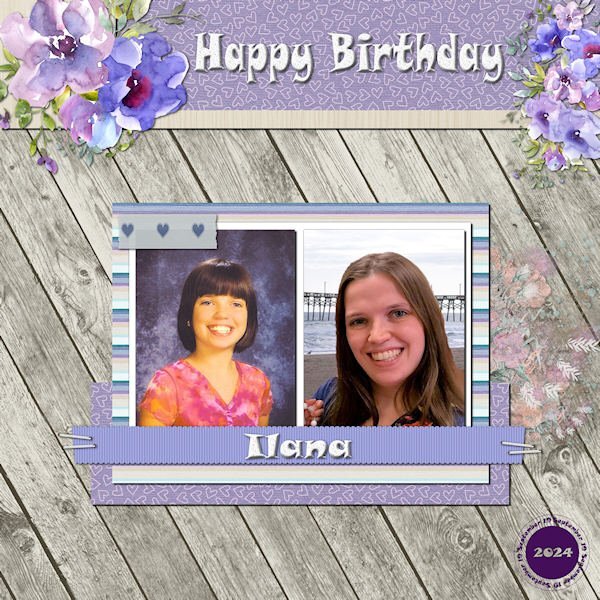
My granddaughter has a birthday Thurs Sept 19 so I made this layout as a birthday card. She's 10 in the photo on the left and 26 this year in the current photo on the right which I treated with PSP's background replacer ai. I used a Marisa Lerin template (ps_marisa-lerin_32814_layout-template-470_pu) and a mini kit called Winter. The font is Snap ITC. The watercolor flowers are from my stash, and I used cass-Datestamp4 script. The splash is ap-cherish-mini-el-paint-transfer.1 point
-
Hi all, I combined lesson 1 and 2 in one project. 🙂 Oops! I forgot to add a shadow to the string, but since I only saved it as png and jpg I can't change it, and do not want to it all over again. For the top scrabble I used a setting as it was a washi tape, the bottom one was chalk, so I didn't add a shadow there.1 point


