Daniel Hess
-
Posts
53 -
Joined
-
Last visited
-
Days Won
2
Daniel Hess's Achievements
")


-
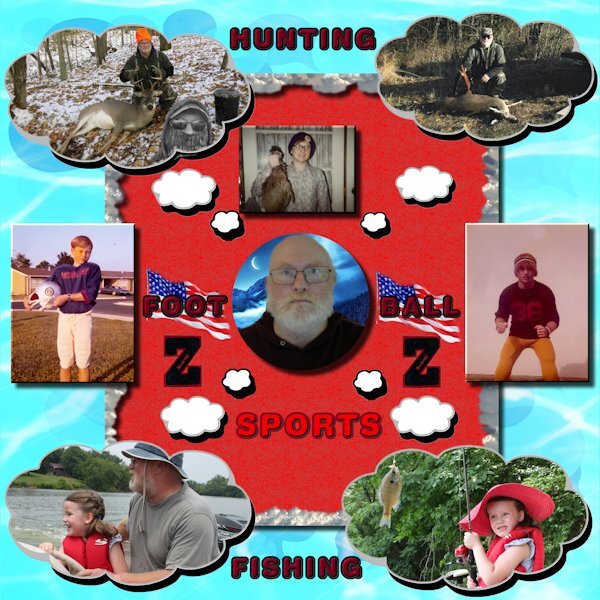
A Day late but took some extra time with the day 4 entry; trying to practice some of the "lessons" LOL. No real stories spelled out. I also played A LOT of baseball in my youth but although there are a lot of photos in my parent's photo albums, I somehow never actually scanned any of those. I'll be going back to IOWA for a wedding next month and if I get to spend some time in the old house, I might peek into all those albums and see about taking some more memories out of them. That's my granddaughter (who is now going on 17 years old) with the fishing pole, the first time she went out in the boat with me.

-
@Cassel Yes, I got your response. In the original email, something must have glitched in the email when it came in. I kept getting page not available responses but apparently that was only here. On a side note again, my post yesterday about the yearbooks and old photos..."back in the day" when I was working on those, I was using the Jasc PSP 3 and later 4 versions and didn't know ANYTHING yet about what could truly be done with them. I haven't had EVERY in between version but can pretty much say have owned most of them up to XI then about 2018 and on.
-
I sent it via the contact me email link also but the Day 4 template link is broken in the email and browser view. Thanks. Note, I found it in the Diamond Members area under workshops but doubt all have access to that.
-
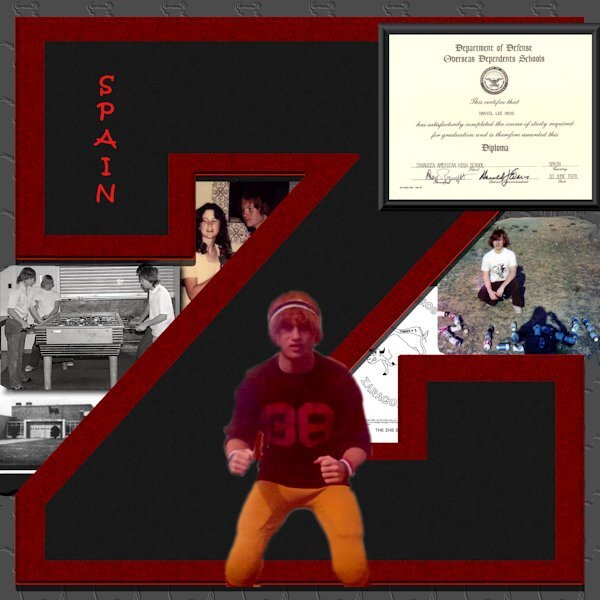
@Cassel I try to be very careful when resizing. A LOT of my photos are very old and were scanned many years ago when storage was very expensive and in short supply. I cut a lot of corners by resizing down, "proportionally" in 99 percent of the cases, and moving the compression slider down towards the lower quality side. So like you said in your article, sometimes I even have made myself cringe a little bit. Huge case in point...I did the yearbooks for my high school in Spain for every year it was in existence and posted them online. Folks from all era's sent me either the yearbook (or a zerox copy in the case of most of the pre 1970 books) and I pretty much wore out a flatbed scanner working on that project. This was back when we were using dial up modems so storage wasn't the only issue...page loading time was also important. Each page was originally HUGE after being scanned then I killed quality trying to optimize for loading times and storage. You can see those pages at www.toroscope.com which is my yearbook site. I remember the standard I set was 600 width and 765 height (pixels) and the real crime was moving the quality slide down to keep the images in the 25 to 70 KByte range. My personal photos when I scanned from my parent's photo albums back in those early days were much the same. As you said, sizing down is easy with a lot of forgiveness possible but it's very hard sometimes to size up.
-
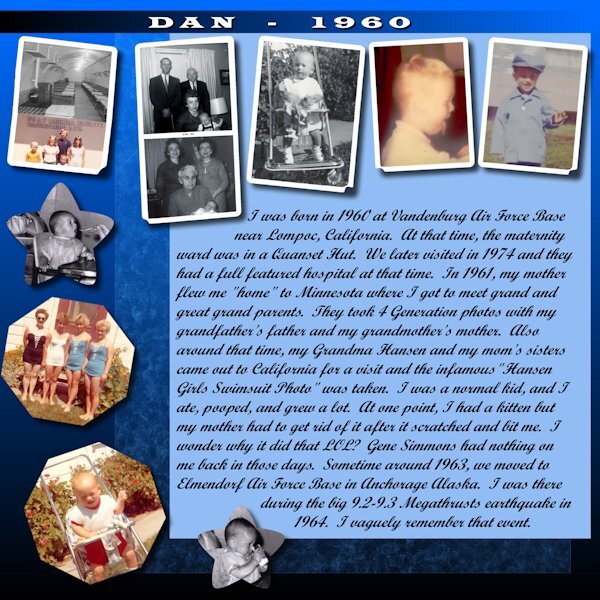
Not really an event but our visits and get togethers over the years were recurring and memorable events. When we lived in Spain, my parents flew my grandparents over and they got to experience a little bit of Europe and visit with the family.
-
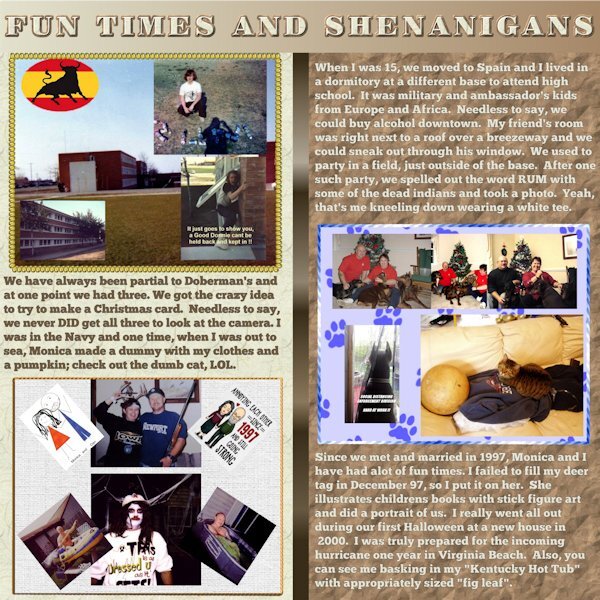
I threw something together for this one. Not especially good but it's got some things from high school years.
-
@Ann Seeber Maybe search the "documents" folder for USA-MAP.PspShape and see where it landed. Apparently NOT in the documents/Corel Paintshop Pro/2023/Preset Shapes folder. ??? I don't have 2023...I didn't see anything that tripped my trigger better than 2022 but am ANXIOUSLY awaiting to see what 2024 is going to bring. I figure the best of 2023 will also be included in that. Punctuation is KEY in the file names and folder names...you miss one capital letter and it will give you nothing.
-
@Ann Seeber @Mary Solaas @Corrie Kinkel OK. Need to lose the period that ended up in the link at the end. Let me try again. http://www.toroscope.com/files/USA-MAP.zip Better to copy and paste the link in the address bar. When I tried on my reply, it gave me something about unsecure download. Should work fine just typing it in or pasting it. OR BEST...right click then "Save link as" from this post.
-
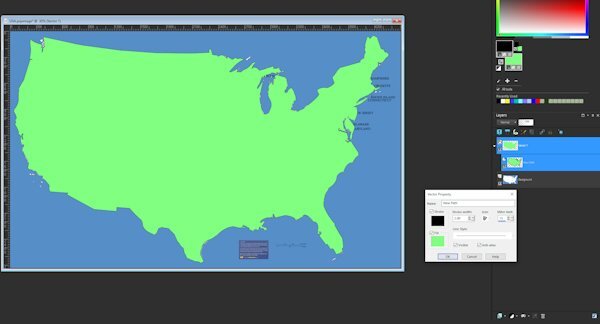
@Mary Solaas @Corrie Kinkel You can get the pspshape file here: http://www.toroscope.com/files/USA-MAP.zip. I warn you...it wasn't done as elegantly as it could have been...if you load it up and look at the vectors there are ALOT of objects throughout the thing and I wasn't completely methodical i.e. start in upper left and work all the way across then down some and again etc. I kind of jumped around until I had all the borders. PS...remember Carole's lesson on file types regarding this...just unzip and put the pspshape file into documents/CorelPSP/Preset Shapes folder.
-
I'm now wondering what painting with paintbrush with "Lock" tool is all about. Didn't see anything like that in the PSP help topics.
-
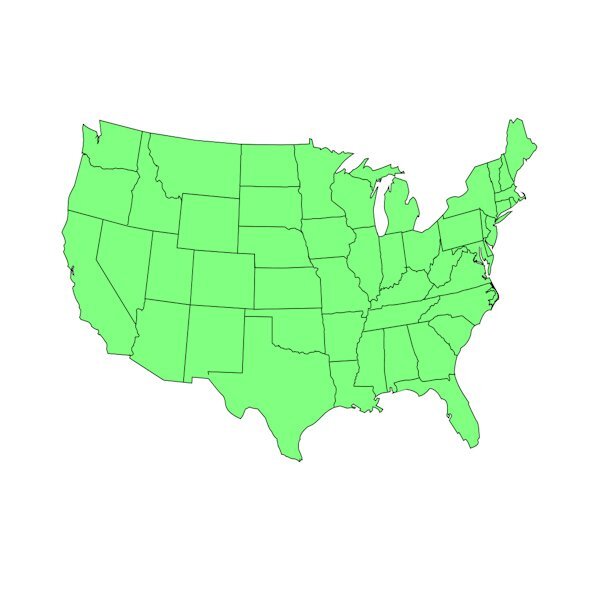
Added the states to my USA pre-set shape. I'm happy with it.
- 400 replies
-
- 12
-

-

-

-
Totally enjoyed this workshop. Gonna do a diamond membership for a few months and try to pick up some of the classes and information available for PSP. My next project already started is to do a preset shape of a USA map. I guess to do state borders internal to the closed vector path, you just select the lines (vs edit) with pen tool and put them in seperate. I'll find out if that is just a folly in my mind LOL.
-
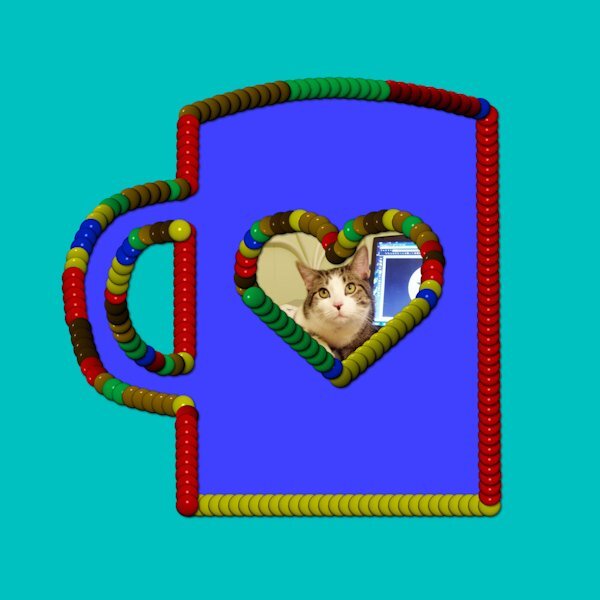
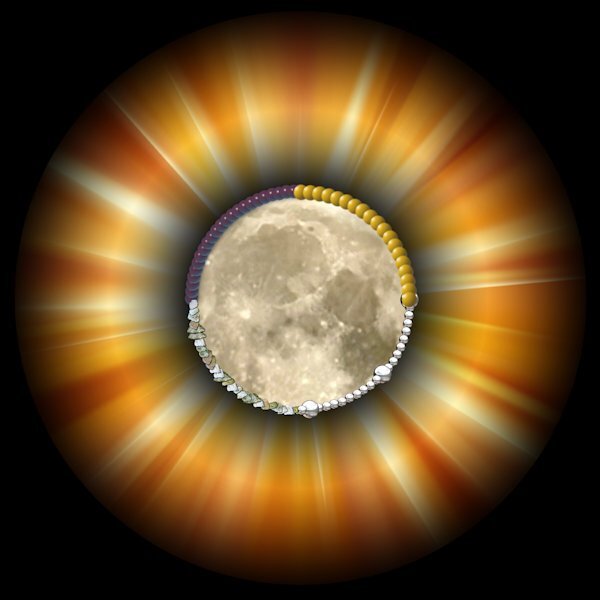
Carole, on the "invisible" question, I don't believe so...it disappeared when I CUT it from the base image and showed up for final repositioning after pasting. It just (many times) did NOT paste the cutout (transparent) into the original vector. The "undo" to the Reverse Path command with a new Reverse Path inserted in the process worked. I'm sure I have been doing something wrong but the only thing I can think is using the "Select None" after creating a selection to change multiple nodes to Symmetrical...I couldn't seem to get it back into edit mode any other way. Anyhow, I finished the 16 cups rendition AND some of them with additional cutouts. Also Lessons 6 and 7. I did NOT do the text part of that...I just went for a real complex "cut with knife" thing on a circle using a compass layer to divide it equally into 4 parts. Here are the results.
- 400 replies
-
- 11
-
-