Leaderboard
Popular Content
Showing content with the highest reputation on 11/30/2023 in all areas
-
7 points
-
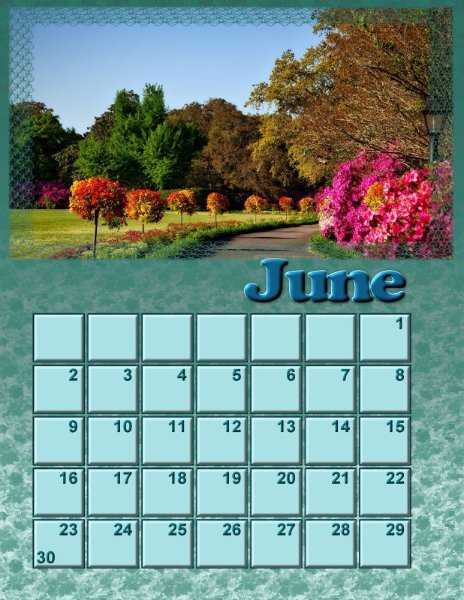
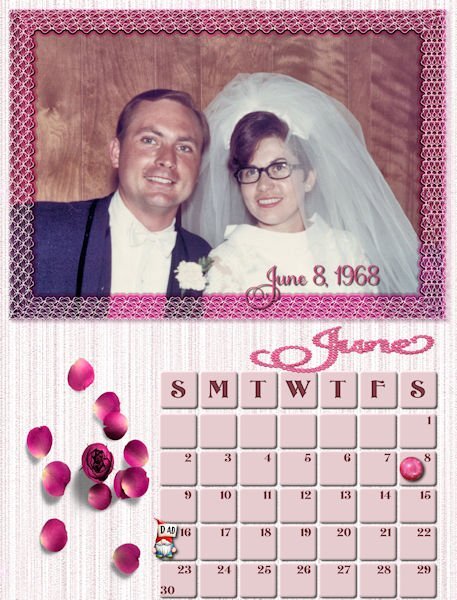
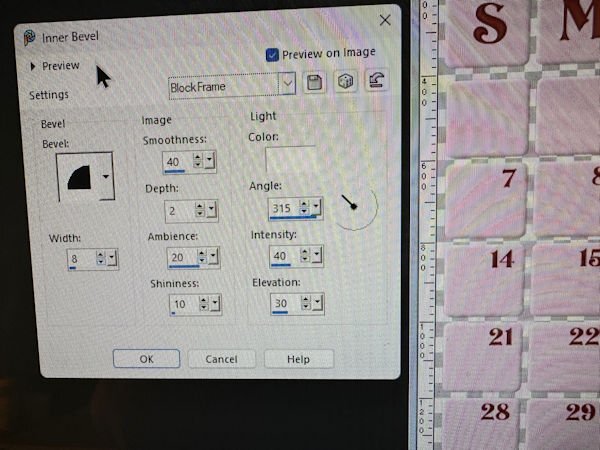
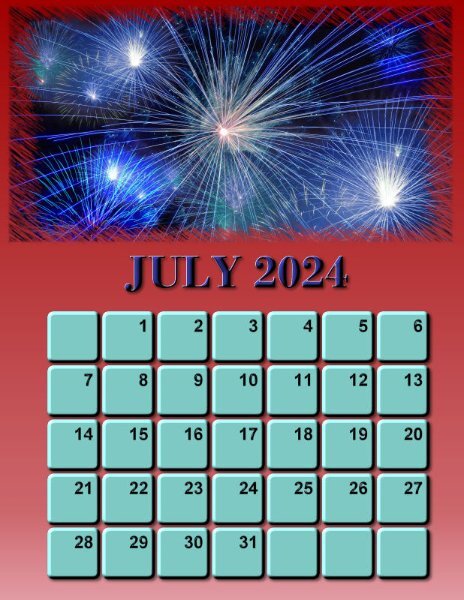
I figured out how to make a template for the boxes with rounded edges from watching Carole's Discovery Center Tutorial. After I deleted the square boxes and colored the rounded ones, I deleted the black outline of the boxes. I wanted no black on the upper left corner. You cant see it at this resolution but I also added an inner Bevel to the dates numerals!6 points
-
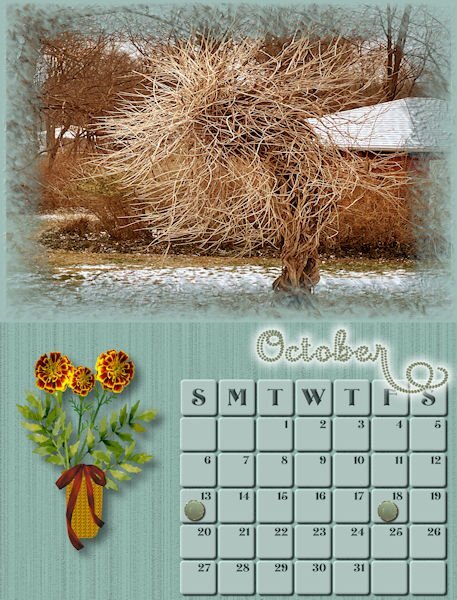
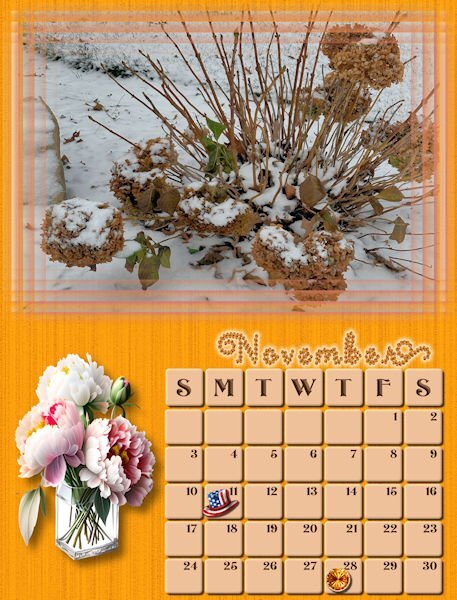
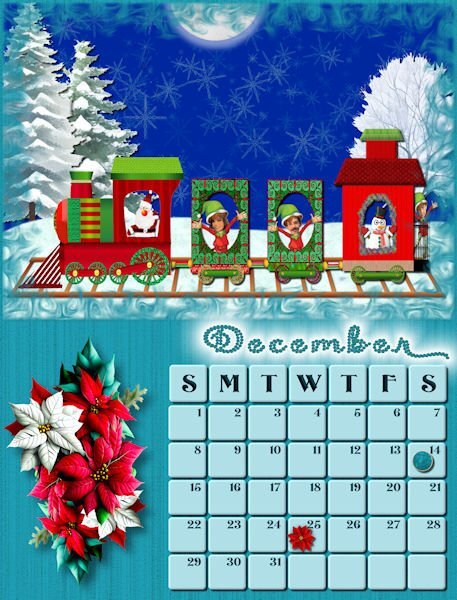
My final three months: October - the picture and the marigolds are mine. The marigold leaves are from Creative Fabrica; November - The picture is of my beautiful hydrangea after our first snow of the season. The peonies are from Creative Fabrica; December - I made the train after our Vector Workshop. I made the Santa, elves and snowman are from Cassel with elves faces my kids. The poinsettias are from Creative Fabrica. Trees are from deeezy.com Fonts are Samantha Upright from Creative Fabrica and Centuary Display which is an olf. i now have all the birthstone tubes made with FilterForge and cass directional tube script(I love this script).4 points
-
3 points
-
3 points
-
2 points
-
Template 207 by Lady 22. The 4 triangles across the middle contain one continuous photo.2 points
-
Trip to Skyline Drive in the Shenandoah National Park. The path was very rocky and the leaves covered the rocks. Stepping carefully was a wise thing to do. Template 206 by Lady 22.2 points
-
2 points
-
2 points
-
2 points
-
1 point
-
@Corrie, I suppose you say about Carole work/book, If so, I add now. She made faaantastic work: 💕1 point
-
1 point
-
Your book is fantastic and it will look so cool when printed. It will be hard to equal this gift and I hope your son-in-law will appreciate it and love it because it holds all those memories to cherish for a very long time. I'll try to remember the idea of using a watercolor background in a photo album for my own future albums!1 point
-
I think I might try this one. I used to have one I really liked (can't recall name), but then started using builit-in Windows snipping tool, but it's limited for adding embellisments. Thanks for the tip. The Mac has a much better built-in screenshot captor, but I tend not to use it b/c I can't use PSP on it.1 point
-
And finally, the answers you’ e been waiting for….it is a bad way to make cards, calendars and scrapbook pages. I think they get their money from printing maybe? Not sure. Everything looks like it was from 10+ years ago, and nothing that doesn’t already come with PSP (say a square, circle, hex shape) or that people on here couldn’t make themselves, after Bootcamp, and it might take a Diamond membership, LOL1 point
-
Been working on organizing most of the topics I can think of and adding links to blog posts addressing them. I am surprised to see that almost all the topics ARE covered with a blog post or a few classes! That will make the process faster than having to write from scratch! Here is what I have so far: 1. Digital Scrapbooking Why scrapbooking? Why digital? 2. What is a scrapbook page? Parts of a page Supplies – what and where TOU Photoshop resources PSP resources Scrapbooking styles 3. Getting started Starting points Quick pages Templates Sketches Scraplifting From scratch Size and format 4. Layers The sandwich Linking and grouping 5. Using photos Resizing Basic fixes Using bad photos Big or small Black and white Some photo effects 6. Papers Layering Shaping/cutting 7. Titles Fonts and alphas Types of titles 8. Journaling Type of journaling Ways to add it Text on path 9. Decorative elements Fasteners Ribbons and bows Frames Tags Using greyscale elements 10. Additional elements Shadows Double pages Picture tubes Common mistakes 11. Fun extras Out-of-bound Brush work Changing colors 12. Scrap with me Scrapbook page 1 – quick page Scrapbook page 2 - template Scrapbook page 3 – sketch Scrapbook page 4 – scraplifting Scrapbook page 5 – from scratch1 point
-
1 point
-
So beautiful. I, too, like the watercolor effect around the photos.1 point
-
This is beautiful. I love the watercolor effect around it too. What a great design. The text is well done (you could have another career in writing children's books!). This will be a treasured book.1 point
-
1 point
-
1 point
-
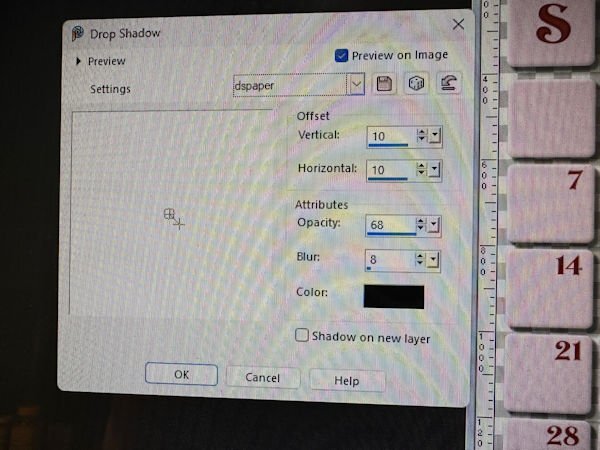
Thank You Donna for getting me started with bevels! I noticed yours have rounded edges. How did you do that? I had a heck of a time learning how to select the boxes to add the bevel. I eventually figured out the boxes needed to be filled with a color in order to put a bevel on them. I tried filling the boxes but it covered up the numbers. I eventually made two copies of the boxes with dates. I filled one copy with color and put the outline with dates on top so I could see both layers. Is there an easier way?1 point
-
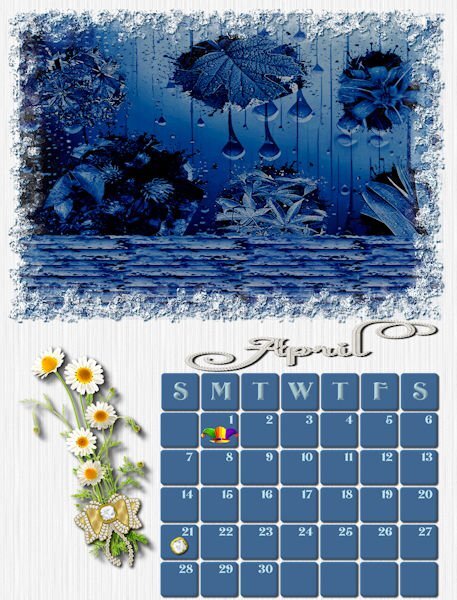
July - Picture of my future daughter in law; larkspur from Creative Fabrica August - Picture of my son and his two boys, all born in August; poppies are my own picture with leaves from Creative Fabrica; vase from cass presets; bow is my own. September - Picture is my own; morning glories are from Creative Fabrica. All the jewels were made with Filter Forge and ,made into directional tubes in order to jewel the months with Vectortube.1 point
-
1 point
-
1 point
-
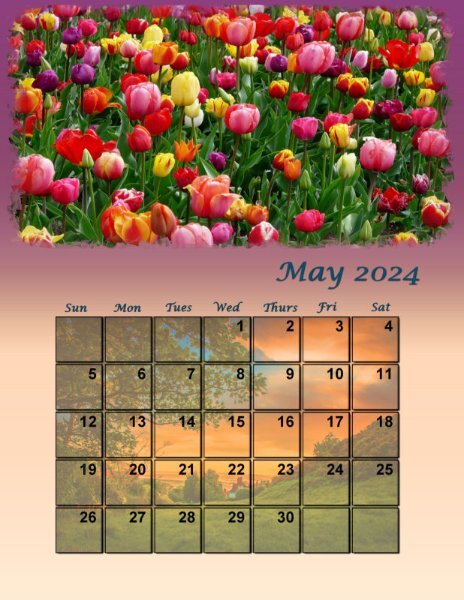
I also wanted to print these borderless but I hadn't thought to fill in borders with a pattern. Carole laid these out to print 8"x10.5" at 300 dpi and I wanted to print 8.5"x11". I wanted to keep it at 300 dpi just because that's the standard resolution for printing. That meant increasing the image size instead of reducing it. I decided the image could stand a little increase because the elements were so high quality and I changed the image size from 2400x3150 to 2550x3300. Even at that size when I dragged it onto the page layout I still had to futz around trying to get the borders perfect. That was very time consuming! I decided to add a few extra pixels to both dimensions. That meant when I dragged the image onto the page layout I got the message my image was too big and I could sit back and let PSP resize those few pixels to make it fit perfectly with no time consuming futzing. If anyone is interested the final image size I came up with is 2556x3307. That prints 8.520"x11.023" at 300 dpi which gave me a tiny bit of wiggle room around the edges so it fit perfectly with no borders after PSP resized it in the page layout. I'm sorry this was so long winded. You can tell I work as an engineer! I really want to thank Carole and everyone else for this workshop. I learned a huge amount having never worked with layers, or masks, or gradients and a whole bunch of other new things before! Each new calendar month I learn something new. Here's my May Calendar resized to print on 8.5"x11" paper.1 point



Resized.thumb.jpg.d25811db03a63358cedab1e79f527635.jpg)

