Leaderboard
Popular Content
Showing content with the highest reputation on 07/23/2023 in all areas
-
15 points
-
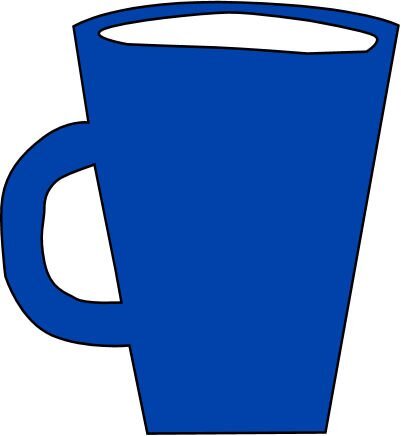
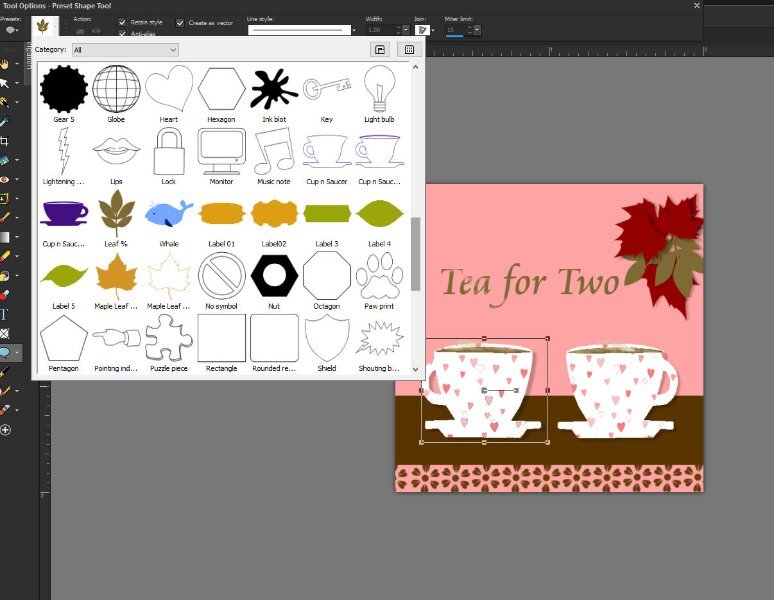
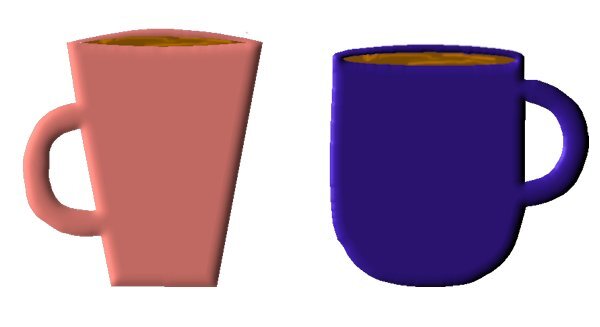
Meh. I wanted to make a fish instead of a coffee cup. Here's my new idea - My Pen tool options menu has a button for Pentool presets - but I have no pen tool presets (it's empty). I need a circle preset for this eye because I cannot get a round smooth curve. Shouldn't a circle only need three nodes? How do I get some pen tool presets - maybe basic shapes? or even make some, because me trying to make one is NOT working! And I tried a bunch of times, and you know I have a low threshold for things not working right the first time. ISN'T THERE A SCRIPT FOR THIS? Or some preset pen tool shapes in the store? LOL!!!13 points
-
13 points
-
13 points
-
12 points
-
12 points
-
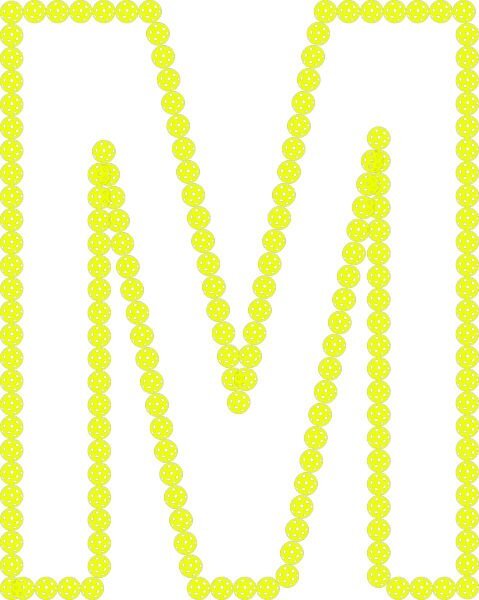
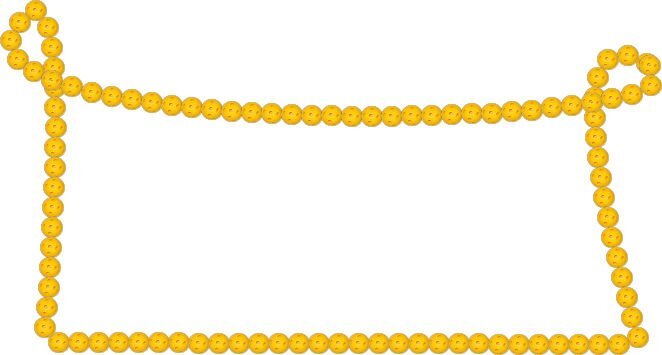
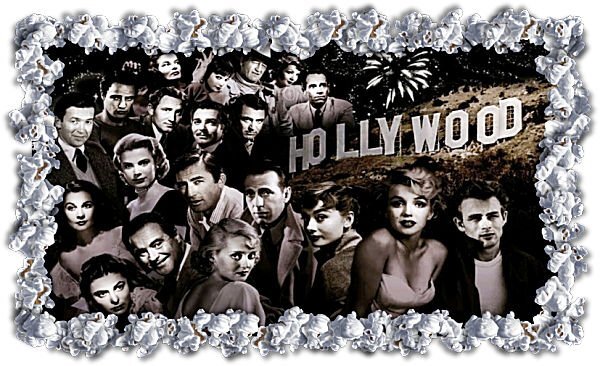
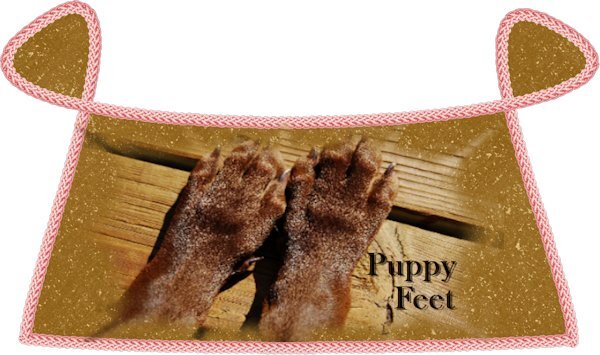
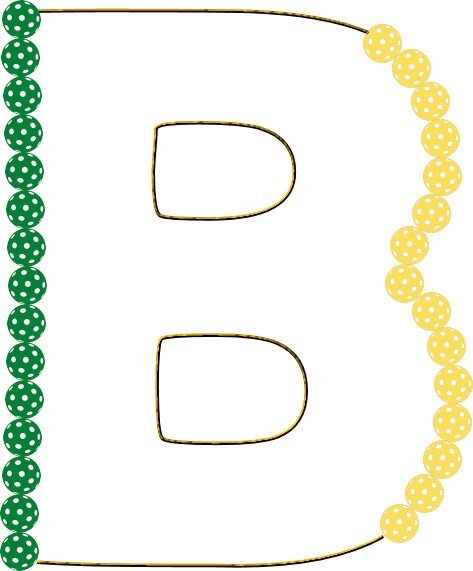
Yes!!!! Completed lesson 6 on time!!!!!! I think that I deserve rhubarb cobbler as a reward as soon as I shut down the computer. I went with the popcorn tube for a frame but it ended up with lots of small gaps despite tweaking the settings and mirroring and flipping the frame on top of each other (created shadows for some reason) so I just plugged the holes with a single click of the tube.12 points
-
11 points
-
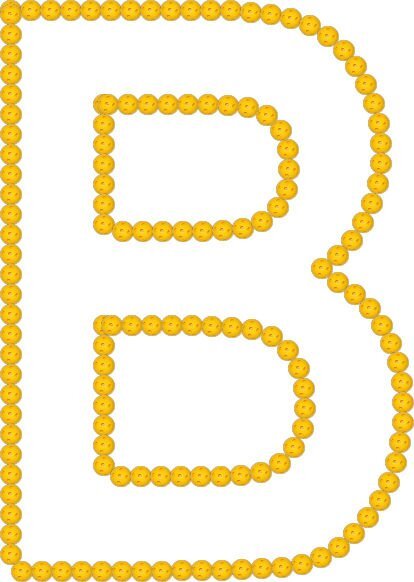
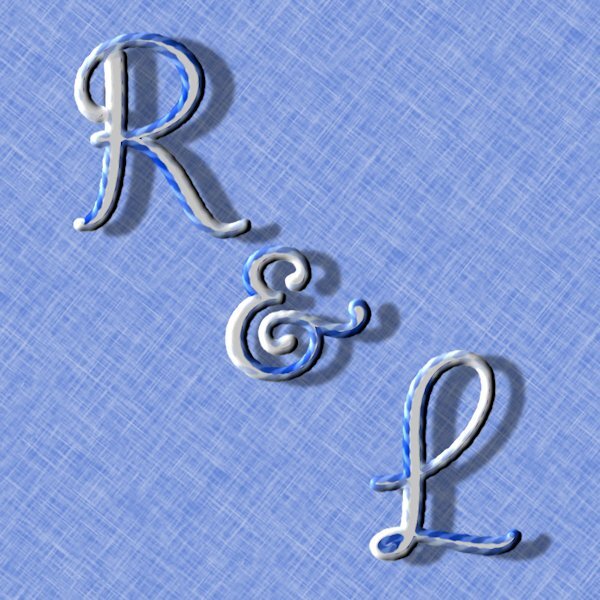
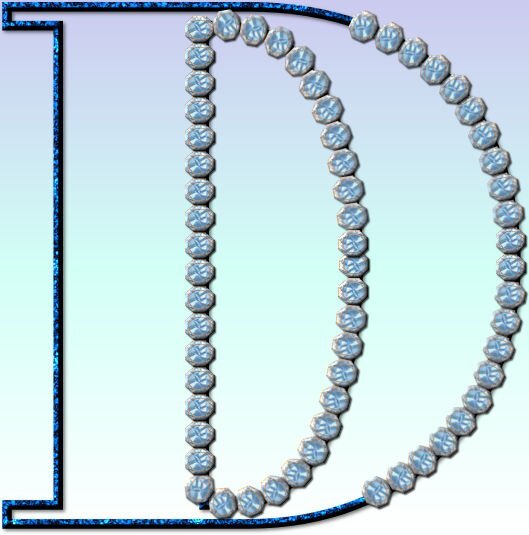
I was just playing with the nodes on the first one and, boy, was it fun; I used one of Cassel's chain tubes. For my initials, I used one of her gimp trim tubes (I found it interesting that the tube was applied differently on the S, almost like it was reversed). Then I thought I would have some fun with the lips I made for Lesson 2 and used a sequin tube I made a while ago from one of the tutorials. For the last one I used a star cutout shape I made several years ago and a star tube I also made. I wonder what is in store for us in Lesson 7!11 points
-
11 points
-
11 points
-
11 points
-
11 points
-
10 points
-
10 points
-
9 points
-
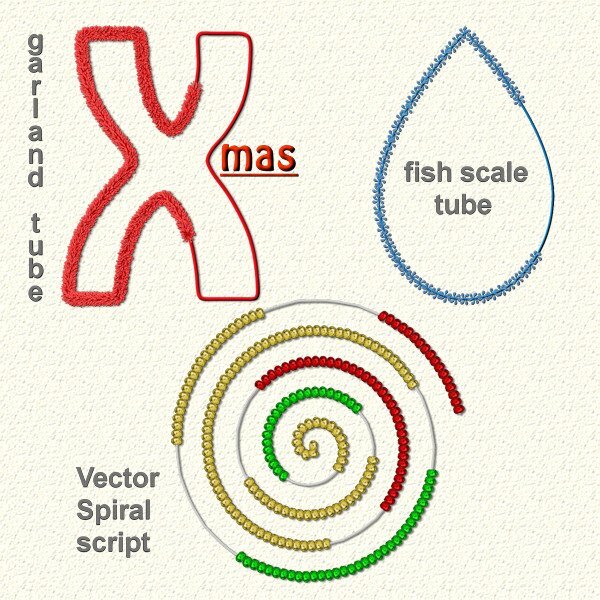
Day 7, already the last day! I'm very glad that we learned how to cut a vector shape because I have the Vector Spiral Script for a long time and I only could use it along the complete spiral with text or a picture tube. I have the explanation on how to cut the spiral but never could get it to work until now ?. I made the letter X with a garland tube and put the mas next to it, again something to use for a card (it's never to0 early to start thinking about Xmas!). Then I made a waterdrop with a fish scale tube and a spiral with the Vector Spiral script (it is a free script and it was a Featured Resource in the Campus).I gave the beads on the spiral different "christmas colors" with the string in silver. Carole I enjoyed this workshop very, very much, thank you for all the work you have put and are putting in to help us understand and work with these vectors! Now I'm going back to making and exporting more leaves and shapes for future us, but as a diversion I'll do the 1-2-3 challenge of this week.9 points
-
9 points
-
9 points
-
9 points
-
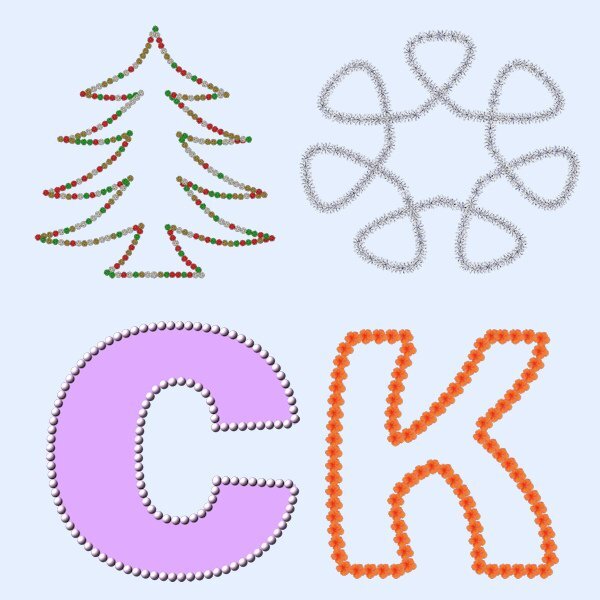
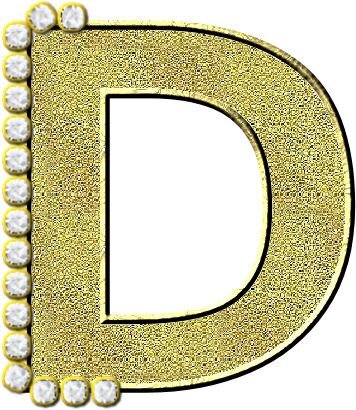
I like to make things that I will be able to use again. The Christmastree is a preset shape and I adorned it with Christmas bows. Next to it is a symmetric shape, a 7 pointed star that I changed using those lovely nodes and it has a spiral garland. Then my initials and their picturetubes are my own pearls and a hibiscus flower photo that I made into a tube. Unlike some of you I do not have had any problems with downloading or viewing the lessons and videos. My PSP2023 is behaving normally too! fingers crossed!9 points
-
Here is Lesson 7, and it went smoothly. This time I used Cassel's ChainBead-08 picture tube. No problems with the arms or else... I wonder if the issue I had in Lesson 5 had anything to do with the image size or the number of nodes... Although I had clicked then numerous times on the center of the nodes, the icon (two curved arrows with plus sign in the middle) would not appear... That's why I had to move the nodes. Still working on the extra practice of lesson 3... I am slow!8 points
-
I am enjoying this deep dive into learning about and working with vectors, however it does seem to take me a long time to get through the lesson with understanding I decided to post one picture which shows lesson 3 & 4 together. You will also see a "sea creature" preset (in the presets drop down) which was extra practice for the Diamond gang. Looking forward to trying my hand at the next lessons after seeing all the creative work posted here. I too was sizing my working using pixels and so have the jagged edge which confused me as it was a vector.... Thanks for the tip off to that Carole.7 points
-
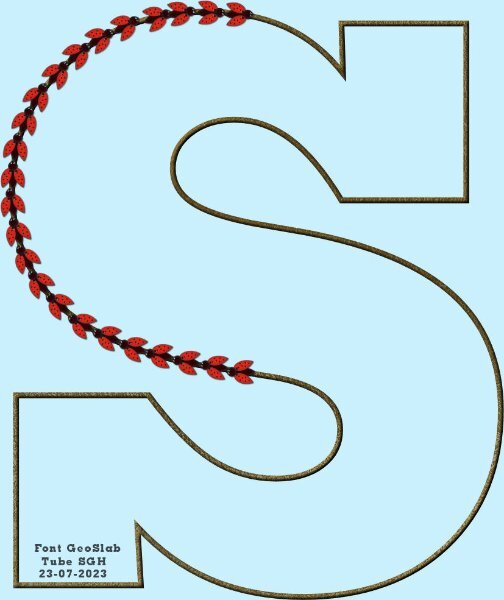
I have really loved these lessons and although fairly comfortable with nodes, there is always something new to discover and learn. I used GeoSlab Font and a Ladybug element I made a long time ago and made it a directional tube with Carole's directional tube Script. Probably one of the first ones I bought from the store and use it such a lot. Thank you Carole, brilliant as always.7 points
-
7 points
-
Day 5/Lesson 5-Thank you Carole for finding the glitch with viewing the videos! I still can't download the guidebook tho... Had a little bit of time this afternoon, but had to break it into 2 work periods. I think I learned some of this before, but it didn't 'stick' in my brain....maybe it will this time? Or not!7 points
-
Continuing with more of Lesson 2. I am beginning to like and understand vectors a bit more than when I first started. My goal is to finish the class, it might take me a bit longer, but I will stick with it. Thank you for all your help, Carole, and thanks to everyone here in the forum. Your tips and input help a lot also.6 points
-
6 points
-
Thank you Carole for your help with working around the glitches in PSP23 Ult. That helped me a lot. I also appreciate the cheer--up messages in the forum to keep me going. I really want to be able to get to know the vexing vectors. I may not finish the workshop in time, but I will keep trying.. Carole showed me a neat trick: if you place a stroke (border) around your object, you will be able to see the nodes better. So that is what I did. I managed to export the shape and realized it still had the stroke, but it can removed easily when one uses the shape. I felt happy to be able to export it without any problems.6 points
-
6 points
-
5 points
-
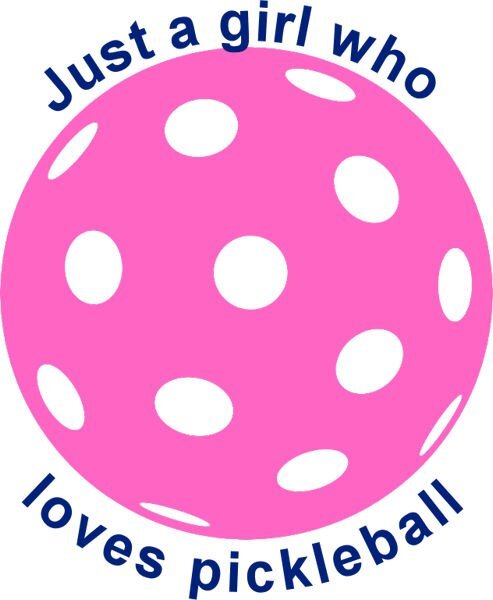
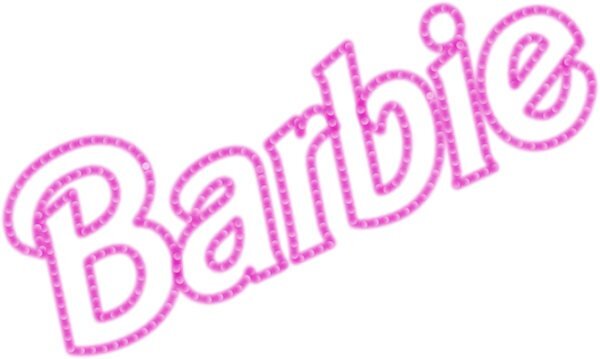
Day 6 "Come on, Barbie, let's go party!" The flower uses pink pearls from Creation Cassel. The outline for the logo is the pink LED light also from the store. The font is Barbie Medium which was used for the logo from the 90s. The new logo doesn't have an official font, although Dollie Script is a close approximation. Of course, the font color is Barbie pink (#e94196). And just in case you really need more Barbie projects, the Barbie font is available for the Cricut as well as ALL of the logos going back to 1959. And now I'm done. No more pink for today.5 points
-
5 points
-
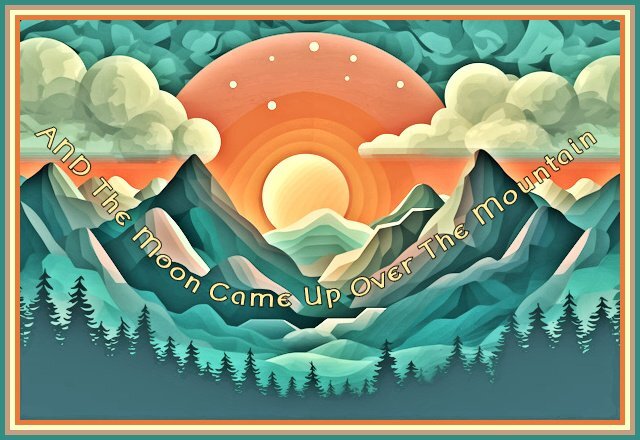
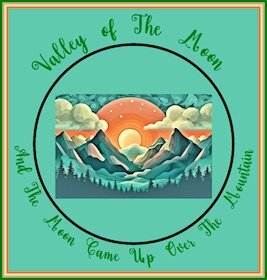
Finally got it to work. PSP 2023 must have some preference settings which are not compatible with this lesson. When I switched to PSP 2022 it worked fine. There are blue moons, why not yellow ones. My wife still thinks its the sun. My second picture, below, is very small because I had to keep reducing the size to get this program to accept it. I wonder why, most of the other pictures in the forum are much larger.5 points
-
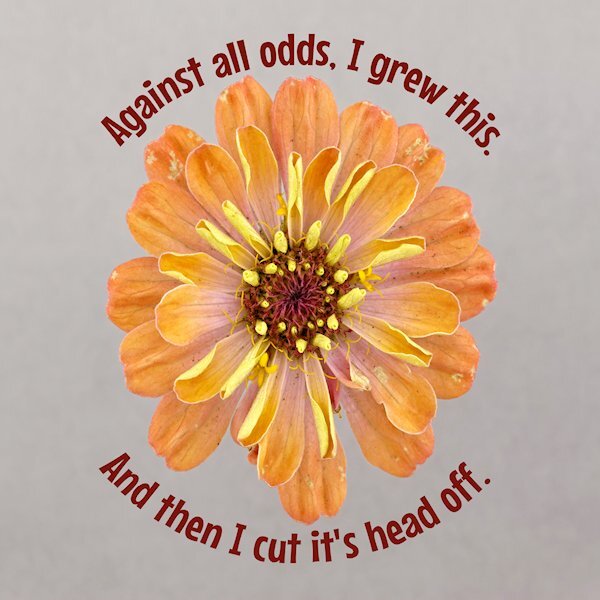
Lesson 5 Part 2 I liked learning how to do this. And I liked Deana's (Davis) post with the instructions, it helped me remember it. I am a serial flower decapitator, for the sake of art of course. It's the first time trying to grow flowers of any sort. I am very abusive and neglectful so I'm surprised to have any photograph. I used the same font as the Part 1 project. Not sure if I made mention of it in that post. It's called Mouse Memoirs and I think it's from Google Fonts that came with my font viewer. Photo is mine as mentioned, on grey so I can play with some textures and blend modes....when I get around to it.5 points
-
4 points
-
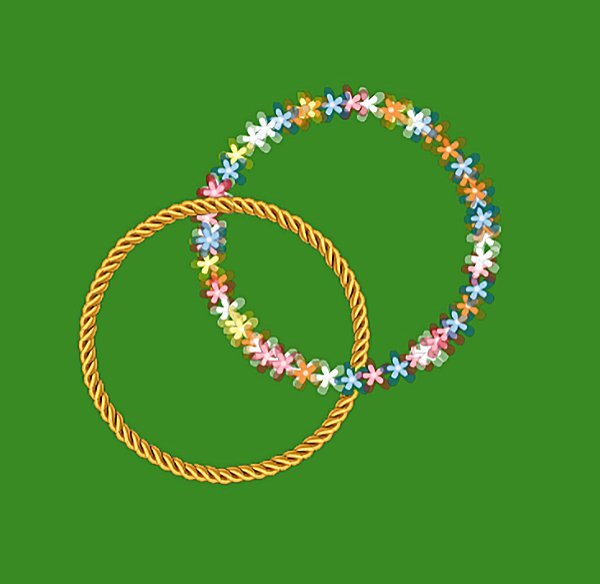
@Mary Solaas Why couldn't you save as a preset? Using Line Style for the stroke gives interesting effect. Beware that the effect will not necessarily show the next time you use that shape because, unless you "Retain style", the shape will be drawn with the settings active at that time, so if the stroke is set to 0 or the line style is set to something else, it won't display the same! So if you reuse the shape later, know why it might not show. @Dorothy Donn You certainly have had fun with those four shapes! @Carolyn RyeIf you clarify where you are stuck, we might be able to point you to any particular detail. It seems like many participants stumble on the same details. @bina greene I am glad things are going more smoothly for you now. @Sharla Even without an image, you can definitely practice and show your work. So far, it looks great! @MicheleI thought I was the only one with gremlins. Maybe they just like to pay everyone a visit! Happy to see you learn more about the Pen tool. It can be quite handy when we tame it. Wonderful results and hopefully you will remember all that! @Cristina I love the effect of those strings. I am actually surprised that NOBODY else had ever made them! @Sheila Hogg I love seeing those different picture tubes used! @Lynda DiGregor Great work. Is it getter easier? @Anja Pelzer Fantastic results. @Susan Ewart Yes, text on path can be so versatile and used in many ways in layouts. @fiona cookI bet those little details in the article will make more sense now than it might have before this workshop. As for turning a shape into a vector, I so wish something was available, but no. You still have to do it manually. There are some convoluted ways to get something close to a path, but not something I would dare trying to explain! @Jnet Allard I am sure you will do well when you do your own shape. @Donna Sillia I am glad this lesson turned out to be more familiar for you. One day to breathe! @Art Kuiper You will catch up pretty soon. Good work. And the more you understand a tool, the easier it gets and you will discover even more possible uses for it. @Gerry LandrethYes, taking a break sometimes help. And you have the coffee for it too! @James Brady What seems to differ between 2022 and 2023? Maybe there is a default setting you can just change in 2023? @Linda J Walker Now that you might have "re-learned" some of those techniques, you will at least have notes to refer to in the future. @Anita Wyatt I am glad to have found a workaround for you. As mentioned, I forwarded my findings to the team. Crossing fingers it will be addressed. @Cindy Lawrence That is the goal of any of these workshops: to get more and more comfortable with the program. I am happy to hear that it works for you. @Marvin FojtasekAlthough it was not specifically part of the assignment, if you ever use something like that IN A PROJECT, you will be able to add a shadow and make that rope really stand out. @rjay segura If you have never used picture tubes before, you are missing a whole world!!!! Maybe I will need to do a workshop just about Picture tubes! ? @sharon thompson Did you try reducing the step for the popcorn tube? That should make them appear closer together. @Royanne Hewko There are two possible explanations for the jaggied edges: (1) Anti-alias was not checked when you drew the shape or (2) you used the Pixel resize when sizing it down (or a combo of both). I am truly thrilled to see all the results you have come up with. I am also very happy to see how many of you overcame some frustration to finally succeed. And as you are getting more and more comfortable with the vectors, and nodes, you will likely be more willing to use them in your future projects. I am looking forward to them. So, tomorrow will be the last lesson of the workshop. But if you have started late or had some delays, don't worry. You should have time to catch up.4 points
-
I really don't know but I suspect it did, in a way. I am not really sure because it is the first time it happened and the number of downloads is a piece of data that is very deeply hidden in the database (I hate databases). I am inquiring from the plugin owner if there is a "simple" way to access that data so I could display it on each member's account page. Still waiting on him.4 points
-
4 points
-
4 points
-
4 points
-
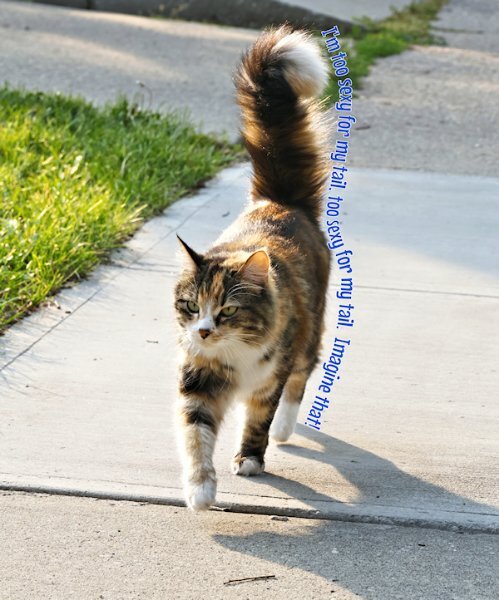
Part One of Lesson 5 I caught the PSP possession bug that others had. Twice shut down unexpectedly -that's what it said anyway....if it's telling me that it's not unexpected then is it?? this image was from hubby and my walk Friday morning where we ran into a little friendly furry neighbour. I took my camera for photo friday and got some textures I've been eyeing up on the walks. The font is Mouse Memoirs, which I thought was funny. The shut down: it happened when I was typing my text on the path. my text did not fit and would have extended past (which I would have selected all and reduced the size). Soon as it came to the end of the path line PSP popped up with the "PSP has unexpectedly stopped working" notice. It happened twice. I have used text on a path before and extended past without issues. This is PSP 2022 Ult. I think it might have been my temp files, so I've deleted the temp files and did a disk clean up. I have 64 GB of ram, SSD drives, i5-6 core, 12 thread processor (all gobbily gook to me) but not a great video card at the moment. should be getting an i7 with more cores and threads this week hopefully. I'm chalking it up to the system working too hard (images open, video on the other screen etc) and not to PSP at this point. this is a fun lesson to learn. And a very useful one for layouts. On to part two after I do some adulting (read: housework).4 points
-
4 points
-
3 points
-
3 points
-
3 points
-
3 points
-
3 points
-
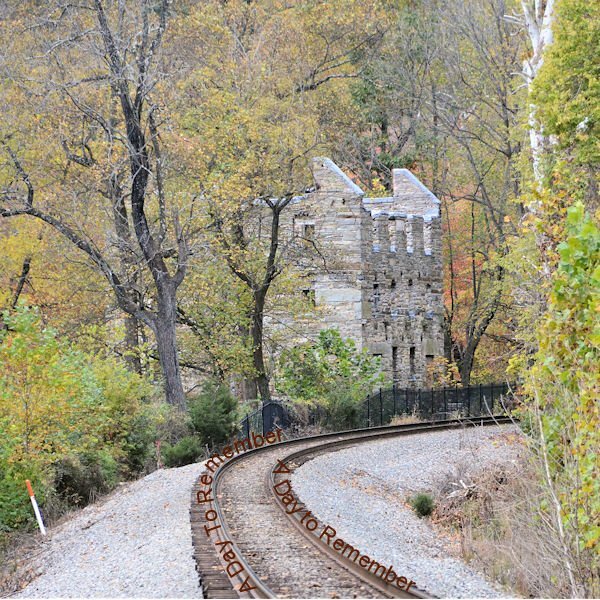
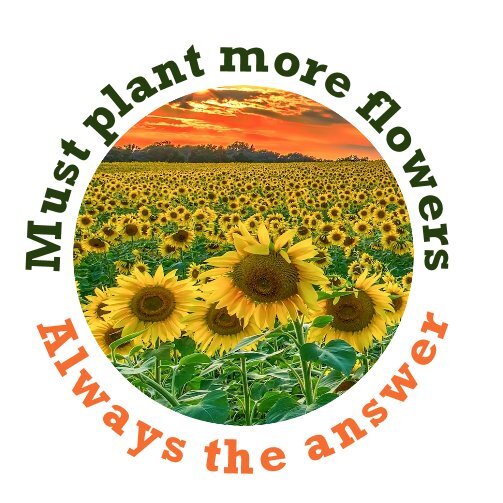
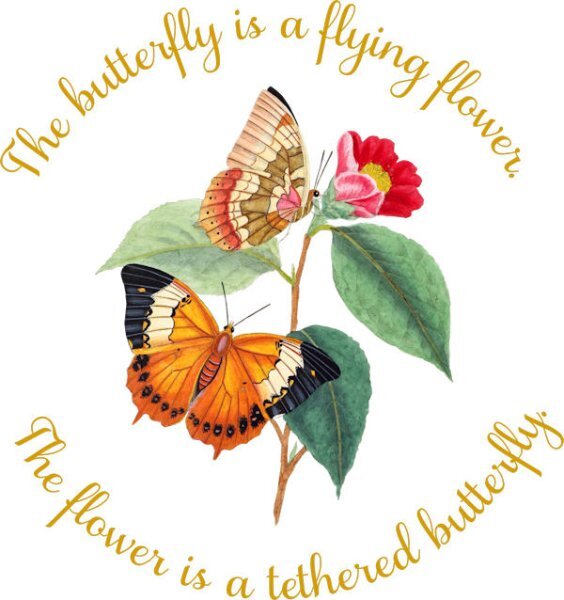
Thank you Carole for the link to the tips on the PDF. They are very useful so helped me to adjust my text. I've only just got around to it so quite a bit later than your comments. I made an additional adjustment to my image as the white text on the bottom of the circle didn't show up enough. I used the Lighten/Darken brush and right clicked to darken the image under the text.3 points
-
3 points

Resized.thumb.jpg.d25811db03a63358cedab1e79f527635.jpg)


