Leaderboard


Popular Content
Showing content with the highest reputation on 06/23/2024 in all areas
-
Day 6 I played with this one, adding the picture tube I had used at a larger size, on another layer, or two, or four. Jeni
 12 points
 -
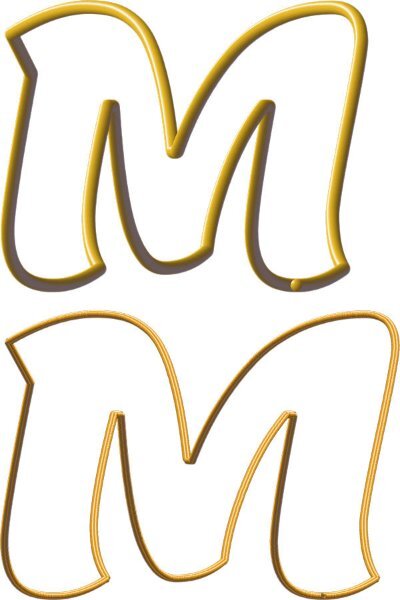
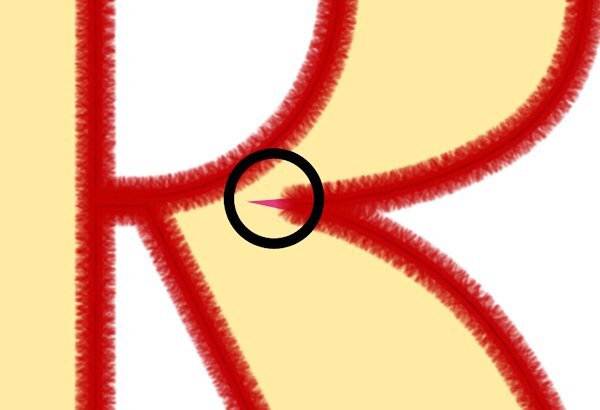
Lesson 6 assignment is attached. Love that script..... you can play with all sorts of variations before committing to one. I got a bit lost in all the tube settings so went back to the basics. However, I am noticing that I am getting a small "dot" if you will at the same bottom right of the capital M no matter what setttings I am using. Is this just an artifact of that particular tube? I had tried with a flower tube but got some gaps in the sharper inside corners of the M despite the tube being set at continuous so I guess that the size of the angular space has to do with the flower tube fitting in that space. But I still can't figure out that dot on the sample below..
11 points
-
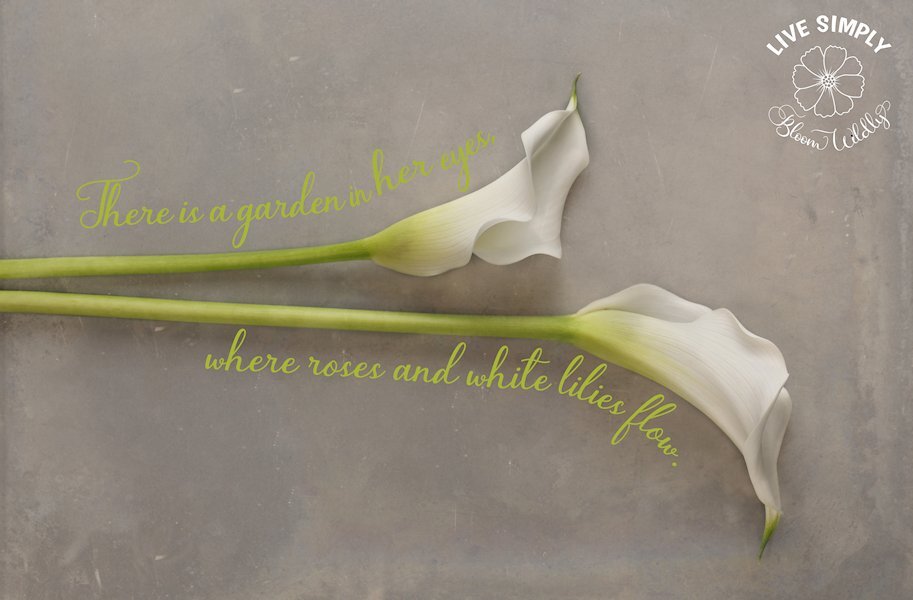
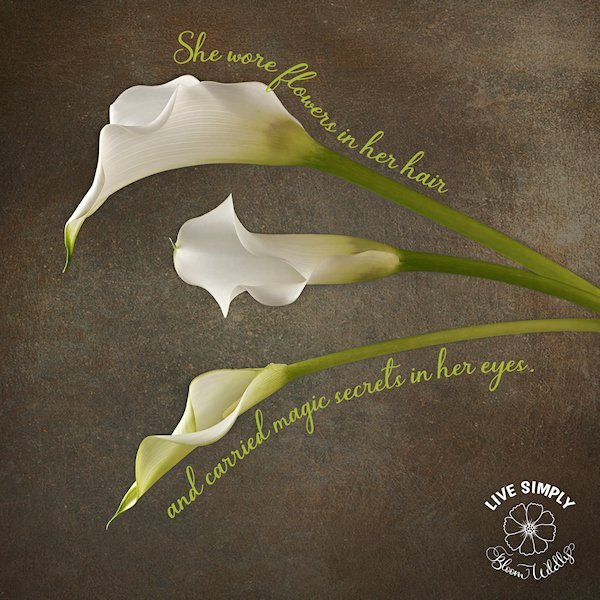
Lesson 5 #2 A fun exercise to do. I spend more time trying to learn how to work with layer masks (not sure that's the correct terminology), photographed on grey so I could add a textured back ground with blend modes (easy part), then needed to mask the blended texture layer to let the flower show through (hard part to wrap my mind around - which layer is the mask, is it black or white etc). the hardest part was wrapping my head around what on the top layer needed to be blocked, it kept thinking it was everything but the flower, but it turned out it was the flower I needed to block. Hopefully I will remember for next time. I added the little round label thinking you couldnt see it, but it seems to show up well and I have no idea why the top text on the flower is blurry, the original is not and even looking at the 600 version on my own computer it is not blurry. PSP is acting really slow today. Yesterday fast, today the opposite. And with the all temp files and cache cleared.
10 points
-
I've finally finished the 6 Vector lessons. Thanks Cassel for the quick response to the Need Help post yesterday. It really helped. It is version 22.2.0.8 PSP Pro 2020 Ultimate I'm using. I'm so excited about what I can do with that learning! I just need to find the time now! And I'm now really looking forward to the next lesson!
9 points
-
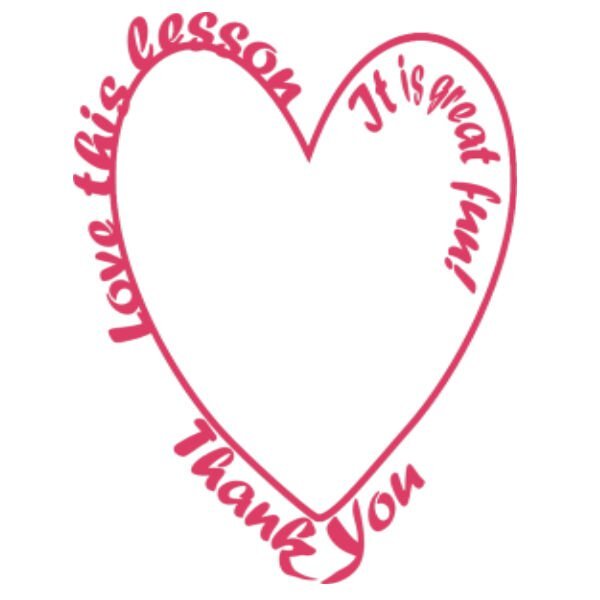
This workshop was alot of fun but some of it was hair pulling. 😆 Thank You
8 points
-
Lesson 5 first one
8 points
-
I 'm ready with day 6 and the old lesson8 points
-
Lesson 5 gave me a lot of trouble suffering from Murphy’s law “If anything simply cannot go wrong, it will anyway”. Finally I realised I had not selected the correct layer, duplicating the path doubled the number of layers, reverse path on a text layer seriously messes things up. Carole mentioned duplicating the vector / layer before adding text, for me that worked as I could “reverse path” on one vector, named as lower text, now typing in correct order. Then tweak the offset making sure the correct layer is selected. A little more practice and still suffering with reverse paths, sometimes seems we have to be specific in the order we do things Still need practice to perfect the workflow.
7 points
-
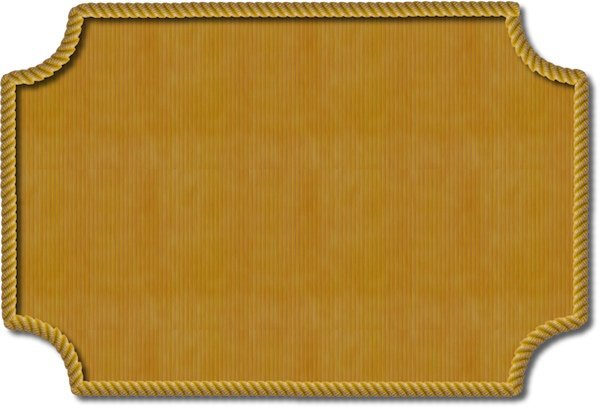
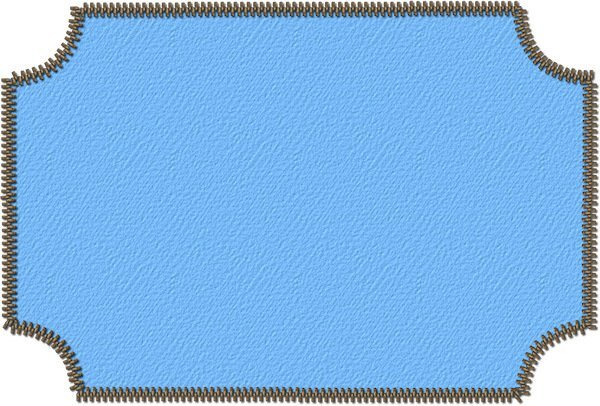
Lesson 4 - finally! Requirement was to do the cutout. I chose to do the life preserver from the summer group. Had quite a time getting it the way I wanted it to be in the preset shapes, but I finally accomplished it. I then used it and this is the result. I duplicated it and then hid it and rasterized the duplicate. I used inner glow on the layer styles, inner bevelled it (regular way - effects), then added the dark blue wrapping. Everything worked out fine this time.
7 points
-
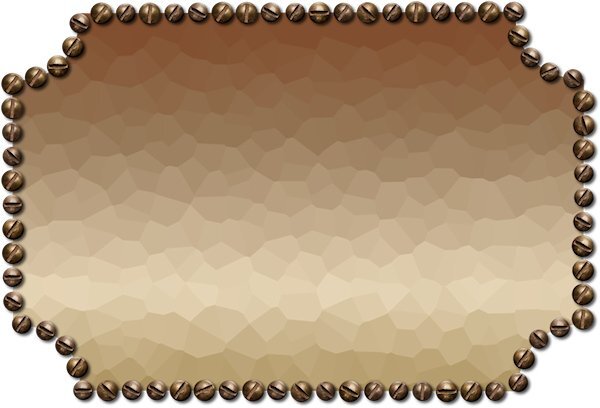
A follow up to Lesson 5. I decided to try something different with my pointed border. I wondered what would happen if I started with a Vector instead of a Raster. So I created a triangle with the pen tool. Then I created a script to rotate so that I had 8 triangles. Then I merged visible to a new layer, duplicated, rotated, then merged visible to a new layer and rotated again. This came out exactly as I wanted it. I may change the script to make it more flexible but for now, using a vector, I have what I wanted. And I have somewhat of what I want a glow by duplicating a layer, changing the colour and using Gausian Blur (multiple times).
7 points
-
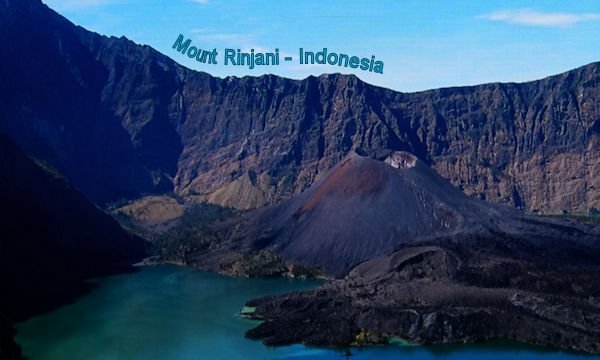
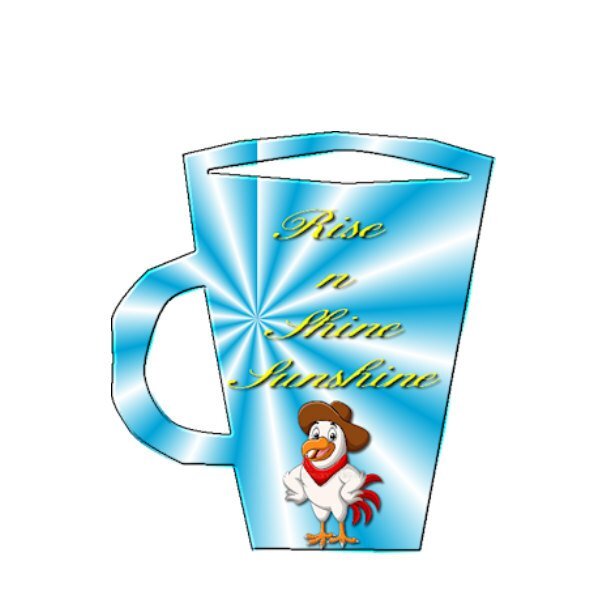
The first image is from CF and the font is Chrishmkbold from my Hallmark Card program. The background is a gradient. The second picture was just sent to me by my grandson from Thailand where he is visiting and playing rugby. The font is from CF and called Asian Pacific.
7 points
-
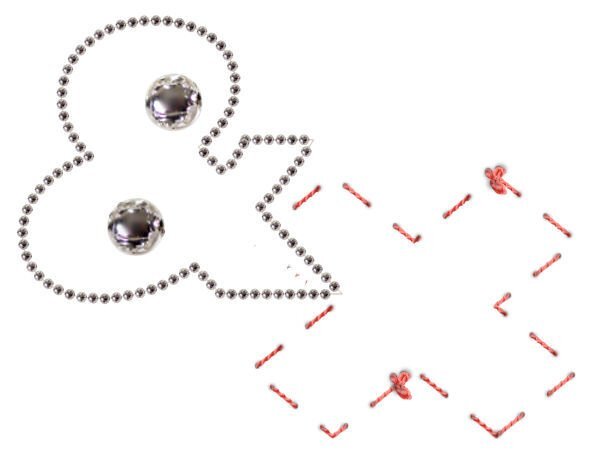
I made something as a kind of label with a flower tube around the shape. Used my own initials filled with a gradient and the C has a sequins tube that I made for another project; the K has a flower tube made of an extracted flower that I did some time ago. The font for both is Beauty Smile.
7 points
-
I have no idea what happened here, I chose the font Harlow Solid Italic at 150 points, and I altered the materials palette to black stroke and no fill. This, is what I got, no picture tube chosen, no script used, nada! Weird! Gremlins, or maybe one of those devilish creatures, Titivillus or Mephistopheles has fallen into my programme?
6 points
-
Lesson 6
6 points
-
Day 6. "It's Showtime" was me in avoidance mode. Playing with PSP is much more fun! The tubes are LED lights from Cassel. I did two runs at slightly different sizes. One tube layer is in front, and the other is in the back of the text. The spotlight is from Pixabay, and the light is from a group of brushes I had in my stash. I do have a couple of questions. Is there a way to have text that is not an outline? Rather than having a rope outline in the Sailing example, I would like to have the text as a single rope. My first thought was that it would need to be done manually, but I didn't like that thought. Is there another? Second, at some point, I saw Carole do a neat trick that turned a preset star shape into a flower using the node arms. Can you remind me how you did it? I would only get it to work one arm of the star at a time.
6 points
-
Lesson 6 part 1 What a fun script this is. I learned I NEED way more picture tubes.
5 points
-
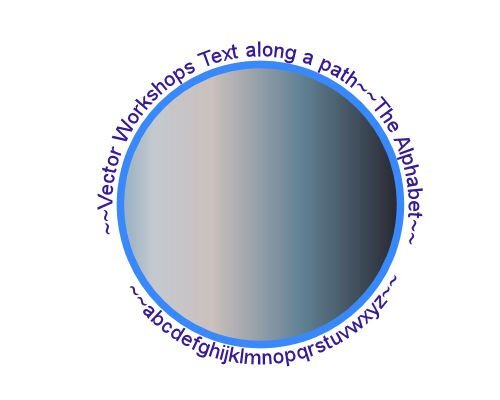
I wanted to do text on a path in PSP but kept missing something 🙂 Anyway, I am quite enjoying that part and that is my focus of the vector workshop. I used text to path for the introduction to a video for the service from our church today. I like learning things. I like it much better when I can use what I learn. Thank you again, Carole. I so appreciate this.
4 points
-
4 points
-
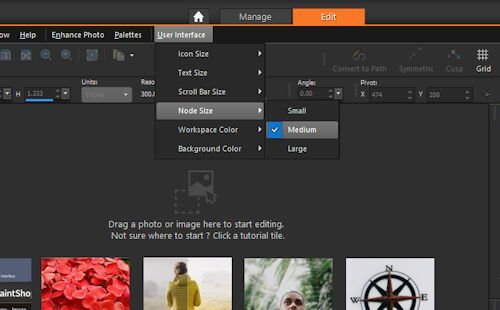
Hi Anne. I had difficultly with that too. Go to User Interface at the top of the screen above the tool bar. Click on that and you will get various options you can alter, including font size, text size, and node sizes. Mine is now set to large. Shame there's no Extra Large!! Hahaha4 points
-
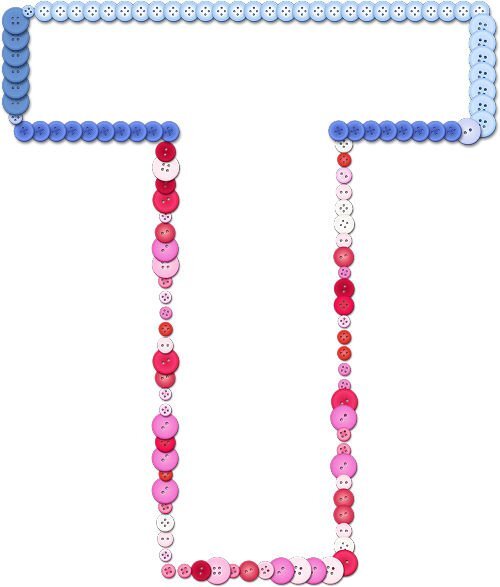
Lesson 7 assignment enclosed. Stil having trouble matching font & tube styles & sizes. This looks like I used one tube around one complete path but I did cut the path in half so I could work on the top and bottom of the letter separately (that actually was the easiest part). After numerous combinations, I decided to use one button tube for the top and another button tube for the bottom. When I was cutting & moving nodes, I didn't get the images to line up properly & had to use the pick tool to do so before merging the layers at the end. Some mistakes are easiert to hide than others........
4 points
-
I got my proof copy!!! Anyone plans to get it?4 points
-
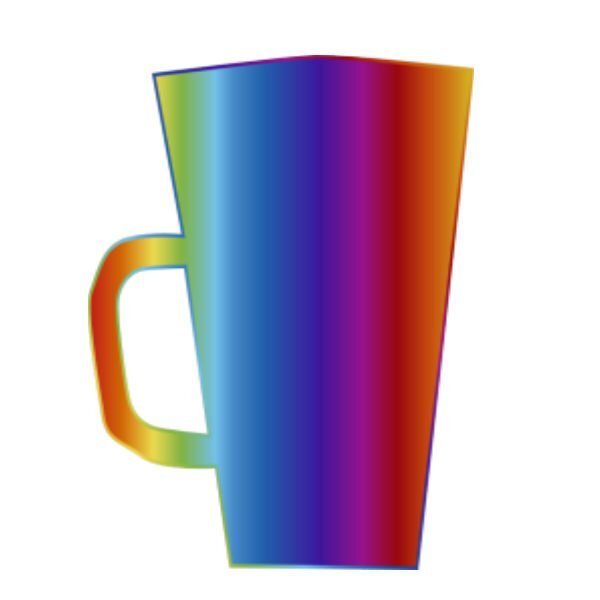
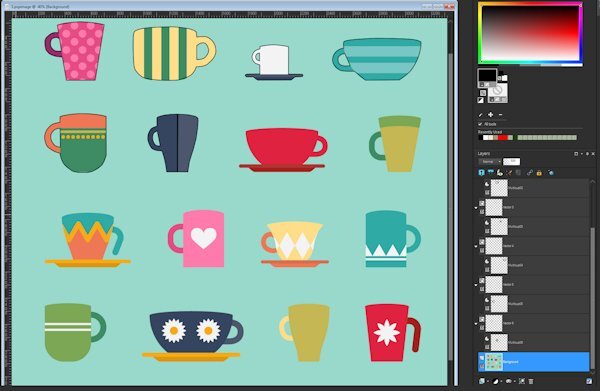
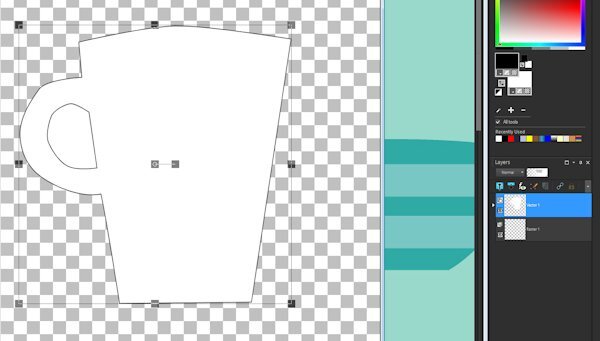
@Cassel and everyone else as well. Going back to the 16 cups file, I have found that OFTEN, after doing the cutout, then pasting it into the vector, the cutout doesn't happen i.e. I do NOT get the transparent section in the cup handle. Then I start using the undo step by step until the NEXT undo is the Reverse Path command. If at that point I go into the cutout section and select Reverse Path AGAIN, then select all, cut, then paste into the vector, IT WORKS. I don't know what I've been doing that "already" reverses the path before I try to do it on the first attempt but somehow, when my initial reverse path is invoked, the path was already reversed (apparently...if doing it a second time makes it work). Anyhow...I'm now up to "Multicup07" preset shape in the cups file. I have also a couple of times tried to get fancy and paste a second cutout into one of the vectors but that hasn't been working. When I'm done with the 16 cups, I'll go back and tackle that and figure out how to make it work.
4 points
-
A few things to check. If it is the first export you make (I doubt but just in case, for others), check that the File Location is correct for where they are saved, and also for the folders it is pointing to. If you have previously exported without issues, it might be a problem with the name of the shape. Did you rename the object/group? If not, it might be using "New rectangle" or "New path" as a name. Check in the drop-down list if it might be under a different name.4 points
-
Mary it is in PSP! Go to Effects > Texture Effects > Soft Plastic. I played with the settings and the random function that in the end got a result that I liked. It depends a bit on the colors you use because the effect wasn't very visible on the darker colors I tried. Sadly/stupidly I didn't write the exact settings down. Hope this helps you to get something similar.4 points
-
OK...I have done Lesson 5. Here is my submission.
4 points
-
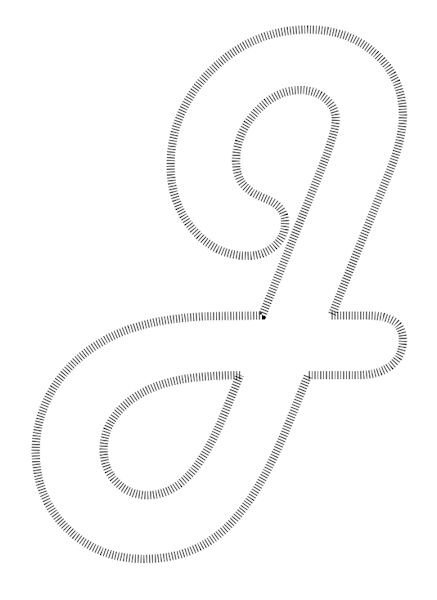
Lesson 6 part 2 I wanted to see what happens on letters like "i" and "j" to see if the script will do the dot on the I. It sure does, I guess because the character is both of those elements. This script is really fun and addictive. The second thing I wanted to know. How thick or thin can the stroke be? I tested 5 px and 20 px and makes no visual difference to me. The reason for this test is so I can duplicate the vector and have a layer that has a stroke and no fill. And the bottom Vector layer has a fill and a very small 1-5 px stroke. That gave me the opportunity to to be able to reduce the opacity of the vector layer with the fill, and be able to manipulate the stroke layer on it's own. One issue that came up with the font (is the pipe cleaner can't make such a bend as shown, so the stroke showed through). It was an easy fix as I had the stroked object layer to use, I just hid the Vector outline layer and it was gone. I really like this lesson.
3 points
-
When I just watched the Lesson 6 tutorial with the Vector Tube script I thought of Gill Sans Ultra Bold immediately. It's one of my favorite fonts. I am thinking of the small 'i' and wonder if the script will find the dot since it's not attached. I'll find out tomorrow when I do the lesson. Everyone has done really awesome stuff in Lesson 6, I'm excited to get to it.3 points
-
EYE CATCHING!3 points
-
Day 7. One of the challenges with this one was grabbing hold of the correct node to move after cutting. I learned not to move the node too far before you determine it's the correct one. I had to start over a couple of times because I couldn't get it back in place to line up with the full shape. Carole - Thank you for the reminder about Vectors in Action. I recall that all of the Vector masterclasses were great. I'll definitely go back to watch them again. After every workshop I think about the Mickey Mouse song: Now it's time to say goodbye to all our company. See you real soon!
2 points
-
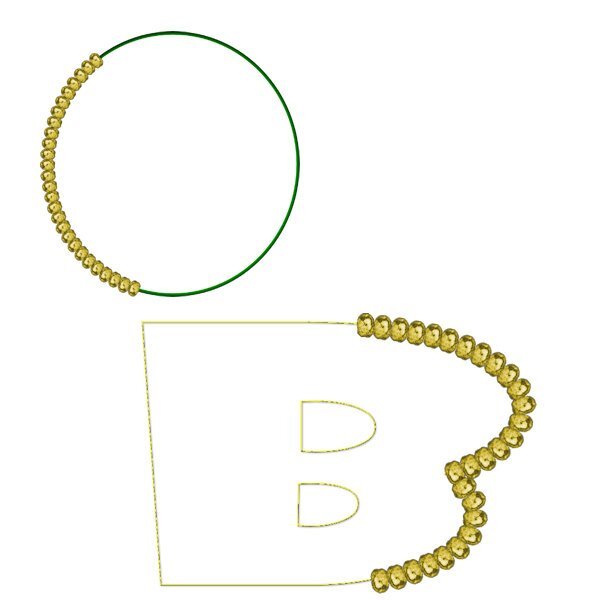
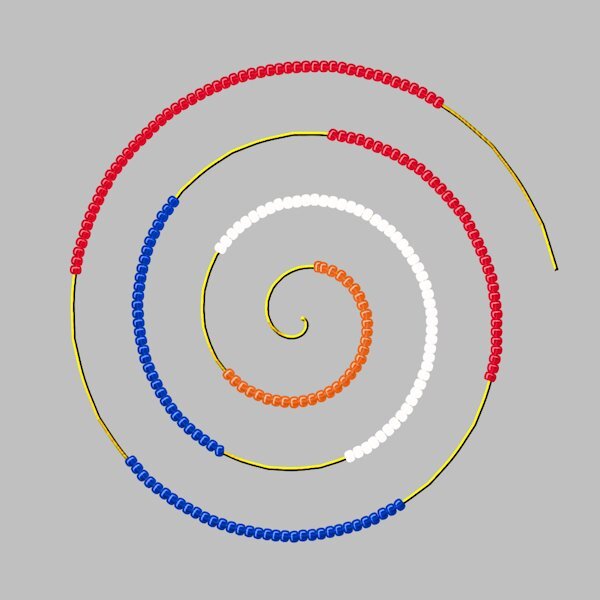
For the last lesson I made this. I first used the Vector Spiral script, it is a free one and is in a Featured Resources blogpost quite some time ago. I use it once in a while, sometimes with text or other picture tubes. After making the spiral which already is a path, I made the cutouts and then ran the Vector Tube script with a beads tube in the national colors of the Netherlands. I know I did something similar last year but it was among the things I lost when I had some computer problems earlier this year.
2 points
-
Congratulations Carole, it looks great.2 points
-
Congratulations! I'm sure it feels good to hold it in your hands and see the result of all your work. 🥰2 points
-
Enjoyment yes, but lots of tedium in finding letters and tubes & tube settings that gel together perfectly. I probably need basic lessons in using picture tubes. The more you learn the more you need to learn... it never ends.....2 points
-
If you tried to edit it after already "exporting it", then exported it again, you may have to shut down your PSP and restart it because the "new" exported version wasn't re-uploaded into the preset shapes...if that makes sense. I had that happen to myself...made a change and it didn't show up when I tested it as a preset shape. Then I "reloaded" the preset shapes, the changed version was in there. OR (and I didn't try this), maybe selecting and using one of the other tools then selecting preset shapes again will reload the shapes without having to shut down completely.2 points
-
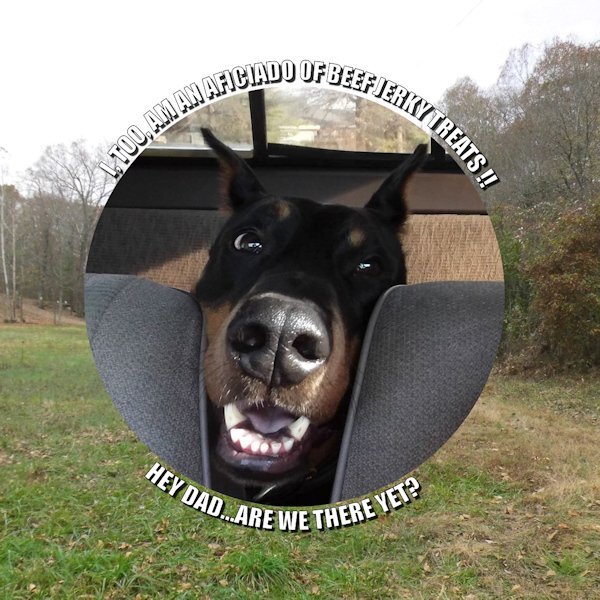
Chippie considers him/herself quite photogenic!
2 points
-
Thank you Carole. I will try that. I know that it's something I'm not doing right and that it's a simple fix like you've offered. Often my issue is "where" I am clicking as opposed to where I "should be" clicking. Clicking the mouse in the right spot is important I am learning.2 points
-
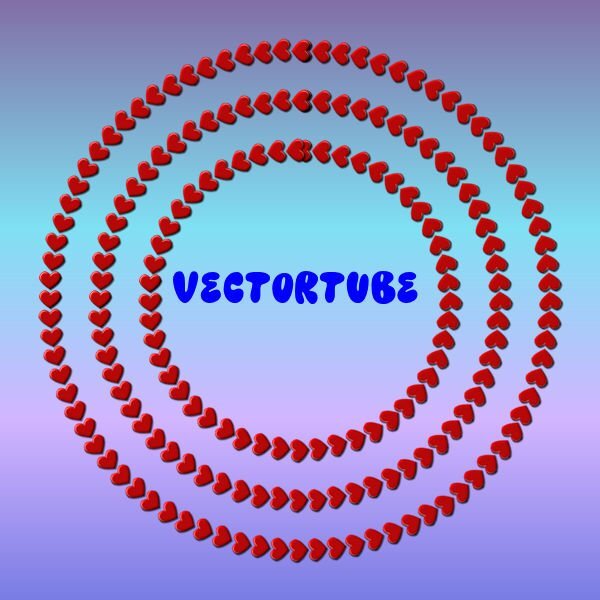
@Mary SolaasGreat watermelon. A bit more elaborate than a single leaf silhouette, right? @Anja Pelzer You didn't seem to have any problem with lesson 5. Good work. @Jeni Simpson Whenever you need help, I am here! OK I think you are officially addicted to the VectorTube script now! LOL For the last one, sometimes, the Line Style changes to this while you THINK it is solid. Just open the Vector properties by double-clicking on the Object, and change the Line Style to solid. @Ann Seeber I am not sure why the anti-alias would toggle from checked to unchecked either. At least, if you see some jaggied edges, that is the first thing to check. @Randy To make a symmetrical shape with points, you can use the Symmetrical shape tool. That would be even faster than a script, and allows you to choose however many "points" you want, and tweak them all at once if you want. Select the Draw Stellated and play with the settings. We even had one class using it HERE. For Inner and Outer glow, you can use Layer Styles, as mentioned by Mary. As for OneDrive, a few people have reported issues with that. I don't have it myself so I cannot investigate. @Minka Glasier Tubes along a path can be so much fun! @Daniel Hess One thing that came to mind is whether you tried to paste using Ctrl-V. I found out that it does NOT work and you have to do it the long way, with right-clicking > Edit > Paste. I don't know why but could that be what you were doing to paste the cut shape? I don't see any reason not to have multiple shape on a single image. I have done that myself. Good work on the text on path. That didn't cause issues, right? @Jen Brown That was a lot of nodes for that leaf. Good work. @Bonnie Borntrager Those outlines look great. I think you might get addicted! @Susan Ewart Yes, you just activate the object and Recover anti-alias. I have imported some EPS files as WMH files that PSP can read, and I had noticed those jaggied paths. I even had to write a script to go through all the objects as sometimes, I would have over 100 tiny shapes to "recover". It looks like you did a good job on the rocket. I'll wait for the specific questions. (maybe it could go to the Q&A if necessary). Once you are in the Edit mode, try clicking anywhere outside the box, while the Object is active. It should get rid of the box. As for your version, you got the correct one (I always check, just in case). @Gerry Landreth The tool you are looking for is the Symmetric shape, and the Stellated mode. The class I showed it in is Vectors in Action. @Emerald Jay It looks like you did that effortlessly! @Corrie Kinkel That was easy (especially since you are already very familiar with the script). @Anja Pelzer You are definitely having fun. I recognize those picture tubes! @Donna Sillia It looks like you had no problem with that text on path, even counterclockwise! @middieThe small "dot" you see is just the last picture tube applied. Unfortunately, there is always a sort of "overlap" to close the path with the picture tube. It will be more or less noticeable depending on the picture tube you choose. If you thought that today's lesson was fun, you will get a nice surprise tomorrow! Stay tuned!2 points
-
Your images are quite beautiful, Susan, inspirational.2 points
-
I agree, Middie, I played with many different options with the size of tube to shapes to add the tube to. The font you have used for your creations is fabulous, and works so well in this instance. I have always loved doing Richie Dumlao's tutorials using the ampersand. It is such a beautiful shape. I also loved the x shape, Gill Sans Ultra Bold. I tried several different fonts and shapes, there is so much to enjoy with this day 6 vector tutorial.2 points
-
Hi Jeni. I had the same problem with PSPX8. I eventually found it, not in a popup box, but a bit further along in the text toolbar at the top. You won't see it until you click on one of those teeny faint arrows to expand the toolbar. It should appear to the right of the mitre limit area and just to the immediate right of the warp text. Screenshot of my PSPX8 text toolbar is enclosed.
2 points
-
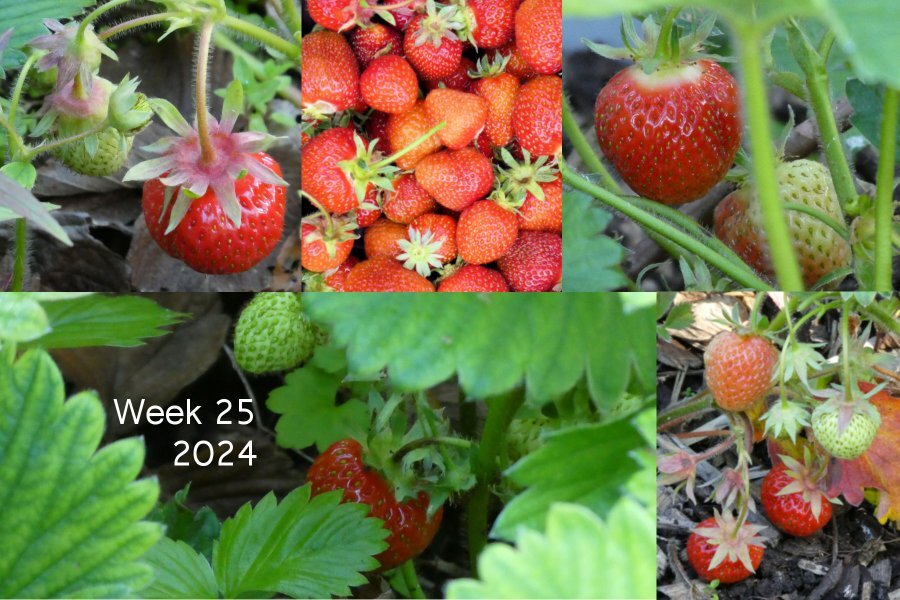
Week 25 Strawberries and lots of them – I’m picking them every day now as are the blackbirds!
2 points
-
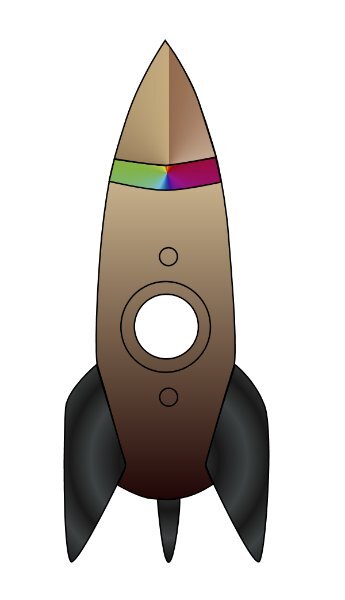
Lesson 4 Whew, this is an emotional rollercoaster lesson. As I told Daniel in an earlier post, I thought I was rock star, I finally got it. And today? failure after failure (the rocket). I could get the cut out, but could not get it to show when I filled it. I finally got it, but I don't know why I got it or why I didn't get it, which is important to know so I don't continue that way. I have lots of questions about the rocket I did. About how to go about it. The words arent in my head right now and it's lunch time...must be hungry and cant think (it cant possibly the entire week of only 3-5 hours sleep a night, naaaaa 😜) Carole, I'll try and formulate what I want to aske about making complex stuff like rocket with overlapping lines and other issues that came up. I'll wait until I get caught up first.
2 points
-
Haven't had much time to play as a major house project started much earlier than I expected .... but I am following along. Love seeing what everyone has been doing! I am looking forward to July 4th ... a traditional day of BBQ around this family!
2 points
-
LESSON 5 I found this tricky. I now see why Carole keeps emphasizing to convert to path. It is so easy for me to forget that step. I like how far I can go in PaintShop Pro. I usually use AAA LOGO Software to create text on circle. I like the fact that it has a lot of shapes that come with the product. It also has the ability to add things like an outer glow and inner glow. How can I go from my PaintShop Pro version to add the features I can in AAA Logo? I know that I could try to create a shape with the points but expect it would be tedious and would probably not be 100% symmetrical. I have a script that I created to duplicate and rotate and used that to create the points (but it is not vector). I added that behind my text on path and can get part way to where I can with AAA Logo software. For some reason, as I duplicate and rotate, the size of each eventually grows so that my last triangle is noticeably larger than my first one ... I don't know why this enlargement happens It is most noticeable at the top . Any suggestions on how to get it all the way to look like AAA Logo creates it would be appreciated. Anyway, in PSP, I think I may be able to replicate results. I have tried now a number of times with some success. NOTE: The one with the green glow is the AAA Logo one.
2 points
-
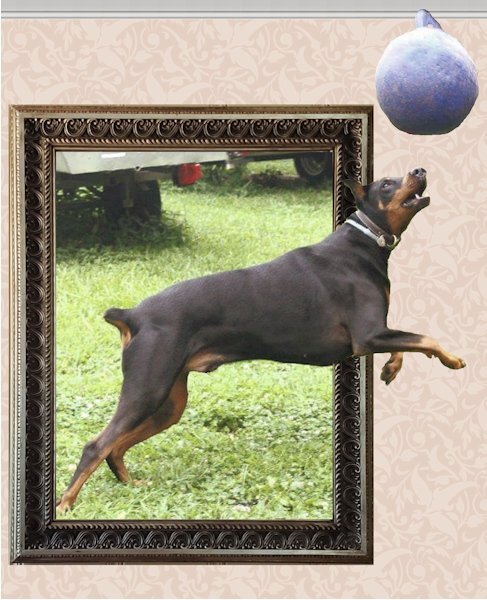
Lesson 4 "Failure". Haven't figured out where it went wrong but the "cutout" isn't truly "cutting out" for me. Maybe I missed one of those double node merges but I didn't see any to merge. At any rate I should be seeing transparency in the handle after using the Preset Shape I exported and it is filling just like the main cup. The dog is pestering me for his walk and he won't let me concentrate on anything else until that "ritual" has been observed. As of September last year, we had 3611 (and change) miles logged with my Garmin watch (since Nov 2016) and have done a couple or more hundred since September. He is almost 11 and we won't have him for too much longer...he is a large doberman...getting gray and he runs out of steam early after commencing our walks these days. Pretty much maxing out at 1.5 miles on good days.
2 points
-
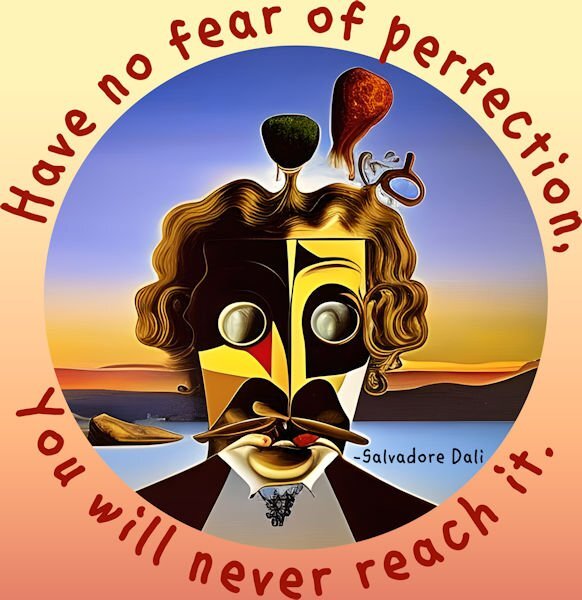
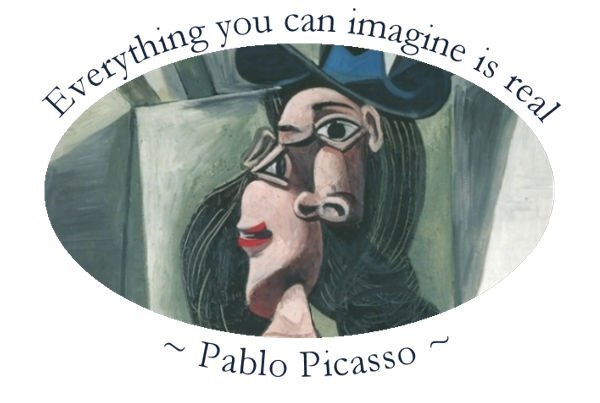
Thank you, Carole, I had been searching for offset, yet when you said where to find it, and that was where I had been searching, I actually found it to the right, after warp text and mitre limit. I tried this text in a circle again, using an ellipse, and a quote from Pablo Picasso. I'm no fan of his later work although have an illustration he did of a horse and the anatomy is accurate.
2 points
-
day 52 points
-
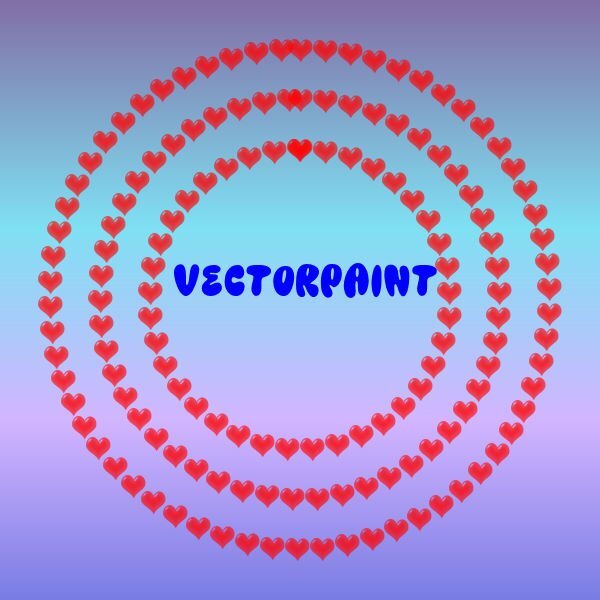
I'm still behind since we have been entertaining a very good friend this past week. Here is my vector tube. I also experimented with vector paint and really liked the results.
1 point
-
ok this one bit my a@@. Took me 4 trys to get it right. Walk away Bonnie walk away lol
1 point
-
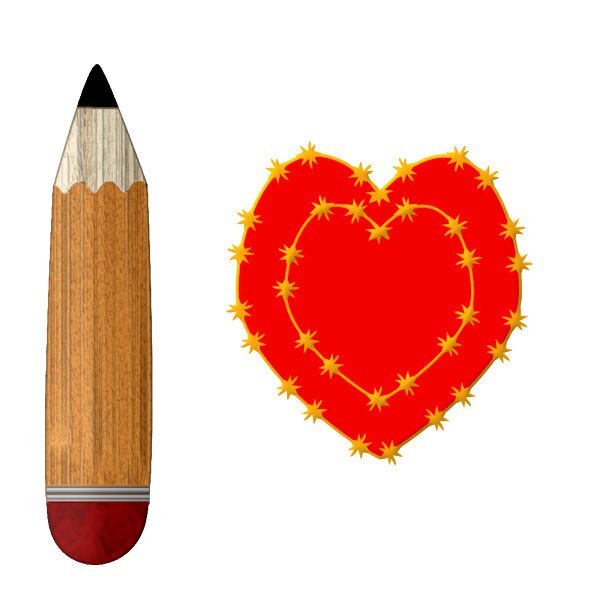
I started to make an arrow, but then began to play with the nodes and ended up with a pencil. I converted the pencil to a raster and filled it in with different textures. The heart was harder than I remembered, but I finally got it to look like a heart using a lot of guide lines. I used a lined stroke, duplicated the stroke and made it smaller to fit inside the bigger heart.
1 point