Leaderboard
Popular Content
Showing content with the highest reputation on 02/26/2024 in all areas
-
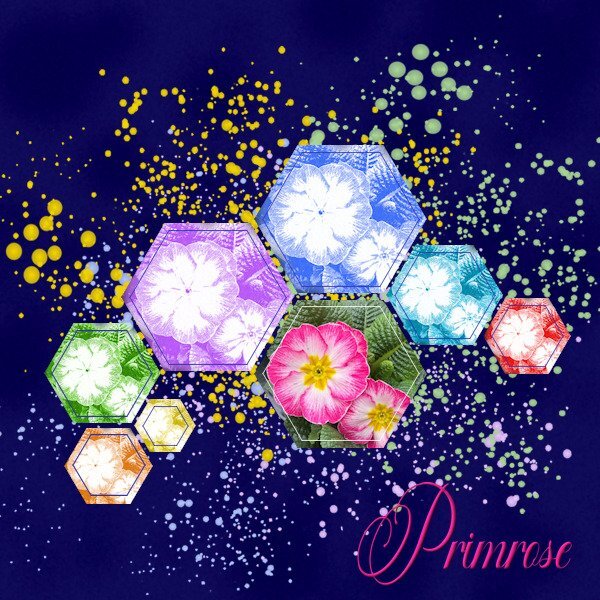
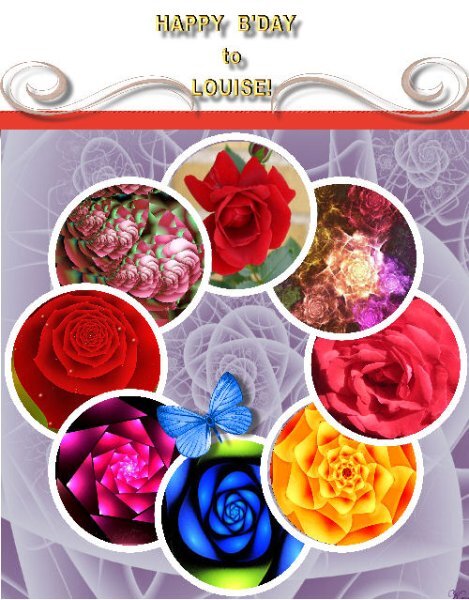
I was playing with the Pencilscript 2 and some photos that I took this week in our local gardencenter where spring has arrived! Of course a pencil drawing doesn't have to be in black and I changed the pencil drawing that the script gave me in the 7 colors of the rainbow. Then I used the Lab template 13-5 to display them alongside the original photo. The font is Fadilla.7 points
-
Ah, I used the new template, also. Here is grandson, Tyler-John (28), just back from his first Caribbean vacation in Costa Rica all by himself! (He says he hasn't had time to develop any romantic relationships yet. 😉) I used the cass-datestamp9. The toucan bird is from a kit "Froot Loops." (Does he qualify for the Rainbow Challenge?) The background photo is from Alamy_MHKT6M.3 points
-
3 points
-
Ack! where does the pot of gold go? hahahahaa. Finding the pot IS my retirement plan.3 points
-
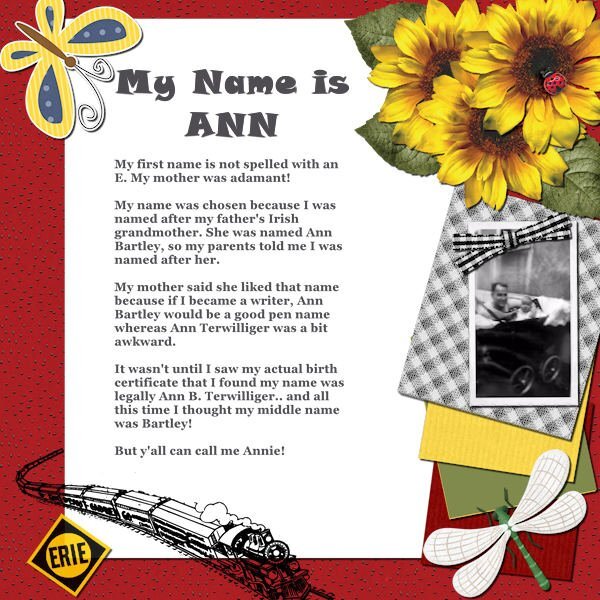
I am an only child, also, and only learned about my parents' previous marriages when I was 12 or so. My first question to them was "do I have any brothers or sisters"? My parents started late having children and none of their friends had any my age. I was so happy to go to school and find friends! My dad worked for the Erie Railroad. When I had my daughter, Debbie, I vowed she's not be an "only" and had Laurey 19 months later. 👶👶 This layout is from Aug 2020. I used the kit: Lady Bug Hugs and the title font is Snap ITC.3 points
-
3 points
-
3 points
-
There are a million ways…. from your own photos. Just a woods with a creek photo, say, then blown up to the smallest side being 3600 pixels (or whatever size you’re after). Backgrounds can be blurry with the resize. Crop to,size. Put your zip line or camping photos on it. a photo of a parking garage wall, a stucco wall, an elevator door…..resize, place on a colored paper and mess with the blending modes, maybe “multiply” then move the transparency slider to 40% and see what it looks like. You can use packing peanuts, a park bench back, old wooden storage barn, peeled paint fence or wall. I used my wood floors, and also a painted wall where you could see the puckers of the paint roller. As long as the “original” is over 12” square, it will work. (I use 16” as my parameter) photo of Kraft paper, waxed paper, butcher paper, florist paper, cardboard box panel, packing paper (even if it’s been crumbled). Then add color. And blend modes, use those sliders! as long as it’s for your own use, these are sometimes popular: scan or take a photo of newspaper, wrapping paper, wallpaper. When you have it, start looking at textures. effects-texture, texture. Add one that is subtle, but not too subtle. I find this the trickiest. Post your results!2 points
-
2 points
-
2 points
-
What would the pot at the end of your pickleball rainbow contain?2 points
-
Ann, I did the same as you and vowed that I would have more then 1 child or none at all. In the end I have 2: my daughter who is now living in California and my son who stayed in the Netherlands, but not very near to where we live at least to Dutch criteria.😉1 point
-
Lab 13 - 03 I used the template : link in the notebook. Made the Wooden token and Decorated metal charm tutorial. The digit beads were made with the cass-Alpha-beads script. The other elements come from pixel-scrapper-blog-trains/feb-2017-blog-train-final-list: themagnoliapatch.blogspot.com WinterFun-addon. Own photos, January 2009, Belgium, Waterloo. A walk with my first Scottish Collie Enzo. I'm not entirely happy with the metal charms I made, I think it doesn't look that metallic.1 point
-
1 point
-
I am blessed, Corrie! I struggled as a teen to make friends...now I have many.1 point
-
1 point
-
They look fabulous. so much we can do with that script. Those are perfect flowers for it too.1 point
-
1 point
-
1 point
-
Eureka! I discovered the trick to adding the vertical separators to the Standard Toolbar. I knew it was simple, but required some finesse steps. Here's the process: In PSP, select View > Customize to open the Customize dialog box. Find an icon to the left of a separator. Click and hold on the icon. A representation of a small button displays near the icon. Move the button slightly to the right, but not so far that you see the I Beam cursor. If you see the I Beam, move the button back to left until the I Beam disappears. Release the mouse button. A new separator displays to the left of the icon you selected. Drag and drop the icons you want into the new section. Close the Customize dialog.1 point
-
1 point





Resized.thumb.jpg.d25811db03a63358cedab1e79f527635.jpg)


