Leaderboard


Resized.thumb.jpg.d25811db03a63358cedab1e79f527635.jpg)

Popular Content
Showing content with the highest reputation on 07/30/2023 in all areas
-
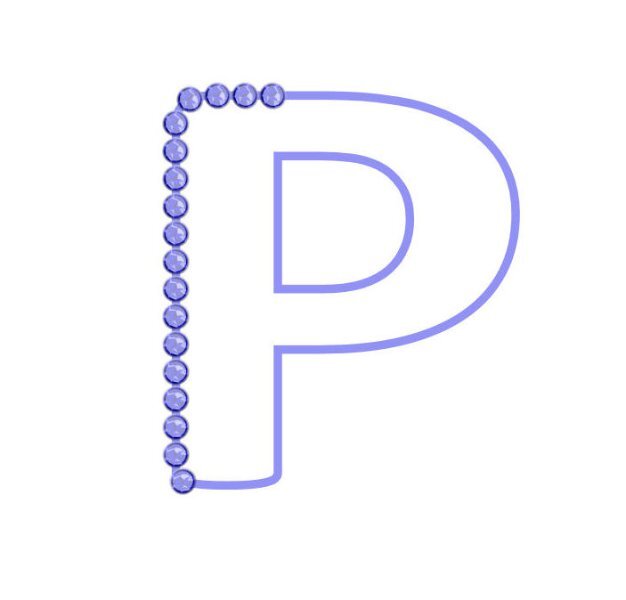
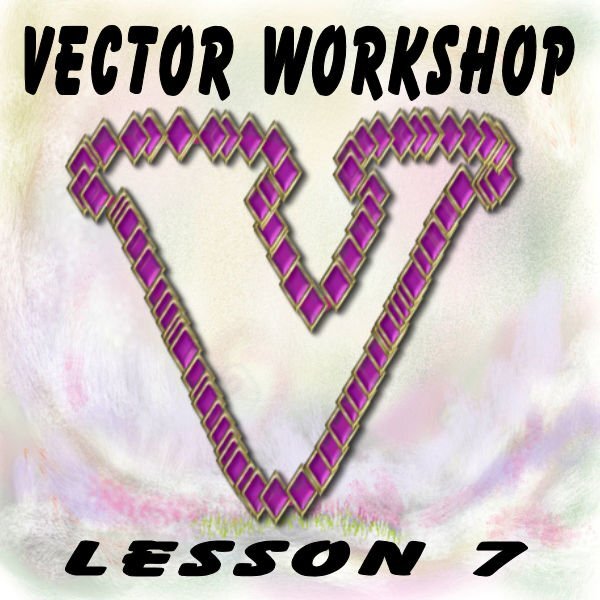
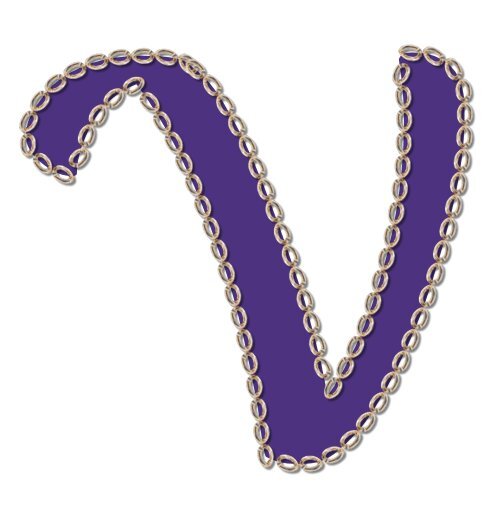
I've had a hard time with the letter and placing a tube around part of it. For some reason, the first letter I used was an S and then I had trouble deleting part of it (had to watch the video several times to get the fact that you select the part you want to remove and then hit the delete key - I kept wanting to select the part I wanted to remove with the selection tool- instead of just drawing around the part to be removed. Then I had a problem with how PSP was scripting the gems around the path - it kept limiting the size to the actual width of the letter. I scrapped the S and began again and chose P this time. Well this time the gems were the correct size. And, all's well that end's well!
 11 points
 -
This thread is so active I can't keep up (been busy), so please don't think I don't appreciate all your work!? I'm trying to catch up wit the lessons. I wanted to add text on the middle part of this project on a new layer, but the text won't move to the spot I want, so I left it out now. But I don't understand why the text can't be moved? Edit: worked after merging layers ?
10 points
-
9 points
-
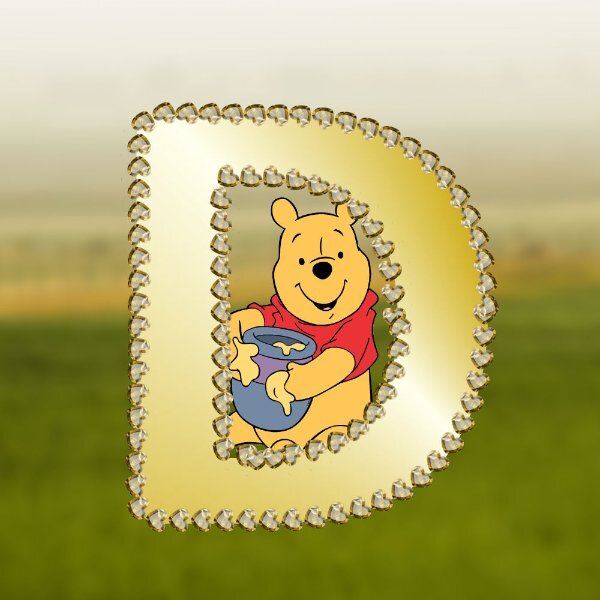
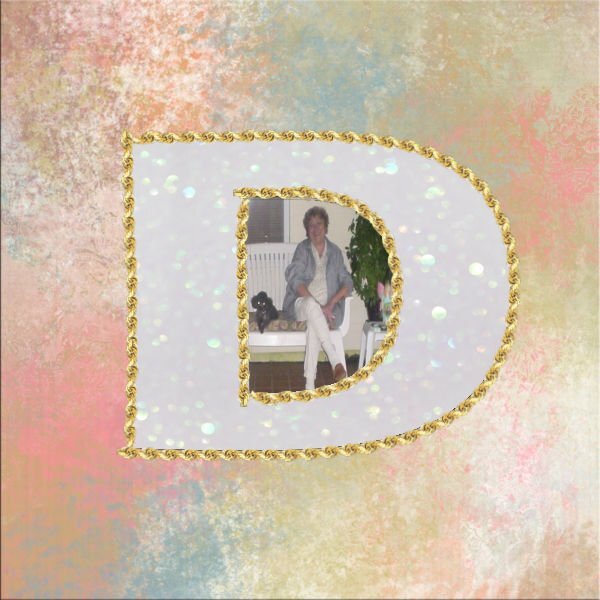
OK - I'm just playing now. I bought that custom directional script - couldn't resist. Used the topaz heart gems I created with a script from Cassel some time ago. Had seen someone putting a picture inside of a letter and thought that's a great idea. Love that old Pooh bear and so put him and his honey pot inside of my D which I had made golden. Of course the background is the 100 acre wood.
9 points
-
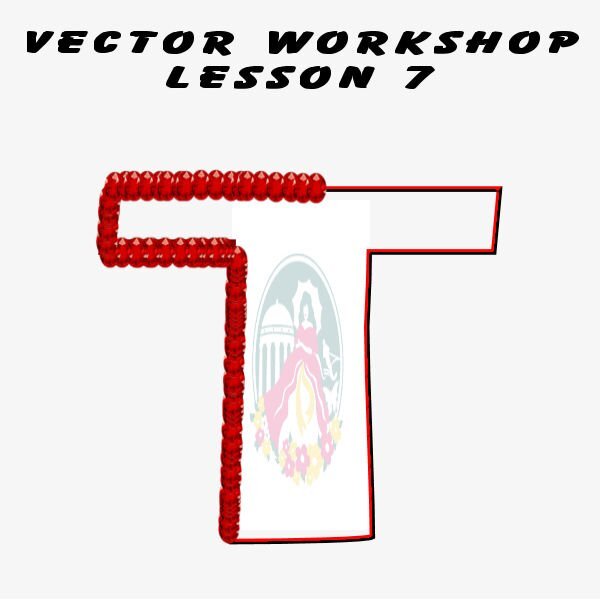
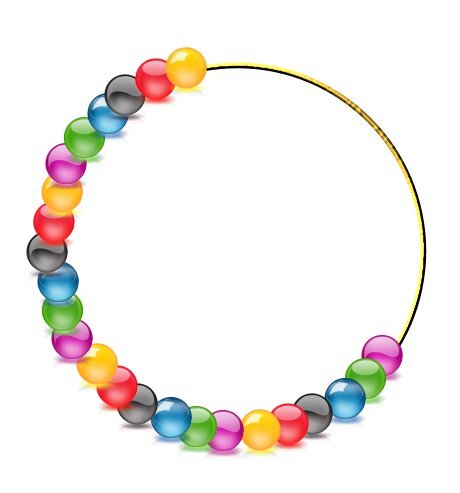
Project 7a. Cass pink bead picture tube; treated the circle as a silver bracelet. Using the knife tool was interesting. I never really understood how to use it. But it is the edit mode that breaks the circle where the knife cut and moves the part of the vector you want moved. You use the knife tool when making a paper clip also.
9 points
-
Thanks, Carole. You rock!!!
8 points
-
Posting - Did rework the S and this is the result. Playing with that knife has been my bane in the past. I'll have to do some more work with it until I get it down pat.
7 points
-
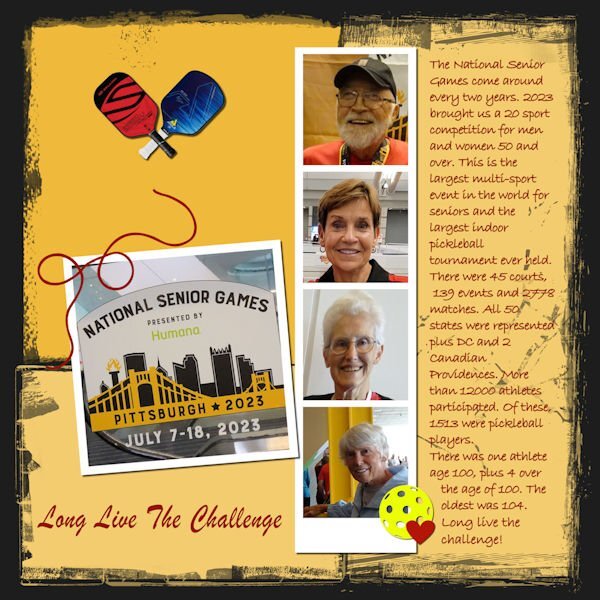
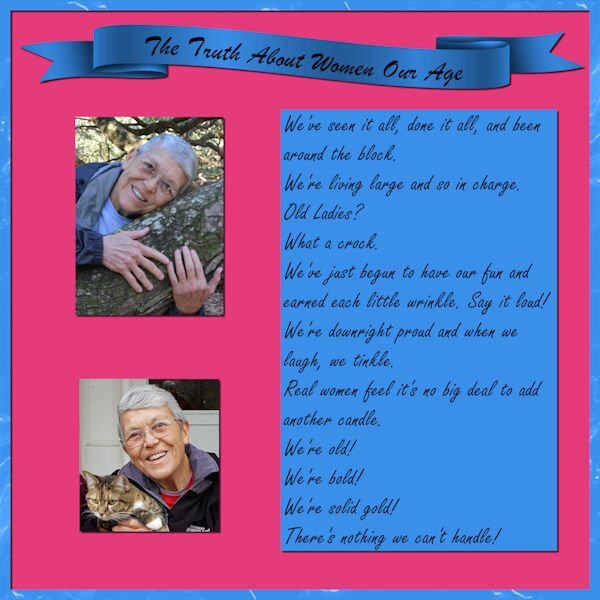
Template by MsFish. Summer Shenanigans #4 Just a few of the friends I ran into at the National Senior Games in Pittsburgh.
7 points
-
Last one today. I made another balloon tube, this one is a straight tube. The graphics are from Summit Soft.
7 points
-
7 points
-
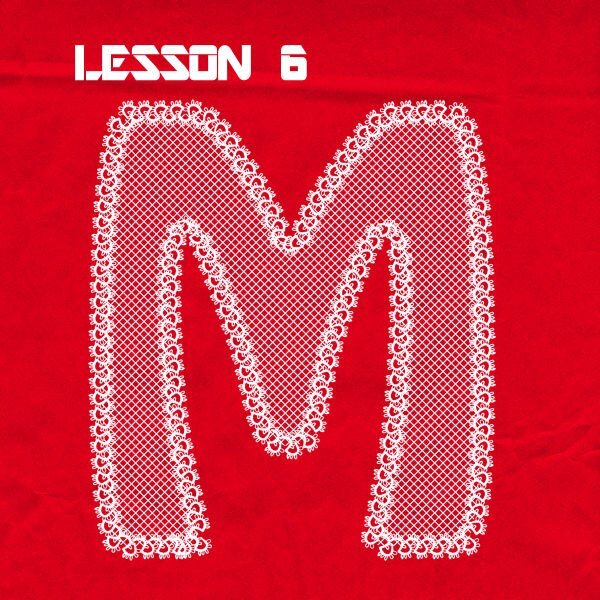
I used the tube Tatting Lace 08
6 points
-
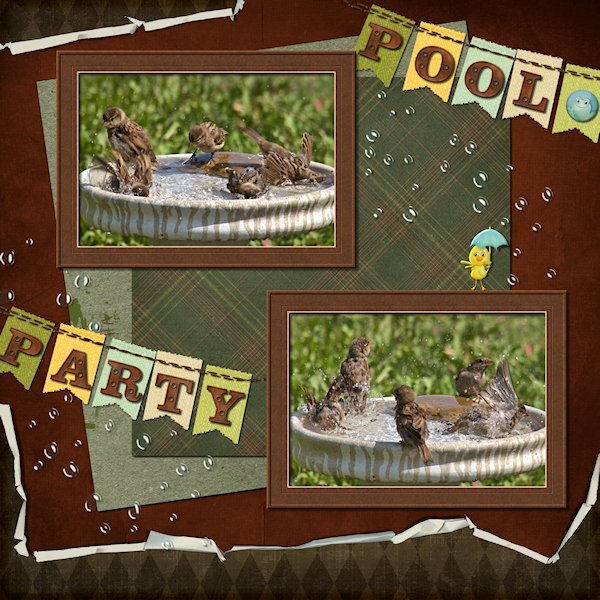
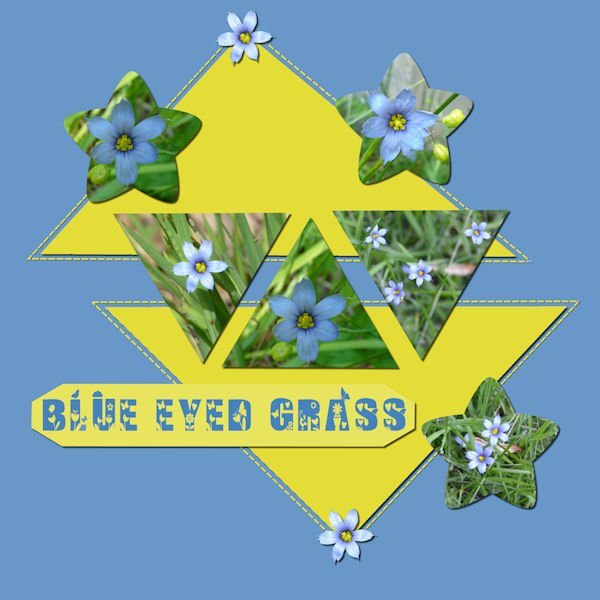
123 Challenge accepted. Here's my result. Photos are mine through my dirty dining room window. I havent been taking pictures of the bathing birds lately but they have been very vigilant about their hygiene...until now, when I want to photograph them. they have become shy and bath when I'm no where near my camera. Here's the details Background paper: bgazarek-crisp fall fair, paper 02 Solid Green paper: Billie Ireland paper solid 01 Plaid paper: Jessica Dunn-rustic wedding plaid paper 09 Banner: Sheila Read-Oh Lucky Day Rainbow flag banner Duck/Frog: Gina Jones-I love the rain duck 02/brad 02 I forget where the water drops came from and now I cant find them again. Alpha: cass-rusted Alpha - freebie from the store I made the frame from the Faming 101 Masterclass. I had used it when we did the Build A Kit workshop and really liked it. I exported it as a pspframe too. It has a leather texture that I dont know where it came from, it just had a number on it with no other identifiers.
6 points
-
I am still so fascinated by the cass directional tube script that I bound it to my workspace. There was a simple tutorial for a balloon which I made into a directional tube. The font is Ambidexter, a free font. The confetti and curled ribbons are tubes.
6 points
-
And now to 6a. Tried (with Artistic Effects>Balls and Bubbles) to make the original tweaked shape into a plumped pillow (I know - it needs work). Before I did that, I used the shape and Cass Blue Braid to do what the project is about. Then (since it was a pillow) I added the font (Aryaduta) and the corduroy heart I made earlier in this workshop. Anyway, this is the result. Oh - I forgot - I also used the warp mesh to give the pillow more depth and played with the words because they had to mold with the plump pillow!
6 points
-
Still playing with the Vector Tube script. Cass Pink Braid used this time and the background paper is the one I did earlier.
5 points
-
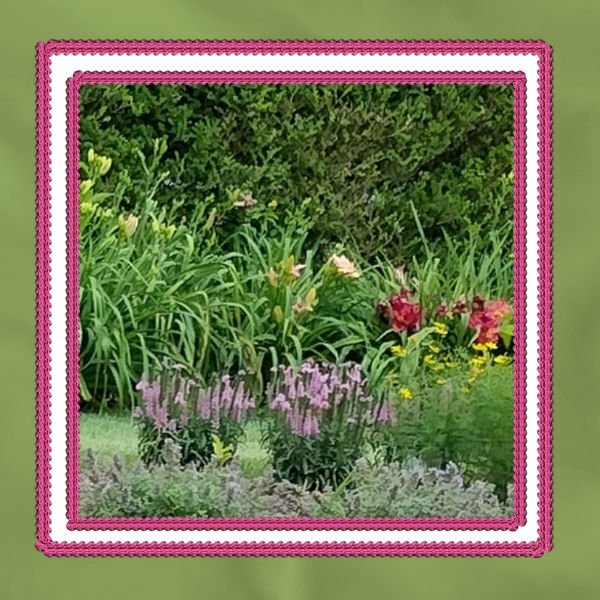
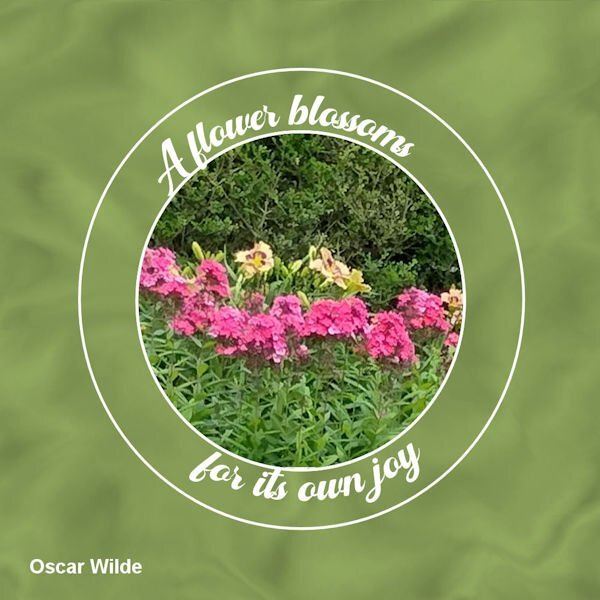
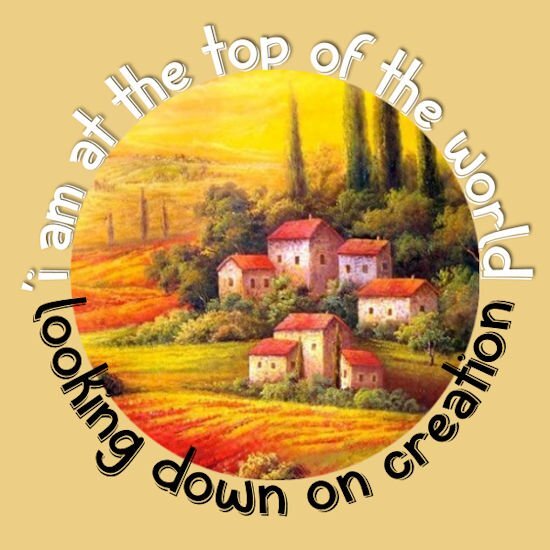
Okay - project 5b. Really had fun with this. Made the background paper using a portion of the greenery in the picture and smudging it, blurring it, lightening it - and then saving it for use later; used a copy of the original vector circle to crop the picture to fit the vector; used a copy of the original vector enlarged to make the top circle; and then relearned how to make the text go the correct way at the bottom (at first it went in reverse - why???) but I did get it to go the correct way when I followed Cassel's instructions by just typing it after reversing the path and then offsetting it. Whew! Fun learning. Need to practice that again.
5 points
-
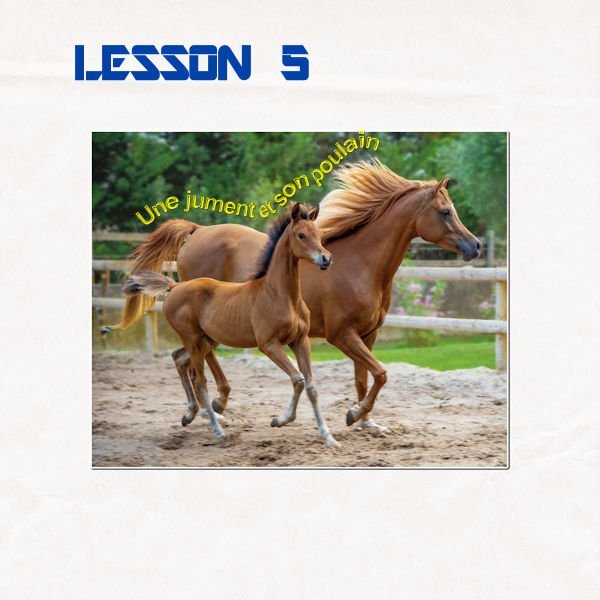
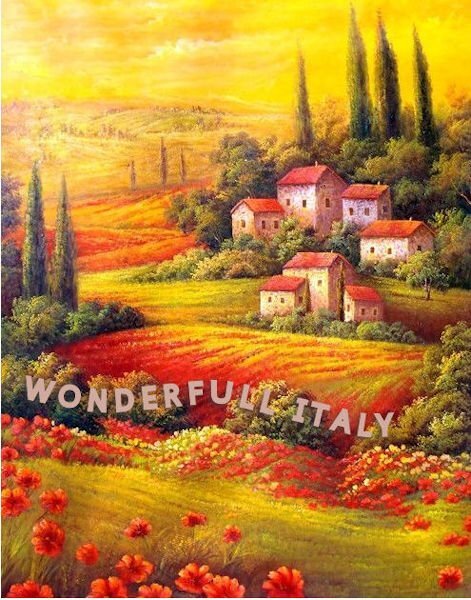
This is my project 5a - text on a path on a picture. I had a time with this - I used Baby Lovely font at first and my computer really locked up - couldn't understand it. tried it several times and every time it locked up. I finally just used task manager and closed PSP. Then I opened it up and looked at one of my other pspimage files and they all worked fine and the PSP didn't lock up. So I just deleted the one with the Baby Lovely font and started from scratch. This time I used Ambrogio font and it worked just fine. I'm not sure if I have used Baby Lovely font before, but it sure didn't like me this time. Anyway. The pic is by my son Chris at the Gulf of Mexico.
5 points
-
Age is just a number. You see that every day at the National Senior Games. Just looking for something different and fun.
4 points
-
Template from Lab 13-06
4 points
-
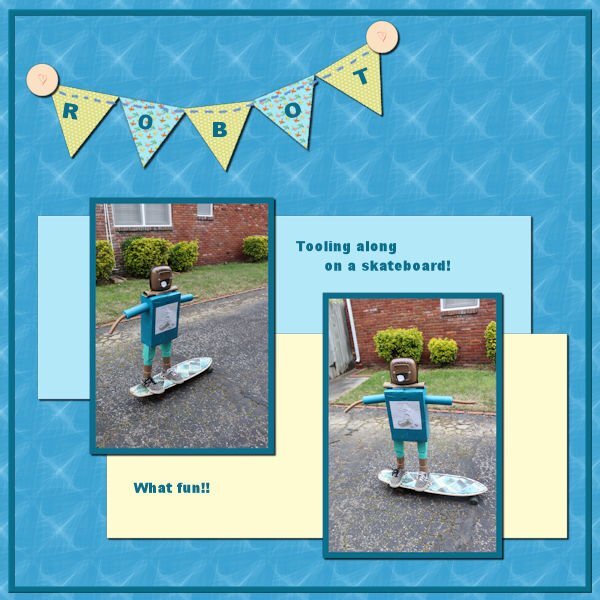
Here is my take. The papers and elements are all ones I made at different times. The pictures were taken by Laurie of David's creation for school several years ago.
3 points
-
?Sing it, Sista!! ?3 points
-
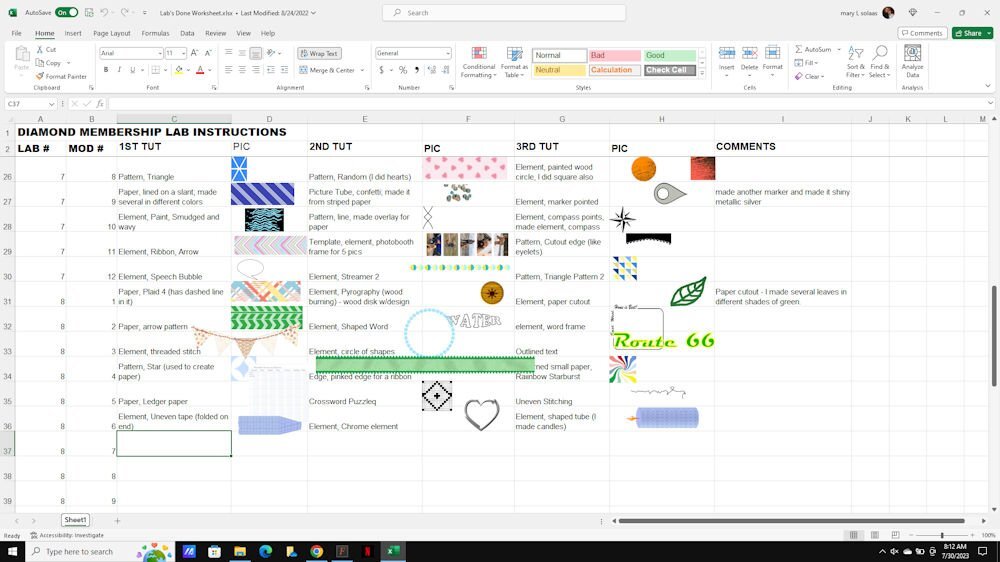
Before the close of July, I'll post what I had started sometime ago as a spreadsheet of the things I had done in the labs. I abandoned this because of having to reduce the pictures of what I had done. I am now working on a database to show where articles about tools or actions (such as shadowing, creating masks, etc.) are located so I can bring them up and peruse them. I was a database programmer in my late adult years (that's what I earned my bread from), however, it is taking me to task and a new learning curve since Access 2016 is the new game in town and somewhat different and more sophisticated than my old Access database.
3 points
-
I love this!3 points
-
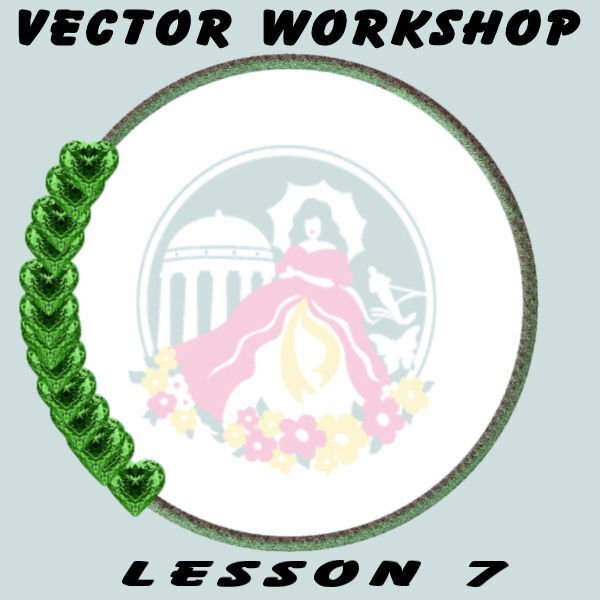
Summary Tubes used: Emerald hearts made long ago by me. Ruby gemstones made long ago by me. Some webpage dividers purchased by me on Ebay ten years ago from Outlaw by Design.
3 points
-
3 points
-
LESSON 7 COMPLETE
3 points
-
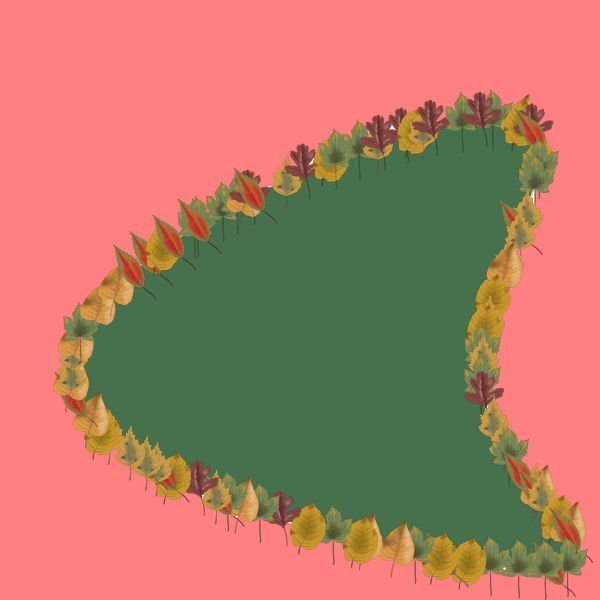
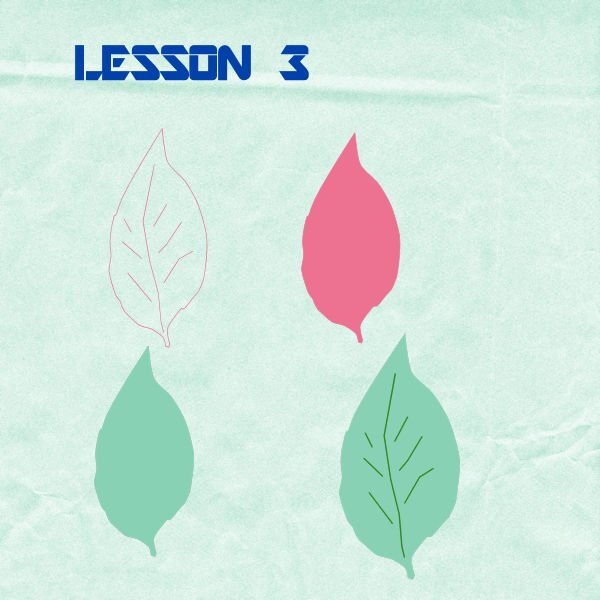
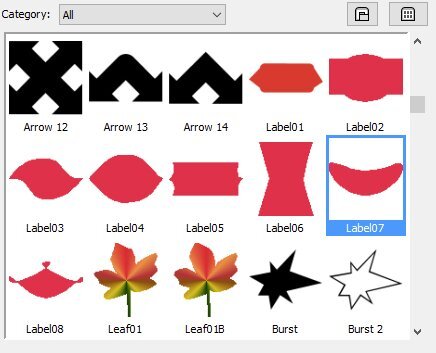
I just finished Lesson 3. I chose Leaf04 and it took me quite a while, it is not perfect, and still a bit pointy, but I am getting more comfortable with vectors. I actually made 2 of these leaves, because after I exported the first try, I saw where the corners were still pointy. So I edited it and when started to I export it, I had to change the name, so I named it Leaf01B. I now have both of them in my shapes Library. I will go on to Lesson 4 for now, but will play more with Lesson 3 when I have more time.
3 points
-
I had not seen the video, Carole. ? My thought was Carole was very strict today as there is no video added. Sometimes it's hidden at the bottom. But if I ha scrolled a bit I found out it was. so her my result of lesson 6
3 points
-
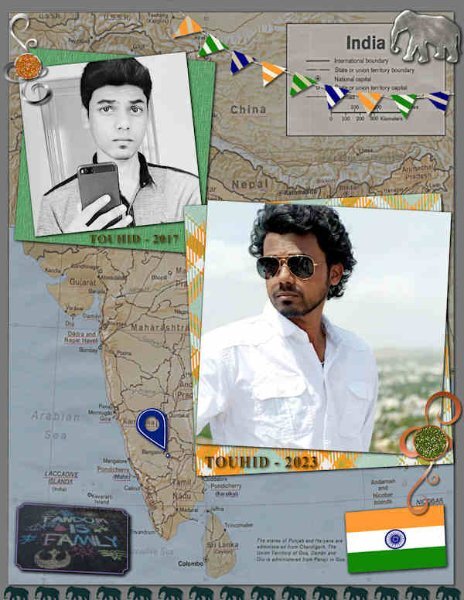
Introducing my Facebook group friend, Touhid Pasha, who just turned 23. I've chatted with him since he was 17. He's blossomed!?
3 points
-
At last, finally succeded in just one session. ?
3 points
-
Lesson 6. I've always wanted to make something like this. Now to make it a pre-set shape. Is that Lesson 7?
3 points
-
Dit is de helft van les 5. Ik dacht: 'Deze les doe ik wel leven af in een minuutje. Ik heb het in de X2 en deX5 vaak gemaakt. maar dat ging tiener toch heel anders. de tweede opdracht van les 5 de tekst rondom de cirkels had ik klaar. ?Maar op het laatste moment vlak voor het opslaan van PSP uit. Weg was mijn crea . ? Carole is het mogelijk om de tweede cirkel een andere kleur te geven voor meer onderscheid??? Ik probeerde het maar het lukt me niet. vraag 2: Tot hoelang kunnen we crea's inleveren. IK KOM IN TIJDSNOOD.
3 points
-
A few words about this inital. Picture it: back patio, lots of plants scattered about, a lovely shade cover, a two seater plastic bench and the DD of the family. Little Dixie and me. She is watching a squirrel chomping on his peanuts.
3 points
-
Finally got my letter done (with partial beads and inner bevel). This has been a very educational workshop. Wish I had time to try all of the new features before I forget them. Thanks
3 points
-
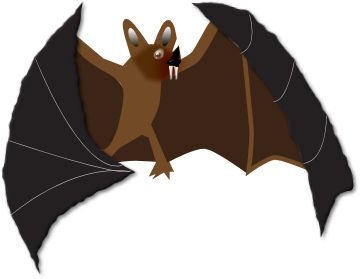
I am still playing with vectors. Today, I created a Halloween bat that I traced from a Halloween clipart from Summitsoft. I added the mouth and fangs as well as the gray lines on the wings.
3 points
-
I did do a dino; however I didn't do it with vectors etc., but with the magic wand. One has to practice with it too. I copied the dino from the group with it; pasted it in a new image and began working on it to separate all the different colors on separate layers, creating a pspimage. Now, please don't ask me why. I never know exactly WHY I do anything. Anyway, I have it saved as a pspimage, a png (so it is an element I can use later on in a layout), and a jpg so I can post it here. This is the result after I hide the original and put together all the pieces!. I really have to move on to Project 5.
3 points
-
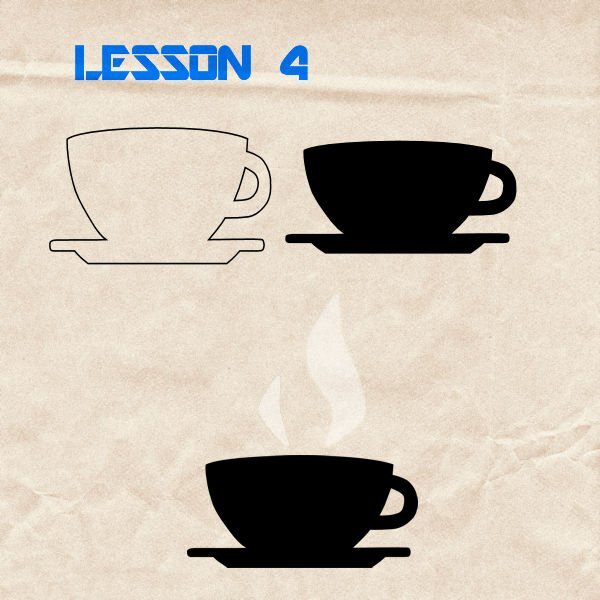
Worked on lesson 4....
2 points
-
Thank you Susan, and I know what you mean about retirement amd lottery....I too was interested about 2 years ago in ON1 but then decided to concentrate on the software I already had, realizing not having time enough for all this. Earlier I worked with Corel Draw (to do flyers) and Photo-Paint, I still have older versions. I still have Photoshop Elements but my preference now is PSP.2 points
-
ME TOO!!!2 points
-
That was my excel spreadsheet. The pictures were what I had done in working the labs. It was so cumbersome because I couldn't save the actual item I had created because it would take too much resource to bring it up and so I had to create a sample in order to put it in the spreadsheet. I am just starting on the database and I don't want it to take up too much of my time in learning it. I've been away from database programming for many years and so this may happen and then again it may not. In the meantime, the masterclass names tell a lot about what action is contained in it. Carole has a neat way of displaying the labs on her site - shows what is contained in each module of the lab. That is where I will go when I am looking for a tool, creating an element, pattern, etc. until (and if) I make a database. Also, she is pretty explicit in listing her other tutorials. Thank God for Carole!!!!!2 points
-
I remember doing the paper clip in the lab too. I should go back and try it again now that I have a better understanding.2 points
-
Donna, nice use of the directional tube script. You reminded me that I have that script too and I had almost forgotten it because of all the new scripts that I have bought since then?I will have to play with it again and make some more.2 points
-
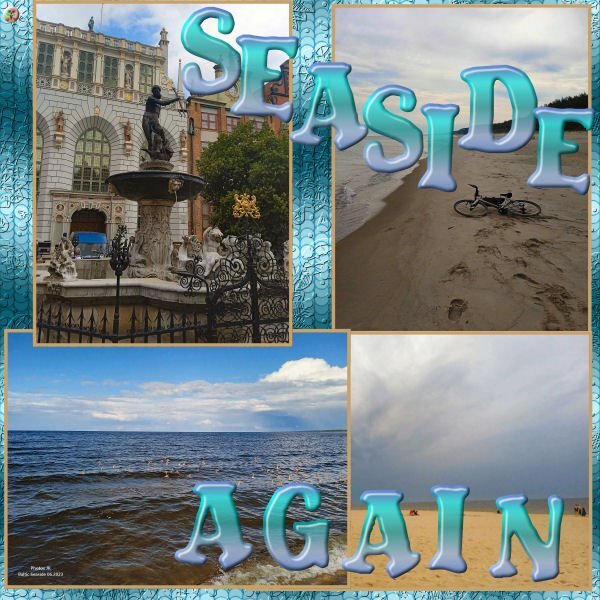
Next Bike Trip at Baltic Sea.Photos taken by Jacek. Carole's ALPHA.
2 points
-
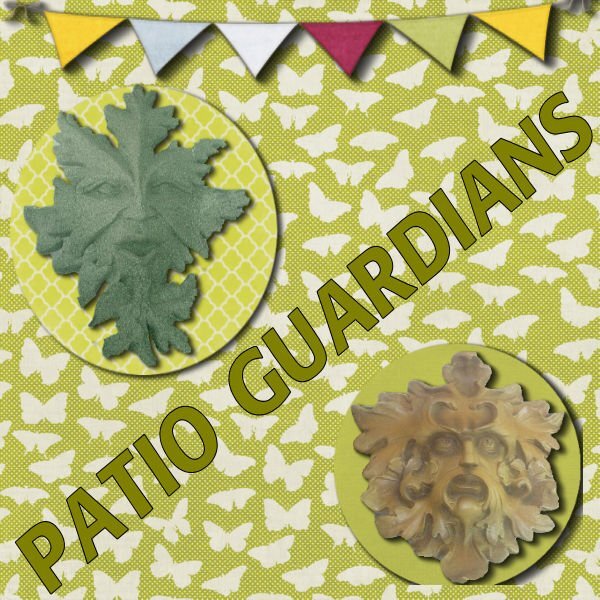
From the Patio: a small sampling of (with tongue in cheek) our patio artwork:
2 points
-
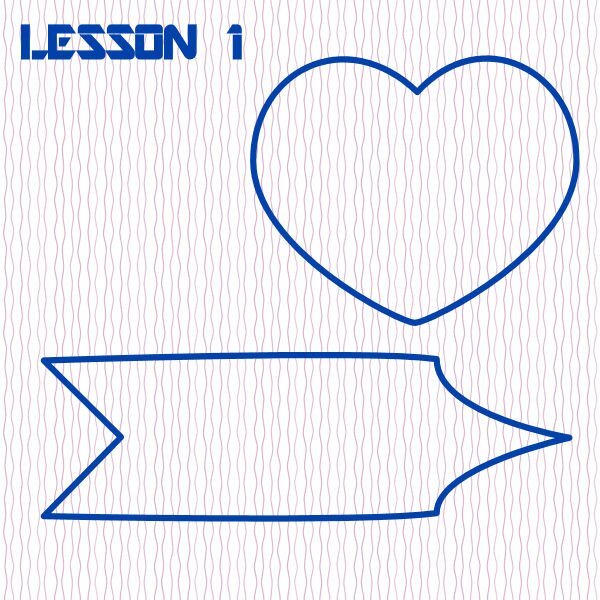
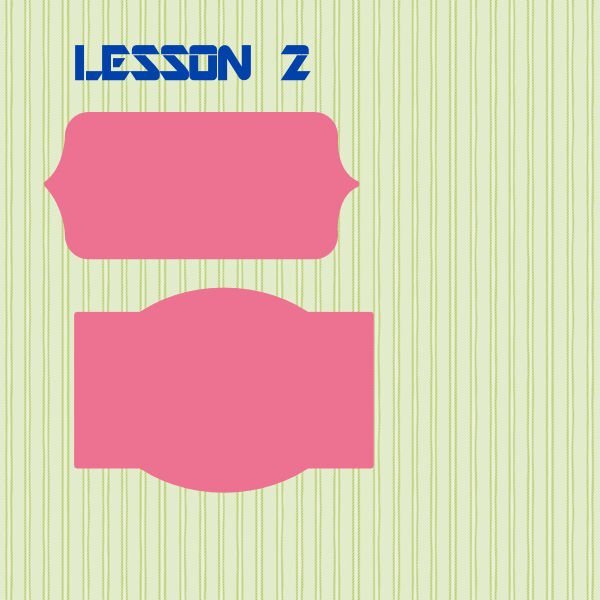
lessons 1 and 2
2 points
-
2 points
-
I usually add a few more elements but overall it turned out good. I made the template.
2 points
-
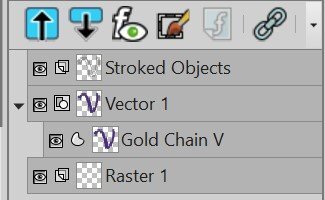
Is there a way to save the images created in Lesson 6 as a picture tube or reusable shape? When I follow the steps in Lesson 2, Shape is greyed out. When I try to export as a picture tube, it tells me that the image needs to be 24 bit and have only one raster layer with a transparency. I have a Raster 1 layer on the bottom that I am unable to delete. The Stroked Objects is the top layer. The middle layer is the Vector layer. See image attached. I'd like to create an alphabet/font that I can call within PSP without digging through a bunch of individual files; hence trying to save a letter as a pre-set shape or picture tube. Perhaps I am asking too much or the wrong thing.
1 point
-
Hi Mary, The fish is very nice! I like it.1 point
-
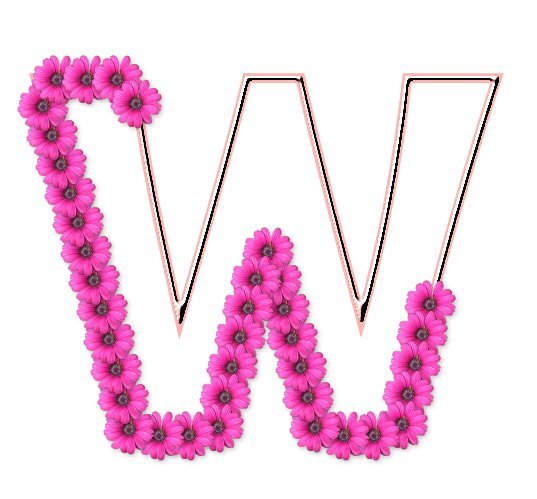
Lesson 7/day 7-- I feel like it has taken me a while to get here to lesson 7! Sometimes I can't follow directions, sometimes PSP doesn't follow directions or just doesn't want to function right, and sometimes it may be all of the above. I know I have learned many things. I need to make more notes so I can do a few of them again! I dug around and found more tubes on an old Jasc PaintShop Xtras disc. I think that is where the pink flowers were. Thank you Carole for a challenging and informative workshop, and the extra help!
1 point