Leaderboard
Popular Content
Showing content with the highest reputation on 07/21/2023 in all areas
-
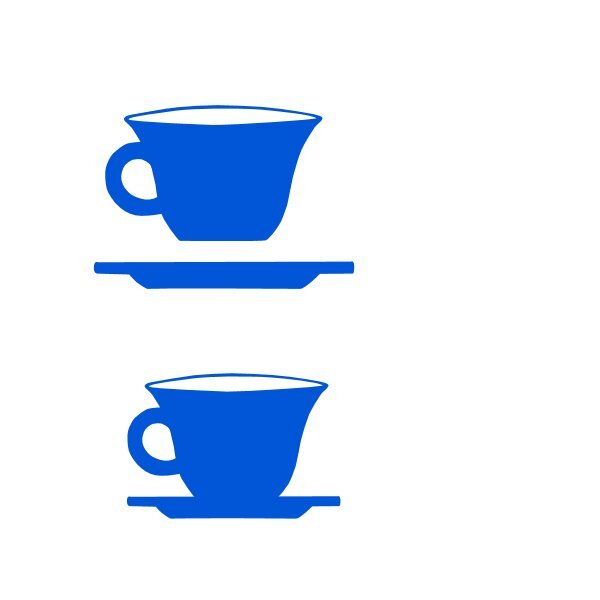
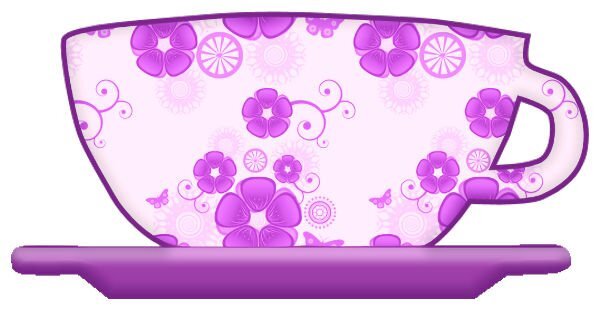
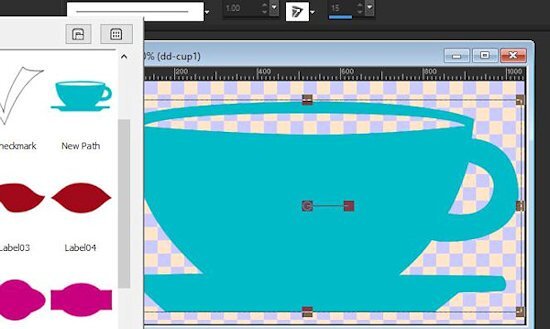
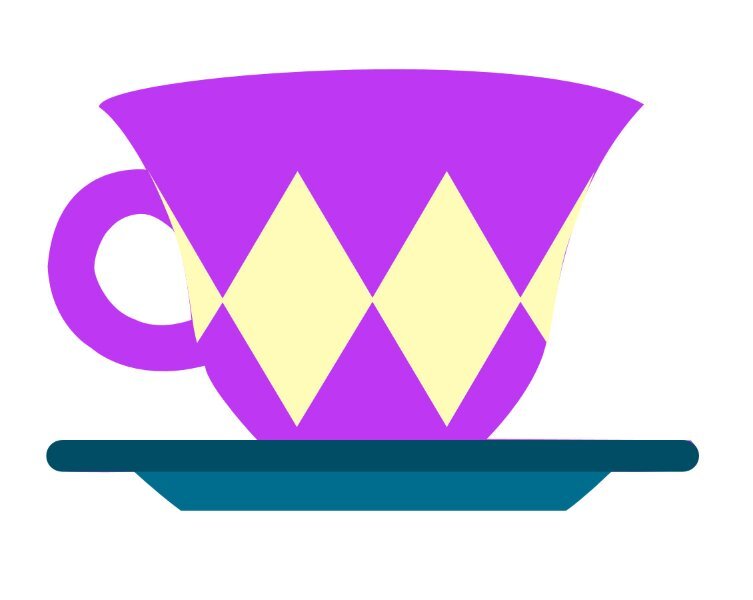
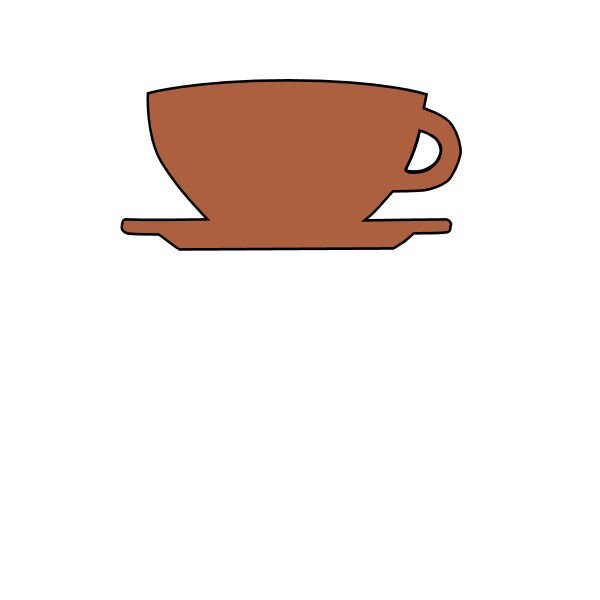
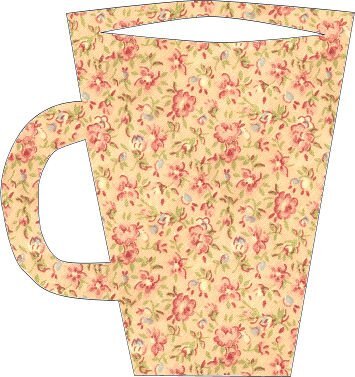
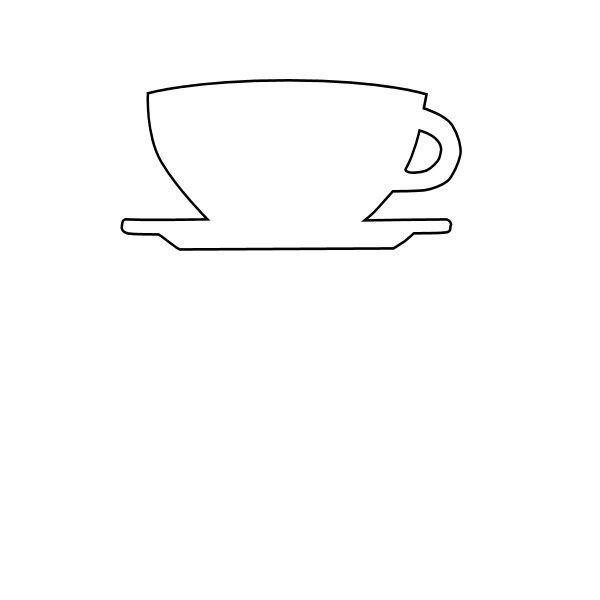
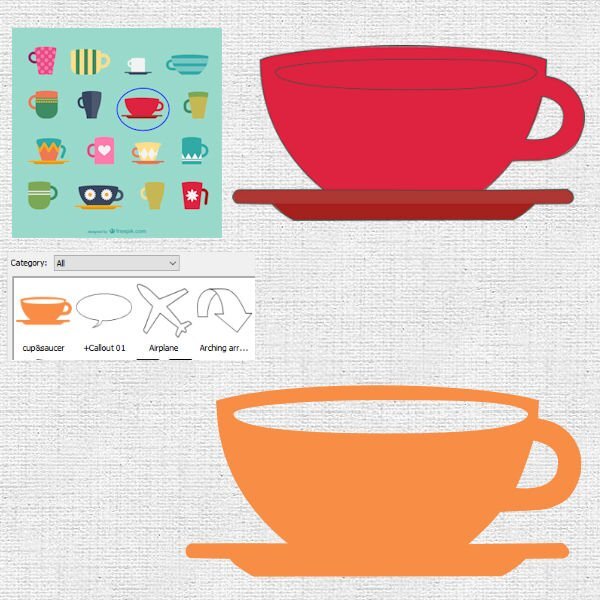
I'd buy the T-shirt for sure...or a framed print I can put right up on the wall beside the computer. Here is another one from Lesson 4. I made separate vectors for the cup and the saucer, then when all the cut outs were done I put the saucer layer in with the cup layer so i could export them as one file. When working on the liquid cut out at the top of the cup I thought when will I make it look even and smooth and then when I tested the preset shape it doesnt look as bad when it's much smaller. I put a little more nodes on the cup to see if it made smoother curves and it did in some instances and not in others. So I got some practice at merging today, I kept hovering over delete and remembered that's not the one. Much practice is still needed but I see an improvement since lesson one.11 points
-
11 points
-
11 points
-
10 points
-
Here are the Day 2 exercises. We have been hit by storms for the last two days, knocking out power for 5-6 hours at a time. More are forecast for this evening. In addition to storm cleanup, a substation shorted out because of a snake. It's not unusual around here, and it is a fairly quick fix. But it took someone off other jobs to take care of it. Echoing other folks, I am learning a lot.10 points
-
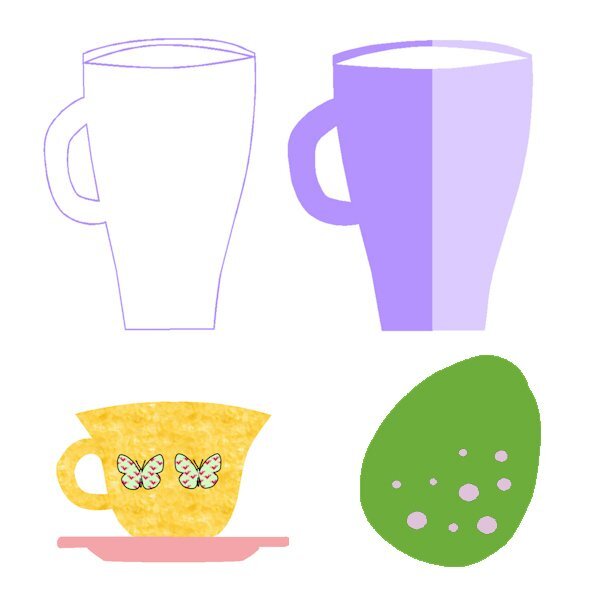
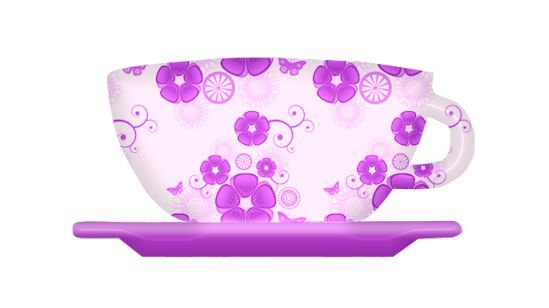
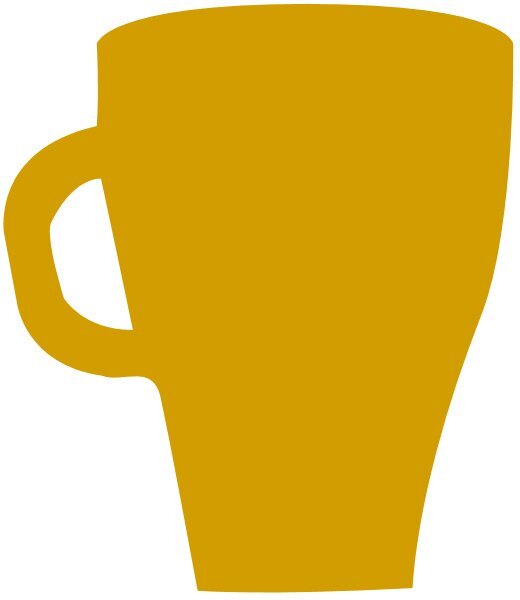
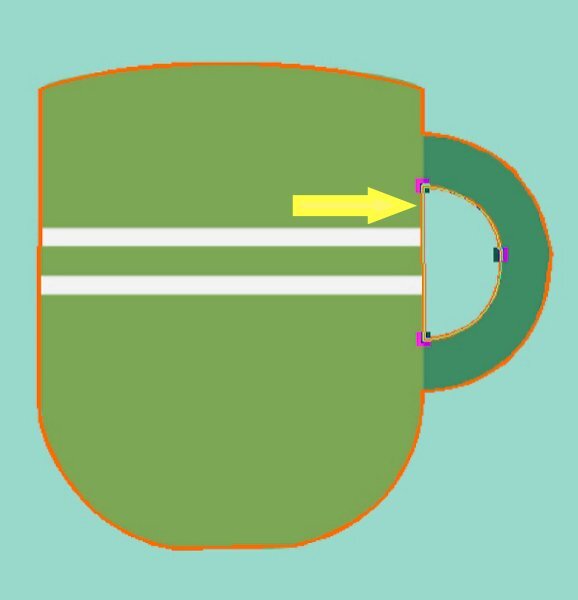
My contribution of day 4. Made a contour of a mug and filled it with my purple color. hen a cup and saucer and finally an egg which is just for the diamond members. I didn't do anything fancy with them but concentrated on making the shapes. Today I found making the shapes a lot easier then doing it on the leaves of day 3, less notes to tweak! The cutout posed no problems. Of course I encounter most of the same problems as everybody else, but I can spot what I'm doing wrong or forgot a step. I can see that I have to practice a lot more but I'm going to like these vectors and see the possibilities they have. I'm having fun......9 points
-
9 points
-
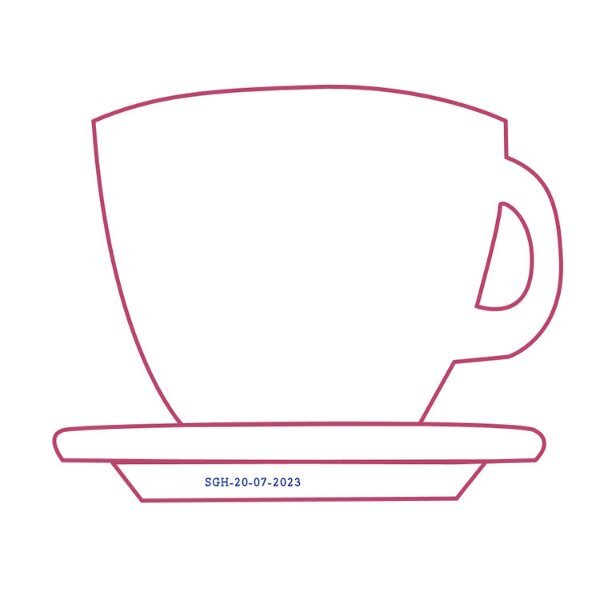
I forgot to make the hole for the coffee or tea, but it is getting easier. I had the nodes set to medium and changed them to small, and a lot of problems vanished. I also changed the DPI on my mouse and lowered the speed. The mouse is no longer jumping around so much that the symbols changed so fast that I couldn't grab them. I forgot the second hole, and there are a few things I could change. Since I saved the original vector, I will be able to do that. I am not happy with the jagged edges on the saucer.9 points
-
9 points
-
8 points
-
8 points
-
8 points
-
Lesson 4, Whew I made it through! I used the written instructions for CRAC - PASTE, seemed easier as I could read and go slow. I once had the top shape cut but couldnt get the 4 "move" arrows, they didnt just appear like they did with the handle. Wonder what I did to get them for the handle. So I deleted that vector layer two more times before I slowed it down by reading the written instructions. Then I had no bounding box to move that shape on the cup. I didnt know what to click so I finally clicked on the edit button up top and sure enough there was the box and the 4 arrows. Then I saw on the video that you had the Edit toggled. Question1: Was I supposed to have "edit" toggled BEFORE I started with the CRAC - PASTE steps? Question2: I am saving these all as presets for practice, if I want to delete them, do I just go to the windows file where they are (in my case D-Drive>My PSP Resources) and delete them, or do I delete them from the preset menu (insead of the other or do I do both). Question3 (sorry): The working files we are using when making the shapes, do we need to keep them once the shape is Exported as a Preset Shape? Thank you for your help, I really need it and appreciate it. I'm going to practice more CRAC-PASTE, having problems with it means I need more practice. I will continue to stick with the basic shapes until I "get it". I wont be making anything pretty, but I sure hope others keep doing it as it's quite inspiring to see what to do with these shapes once they are made. Thank you to the people who got it nailed, it keeps me keeping on.8 points
-
8 points
-
8 points
-
7 points
-
Lesson 3: wash, rinse and repeat. (emphasis on "repeat") Okay, no washing or rinsing went on but I wanted to get more practice after a good nights sleep and a day that I dont have work(job work) looming over me. First thing I did was put the node size back to small after I read the comments that you need to be in the middle. Wow, that really helped. sure it's hard to see those little suckers, but I had way better aim today. I did have that "freakout" moment when I opened the leaf and thought...Duuuh, what do I do? Got over that with a quick check in with the Lesson 3 video which set me straight. So here's another leaf I made. It went much easier this time, I could edit and move nodes and even merged some too with better control. Some of my crazy out of control "clicking" was partly due to my wireless mouse's battery dying. Now I can head on to Lesson 4 and practice the 3 P's I learned from my Calligraphy teacher: Practice, Patience & Perserverance! (pretty sure I spelled that wrong) side note: I sucked at Calligraphy- heavy left hander7 points
-
This one was a little bit harder for me...and I used some learning from the previous modules. I didn't color the handle because I didn't have enough time...it would be done just like the saucer and diamonds though, so I think I could do it. If you look closely, you can see a few flaws on the edge of the cup where the diamonds are...again, not enough time to make it perfect. One thing I learned is when selecting nodes I hover my mouse over the center of the node until the cursor changes to a four-way arrow (like when you are moving an object) and then left click to select the node. It worked every time. All you pros just keep posting your results because I learn from just looking at how you put your ideas into the graphic. Also, you can chuckle a little at my lack of artistic abilities (like the color combinations I choose, etc.).7 points
-
6 points
-
6 points
-
6 points
-
5 points
-
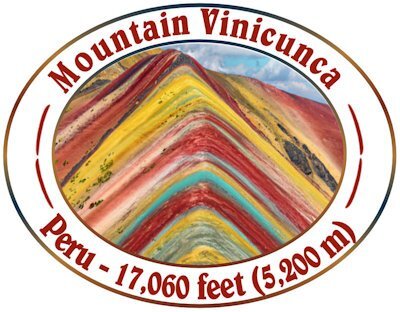
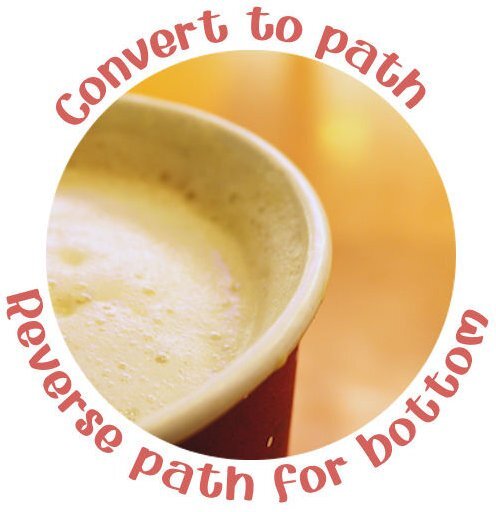
Text on a curve is something I use often, so no problems here besides selecting which photo to use. To make it more like a card I added a frame from my stash and I think that came from Creative Fabrica but quite some time ago. Font is Dreamy Snowland and I like this font for winter pages. I was glad with the second assignment because I once made stamps that way but I forgot how to do the text in the other direction and I couldn't find in all my paperwork, if I had the instructions somewhere. What I did wrong when I tried to do this earlier, well simply the first step: convert to path. I'll probably never forget this anymore and now I have the guidebook where I underlined those steps in red. The font here is Chalk and Friends Four. The photo in the ellips is from a plaquette at the visitors center in that area.5 points
-
5 points
-
5 points
-
Lesson 5 Text around Circle. There is something odd with the balance of the centred top and bottom texts as the top one is too high on the left and the bottom one starts too low on the left. The first font didn't work too well so I changed it. When you convert the circle to a path at the start is it the Elipse tool you are in or the Text tool? I tried the Text tool and it didn't work so then had to go back to the elipse tool on the circle layer. Definitely getting trickier but the effects are worth it.5 points
-
5 points
-
I doubt the team has time to bother reading a forum from a "scrapbooking" site! ? The best is that they hear me when I complain! ?5 points
-
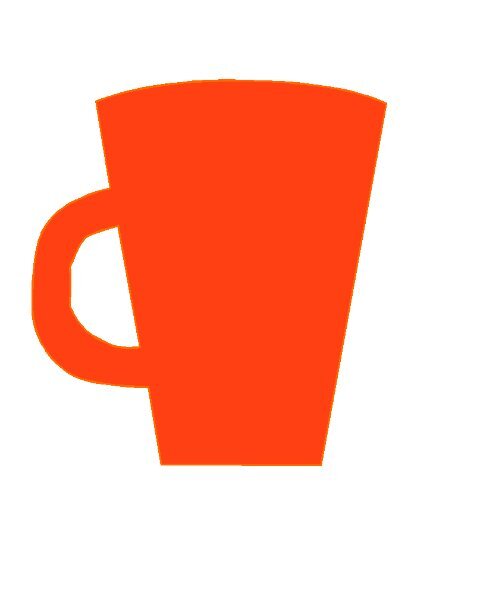
Lesson 4 - A bit of a challenge in a few parts but got there in the end. Not sure if a glitch in PSP 2022, but most probably me ? Had to watch and re-watch the C R A C instruction as after 'paste' I couldn't move my cutout even though it was selected - the 'move' cross wasn't there. This happened a few times, and then I don't know what I did different but suddenly it started to move.... With the popout/cutout on the inside of the mug I was impressed that when I went to fill it, it filled it with the colour without covering the background with it - that's what I thought would happen, but I'm glad it didn't ? Definitely need to work on the curves more, but here is my attempt:5 points
-
Thought I had better get going on this workshop as you are all handing in such awesome work. SO here goes my versions of the first two lessons. Like some of you I struggle with getting the order correct for getting to the nodes and changing them but I am loving the learning curve. Thanks again Carole for sharing your expertise. ?5 points
-
5 points
-
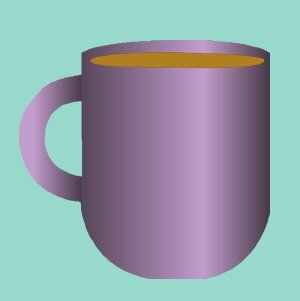
this was again a very interesting lesson, thank you Carole, you are a wonderful teacher, here are my mugs5 points
-
4 points
-
4 points
-
4 points
-
4 points
-
4 points
-
Did you keep the Anti-Alias? If not, you can reopen the shape, and check the dialog popup and find the checkbox for Anti-Alias. I was working on an imported vector shape that had "lost" the anti-alias, which made all the lines jaggied. By resetting it, everything looks better.4 points
-
Stick with it, I had the exact same problem. For me it was the edit mode wasnt toggled on. I get the frustration, especially when you dont know where it went south. I had many do overs, and didnt want to end on a bad note. Having said that, sometimes you need to walk away for a bit and come back later. that works too.4 points
-
Yes, you should have the Edit mode set as soon as you are finished drawing. I find that occasionally if I miss clicking on a node, it seems like PSP thinks that I want to draw some more, and the mode changes to the Drawing line. If you want to delete a file, yes, you can just go and delete the .pspshape file. However, be careful if one shape that you want to delete is part of a multi-shape file. In that case, there is no way to delete just the shape without deleting the others in the same file. Good question. The answer is no. In fact, if you ever need to edit one shape that you created, you will want to open the .pspshape file, which will behave just like a .pspimage, and then, you will re-export it. And to everyone: keep those questions coming. For ONE person who posts a question, FIFTY more wondered the same thing (but didn't dare ask) and they all thank you for asking in the first place.4 points
-
As these techniques are quite tricky, I have found it easier to do my first examples at the same time as watching Carole's video so I use the same image as in the video. (My version had finger grips for the handle only by accident!). I haven't had the time to do other ones yet but have taken notes and tried to summarise the main stages. I have a question on the CRAC and Paste stage. Should the Pen Tool be still in the drawing mode or Edit mode?4 points
-
I'm back. Thanks to Carole sending me links to the lessons that were in my email that Bell was holding hostage due to technical issues with their system. I didn't get fancy, just tried to replicate the sample in the lesson. It looks like I am in good company with this group as most are finding the workshop tricky. I am beginning to appreciate all the work designers put into making shapes for sale. The price on those shape package that I was admiring seems very reasonable now. Anyway, here is my attempt. Sharon4 points
-
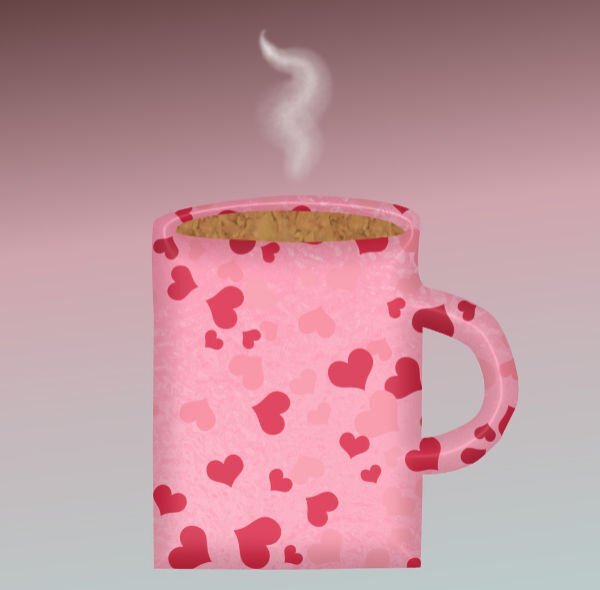
Lesson 4 - I was doing okay, then I had to pause to tend to something else. It was downhill from there ? I thought I would get fancy and put one of my labels from lesson 2 on my mug....but I got tripped up there. Decided to just put the heart that was on the original . But I guess if I wanted to change the color of the heart on the mug, I think I needed to do that before I pasted it on the vector of the mug....my brain is confused now....so I think I am going to call it 'done' for now. There are more things on my to do list for today.4 points
-
4 points
-
I hit a snag on Day 4. One cup came out OK. On the second, the cutout part has me stymied. When I do "CTRL-A," the nodes are highlighted, but the selection box does not appear. If I continue, "Paste" is not an option, only "Paste as New Selection Layer," which puts it on a separate layer. I have started from scratch several times, hoping to figure out where I went wrong. I ran into the same problem with the first example but was able to get it to work after a little trial and error. Unfortunately, I have no idea what I did differently.3 points
-
I hope you pull through Anita. We are all cheering you on. Once I got past the first 3 lessons it feels much better, and a bit less scary. Take a breather and do something unrelated to reset your brain and Carole will get you on the right path (no Vector pun intended). That is why I called them Vexing Vectors. I had to revert to 2022 because I had other buggy issues with 2023. Like I've said, if you are fighting your PSP while trying to learn it's only a lesson in frustration and futility. I have confidence 2024 version will be bug free (I hope some Corel programmers are reading this...BIG hint hint on that hope).3 points
-
3 points
-
They are really nice and symetrical. I am doing the same. Only doing the shapes and learning how to tame the nodes...a steep curve for me.3 points
-
@Marie-ClaireIt was a challenge to make that leaf? The result is good! @MicheleGlad that you pushed through. You are doing great. Now that you know more about those node types, you will get more precise paths. @Cristina I also wish that the control arms were a bit thicker so they would be easier to see. @Marvin Fojtasek Did you manage to make a cutout in the end? @Linda J WalkerYou CAN have a preset shape with different colors, however, when you will use it as a preset shape to draw an image, if you uncheck the Retain Style, then ALL the objects will take on the Stroke and Fill colors from the Materials palette. But, you should still be able to make and export a preset shape with different colors. Sometimes, using different colors can even be a way to see better if you were to use a complex design. @sharon thompson Yes, working with vectors can be quite tedious, but luckily, once exported, you can reuse them over and over again! And then, tweak them further! And deleting a node instead of merging is such an "intuitive" thing to do, but as you see, it is the wrong one to do! @fiona cook Of course you are encouraged to follow along and if needed, use the same shapes as in the tutorial. Nobody would complain about that!!! @Anja Pelzer I am glad you enjoy the lessons. You are doing great too! @Natalie Spooner Yes, vectors can be a bit challenging. You will see that it will get easier with practice. @bina greene Did you manage to get the correct dialog window by double-clicking the OBJECT instead of the vector LAYER? @Theresa Di CesareOnce you do the PASTE command, the nodes SHOULD be all selected by default with a bounding box and from there, you would grab the center "node" to move all the shape. Unfortunately, if you miss the mark and click a little be off, that bounding box disappears and that can be frustrating if the cutout shape is hard to select again, in one rectangle. @Bobby YeaterDid you include the diamonds in the shape or are they just added afterward? I think you are doing great despite the challenges you had. @Susan EwartPractice, practice, and more practice. You are doing well so far. Maybe I should make a frame for the CRAC-Paste mnemonic! (or maybe a t-Shirt?) @Donna Come to the lessons when you can. And then, post as you progress. @Sheila Hogg Believe it or not, I still have to go back to my mnemonic when I want to do cutouts. Even though it LOOKS like it is easy for me in the videos, I still need my notes close by! @Donna Sillia "Getting easier" is the whole purpose of those practices. Keep it up. @Connie CollierWith or without the zip file, you definitely found another way to practice. @Deana Davis That gradient looks great on your shape! @Gerry LandrethIt is great to see such dedicated students! That is motivating me to keep going. @Dorothy DonnThat is a great start! @Leslie Gifford CookWill we see some projects from you? @rjay segura I am happy to read that you are learning something new from those lessons. I know that Lesson 4 is a bit more challenging than the previous lessons, but don't despair. If you are stuck, you can either go back to the start and follow one step at a time, but if it is still not working, just take a break. If you are still stuck, just post the question in the forum. Don't be shy. Half of the participants will have experienced the same issue! You will just be in good company. See you tomorrow. It should be easier this time! ?3 points
-
Working with vectors does require lots of time and patience. Things don't work smoothly all the time. But ultimately, achieving something I didn't know was so rewarding. Lesson 4 - Along with making the contour, there was a lot of hide-and-seek of the arms! ?? ... It happened a few times yesterday, but today was a lot... I had to move the nodes outward, trying to see where they were. If this didn't help, I would change the node type, back and forth, until the precious arms would be kind enough and show themselves... Sometimes they were so, so close to the nodes. Having said that, I loved this lesson. I learned a lot! The contour separating the cup from the saucer was done afterward, so it's not shown on the preset... I started working on the extra practice for Lesson 3, but it requires more time... Will try to finish tomorrow.3 points


