
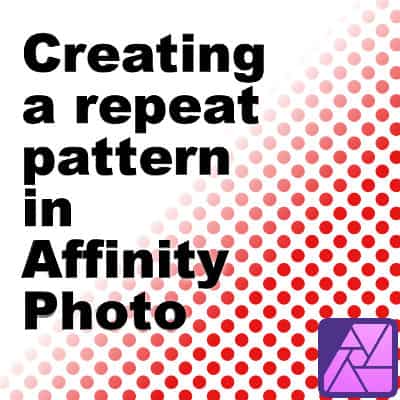
In Affinity Photo, you can create a pattern that will change dynamically. Let's look at the most basic design you can create: a repeat pattern.
In Affinity Photo, you can create a pattern that will change dynamically. Let's look at the most basic design you can create: a repeat pattern.
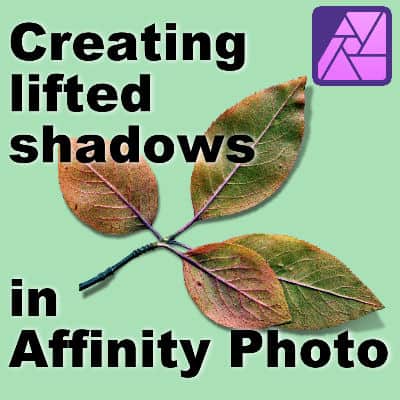
Although shadows can be added to any element in Affinity Photo, lifted shadows require more steps. The main reason is that it needs to be on a separate layer from the object. That is the only way to warp the shadows to give the lifted look. There are a few ways to create shadows on a separate layer. Once that is done, you can go on, applying various distortions to the shadow to give a more realistic look.
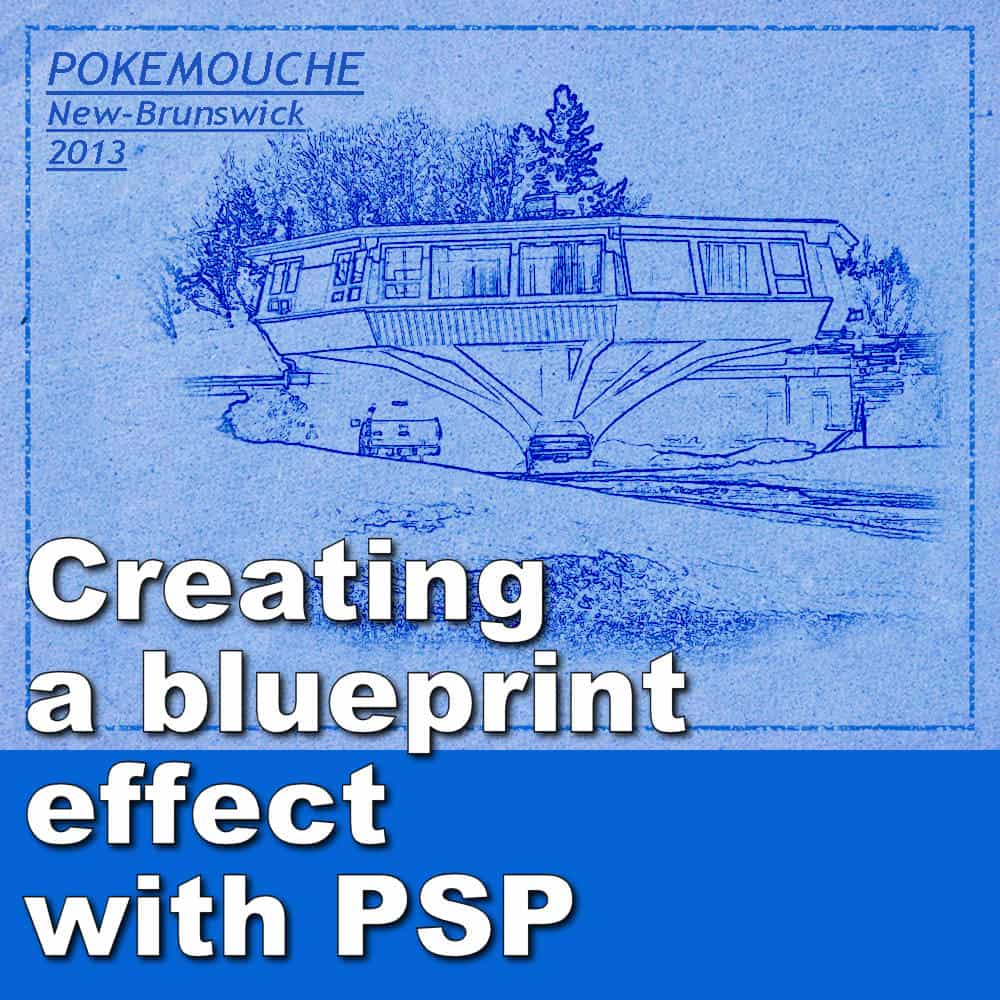
The main characteristics of a blueprint are the blue overall and the line drawings. A blueprint image with photos of buildings, landscapes, landmarks or objects will look much more realistic. This effect can be interesting to showcase places you visited or objects you encountered.
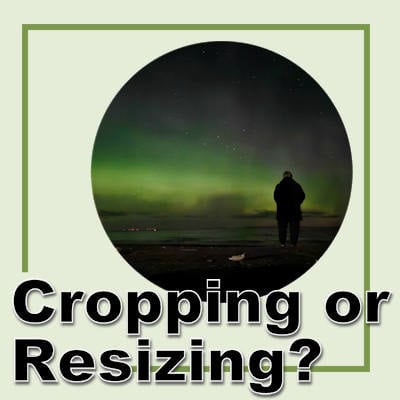
Whether you are using a template or creating a page from scratch, it is common for your photos to be too large. With new camera and phone capabilities, you can often have 5000 pixels or more images. What is the best way to adjust those photos for your projects?
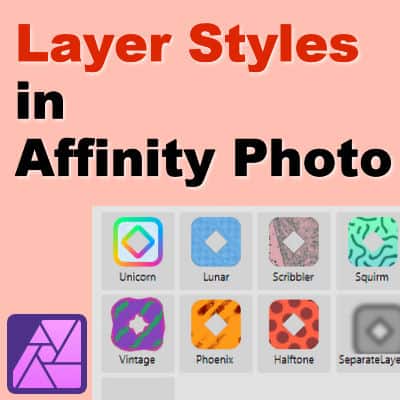
Affinity Photo allows you to create a variety of layer effects. Some of them will be common shadows, bevels, or other settings. By default, as soon as you want to apply a Layer Effect, you have to start from scratch as none of the settings are remembered from your last use. To save you time, you can create Layer Styles that will remember all those settings.

Looking for free, authentic images for your digital scrapbooking projects? Morguefile.com is a valuable resource, similar to Pixabay, but with a different emphasis. It's a treasure trove for those seeking less "stock-photo" styled pictures, offering a more candid and real-world aesthetic.

When you use a photo in a scrapbook page or a collage, sometimes, the important subject is not that obvious. However, there are various ways you can add some focus on them. Let's have a look at some of them.
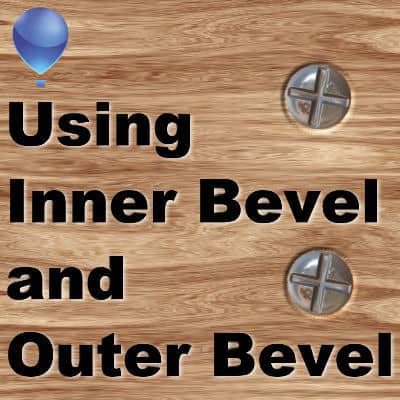
When you want to add some dimension to some elements, you may add some bevel. PaintShop Pro offers you both an inner bevel and an outer bevel option. Why is that? When should you use which one?

Many programs allow you to customize their interface to suit your individual needs. Affinity Photo also has some options for you. Maybe you use some tools more than others. Maybe some panels are useless to you and just take up space. And what if you have a lower eyesight and need some adjustments? Let's look at how you can customize your program.

Julie has been with us since 2019, but joined as a DIAMOND member in 2022. She loves to participate in our various activities, workshops, and challenges. You probably saw her post in the forum already! Let's discover more about our fellow Canadian member.


