Leaderboard
Popular Content
Showing content with the highest reputation on 08/14/2023 in all areas
-
5 points
-
Sometimes it's fun just to use picture tubes, clip art, and a gradient. The background sky gradient is mine; the grass, trees, rocks, and cloud are from various picture tubes; the flowers are from GoF Designs; the ladies in white are from CF. Oh, and the blanket is a paper that I changed with the Perspective Mode of the Pick Tool. The font is Amastery Script.4 points
-
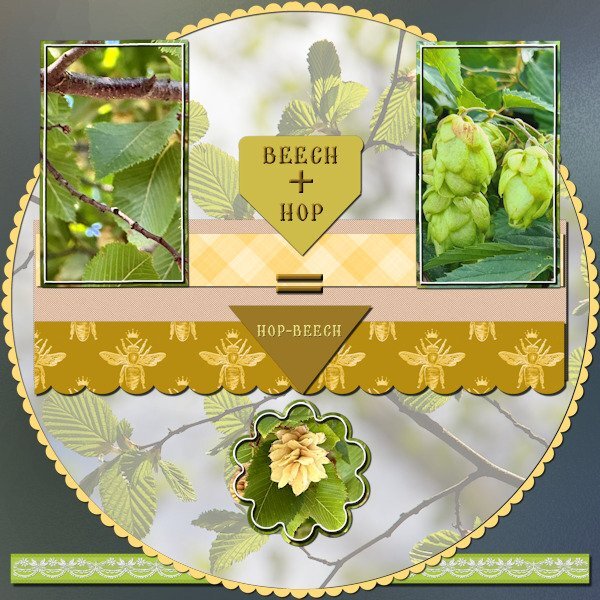
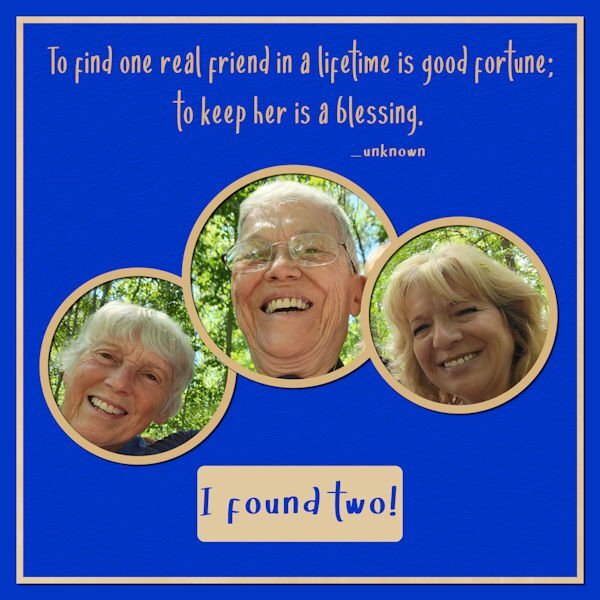
Bonnie you did great! This is my contribution and it is showing a couple of photos I took just the other day. When on a weekly walk with a friend, we came along a street that had a row of small trees that had hanging flowers like hop bells and we joked that the trees must be called something like "beech hop" or "hop beech" as the leaves were like beech leaves. We both didn't know those trees and so I looked in the plants-app on my phone to see what it could be. We had a good laugh when I discovered that those trees were really called Hop-Beech; we will never forget that name! For this layout I used my photos, made a ribbon with lace and colored or filled the other elements. All the colors are taken from the photos and some elements are recolored to match. The background is white with a frosted glass overlay (Inky deals) which I have in my stash. Font is Brellos a freebie by CF.4 points
-
4 points
-
3 points
-
3 points
-
3 points
-
Painter is not a plugin, but somehow, ParticleShop does appear "associated" with it. Just an odd naming convention I think.2 points
-
2 points
-
Michele, the flower chain is tutorialed in Lab 7 Mod 12. I had to look it up and my spreadsheet (shown earlier) has the picture of what I did for each of the tutorials, so it was easy to find where that came from.2 points
-
I remember that technique. It was someone in the maniacs group, as you said several years ago. I can't remember who it was that posted it though. I use it often, I have the steps printed off. Fabulous work Michele!2 points
-
The original illustration is from Freepik by Sketchpedia. For the background I decided to follow a "Swirls and Twirls" tutorial. It was shared by someone in another group and I hadn't used it in a few years. The background is made using the original pic and there are a whole bunch of layers. The tools used were mainly the Radial Blur and the Twirl Effects. If I didn't have my daily deadline, I might still be playing with them. The font is Hesthia Austine from Creative Fabrica.2 points
-
2 points
-
So I had to try out that special border in another way. It seems that you can use anything that will go from border to border and have no gaps. So I tried with a banner that I had created in one of the labs and it works. All of the elements and papers are mine as well as the pictures (which I've used many times). The font is Nandola (probably from CF).2 points
-
2 points
-
2 points
-
Dat zijn 2 aparte bestanden met beide hun eigen nummers. Die moet je beide downloaden en activeren. Particle shop komt in je PSP te staan zoals in het voorbeeld wordt weergegeven. Maar schilder is een van heel andere aard. die komt gewoon op je beeldscherm te staan, tussen alle andere bestanden in. Die is veel creatiever. hierin kun je zelf ontwerpen maken, net als in PSP. maar wel gemakkelijker. Graag gedaan.1 point
-
Sorry for my late reactie had het erg druk vandaag. hier is een link, het is in het Engels maar ook in vertalingen beschikbaar. Het is Corel niets kwalijk te nemen dat het er de hele tijd was. https://kb.corel.com/en/1270741 point
-
Thanks. That seemed totally unrelated but just coincidental (i think). I just had to reactivate a plugin. No idea why or how it got deactivated but I think it is fixed (if so, that was an easy one, for a change)1 point
-
1 point
-
Michele, this is so beautiful! I love everything, the colors, and this creative background fits perfectly with the illustration... Lovely font too.1 point
-
1 point
-
That ribbon was hard to do. i did it over and over to get what I wanted. I was using a mouse. cant wait to get a tablet.1 point
-
Sue! You're back! have you been out photographing or more likely tending to the stock on the farm? Hope to see some layouts.1 point
-
1 point
-
Yes, I have 5 acres. The first comment most people make when they visit is, "It is so quiet". I love it.1 point
-
Well, THANK YOU for this! I saw the cost of the brushes (admittedly the most expensive were at the top) and never went all the way down to the bottom! AND I got 10 Free brushes on top of the 11 it came with! And this is with PSP 2022 Pro Here is my new hybrid - a double furry daffodil. Made with a mouse in case you can't tell because Susan is right - controlling it is next to impossible.1 point
-
Mine works too and i found the extra pack when PS opened it had a pop up for brushes you could buy (where I had to register too) and at the bottom was the free pack. this could be a fun tool to play with. but I sure need A LOT of tutorials or practice. controlling that brush is like riding a bucking bronco.1 point
-
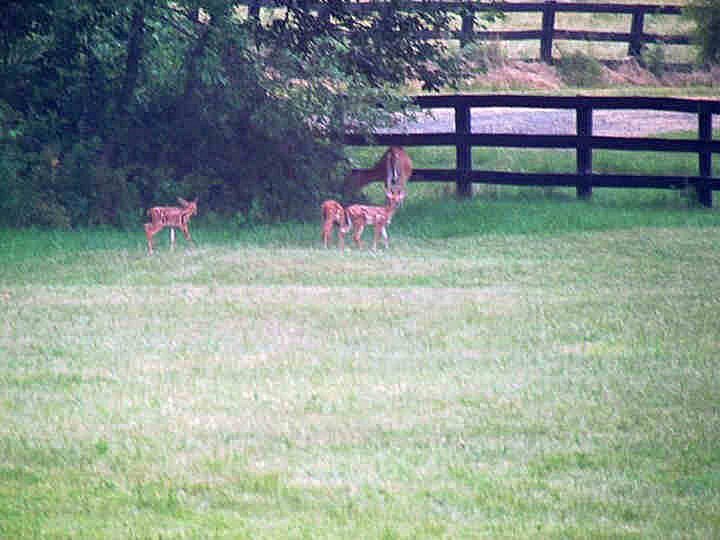
Baby anything is so fun to watch. well, actually "anything nature" is fun to watch. (except wildfires). Do you live on an acreage? I miss living out of town, so much more quiet and dark on the farms I lived on in the past.1 point
-
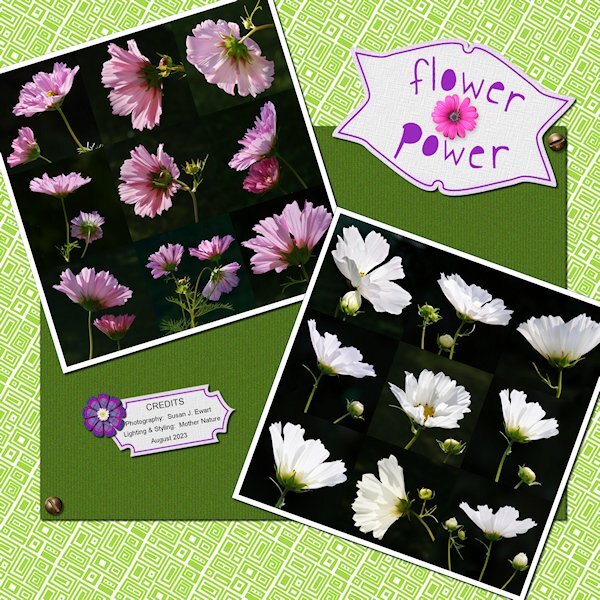
I was talking to Elvis the other (YIKES! Right?) and telling him all about The Scrapbook Campus, PSP and the Forums. And you know what he said to me...."A little less conversation, a little more Action". Kidding aside, here is my latest lab. I dont like the purple color in the tags and might go back and redo it at some point and add some brown or stick with green, in the layout. Lab 7-1 Concentric Rectangles Filled Text Photo Mosaic Even if I'm not happy with my layout design I loved this lab. It's quick and easy to do. I had to use the shift key and make straight(ish) rectangles because drawing with a mouse creates a very achy hand and it's just plain hard. I was a skeptic, but once you use the tile to flood fill your page it looks pretty darned good. Everything is mine except: Fonts: Annie Use your Telescope (google I'm sure), Raftera (Creative Fabrica) Screwheads: Creation Cassel (cass-screwheads freebie) Pink Flower, White Flower: corel picture tube I even made two Vector tags (made previously, but after the workshop) and the Vector flower. Contrary to popular belief, and because I said I did this; no flower heads were cut off in the making of these photos. They are in their natural element (if being in a Pot is "natural"). I hired a lighting designer for this shoot, she came highly recommended by the neighbourhood crows...her name: Mother Nature. The Fine Print: This post has been "Elivs" approved (I think I've had too much sun)1 point
-
this is lovely and I'm about to post after not seeing this forum. you will laugh. We have the same title. I forgot to click follow and wondered why no one was posting in the What are you Working On forum.1 point
-
Very cool. I did try it one a photo (not hazy but looked cool). I do have a shot that I was looking towards the sun and the lens hood let some stray light by...(not to worry, I gave that lens hood a good talking to) so I will try it on that. I also reshot the photo after checking the preview. It will allow us to use more of our photos we thought we'd have to throw out.1 point
-
Shoot! It really does work, doesn’t it? Last week, as late as Thursday, I could buy PSP Ultimate for $39.99 USD. Friday it went to 59.99 and today it is 79.99! I’m fairly sure this is because of the addition of Particle Shop as a freebie, which I already have from PSP 2022 (but not the 5 free brushes, LOL!) I need to see that video you found because I don’t recall ever opening a particle Shop. I’m not even sure how to access it! I do want the artistic effects scripts, but once again, like the fonts, I’d like to know what they are!1 point
-
1 point
-
View>Customize>Commands>View> scroll down and find "Snap to Object" and Grid, Guide Object Snap Properities I just clicked and hold and move it up to View which will drop down and then I placed it where the other grid stuff was. trouble is I then had two different properties. When I didnt use my saved workspace I see that the missing stuff was in place. If you use the Repeat Comand then it's under View>Customize>Commands>Edit> scroll to repeat (it's near the top) and click/hold and move to where you like it. I have mine next to the lock transparency icon at the top of the Layers palette. The bound scripts I found either under View>Customize>Scripts> it shows the bound ones, grab them and put them where you like. another place I found them was View>Customize>Commands>Bound Scripts> way at the bottom. I'm not sure which is the right place to get them from, it worked whatever I did. (This is presumming you had bound scripts - if you didnt then you have to bind them and this paragraph can be ignored (except you read it, to find out you didnt need to read it). Since you use the JPG/PNG optimizer you know where that is. I'm hoping when I do my re-install on the new 'puter that all this will straighten out. I am sure I did something wrong on my original install. since something happened and I had to uninstall and then reinstall.1 point
-
I totally agree. I've never thought of extending anything beyond the border. I love the look of it, @Mary Solaas1 point
-
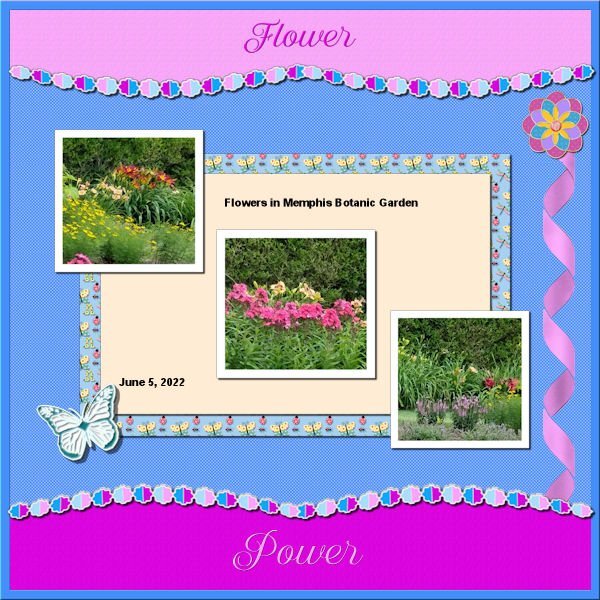
Back to the Labs. Lab 11 Mod 3. Make a banner, 4-petal flower, Sun element. All 3. Doubled up the 4-petal flower to make one with 8 petals. I needed practice to make that delightful border, 2 words, paper above (and below if you want otherwise you can have a different pattern/color below), and middle to display what the layout is about. Although I had written the instructions to make that, I found that I had to add some instructions for how to select with the magic wand. More practice needed, so I may use this again. All elements and papers are mine; the picture is one I took at the Botanic Gardens and the tag is one from the brochure. The font is Better Caramel.1 point
-
1 point
-
1 point
-
1 point
-
Ik was op zoek naar deze pagina, maar ik tel hem te vinden. de letter is gemaakt van denim maar is bij een groter formaat onzichtbaar. Ik heb een beetje vals gespeeld. 1items was niet zoals in de film. De selectie voor de kleinere letter is niet gemaakt door te dubbelklikken maar in het lagenpalet 'maak een rasterselectie'. de rest oké. Omdat veel naaimachines tegenwoordig siersteken hebben heb ik bij de tweede een variatiesteek gebruikt. OP de bevel na af. Ik ben al heel blij met dit resultaat.1 point
-
@Susan Ewart I was talking about any new stuff to PSP2023. I know about all the old stuff since I have my own toolbar that I use (and set up in each new version). I just want to make sure that I have everything that came in the update since even doing the steps they recommend, the haze feature did not show up. And, from the list of enhancements, I can't tell what would be new to the various menus. That's what I want to know... is there new stuff in the menus. This brain fog I've had recently has really messed me up and I need things explained in lots of detail! Hope it goes away after surgery.0 points
-
So strange that my new PSP Ultra 2023 arrived from Amazon the same day time I got Cassel's note about the 2 upgrades. I spent today cleaning up my drives, running ever tool I could and opened the box and to my surprise not a CD, just a note telling me how to download. I finished the download and to my surprise... All the file locations were switched over to that dang one drive which I followed Microsoft's uninstall instructions two weeks ago. That means I cannot save anything. This is why I bought the new version as my 2020 Ultra did the same thing and Corel could not help because it was past its warranty time of 3 years. I went back to Jasic versions 7, 8. 9 and 10 and it has done the same to all of them too. I will be spending tomorrow with Corel customer support.0 points

Resized.thumb.jpg.d25811db03a63358cedab1e79f527635.jpg)


