Leaderboard


Popular Content
Showing content with the highest reputation on 08/04/2023 in all areas
-
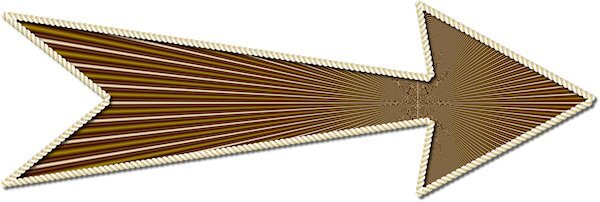
I'm going back through the lessons. My arrow is much better and grabbing the nodes is getting easier. I'm even remembering to "Edit -merge" when I want to get rid of a node and not "Edit Delete".
 9 points
 -
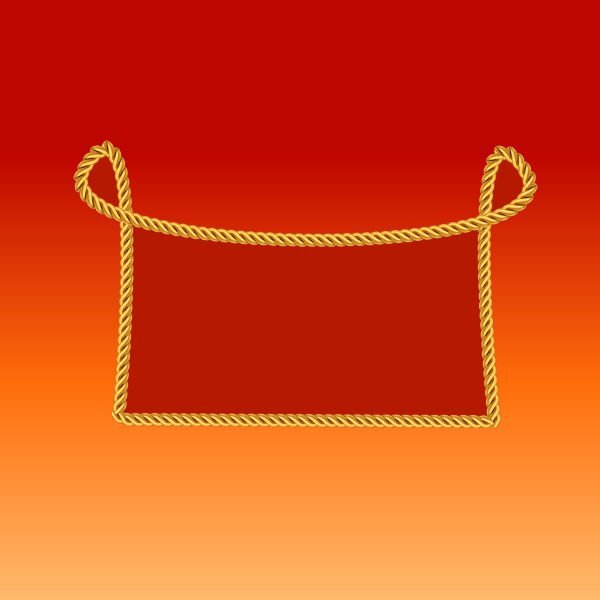
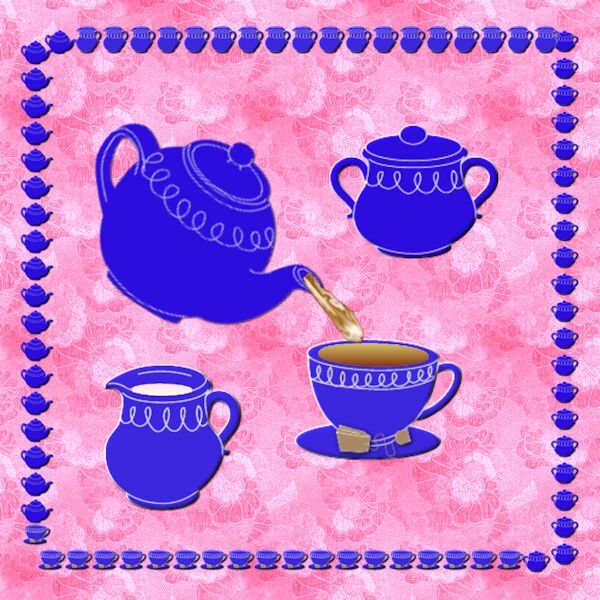
One thing this workshop brought to my attention was tubes. The frame was made with VectorTube. I used the teapot tubes individually and changed the color to blue.
6 points
-
I just finished Lesson 4. It is not perfect, but I learned a lot. Thank you Carole for the CRAC-Paste tip, that helped a lot. I added our Mr. Mooch and a resized paw line. I had the paw line in my files for years, can't remember where I found it on line.
5 points
-
Donna, this is impressive. Seeing the tea being poured is really cool. that background paper is pretty.5 points
-
For everyone who struggled with the CRAC-Paste technique, I am happy to see that you worked hard at it. Some of you have "cracked" the code to make those cutouts. As I was thinking "Wouldn't it be nice to have a script to do it for them?". Well, guess what? There already is one. And even better... YOU already have it. In fact, it is a default script that everyone has! The name of that script is "VectorMergeAndCutoutSelected". See? CUTOUT!!! Just have both objects active and run the script!5 points
-
I have worked most of the day on this shape. I just couldn't get it to save as a preset shape. I was practicing the CRAC Paste for the open eye, and the cut and remove part for the closed eye. All were on separate layers. Then trying to export as a shape. At first all it did was export the individual layer shapes but call it the name of the shape in the shape folder. Then I went back and looked at the instructions in project 2 for saving a 2 layer label and found that you had to group the layers and name the group the name you want. Did that. No luck. It wasn't until I had deleted the brush name from the shape file, and then went back to my pspimage on the group layer and then export it that it finally worked.
5 points
-
Mitten from Lab Module 9-12. Made my own snowflake pattern from brush and cass seamless pattern script. Edited to cover pattern showing through fur.
4 points
-
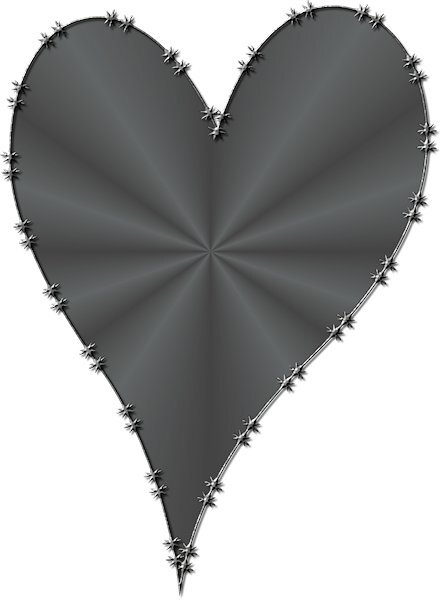
I've had trouble with the pen tool before. So I'm working on using it again. Made a heart paper clip and used it on Winnie.
4 points
-
Wow, this is great. I have to try this one sometime in the future. P.S.: I just bound the script to the Standard Toolbar so I don't forget the name... Going through the list, I realized there are so many Corel scripts I've never used.3 points
-
Cristina I have a lot of Corel scripts too; most come with the program and I downloaded a couple that looked nice to me. Most of the time I forget that there might be one that I can use for a project.2 points
-
Sending comforting Hugs to Julie and Ann for their recent losses.2 points
-
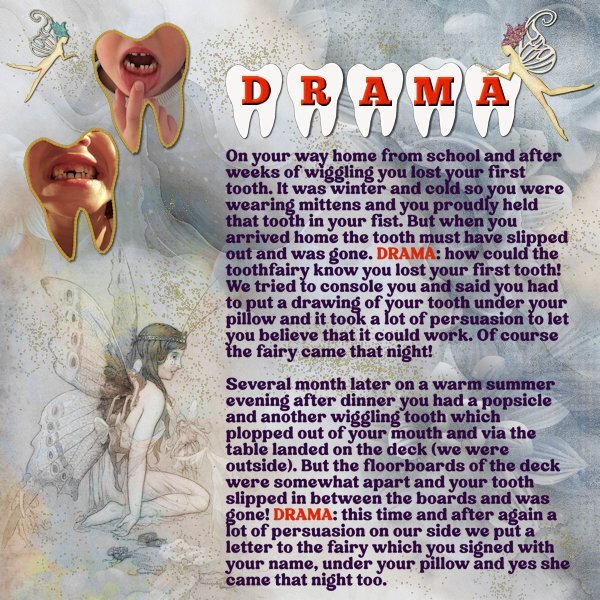
As soon as I saw the theme I thought of my oldest granddaughter and the dramas we had with her when she lost her teeth. At the time of the stories I happened to be visiting my family and I have photos of her when she lost 2 of her teeth. The background paper is Inked Florals DD 10048 which I have in my stash and I blended in the Fairy from Grunge-Forest-Fairy-Junk-Journal. I used the freebie from this theme for the title and thanks to the Vector Workshop I made a shape out of it and filled it with a part of my photo. In this manner I can use my photos without her being recognizable! Two more fairies by Sheila Reid - enchanted purple (and teal) hair fairy on Digital Scrapbook and a gold dust tube.
2 points
-
Phew, finally completed !
2 points
-
Suzy, thank you! Thanks to the Vector Workshop it was very easy to make a preset shape of that tooth-freebie and then embellish it and put the photos inside the shape. It was great to apply what we learned in that workshop to a layout.1 point
-
Happy accidents!1 point
-
Sorry to read about the recent losses of Ann and Julie.........virtual hug from here fo you both!1 point
-
Corrie, that’s so cute! And such a gorgeous layout! Fairy dust, fairies, and you made your own teeth, too!1 point
-
She is almost 14 now and I think she remembers it, although it hasn't been mentioned lately. I have been grinning to myself all the time writing this story down.1 point
-
That is definitely a story to tell!1 point
-
Julie I'm sorry for your loss, but be assured that PSP will be waiting for you until you are ready to use it once more!1 point
-
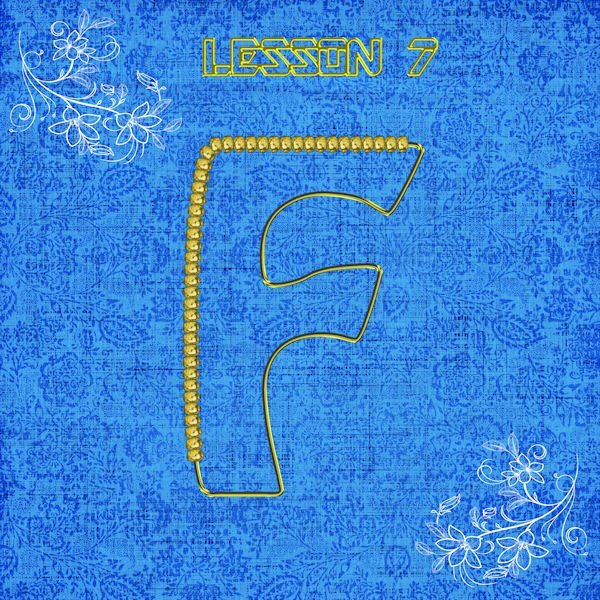
F = false teeth1 point
-
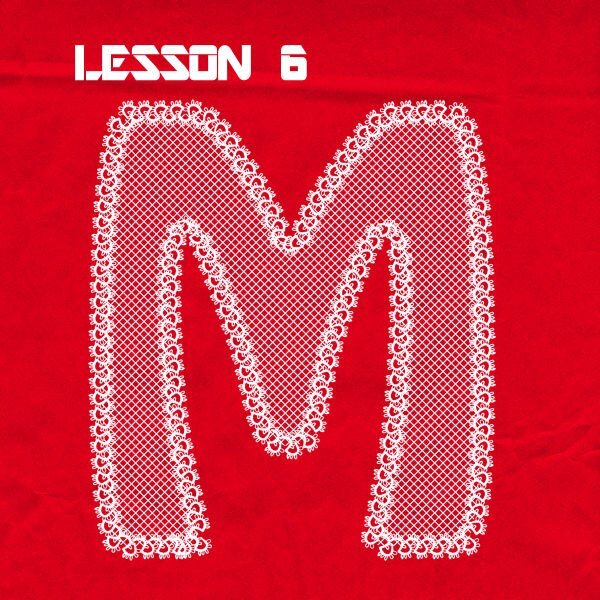
Well, I finally did an M.
1 point
-
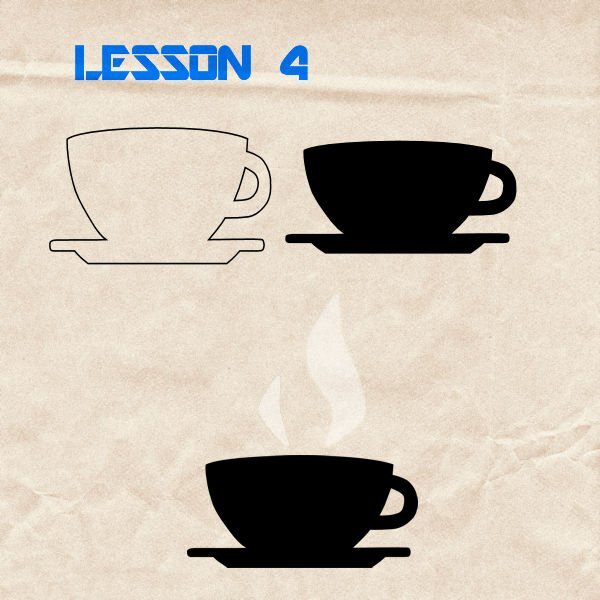
I'm still practicing. Liked the teapot tube used by Monique (Monique, you found several tubes I had missed); and so, I took just the teapot from that tube and used it with the customDirectional Script from Cassel and made a new tube out of just the teapot; recolored a copy of my background paper, made just the teacup and saucer into a new png and used it, recolored it, made it hold tea this time, used that smoke brush in Particle shop and Aryaduta font to finish the title.
1 point
-
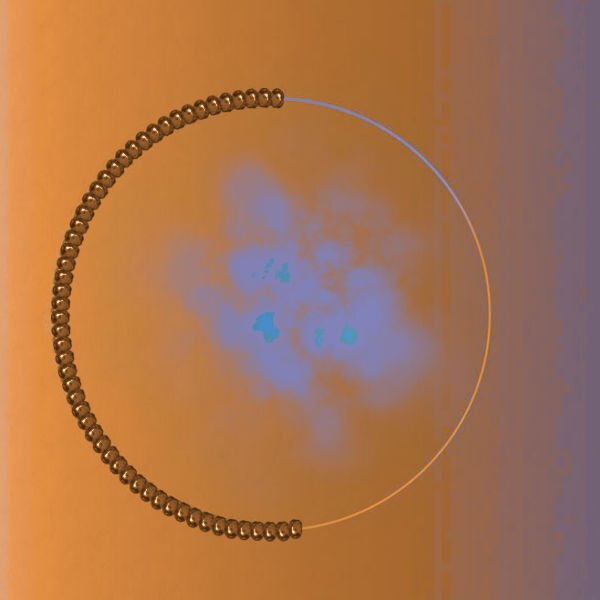
I finally made it through lesson 7 and before I make more and more changes, here some results. I add the original texture in black I used for the beads. I played a long time with the blend mode.
1 point
-
And part 2 Tea! The picture tubes as they are on the "line" are sometimes a bit apart, because of the spoons ? Tea font is named woodcut ?
1 point
-
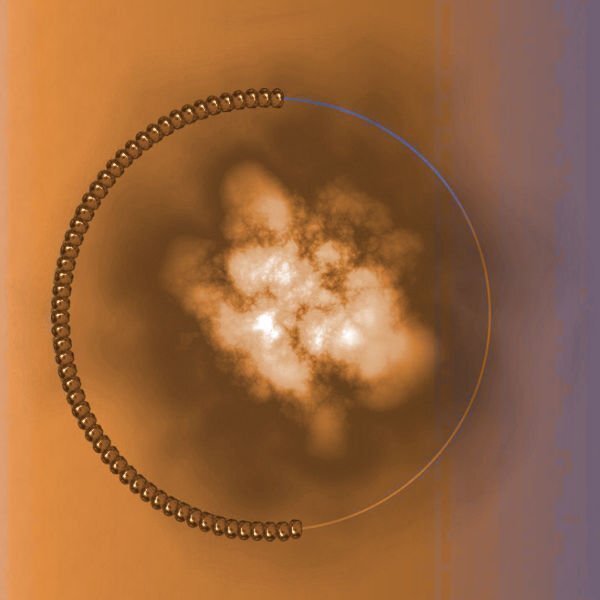
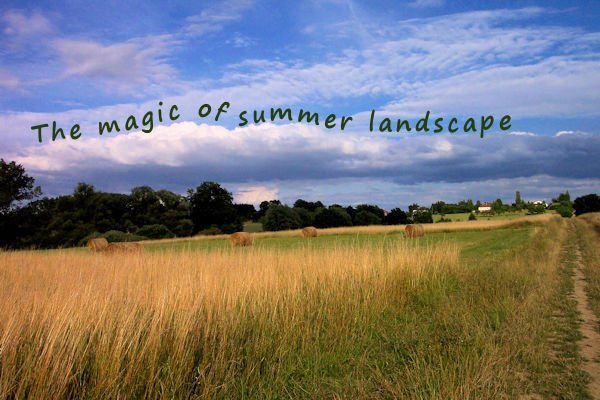
The weather is terrible at the moment over here, so my lesson 7 is about that ? The picture tube is from the pSP 12 ultimate content. I had a bit of trouble picking the "star" even when I enlarged my project.
1 point
-
And l go on, lesson 6.
1 point
-
Still lesson 5...
1 point
-
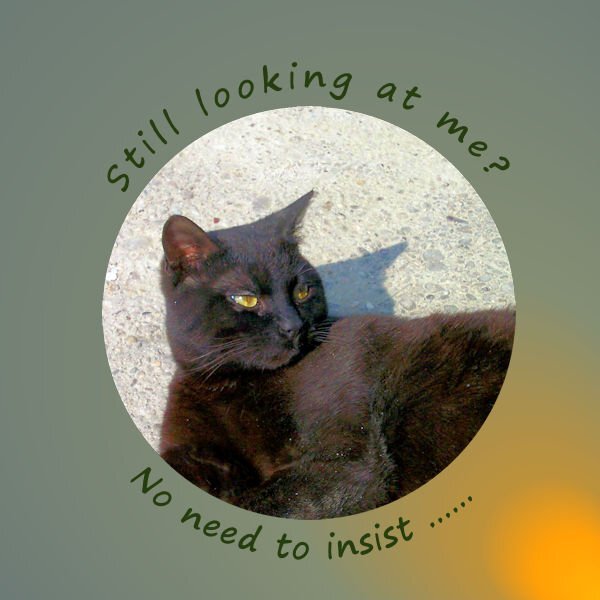
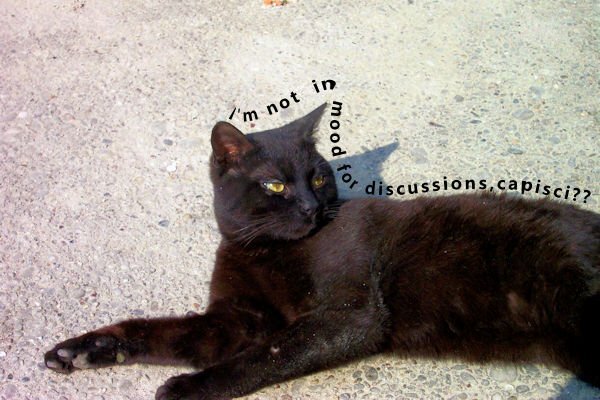
One example for lesson 5, don't give up, even if I'm late..... Was a cat of a friend of mine, named NEO and we loved each other.
1 point
-
Worked on lesson 4....
1 point
-
I used the tube Tatting Lace 08
1 point
-
Thanks, Carole. You rock!!!
1 point
-
Posting - Did rework the S and this is the result. Playing with that knife has been my bane in the past. I'll have to do some more work with it until I get it down pat.
1 point
-
This thread is so active I can't keep up (been busy), so please don't think I don't appreciate all your work!? I'm trying to catch up wit the lessons. I wanted to add text on the middle part of this project on a new layer, but the text won't move to the spot I want, so I left it out now. But I don't understand why the text can't be moved? Edit: worked after merging layers ?
1 point
-
1 point
-
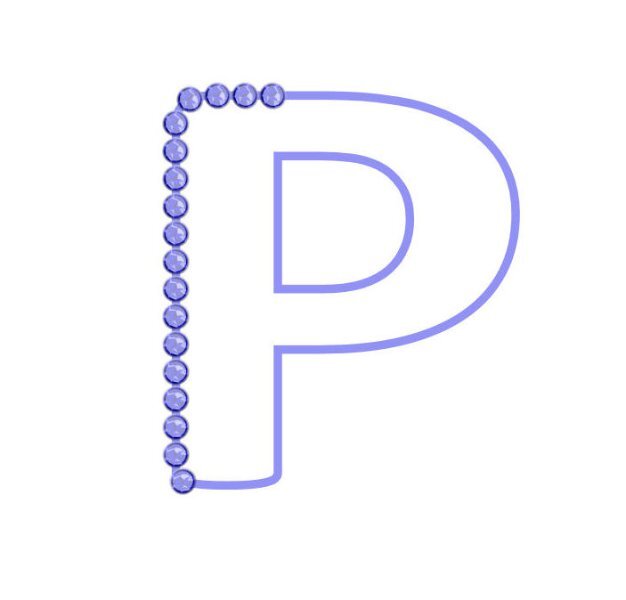
I've had a hard time with the letter and placing a tube around part of it. For some reason, the first letter I used was an S and then I had trouble deleting part of it (had to watch the video several times to get the fact that you select the part you want to remove and then hit the delete key - I kept wanting to select the part I wanted to remove with the selection tool- instead of just drawing around the part to be removed. Then I had a problem with how PSP was scripting the gems around the path - it kept limiting the size to the actual width of the letter. I scrapped the S and began again and chose P this time. Well this time the gems were the correct size. And, all's well that end's well!
1 point
-
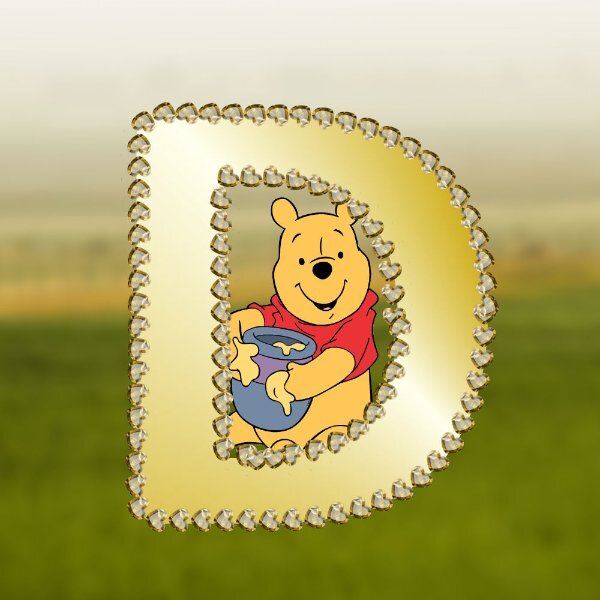
OK - I'm just playing now. I bought that custom directional script - couldn't resist. Used the topaz heart gems I created with a script from Cassel some time ago. Had seen someone putting a picture inside of a letter and thought that's a great idea. Love that old Pooh bear and so put him and his honey pot inside of my D which I had made golden. Of course the background is the 100 acre wood.
1 point
-
Project 7a. Cass pink bead picture tube; treated the circle as a silver bracelet. Using the knife tool was interesting. I never really understood how to use it. But it is the edit mode that breaks the circle where the knife cut and moves the part of the vector you want moved. You use the knife tool when making a paper clip also.
1 point
-
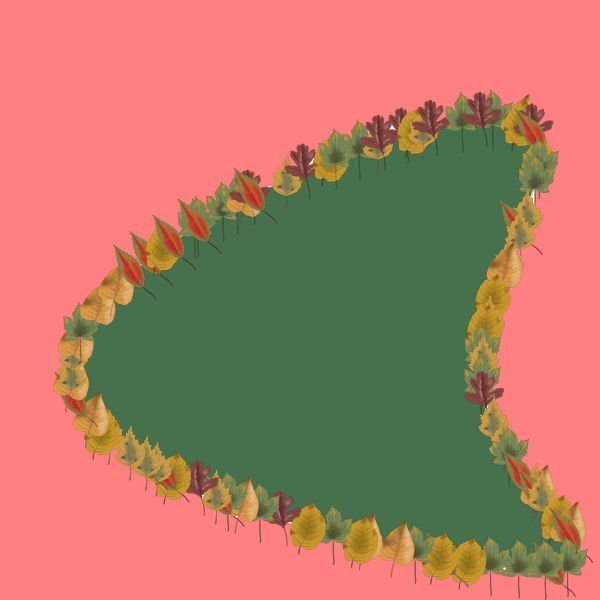
I just finished Lesson 3. I chose Leaf04 and it took me quite a while, it is not perfect, and still a bit pointy, but I am getting more comfortable with vectors. I actually made 2 of these leaves, because after I exported the first try, I saw where the corners were still pointy. So I edited it and when started to I export it, I had to change the name, so I named it Leaf01B. I now have both of them in my shapes Library. I will go on to Lesson 4 for now, but will play more with Lesson 3 when I have more time.
1 point


Resized.thumb.jpg.d25811db03a63358cedab1e79f527635.jpg)