Leaderboard


Popular Content
Showing content with the highest reputation on 04/12/2023 in all areas
-
Colors of the palette which I need to use---strips, Carole's frame of the image, template-Shaolyn studio (free - subscribation), background-EyeCandy, photos taken by friends.
 4 points
 -
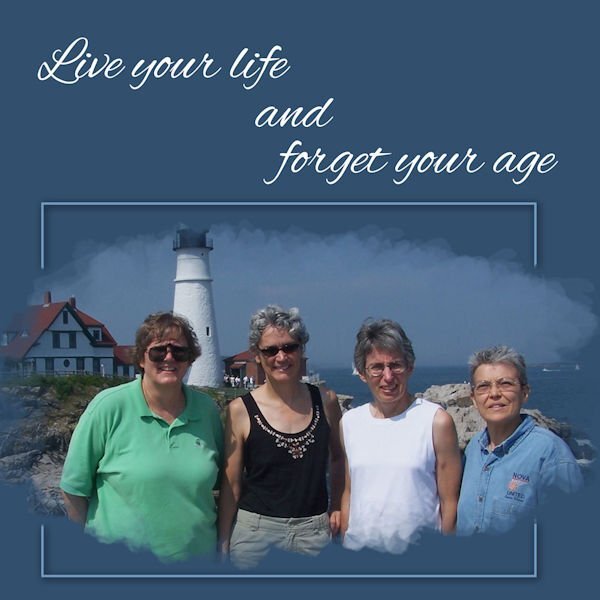
I went back to 2006 for this photo and memory. These are 4 of 5 of my NOVA United Basketball teammates. We attended Not Too Late Senior Women's Basketball Camp. After camp was over and we were waiting until time to go to the airport, we toured Portland, Maine. Behind us is Portland Head Light. This is one of my favorite pictures. The template is by Carole...cass-watercolor page...thank you, Carole!
4 points
-
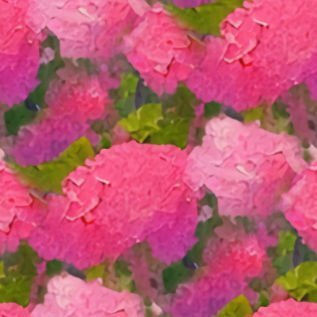
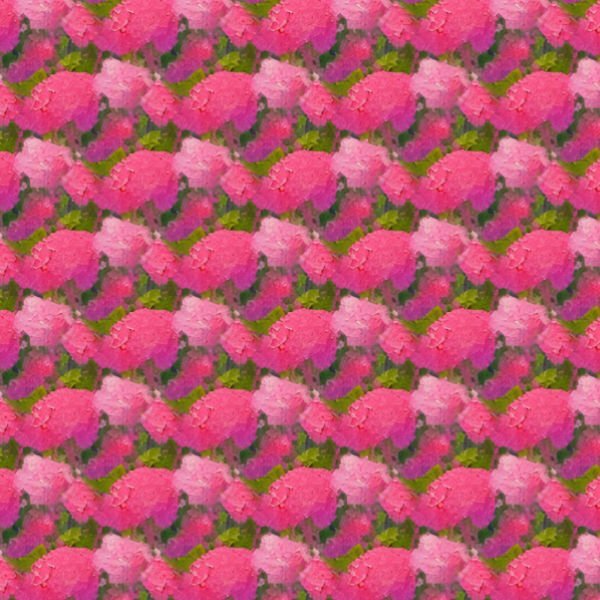
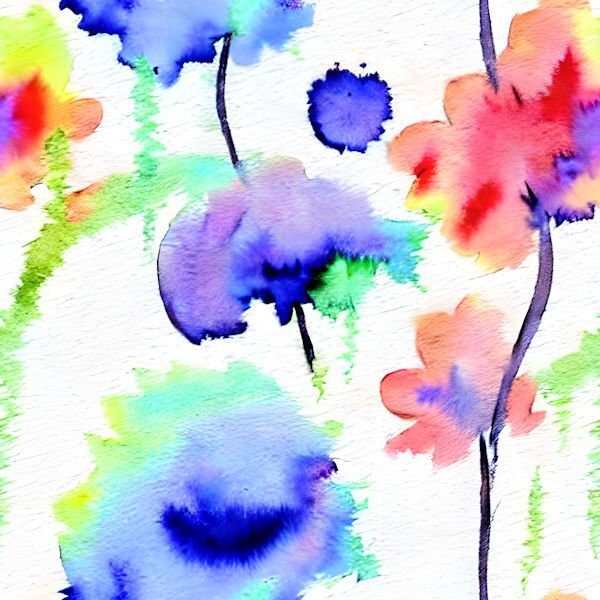
I opened a blank square page, flood filled it with the blue, opened a new raster layer then used a not solid brush to make blobs of the other colors all over the page. From there I played with the kaleidoscope until I got something I liked. With that I used the pattern to make this.
4 points
-
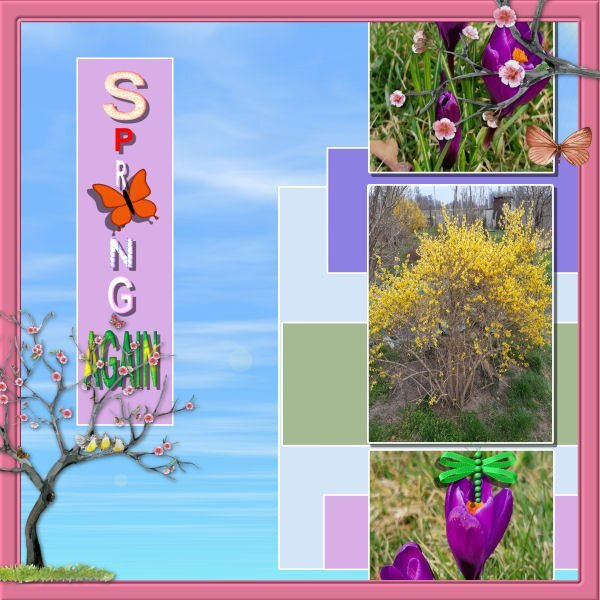
Sometime ago I saw a layout a bit similar to this and I liked those drops which are perfect for showing little flowers. In my flower photocollection I found some which have the colors of the palette. The fonts are Bistern and School Sketch. Backgrounds are also in the colors of the palette and are made using 2 papers and a blend mode. The april with the ducks is a stamp.
3 points
-
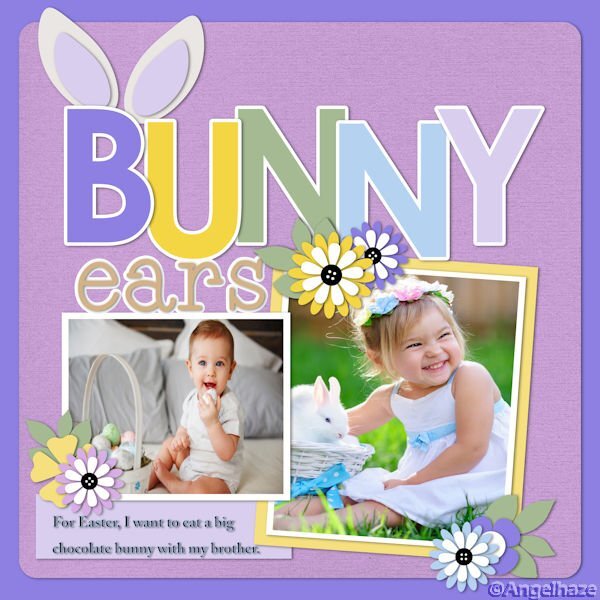
Hello, here is my page with this palette, I played to add some colors too! Because I wanted that this page looks like Easter. Easter Blessings - 12x12 Templates by Connie Prince Easter Ears
3 points
-
April Palette Challenge. Created the little flowers for the background paper (pattern, flood fill). Background paper overlays, blend modes, and colours, using several layers. Replicating colours from the photos. Some of the first things I learnt to create were the eyelets and stitching, when I first joined the campus. Due to adding noise, and textures some colours have have changed slightly. Some flower pics I have taken on one of my trips home.
3 points
-
Ik doe het ook nooit hoor en geef de kinderen groot gelijk dat ze geen foto van hun dochter op internet willen. Ben zelf ook zo anoniem mogelijk op internet. Die rare cirkel op haar anders zo snoezige koppie is ook geen gezicht, maar vond de lay out van dit project best lollig geworden. The double page challenge that's coming up I wanted to do with photo's of my granddaughter, but decided to do another subject.1 point
-
Monique I never use photos of my granddaughters in layouts! I tried blurring their faces but I don't like that. So I don't do it with 1 0r 2 exceptions and on those cases with permission, they weren't recognizable in the first place?1 point
-
Thank you, Monique, I actually made the daffodil bouquet and plaid for a March birthday card. I used Vectortube on her name and the bow for the March birthstone which was created using FF crystal and a preset shape made into a tube.
1 point
-
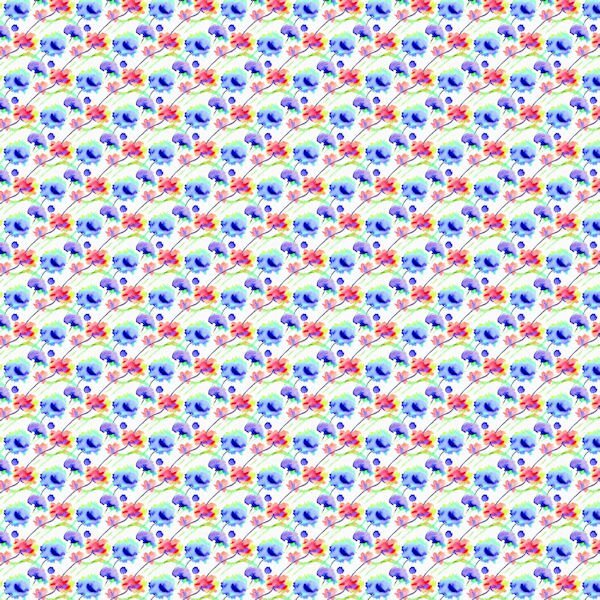
and while i'm at it -- I also worked with the CF Spark images I showed previously. With my camillia picture which I ran through pic to painting and CF Spark, I finally chose the one that Susan liked and made a pattern from it in a smaller size and made a paper with it - playing with it on a 45 degree angle really came out interesting. I also made a paper from one of the patterns made by another artist in watercolors that was posted in Spark.
1 point
-
This is the black and white one. I made it on only 1 layer - using the above steps. I tried changing color with Adjust>Hue, Saturation, Lightness - but you can see that it doesn't work very well so maybe you need to choose the color first and then create it.
1 point
-
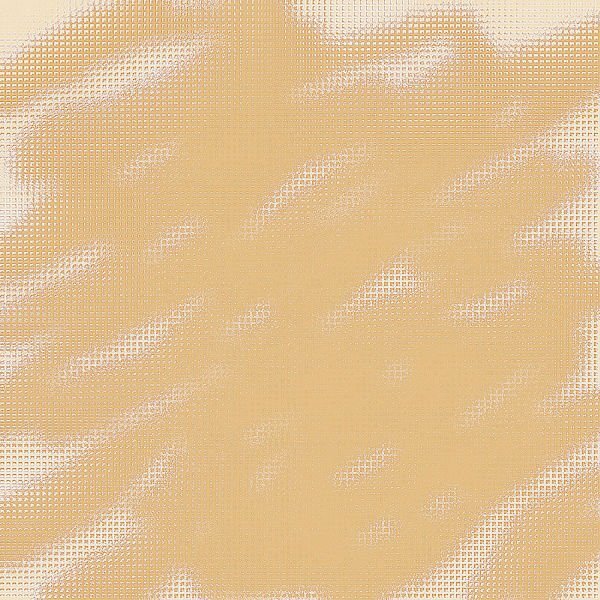
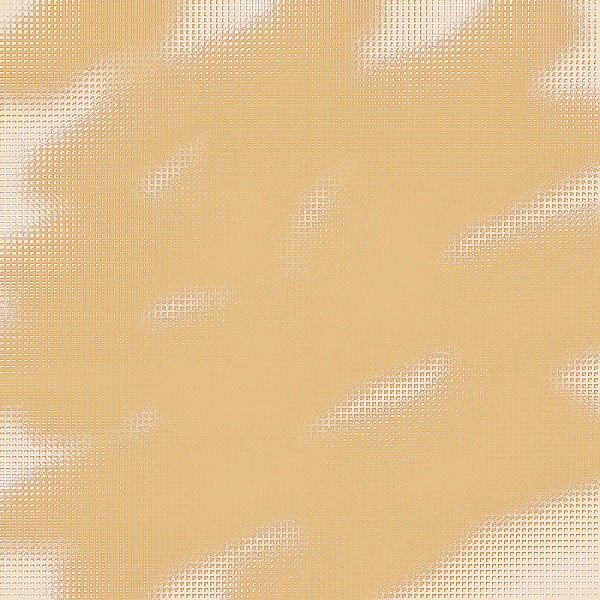
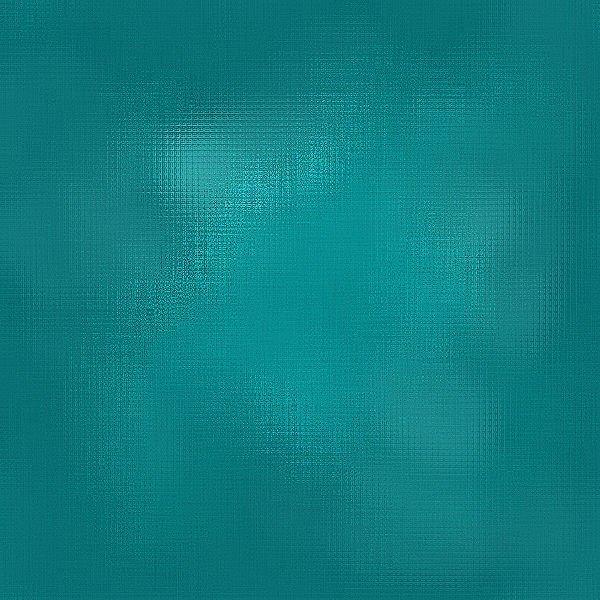
I'm too OCD. I couldn't stop working on that glimmer effect. I'm going to post the last 2 I worked on last night and took down the steps I took to achieve the result. Donna, maybe this is what you are looking for. I did try to do it in black and white thinking that I could colorize them with some of the tools in PSP, however, that doesn't seem to work and keep the shininess we are trying to achieve, but I'll show it anyway. I worked in a 1000 pixel square. 1: Fill with a light color; 2: New layer: use a darker hue of the same color; 3: Use the paint brush (I chose the cloud brush - used size 50, but you may like a larger size which I used in the 2nd one, hardness 50, step 5, density 100, thickness 100, opacity 100, check Smart Edge - and brush all over the layer; You can merge the 2 layers - I merged visible to a new layer; 4: use a small gautian blur - I used 5; 5: Effects>Texture>Mosaic Antique - I set it with # of columns 75, check Symmetric, tile diffusion 100, grout width 10, grout diffusion 15; 6: effects>texture>mosaic Glass - I set it with # columns 100, check Symmetric, glass curvature 75, edge curvature 3, grout width 3, grout diffusion 0; 7: Adjust>Sharpness - I did this about 3 times. I did save as a pspimage as well as a jpg. Since it won't post at 1000 pixels, I resized it to 600 pixels square.
1 point
-
But it looks interesting nevertheless!1 point
-
Oh, I'm so disappointed! You are 100% correct. Booo!1 point
-
The center which seems like a different color is just a different "saturation" of the same color. What do you get if if you use the brush at a much larger scale? What colors does it show?1 point
-
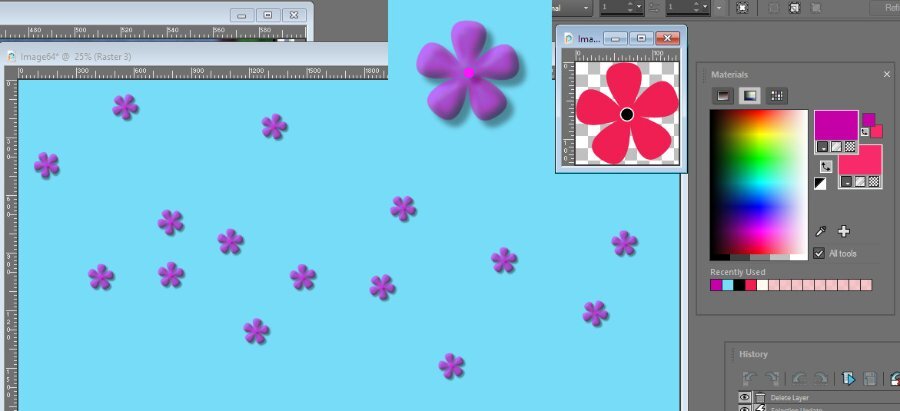
Here is my little brush. One is the image (square) and one is a big version of one from the scatter -- where I scattered it with F11 and put an inner bevel and drop shadow on it. (So this is not a tube, just the first brush) What I want to show, tho, is that my brush had a different color center with a tiny 2 px white ring around it. When I go to use it as a brush, it is using the color I have as the fill as the flower center color, and the white ring is letting the background show thru. (but as soon as I put the bevel on it, it disappeared) and the flower tepals are just the color as-is in my materials palette. I never knew that brushes could come through as two colors!!!!!?????
1 point
-
Okay, that answers that question….I didn’t know if the brush treated white as another color or a void. thanks for answering. I know I could do this myself and test to see how it works, but when I do that it messes up my files and I never seem to get the bad ones deleted without a lot of problems, e.g., accidentally deleting the one I wanted to keep! raster? And likewise, can I save my little flower as a psp brush? By exporting it as a brush? And if I needed that center to show in the brush file, would I make the center with a white line around it (I forget the word - not the fill, but the other word for a line in the materials palette). Would that work?1 point
-
You can keep it and export it as a preset shape, for future use. For the script, from memory, I think it will rasterize it because picture tubes can't be vectors. And yes, you can save that flower as a brush. Remember that a brush will be a single color, so it will ignore the fact that you might have added a yellow center to a purple flower. If you keep the center white, it will be a hole in the imprint and yes, you can always fill it manually after, but depending on how many flowers you have, it could be tedious!1 point
-
Carole, Thanks again for the video! I am trying to commit it to memory, but senior mompmemts aside, I have to do it about 1000 times before I can say I know how to do it. Question: well, lots of questions. About what I can do with my little flower after it’s made and absolutely perfect. once I make this flower, and merge the center with the tepals, but do NOT convert to raster, is it still a vector and can be a psp shape? Can I export it as a .pspshape file and have access to it again? And if I do that will the script read a .pspshape, or does the script need a regular raster? And likewise, can I save my little flower as a psp brush? By exporting it as a brush? And if I needed that center to show in the brush file, would I make the center with a white line around it (I forget the word - not the fill, but the other word for an outline in the materials palette). Would that work?1 point
-
I think you just made a fabulous quote, "Get dressed and get real!" You mean business and so does that quote.1 point
-
Gorgeous, Mary. Is there anyway that you can post the steps?1 point
-
I've been playing with that reflection effect. I'll post the dark blue sample that was posted by Donna and for the comparison the one Ive been playing with. Many different layers but really using a glitter by Cassel and using different blend modes (mostly soft light) and then playing with effects>texture effects>mosaic glass several times, and then sharpness several times, this is what I came up with. Oh, yeah, also effects>distortion effects> fine weave also. While I was playing, I had Donna's image up for comparison with what I was doing.
1 point
-
Oh, boy, that really *is* simple, isn’t it? LOL! Thank you so much for posting it! I was missing that one step and got all kinds of very nice shapes, just not the one I wanted!1 point
-
@Suzy Here is a tutorial for it: https://www.loom.com/share/b5054578e9b34fb188a1567760001ca2 You will see that it is super simple and you can create flowers with more petals or with different shapes too.1 point
-
The script looks great, works great. I want to know how to make one of those little purple flowers because I am not having any luck. I figured you made them when you did the script and could tell us how it’s done. (Am I assuming too much?) They are 3D and shiny. And have a little dark purple or black between the petals. All-in-all they are cute as the dickens!1 point
-
The script will use any element and turn them into confetti. So you can probably use a preset shape (I think there is one with 5 petals), make it in the color you want (you can even add a little yellow dot in the center if you want, and then, run the script. That will give you a confetti picture tube. Then, using the new tube, you can scatter them however you want (in a line, around the edges of a page, in a spiral, etc.) and save that as a png and it will be a scattered element for your kit.1 point
Resized.thumb.jpg.d25811db03a63358cedab1e79f527635.jpg)