Mary Solaas
-
Posts
1,500 -
Joined
-
Last visited
-
Days Won
68
Content Type
Profiles
Gallery
Forums
Everything posted by Mary Solaas
-
Rene, I, too, send prayers and best wishes for your upcoming medical procedures and health problems.
-
Went to lesson 2. Did do a label, but I got "trickey" and found I couldn't do the result as a preset shape! So I made it a brush. (the label, that is). Then I made a different kind of shape which I could made into a shape - the "baseball glove(?)"

- 714 replies
-
- 11
-

-
So glad to see you back! Wow - I tried a few different types of figures also. These are so neat!!!!! Way to go, girl!
-
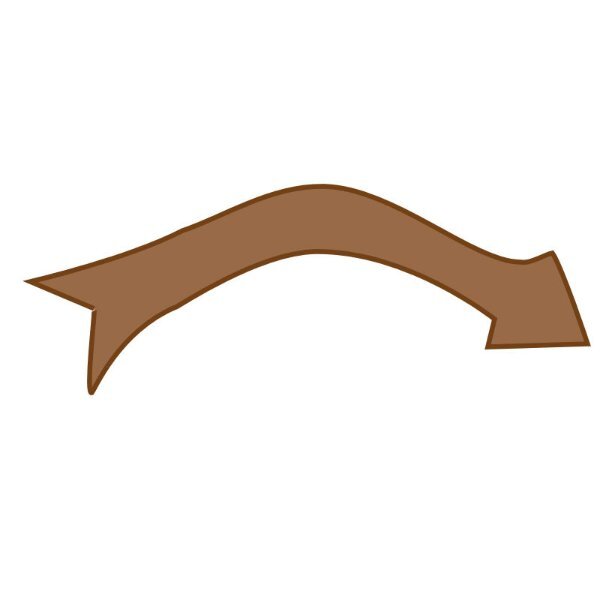
I'm still working on Lesson 1. Made a curved arrow. Not saving it as a brush or shape. Did export the new heart.
- 714 replies
-
- 15
-
-

-
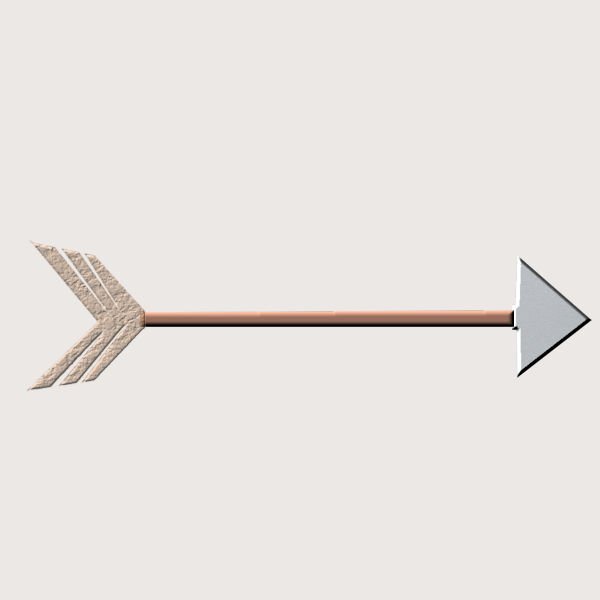
Sue - how did you get your arrow to curve?
-
Here is the arrow, Guess I'm trying to reinvent the wheel - not just a shape enhanced.
- 714 replies
-
- 18
-
-

-
-
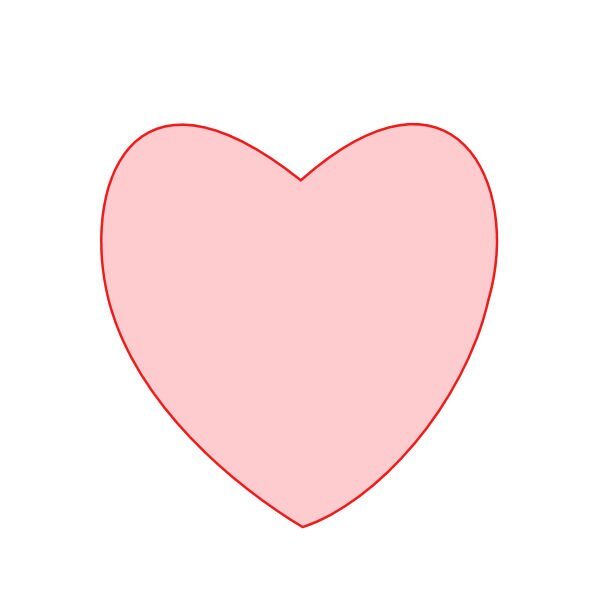
Love what everyone has done. Breaking hearts; pierced hearts, sparkly hearts, metal hearts, jewelry hearts - we all have different ideas. How wonderful! I'll show my heart. Haven't done the arrow yet or created something new in form.
- 714 replies
-
- 15
-
-
Just before the Vector Workshop starts. I used one of Cass' free vase preset shapes and made the following vase. I used Cass' instructions for shadowing the right side of the vase and the light shadowing for the left side of the vase (where the light is coming from and then I added the bubble effect in the middle to kind of give it a rounded or 3D look.
-
Me too!
-
Susan - wonderful idea well played out! This was the module I didn't want to do. The actual game board is the sticker! You are ACE in my book!
-
OK, Ann. You tweaked my interest in the vases. So, I downloaded them and will have to work with them. What did you mean that you set up your materials palette in order to work with vectors? Is there something special I am missing???? I'm in too for the workshop.
-
Really neat! Tongue in cheek!
-
Susan - you are doing a splendid job in the labs. They are great learning places. I always keep several items of the elements and papers and patterns that are presented so that I hopefully don't have to do it again (however, I have found that sometimes I do have to do it again). You are in one of the modules that gave me trouble. Especially the game board. But it is interesting. Can't wait to see what you came up with?
-
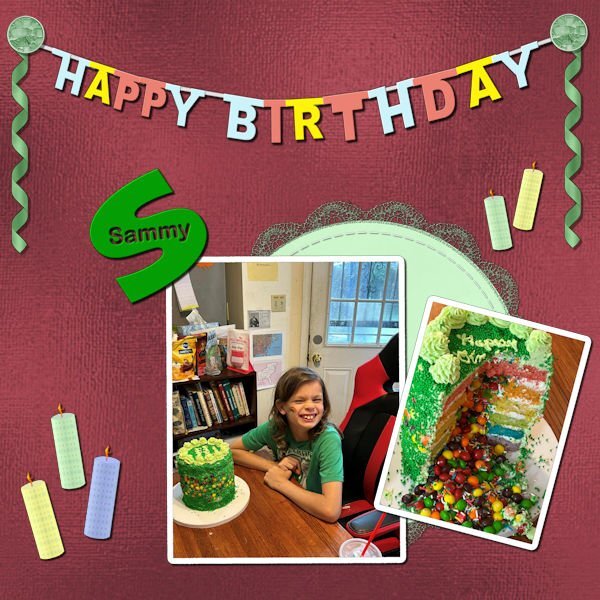
And on to Lab 11 Mod 2. Requirements: Letters dangling from a string - I chose to do Happy Birthday and I will save it to use later also - it was a challenging work; Cutout word on a letter - I chose Sammy who is the person celebrating with that humongous cake that spilled out candies - how sweet is that!!! Also required was a stitched vector shape: since I have used that tutorial in creating my alphabet for the 2022 Alphabet Challenge, I chose to use a round paper I had made previously which I had decorated with a crocheted lace (also made in a previous lab) and then stitched it (using a tutorial also). The candles were made in another previous lab; the ribbons are made from a Cass script - which I've colored and recolored and used over and over again in layouts; the stained glass brads I made from a stained glass pattern obtained from CF Spark. The background paper is Donna Sills Shimmer Paper which (if you recall) some months ago we colored and played with.
- 255 replies
-
- 10
-
-
-
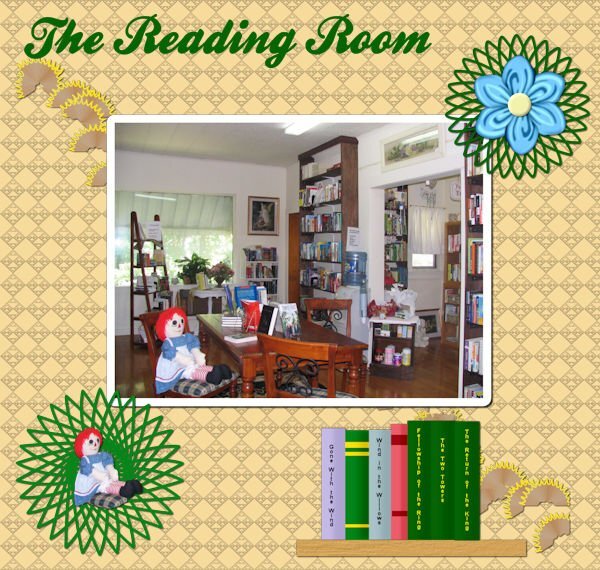
Back in the Labs until the Vector Workshop - I"m really looking forward to that! This is Lab 11 Mod 1. Requirements: Books on a shelf; pencil shavings (I made mine into a picture tube because I couldn't decide what to do with pencil shavings except put thin in the wastebasket!!! Circle Doodle - this was fun and I made several and think I might play with that again. One I put under the Cass folded flower and one I put under the Raggedy Ann Doll. The font is one of my favorites, Ballpark from CF.
- 255 replies
-
- 11
-
-
-
LOve it!!!
-
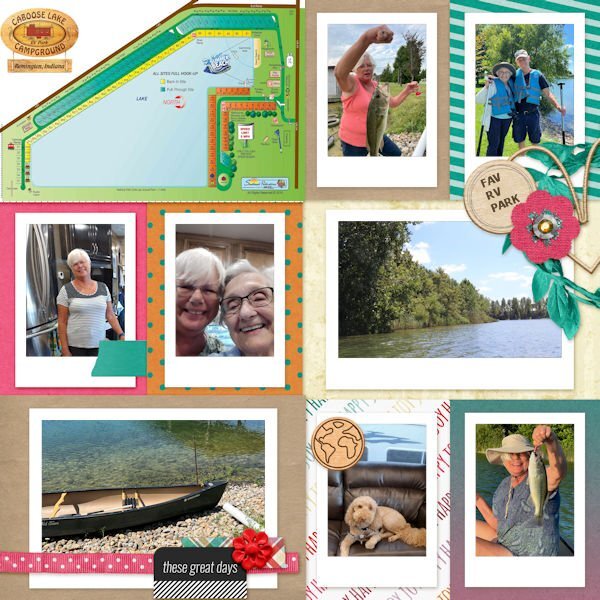
One more - this time playing with the QP - pics from Laurie and Joe and me at Caboose Lake RV Park in Indiana.
-
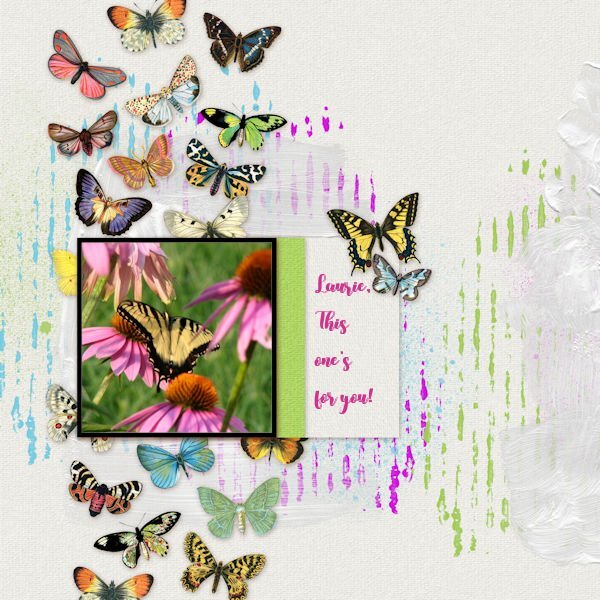
Another extra for day 8. QP from Marisa Lerin, photo by Laurie of one of her favorite flowers, cone flower, and a swallowtail butterfly. Font is from CF (don't remember the name)
-
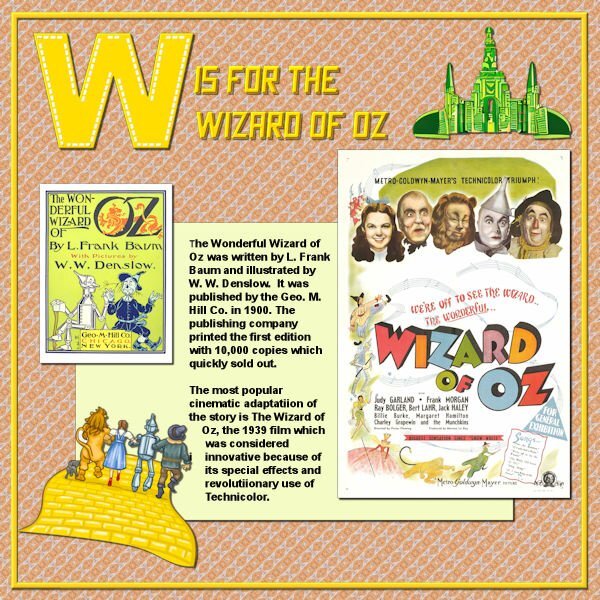
Well, I finished W. Wizard of Oz. The emerald city is extracted from a CF Spark png I asked for, the yellow brick road with the travellers on it is from a clip art, the font is Crash Demons from CF; the poster and the book cover are from Wikipedia and the journaling was extracted from that site; the papers and the W are mine.
- 276 replies
-
- 11
-
-
-
Well, I'll try again. Last 1. end of June. Both and QP and the pic are by Marisa Lerin.
-
The prompt builder is the bottom of the list. it really helps. I've tried a number of the different Spark's: art, crystalloine which is a png generator, sketch which does black & white pencil sketches, pattern, and of course the prompt buillder. Sometimes it helps to be brief and sometimes the best results are when you get real particular. I'm going to post my Andy Warhol cat which I did this morning - just asked for a cat like Andy Worhol.
-
Anita, I love your cat. Spark is interesting to play around with.
-
Kasany - for this last group that I showcased I went to CFSpark Prompt Builder. It started me by showing different words I could use. It was interesting because I would not have thought of starting with a color background and then moving on to different layers. The outcome really astounded me too. Some of them I will use separately and some I brought in to the Reflection Effects in PSP. I'm using PSP 2022 Ultimate.
-
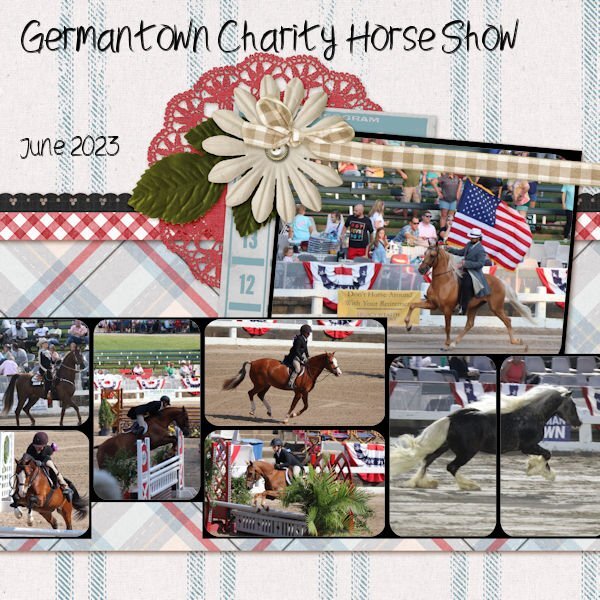
What happened - my post disappeared. Let me try again - the font is Black Horse. The pics I took when I attended the show with my daughter-in-law.
- 382 replies
-
- 10
-
-
-
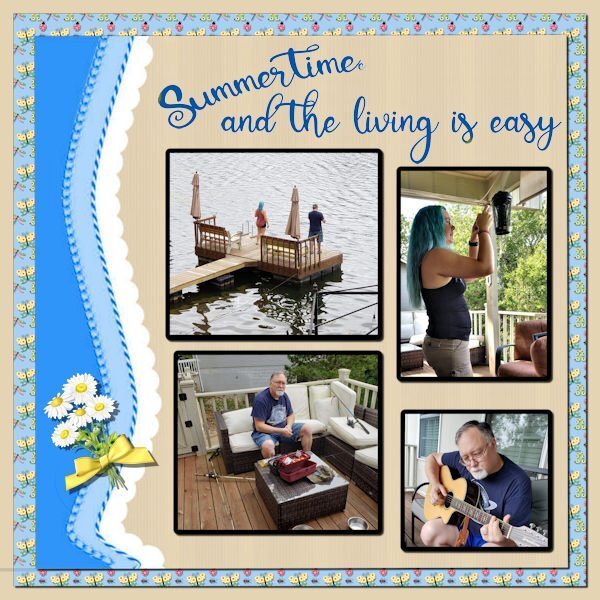
My attempt at this sketch challenge. The papers are from my stash, the font is Baby Bunny Script (CF), the daisy bunch is from CF and the bow is from Cassel. The pics are from Steve (of Steve's Rainbow) and his family as they vacationed last year at a cottage on a lake near Hardy, AR.