-
Posts
1,568 -
Joined
-
Last visited
-
Days Won
68
Content Type
Profiles
Gallery
Forums
Everything posted by Mary Solaas
-
- 303 replies
-
- 14
-

-

-
- 303 replies
-
- 15
-

-

-
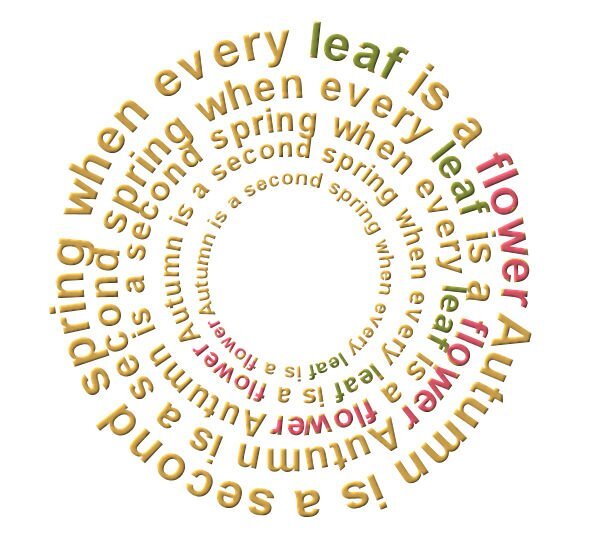
I've worked in the labs for some time and so I'll post some of those. This one is Circle text paper which was from Lab 9 Module 9
- 303 replies
-
- 16
-

-

-
I can't keep up with all of you. WOW! All you have posted is marvelous. I will attempt at least a start since we can post stuff we did before. This one is the leather tag which we learned about in the Travel Challenge.
- 303 replies
-
- 15
-

-

-
Still in Travel Challenge 2023 - because of the length of the trip, I will be working on it well into October. As usual, all papers and elements are mine - except the 2 RV's on the road - they are from PS Marissa Lerrin; The title font is Britannic Bold; the font on the journal strips are Black Horse (pretty sure it is from Creative Fabrica).
- 158 replies
-
- 11
-

-

-
I'm really busy this past week getting my "stuff" and "place" ready for a trip my daughter and I will be taking next week. But I check in and this forum has been great showing us the amazing techniques Carole has given us in her tutorials, Labs, Master Classes. AND - she is such a great teacher - if you don't know how to boil water, she will show you. THANK YOU, CAROLE, FOR ALL YOU HAVE DONE FOR US - THE FRIENDSHIP IN THIS MARVELOUS SITE, THE TEACHING YOU HAVE GIVEN US. Love you all and thank you for showing us your takes on what Carole has been teaching us.
- 303 replies
-
- 10
-

-

-
That book is really great. Written by one who did grow up in Brooklyn. I spent my first 7 years in New Jersey (Just across the river from New York City) and remember going through the Holland Tunnel into New York City with my dad and mom. I remember seeing the New York World's Fair (1939); I remember Chile's Restaurant (?); I remember looking up at the tall buildings; I remember; I remember coming into NYC around Christmas time and the wonderful window and toy displays at that time (always love the toy trains); there were cobble streets when we saw the Macy's parade and my dad lifted me up on his shoulders from those cobble streets in order to see better. Michele, you have put me on a memory lane visit .....
-
Susan, I did download it and tried to put it in the plugin folder which file preferences shows it is looking for. But I can't seem to get PSP 2022 to recognize it. Any ideas/??
-
- 275 replies
-
- 12
-

-

-
And these are the next 2 pages. You will probably recognize Cass's pinwheel. the balance of the elements and papers are mine. The pics of Jim and Joe are blurry - although I used a flash with my point-and-shoot camera, it was pitch black that night lit only with a small fire off to the side and not too close to them. Had a job lightening them up enough so you could vaguely see them. Oh, well. It was a great night. Somehow it always is after a good thunderstorm - the air is so clear.
- 275 replies
-
- 13
-

-

-
Pages 3 and 4. Again, Marisa Lerrin for the rv stickers on the road and the rv button or brad. The seal for the state of Nebraska was taken from a web page of state symbols. The ribbon I made with one of Cassel's scripts. The peony I extracted from one of the pics Laurie and I took.
- 275 replies
-
- 12
-

-

-
Well, I finally finished the 1st 2 pages after the opening. The sunglasses and curvy road sign are from PS DiHiller; the RV stickers are from PS Marisa Lerrin; the rest of the elements and papers are mine; the MO state flag and state flower (Hawthorn) were obtained from the web. The Day 1 font is Britannic Bold and the journaling is Arial.
-
I agree, Rene. In planning my album (and as with all my trips - they are long), I will use only the templates that fit my idea. Or - use them in different ways to fit my thoughts. This was a really long trip and was longer than most. Laurie and I tend to fit as much in a trip as is humanly (or not humanly) possible. For instance, when we were planning a trip (and Joe was working) to Vermont, we looked at each other and decided that we were going to take in Niagra Falls, Brother Andre's church in Montreal, her relatives in New Hampshire, my desire to at least touch Maine, her wanting to get dishes from a factory outlet in West Virginia. Whew - that trip had all of us wiping our brow when we finished. This one had Joe already retired, so a long trip was OK. I believe we were gone about a month.
-
I definitely am late in getting out of the "start gate"! I know this isn't a race, but it has felt like that for me. I am really not sure, but I have the trip that Joe, Laurie and I took back in 2021 in the RV to visit family in the north and west of us. It was a great trip, I found that I can't take the heights and I am definitely a mountain girl more so than the beach. Oh, Well! I take it easy and am able to do some things. This album will be longer than usual since we had so many places we were going and I am definitely going to do more journaling. I usually journal whenever I take a trip. It does help when designing the album. All the elements and papers are mine. The 2 elements at the lower left corner and the upper right corner came from Marisa Lerrin at Pixel Scrapper. The font is Britannic Bold.
- 275 replies
-
- 14
-

-

-
Wonderful! Yes to the Dixon Gardens and I did peek in to the Cotton Museum because Laurie and I were preparing baskets of Memphis stuff back in 2008 to give to our folks as we travelled across the west and north - I got a little bale of cotton there for each of the baskets. We got FedEx keychains for our FedEx souvenir, and little Elvis Presley dolls for our Elvis souvenir, a jar of Corkey's Barbeque sauce also and little yellow duckies for the Peabody ducks. Glad you enjoyed my city.
-
@Suzy You know, Memphis is my town. I hope you do get a chance to make a travel book about your visit. did you come to see Graceland? or the Peabody ducks? or the Elvis Presley bash in August at Graceland? or the football team? or the baseball team? or just to see what it is all about? and what about Beale Street? Did you enjoy my various layouts about Memphis earlier this year?
-
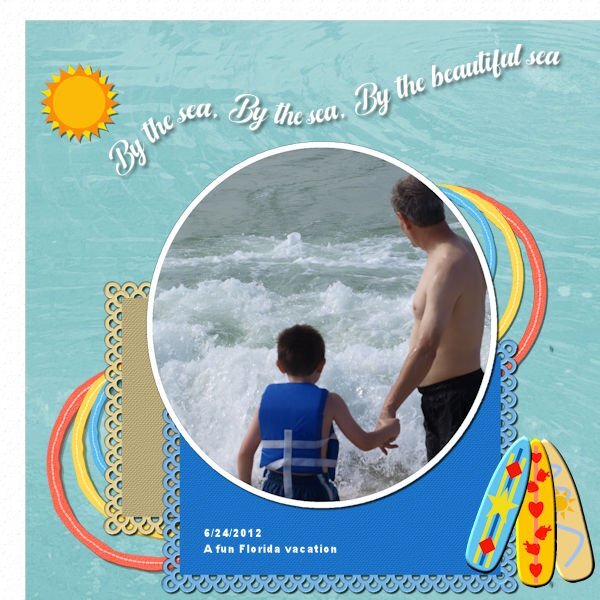
Before I go to the Travel Challenge Workshop, I finished my work with Lab 11 Mod 6. Stitched Shape, Double Scallop Rectangle (I really wanted to make one as a circle, but wasn't able to manage it), surfboard (I did 3). All done. I used the title from one of the Vector Workshop layouts, the sun sticker from another lab. The background water paper was one I made in my Chattanooga album. The picture was taken by Laurie.
-
These are such great layouts "youall"! You are giving me a jolt of creativity to get started on my trip. I've wanted to do a photo book on the trip Joe, Laurie and I took in 2021 in the RV. I'm not a big fan of RV travel, but it has its advantages. It was north and west from Memphis, TN and while I've used a google map for the background on previous travel workshops, your inspirational use of maps are giving me food for thought. I'm late in getting started as things have kind of piled up on me at home, but I'll get busy.
-
Great idea using the location markers.
-
Really great layout. I had heard of the red hat group before, but enlighten us with your experience with the group. This is another really great way to show your travels. That red hat "travelling" is such a good idea. Way to go!
-
Love it. Have used the map background before, but that overlay of the place where you travelled is really great.
-
I love it - using pastels for the state shapes is great - it has a light and airy feel to it. Why in the world was the trip terrible?????
-
I had an error in one of my layouts in the spelling and I appreciated it being pointed out to me. If one is going to have their layouts printed, I am sure we appreciate proofreading by knowledgeable people.
-
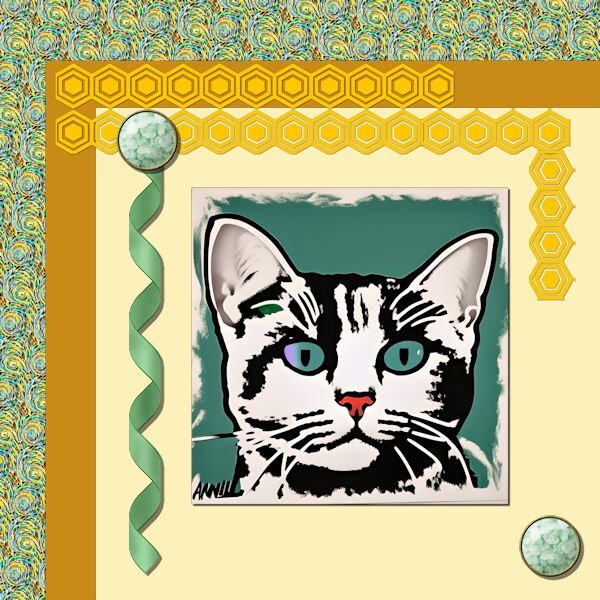
I've been just playing around until the Travel Challenge starts tomorrow. Couldn't think of how I wanted to display my CFSpark Andy Warhol Cat and then I started playing around with my abstract paper I created from another CFSpark pattern I created and the hexagon shapes from the last lab requirements and came up with this kind of abstract layout for the cat. As Annie Tobin used to say - enjoy. I've been thinking about her lately, too.


