Mary Solaas
-
Posts
1,500 -
Joined
-
Last visited
-
Days Won
68
Content Type
Profiles
Gallery
Forums
Everything posted by Mary Solaas
-
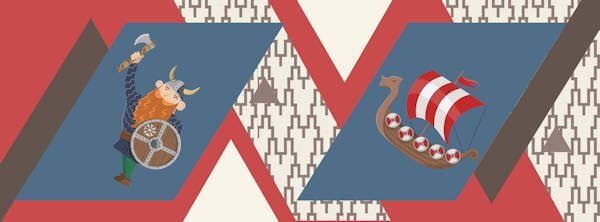
The extra from day 2. I treated it as a poster. The 2 pics are watercolors from Creative Fabrica.

- 426 replies
-
- 12
-

-

-
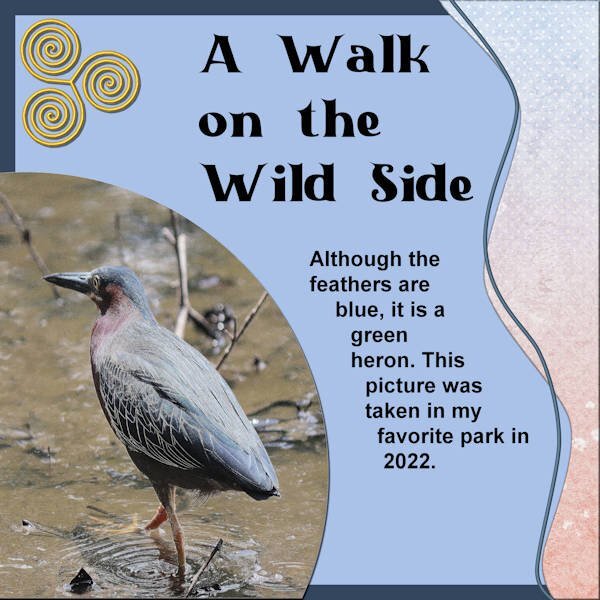
Trying to catch up. Day 2 Diamond template. The paper on the right side was taken from a kit: cpjess-reach for the sun; the background paper was colored with a color of the bird as was the journal paper; the triple spiral element I made in a recent lab; the title font is Black Castle (Creative Fabrica font); the journaling is arial. Again the text tool to determine the size of the text was wonky – don’t know why this happens as it doesn’t happen except once in a while. My daughter and I went to our favorite park in Memphis (not far from home) where there is a lake. The lake has “Canadian” geese that live there year round and ducks, but occasionally a heron stops by – usually a great blue heron, but sometimes we have other herons that appear – I have a picture of a LITTLE blue colored heron as well as this one of the green heron.
- 426 replies
-
- 14
-
-
-
My text acts wonky too - I'm using PSP 2022 Ultimate and I believe you are using PSP 2023 Ultimate. Just strange when it changes from points to pixels and doesn't matter whether you choose points or pixels. It happened on the one I just posted.
-
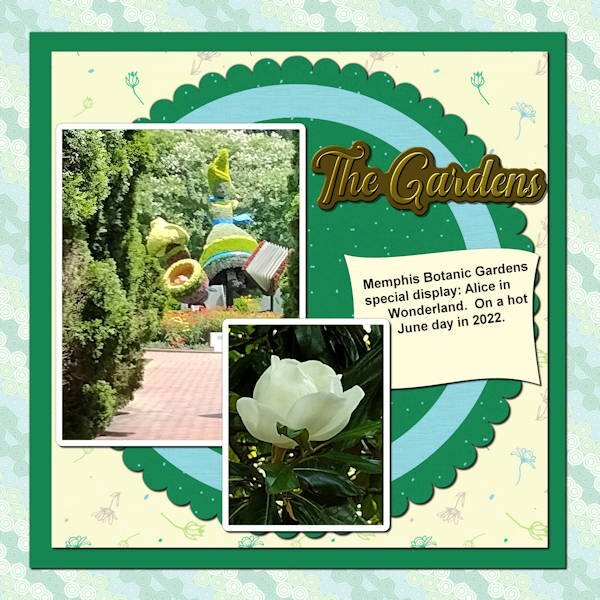
On to template 2. Kit used is PS_Jessica-D-wintertropics-mini – the Background paper (reduced opacity), the scalloped paper and the paper in back of the scalloped paper; the title is a metallic title I made in a lab; the paper above the background was simply colorized as was the circle element which was texturized. I’ve used these pictures before except for the magnolia blossom – it was on a tree in the gardens and was just beautiful – perfectly formed and I’ve been dying to use it. The font is Arial for the journaling.
- 426 replies
-
- 17
-
-
-

-
And using the same picture and my papers - Workshop 1 extra.
- 426 replies
-
- 14
-
-
-
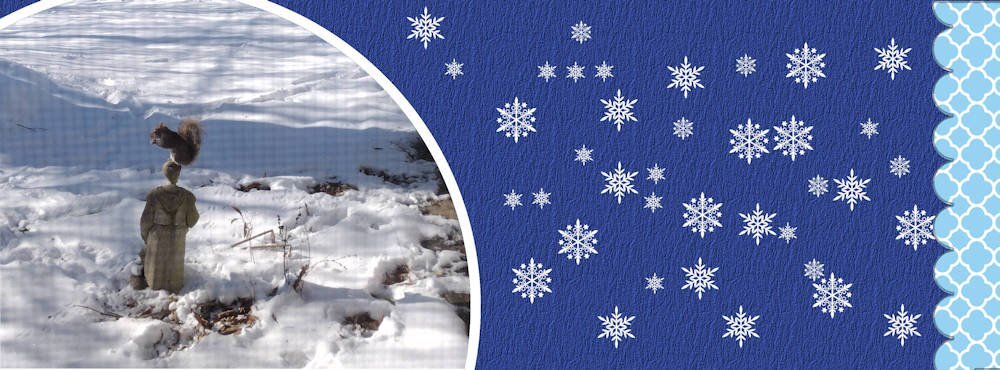
Extra template 1: Kit used: DSAFeb14-MarisaLerin, changed the color of the paper 087 to blue with Hue Saturation Lightness; removed the arrow head element and replaced it with an arrow from the preset shapes; removed the dot element and replaced it with paint brush snowflakes that I created in one of the labs; changed the background paper from the kit with hue saturation lightness also; and the scalloped paper layer in the template I colorized to blend in with the picture; the font is Bambe from CF. The picture was taken outside my window (hence the screen) on Tuesday afternoon. Our snowfall was about 4”. This morning we have 4 degree weather, but it’s nice and cozy inside. We’ve been asked to conserve energy so no lights unnecessarily and we hand wash dishes (shades of my childhood). It was fun watching that squirrel. He would hop on the statue to eat the acorn and then hop down and grab another one from the leaves on the ground near the statue and then hop up on the statue again to eat it. He stayed long enough for me to grab one of the great grands I live with to show them.
- 426 replies
-
- 18
-
-
-
Are those crocuses I see coming through the snow - or daffodils? Can Spring be far behind (though a little early)?
-
So glad to see you back!
-
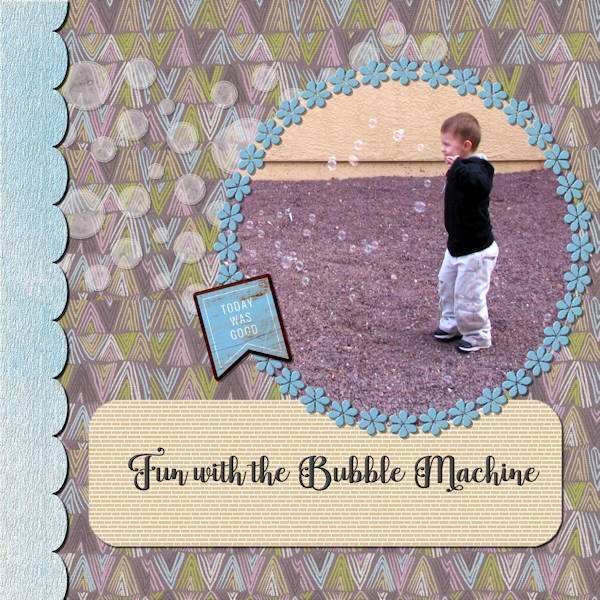
I used the papers from a kit from Pixel Scrapper: Marisal-gl22-jan-mini. Used a full one for the scalloped paper on the left side and as patterns for the background and the label since they would have overpowered the picture otherwise. The element was from that kit. The flower frame was one of my creations which I inner bevelled. The font is Baghira (I’m pretty sure it is from Creative Fabrica since most of my interesting fonts are from there). I duplicated the font and then converted it to a raster layer and inner bevelled it. The scalloped paper I textured with a bark texture which I had created and I also inner bevelled it. I played with adjusting the brightness and contrast on the bubbles as well as inner bevelling them in order to make them more like the bubbles in the bubble machine and also reduced the opacity. I placed a texture on the background paper also. I think that about sums up working with the template. I had forgotten that technique of opening the paper (or photo), copying it and pasting it above the layer you want to size it to, and then matching it to the template layer by using the magic wand on the outside of the template layer (so that it is inverted – or is it “outverted”?) and then clicking on the layer with the photo or paper and deleting. I did do that with the photo and the scalloped paper on the left side. That sums up the layout. The photo was taken in the summer of 2008 of my great grandson in California. His grandparents had bought him a bubble machine that was hand held by my son as he played with his grandson. It produces a “ton” of bubbles!
- 426 replies
-
- 19
-
-
-
I looked at my email, but don't see my day 1 for the template workshop. I thought I signed up for it. Could you send it again?
-
Lab 11 Mod 10. Requirements: argyle pattern: background paper; triple spiral: doubled it in the lower right corner and single one in upper right corner; slide frame: the 6 photos are displayed in the frames. I used the layout template (modified) from the module. the title font is Lionteen (I'm pretty sure it came from Creative Fabrica). Strange thing again in working with this layout: I tried to duplicate the "Houghton, MI" and put it on each of the frames, but it wouldn't work - I got a blank each time I tried to copy it and move the copy to the next frame, so I had to do a vector for each of the frames on the top and the bottom. Couldn't figure what went wrong.
-
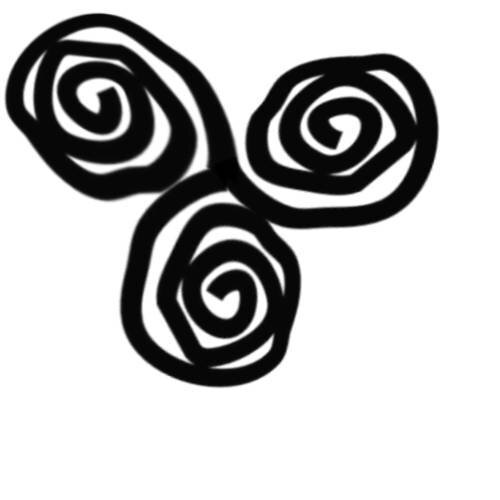
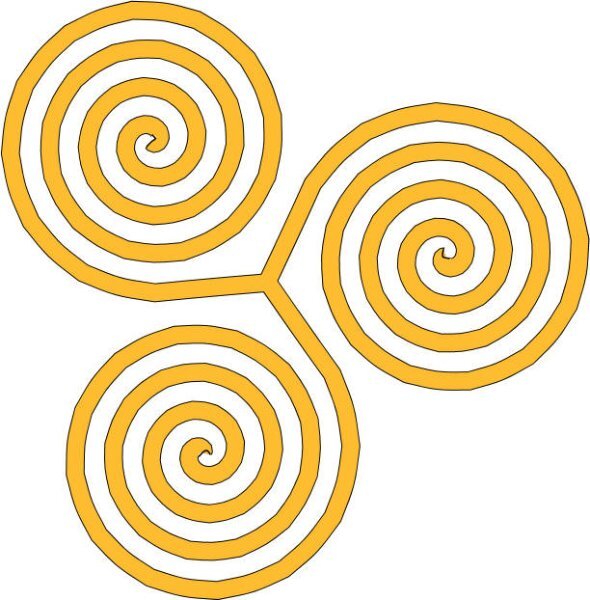
Ahead of the workshop starting today, I am trying to finish Lab 11 Mod 10. One of the requirements is to make a triple spiral and accordiing to the tutorial you are to get a spiral from Livi Fictions. I couldn't find it on the web, so I tried my hand at drawing a spiral and working with that (but not with the vector spiral script). I later found one (spiral) at pixel scrapper and began with that. I'll show you the first (my feeble attempt at the triple spiral working with my handdrawn one) and then the one I managed to do as the directions say with the Vector Spiral script (you have to have something open so I opened the spiral I had downloaded from pixel scrapper). I saved the wonky one in my Halloween kit folder.
-
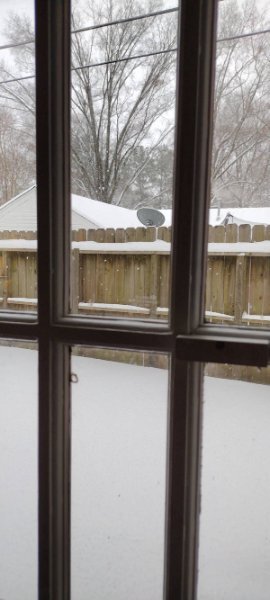
Outside my window this morning. We havent had snow in quite a while, but this started yesterday and promises to keep up today. Hope we don't lose power, but at least we didn't have ice first as sometimes happens.
-
@Rene Marker This is the first I heard of what you are doing. Sounds great. Are the rest in the gallery? I don't recall seeing them here in the forum. I don't go to the gallery much for some reason, just the forums.
-
@kasany great picture and a lovely mask.
-
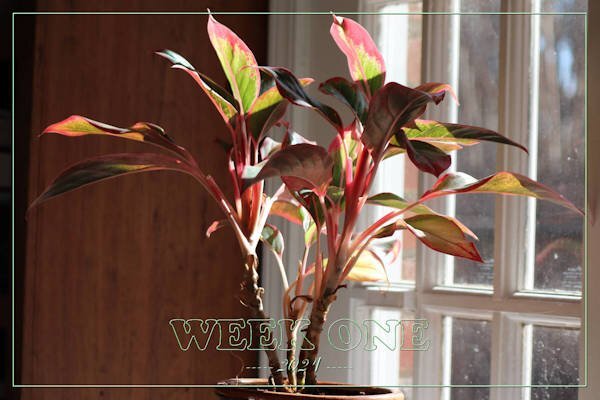
Here is my Week 1. this is my favorite house plant. I've been house-bound this past week and just started taking pictures again. the sun is shining beautifully today, but it is cold and we are expecting the white stuff beginning tomorrow here in the south (Memphis).
-
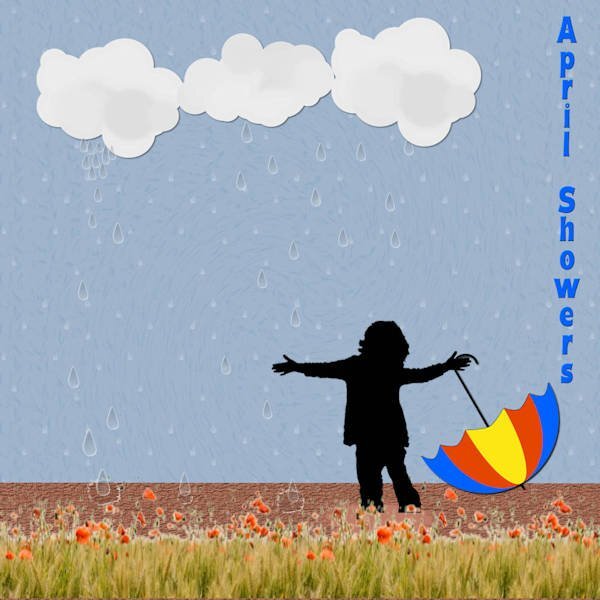
OKay - here it is with the change that Ann Seeber recommended.
-
Thank you, Ann. I welcome your comments and I will try that change in the title and post it later today. thanks again.
-
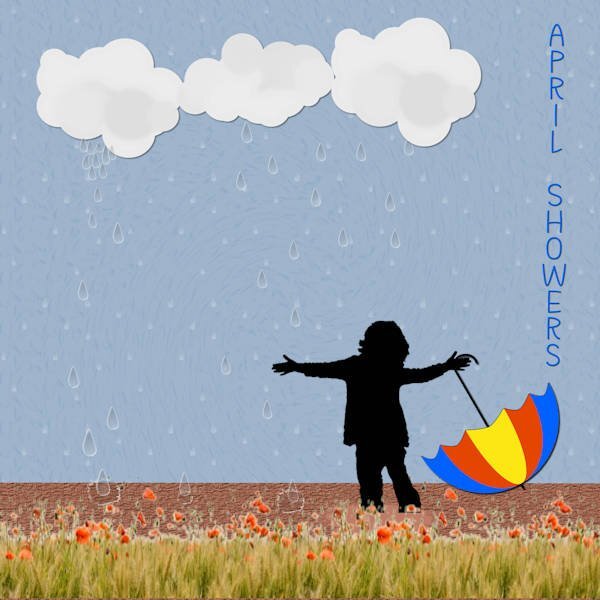
I'm really not happy with this layout, but it is what it is! Lab 11 Mod 9: requirements: water droplet (2 on the ground); cloud (made 3 and they are shown); umbrella - had fun with this. In addition to the water droplet, I used the tutorial for the droplet to make water drops and made a pattern of scattered raindrops (water drops) and then an overlay for a 12X12 paper. I used the overlay on the background paper and scattered the water drops coming down from the clouds; and put a water drop in each of the droplets. I also made a "Puddle" which is what the boy in the silhouette is standing in. Don't remember what the font name is.
- 145 replies
-
- 10
-
-
-
Thanks. Guess I'm in.
-
If I understand this correctly, to join you agree to: take at least one picture a week by whatever camera you choose and of whatever subject you choose (remember I am thinking like alphabet soup), and then to show it at the end of the week (just the photo, not a layout - so it should be quick and easy). So, I need that script???
-
@Anja Pelzer Thank you. You are kind. Love the flower and frame you made with the paper you made.
-
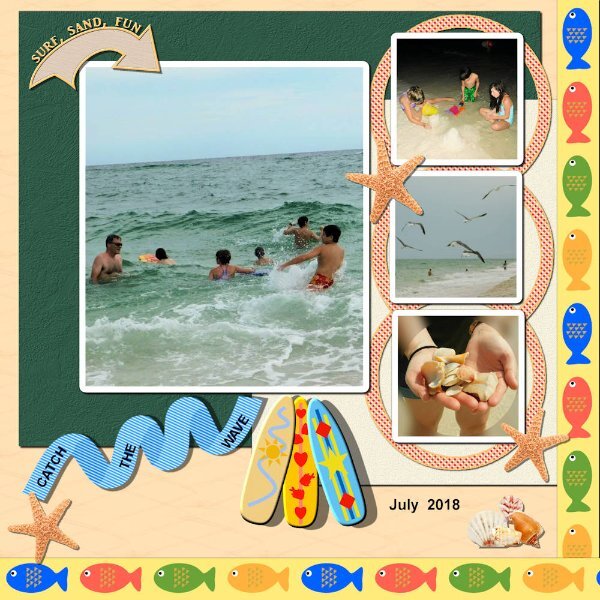
Lab 11 Mod 8. Wasn't sure how I was going to do this since it is also about the sea. But I muddled through and actually had fun creating elements. Requirements: abstract fish created and then made into a ribbon; create an arrow and add words on top of it (I didn't create the arrow but used a preset shape and worked with those nodes to get the curve - still a challenge); made a stroke and use it to fill a wave (another wave pattern) - that wave pattern I've worked with several times - 1 to put the words on it and 1 to make shadows on the folds of the strip). i also used the stroke to make circular frames in different colors and as "x"s; and used that same idea to make a ribbon and then to use Carole's scripts to make a curled ribbon and several bows. Lots of fun. The surfboards I made in a previous lab.
- 145 replies
-
- 13
-
-
I think this is a Susy Script. Available in the store but no charge. I've used it a lot.
-
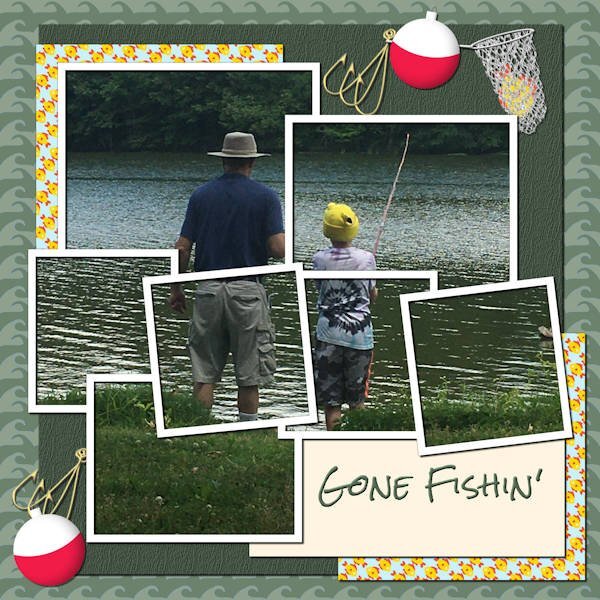
Well, back to the labs. Lab 11 Mod 7. My 2nd attempt at this. I did the fishhook, the bobbin, and the wave pattern. I choose to do the wave pattern in the colors found in the river or lake in which my son and grandson are fishing. I've used this pic several times; it is one of my favorites. The fishing net I designed using cass's fishing net tube and adding a vector ellipse and rectangle with inner bevels. The fish in the net is from the vector workshop - loved that fish and have made it a shape, a tube, a pattern, (reversed the fish for another pattern which you might see in the 2 paper backgrounds). Used my bark texture on the dark green paper. The title is Rock Salt which was a freebie in this lab module. The template I used is in the lab module and modified.
- 145 replies
-
- 11
-
-