fiona cook
-
Posts
428 -
Joined
-
Last visited
-
Days Won
4
Content Type
Profiles
Gallery
Forums
Everything posted by fiona cook
-
From the album: Fiona's projects
-
From the album: Fiona's projects
-
From the album: Fiona's projects
-
From the album: Fiona's projects
-

From the album: Fiona's projects
-
From the album: Fiona's projects
-
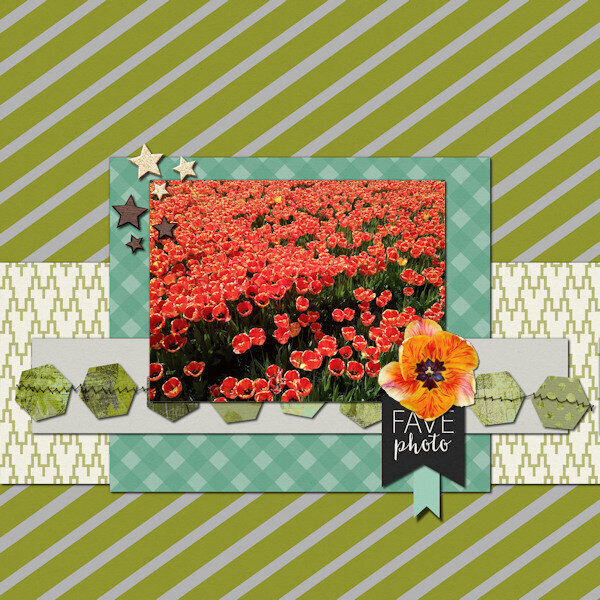
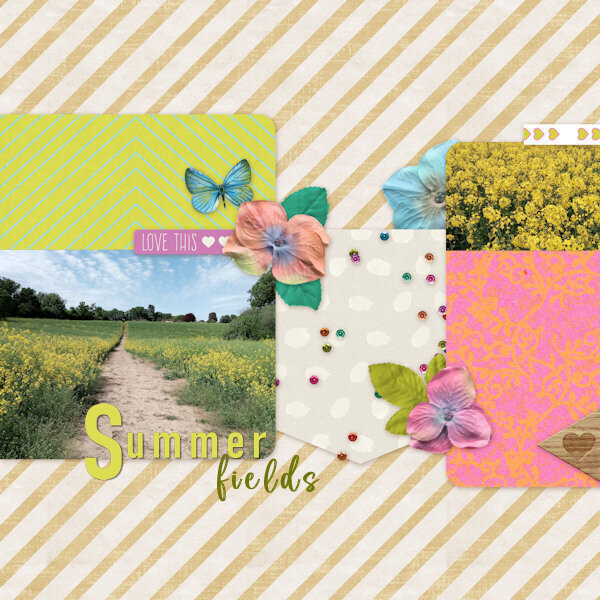
Lesson 5 The first quick page featuring the local fields that I love to walk in. Fonts: Bahnschrift semi Bold and the italic is Blackbird.

- 382 replies
-
- 13
-

-

-
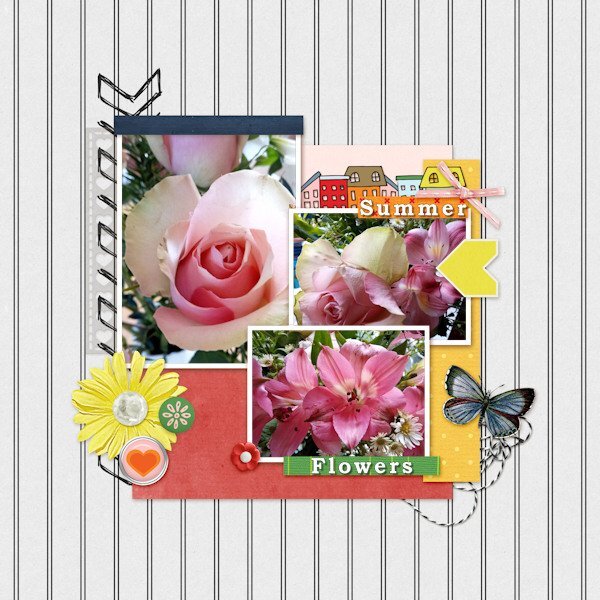
Just finished the extra design from Day 4. I selected the images of flowers for their colour to go with the template. I had to change a yellow rose though to pink by using Adjust/Hue and saturation/Hue/Saturation/Lightness. More of a 15 minute job in total. Again because of tweakings!
- 382 replies
-
- 15
-
-
-
Photos are so sharp. I love macro.
-
The photo edges one works particularly well.
-
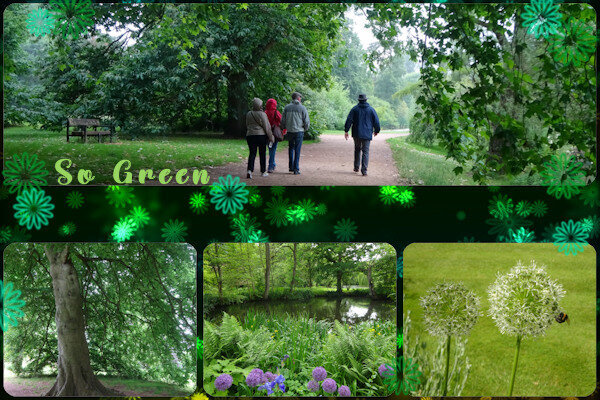
Made another one and as green is one of my favourite colours, seemed to find enough of my photos to use.
- 382 replies
-
- 11
-
-
-
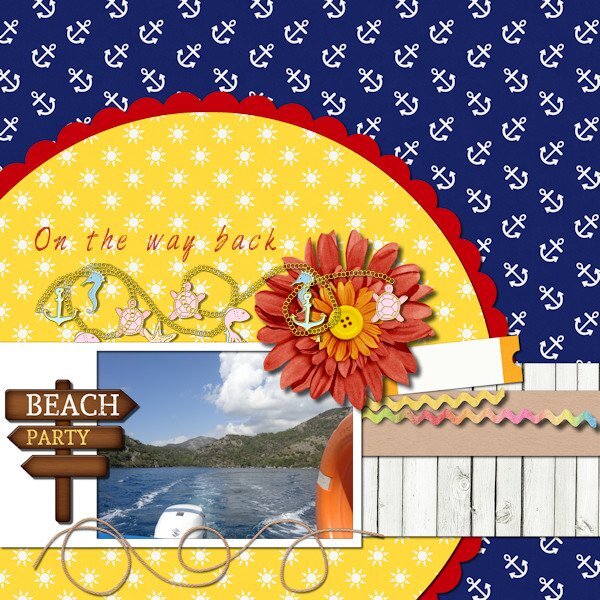
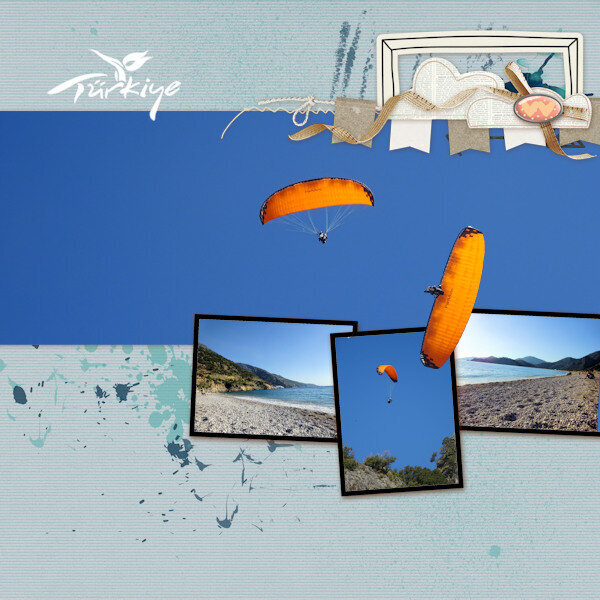
I've just managed to create one page so far for Lesson 4. This year we had a short but lovely holiday in Turkey. On the beach all day, the power gliders would be landing having taken off from the huge mountain behind us. The angle of the power glider image that I have placed on top of the frames is the actual angle he/she was flying...crazy guys. The Turkey tourism logo was a white on black background and using the 'Screen' blend mode in the layers palette it turned to a white logo with no background. Perfect!
- 382 replies
-
- 10
-
-
-
Thanks Carole for suggestion. Yes, I agree time of the essence. Also I guess the main flower would look better on top of the charms as it's a lot thicker.
-
Exactly the same for me.
-
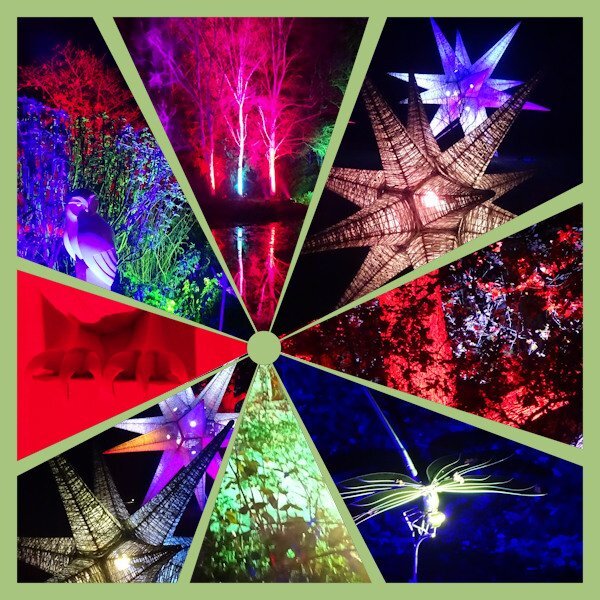
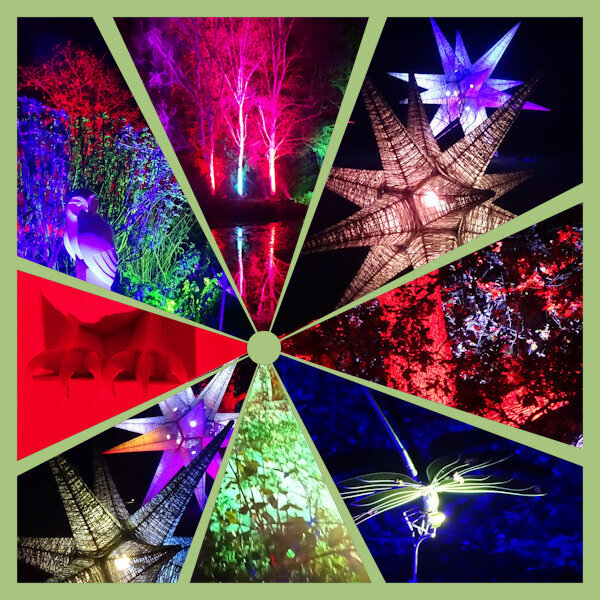
I have had the same trouble as Mary with downloading the Facebook header template but I have been inspired by kasany and the collage. We visited RHS Rosemoor garden in Devon, England, last winter when there was a 'Glow' event. All the trees and ponds were lit up. I took lots of photos and was wondering how to create something from them. Here's the result today. It took much more than 5 minutes but I used the point to point Selection tool and inverted the selection to delete the excess as an alternative to the eraser tool in this case.
- 382 replies
-
- 12
-
-
-
Oh wow! I may try this template. I also have this instead of the Facebook one.
-
on the Extra3 image I replicated the rope swirl with a picture tube called 2021CharmsBeach.
- 382 replies
-
- 13
-
-
-
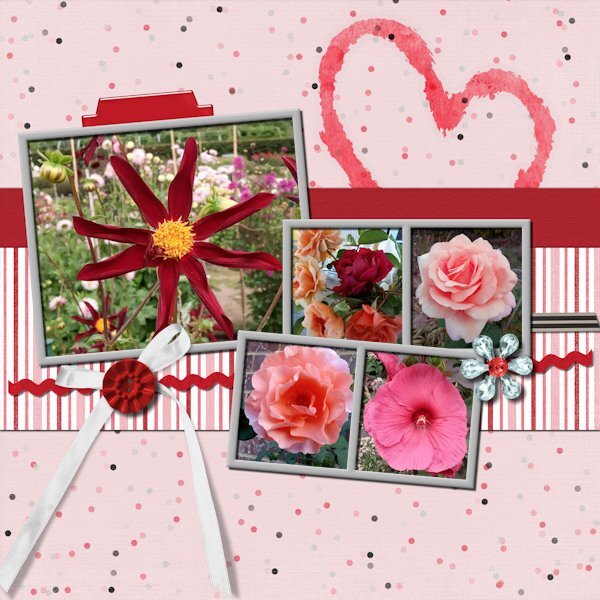
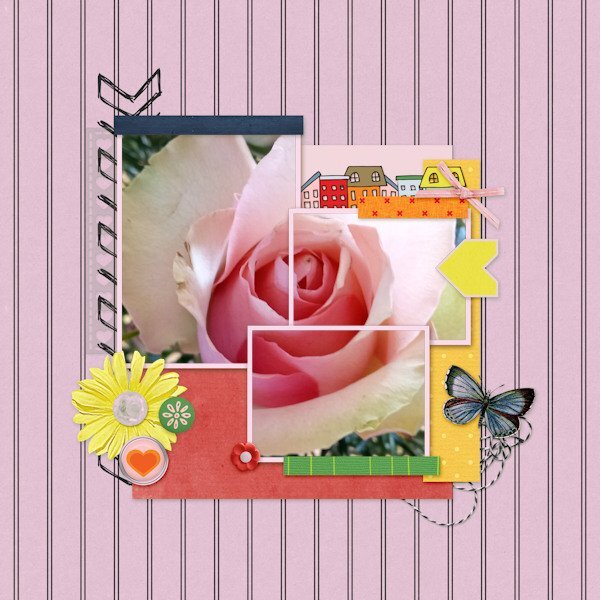
For my Lesson 3 I made two versions as I discovered by accident that I liked the one rose image covered by the three frames. Following Susan's idea previously to change colours, I used the Colour Changer fill tool on the background to match one of the pink colours in the rose. (I notice it has coloured the frames as well!)
- 382 replies
-
- 13
-
-
-
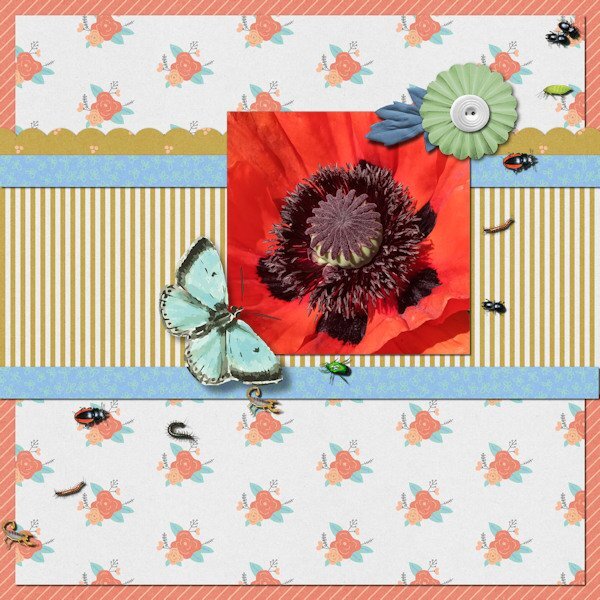
Lesson 2 Quick Page Extra I didn't think that the supplied embellishment over the text added anything to my main photo so I covered it with a replacement: a cut out of another tulip photo of mine and added a drop shadow and a reverse shadow to define the contours. (No bugs this time Susan!)
- 382 replies
-
- 14
-
-

-
-
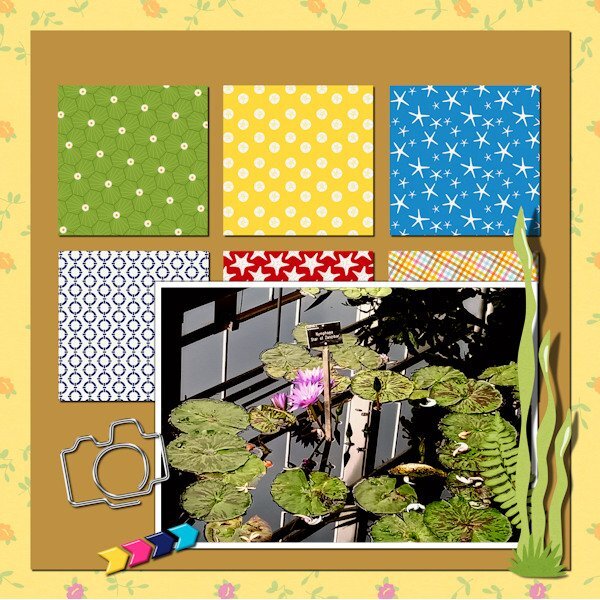
Lesson 2 I took my water lily photo mainly for the name plaque for reference but in the end I quite liked the strange effects of the reflections and the plastic feel of the leaves, all of which enhanced with the Brightness and Contrast levels.
- 382 replies
-
- 14
-
-
-
Like your idea Susan with the bird prints so I have made a version with my photo on the QP Extra image. I used 'Bugs' Picture Tube and dotted them about.
- 382 replies
-
- 10
-
-
-
Boy in sand image goes really well.
-
I love the way this oomphs off the page. Wow factor.
-
I'm in for some revision because I always take ages doing a page! For this first layout I have taken the decoration literally as the crochet doilie is the same colour as a beanie I made for my cousin, who at the beginning of the year was undergoing chemotherapy. Beanie shown here on the wrapping paper I sent it to her in.
- 382 replies
-
- 17
-
-
-
I also liked your clever use of a basic texture from your own photo. I take photos like that usually of dilapidated buildings or foliage but have not used them much as you have done here. Inspiration indeed for textures and that Lab tutorial. Thank you.