Cristina
-
Posts
2,624 -
Joined
-
Last visited
-
Days Won
22
Content Type
Profiles
Gallery
Forums
Everything posted by Cristina
-
When we haven’t seen Bonnie here for a while, she is usually on the road or busy creating great layouts about pickleball and daily life. Lovely work, Bonnie.
-
Wow, Susan, it's great you were able to get PSE2024!! 👏👏 If Amazon had this offer here, I'd get it immediately. I got mine, the 2025 version (3-year subscription), in a fantastic Amazon offer. The newest email I got from them advertising the app is more expensive, but it's still cheaper than on their site. Of course, there is a learning curve. No two programs are alike, so I take one day at a time. I don't assume it will be fast, and I'm not in a hurry. Like I said before, for both Affinity and PSE, I first want to learn the Tools, what they are for, and where I can find them. I watch short tutorial videos on YouTube. I watch, pause, and practice at the same time.
-
I think Affinity only has the Healing Brush and not both. However, it also has interesting brushes, such as the Patch Tool, Inpainting Brush, Median Brush, etc. I've been watching tutorials on these tools and slowly learning how to use them. In addition to the different brushes, the tool options palette has settings that I still have to figure out what they are for—one tutorial at a time. 🙂
-
I like this technique a lot, Mary; it does make the flower stand out.
-
Julie, what a cutie photo of him holding the corn on the cob. Love the layout too! "...but I feel so bumbling and awkward working in that environment." It also feels different for me. I am not familiar with all the tools available and their respective settings. But I remember it was the same when I started learning PSP. I am going through the same process again, and I am happy with every bit of discovery I make in Affinity and PSE. I know more now than when I started the Affinity Bootcamp. 😄
-
Same here! 🤣
-
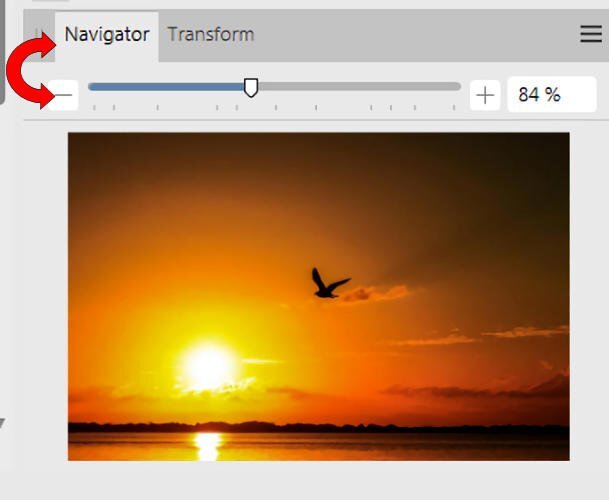
Thanks to a photographer's post, I found another easier way to zoom in and out than the Zoom tool (Z). It's from the Navigator Panel. The more we work with it, the more we learn. ------------------------------------------------------------------------------------------------ Edit: Also, you can keep the Ctrl key pressed and scroll to zoom in or use the keyboard + and -.

-
It's also my first time hearing about 3D/Exxtreme Shadows, and it sounds interesting. Besides the Shadow Box, it also reminded me of the 2018 Overflowing Masterclass.
-
Yes, Susan, there is so much to learn. 😬 But I take one step after the other, otherwise it's overwhelming. Right now, I am not watching any Scrapbook Tutorials, neither PSE nor Affinity, and that’s why I am looking forward to the next Affinity workshop. I am learning the different tools and how to use them, like l learned PSP. And, boy, there are so many other tools in Affinity! There are lots of possibilities for working in an undestructive way. I just got acquainted with Layers>New Live Filter Layer>Blur/Sharpen/Distort/Noise/Colors/Lighting/Shadow-Highlights. In PSP, I usually duplicate a specific layer if it happens I change my mind about using some effect. But I love this learning process. -------------------------- I did the same tutorial in PSE and I like the result better. I think Affinity could have the Undo/Redo buttons, and Zoom In and Out (+ and - keyboard buttons) as PSP has. If there is such a thing, I haven't found it yet.
-
I don’t have a layout to post, but since I want to continue using Affinity, I decided to follow a short tutorial about enhancing photos, in this case, the White Balance. I haven’t used the app for a few days and had to think about how to resize the image and a few other things because they are done differently in PSP and PSE. I’m looking forward to the next Affinity Workshop, but meanwhile, I am choosing photos for a layout to practice the Lab tutorials in PSP. I learned a long time ago from Carole to use the Levels to enhance photos, and I do this often. This effect was also part of this tutorial. Photo from Pixabay.
-
This was not addressed to me, but talking for myself. I will not ditch PSP, even having PSE2025 or, who knows, Affinity Photo. There are many things I can only achieve in PSP, including Picture tubes and Scripts. Having done the Suz/Carole’s Script Course made it a bit easier to create scripts for the EASY things. Otherwise, we have Carole and the Creation Cssel for the intricate tasks.
-
I had never had this app before, so I learned everything since the first lesson and the tips posted here. Thanks to everybody who shared their discoveries and knowledge. I‘d purchase the program when/if they have a perfect offer. As I mentioned before, I bought Photoshop Elements 2025 on a very good Amazon offer, and I am very happy with it, but I always love to learn something new. A big thanks to Carole. 👏 It was probably not easy to learn a new program and, at the same time, create a new workshop. The outcome was perfect! It’s much better to learn this way than just watching videos. Having this group by our side made all the difference.
-
Ah, I just saw there will be a Magazine Workshop in February for PSP and Affinity Photo, too. I'll choose the Affinity Photo, as I have done it a few times in PSP. I still have some layouts to complete, but this is nothing new, as the number of my unfinished layouts is still high.
-
Thank you, Rene, for taking the time to explain in detail, with photos even, how to apply shadow in Affinity. Very helpful.
-
Susan, I love the layout—the colors, the subtle honeycomb pattern, the stamped-type title, and, of course, the image, too. 😄
-
Sue, I also seldom use plaid, but I liked this one very much. The photo and bird are stunning!
-
Wow, Julie, this is fantastic! You have really mastered this style, which I also love! Repeating myself, I love to browse through the different threads and see all the wonderful work everyone posts here. It's a moment of relaxation while drinking my morning coffee and before running the errands.
-
Yes, the problem is solved. 🙂 And Saara also explained. I applied the Blend Mode to two consecutive layers, and of course, it had to show the shadow from the layer below. It was the first time I used two consecutive layers with blend mode, so it never occurred to me, and I didn't have time to check the reason. Testing takes time! 😉
-
Here is my Project #5. After reading the comments about working in a non-destructive way, I tried a different approach than the one shown in the video to create the squares and the rounded rectangle. Instead of creating them separately, I worked on the layout and used the "Merge Below" option to cut the papers. I liked this option very much. Later, I grouped all the layers. I created a Date Stamp in PSP using Carole's DateStamp#8 script. Fonts: Bastro and Black Butter
- 440 replies
-
- 14
-

-

-
Participating in this Affinity workshop and learning more about the program was very interesting. I liked the program, but I still have a long learning path. Carole, the extended trial version you made available was very helpful. It gives us more time to learn and explore what Affinity has to offer. I'm looking forward to more Affinity workshops before the Trial version runs out. 🙂
-
Saara, yes, blend modes react to the layers below, and that's why I was surprised it had affected the upper layer. But I do not have time right now to check this and test where the culprit is. I'd be happy if you could find it. 😊 Affinity has different blend modes than PSP, and contrast negate is one of them, so I was playing with it to see the effect. Thank you for the tip about recolor adjustment. You have more experience with the program, and I very much value every tip you give. Taking notes! 🙂
-
Carole, this is the paper under the photos in Project#3, but I added some noise to give a "glittered" effect. Another subject: I had some issues with the shadow appearing in the above layer (?), but I assumed at first it had to do with the different blend modes of the same paper. But learning two new programs at the same time doesn’t give me much time to look into that. I will test this after the workshop. I'll post the page and the original paper (without blend mode) for better understanding.
-
Now, I am going to read the previous posts. There is always a lot to learn from the comments.
-
Now, Project#4. This time, I included a Gradient Outline to the photos. The shadows and other effects were added from the Quick Fix tab. As there are no Picture Tubes or Carole's Scripts in Affinity, I included the ones I’ve created in PaintShop Pro. Fonts: BauhausCMedium and Beauty and Love Script.
- 440 replies
-
- 12
-
-
-
I created another layout for Project#3 to practice the "Layer>New Pattern Layer from Selection" that Carole showed in the video. I did it differently in the layout I've posted before. I also tried text with an outline. Fonts: Brandish and Typewriter
- 440 replies
-
- 13
-
-