Rene Marker
-
Posts
1,055 -
Joined
-
Last visited
-
Days Won
18
Everything posted by Rene Marker
-
And, Day 7: The polka dots were blended with a flood fill of 113-196-206 (Multiply 100). Fonts: Only By Request and The Vintage Typewriter.
-
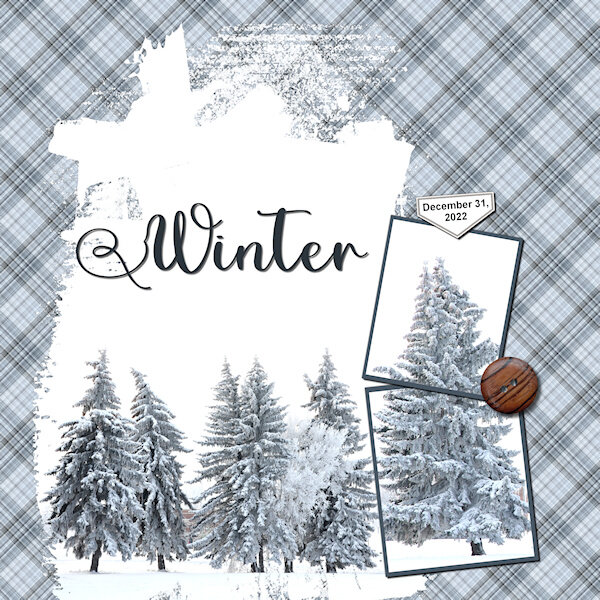
After a busy 2 days (lunch with out of town family, then funeral visitation on Friday and the funeral on Saturday with a wedding last evening), I have finally had time to do the last 3 days. Day 5: I used a snowflake brush for the mask then made the snowflakes following the Snowflake (2) tutorial in Lab 9, Module 12. I used a flood fill for the background, blending it with ps_elif-sahin_196132_gold-textures-texture-08-template_pu (Darken 100). Igloo Caps is the font. Day 6: I made a bunch of linoleum papers and chose 2 that I felt worked the best. The yellowish one was then used as a frame and has an inner bevel. The background is blended with an RGB of 77-119-60 (Multiply 100) for the background. Font is Only By Request.
-
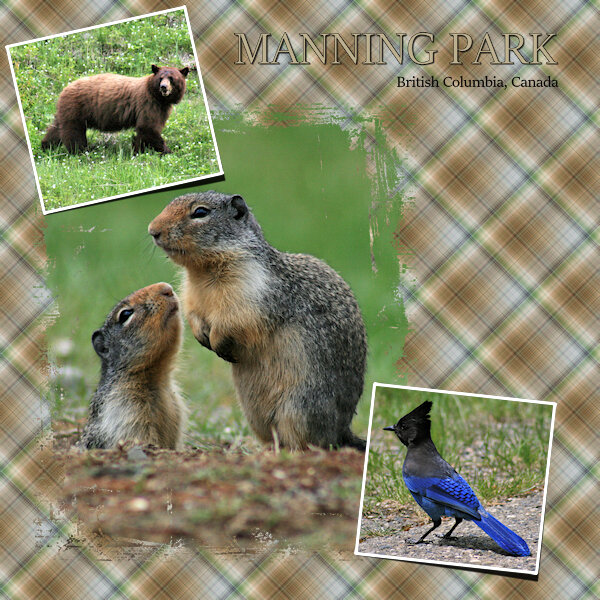
 I gravitate towards the plaids in kits that I buy and use for my regular layouts. I use it a lot for mats underneath photos. I'm glad I have finally learned how to make them myself!
 -
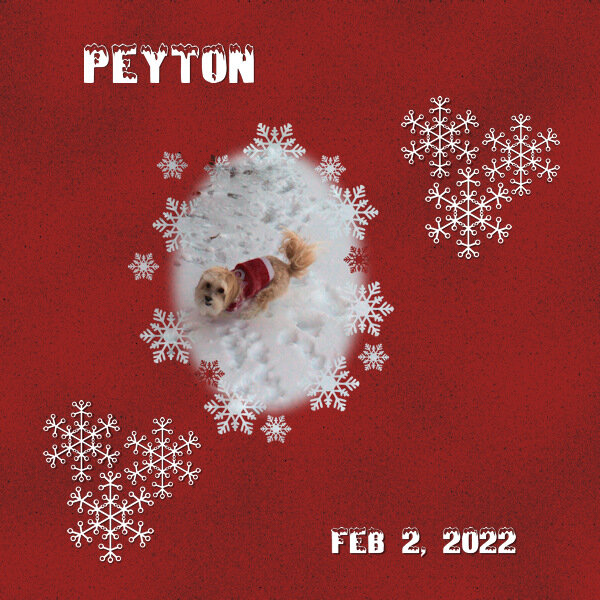 Made snowflakes using Snowflake 2 tutorial in Lab 9, Module 12. Background is flood filled 152-34-32 that was blended (Darken 100) with Sahin 196132 gold texture Font: Igloo Caps
 -
 Font: Only By Request Made several different linoleum papers then used one for background and one for frame. Background paper was blended with a flood filled layer of 77-119-60 (Multiply 100) The frame has an inner bevel.
 -
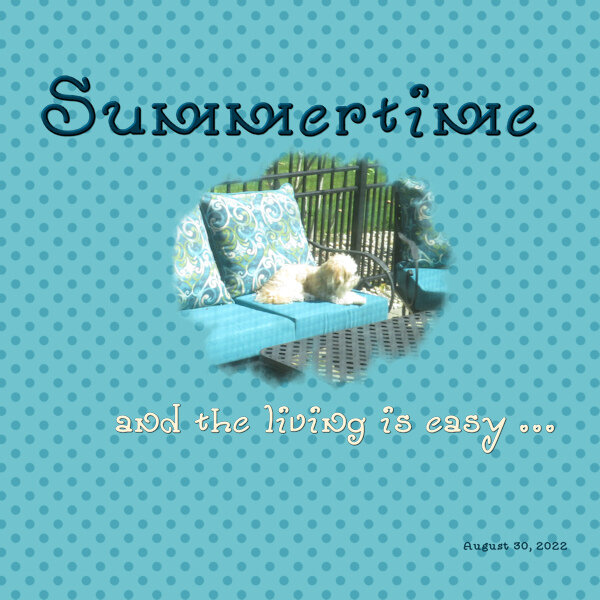 Polka Dots blended (Multiply 100) with a flood filled layer of 113-196-206. Fonts: Only By Request and The Vintage Typewriter
 -
I love this plaid! It is just perfect for these photos.
-

Masks WS D2 xtra-Manning Park-v1-600.jpg
Rene Marker commented on Susan Ewart's gallery image in Masks Workshop
 I love the plaid for these photos. Good job!
 -
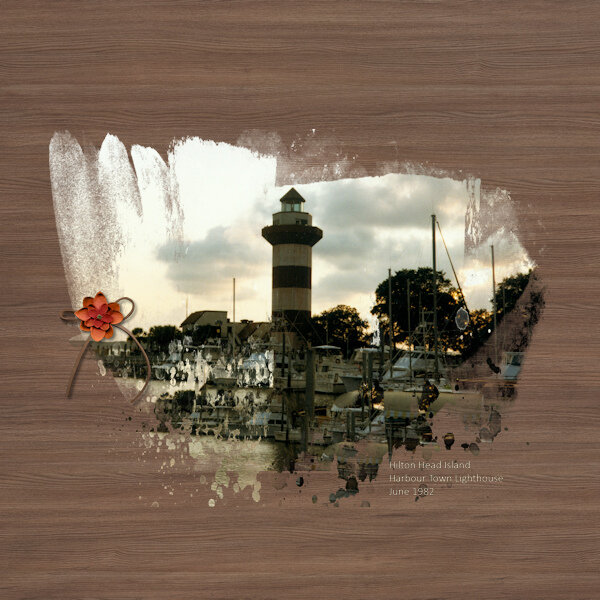
Again blended a flood filled layer with a texture (ps_elif-sahin_79380_dear-old-dad-paper-texture-02_pu). This time using Color at 100. Font is PT Orchid Bold. The mask was done on the lightpost photo. The brick photo was added to a layer below and the mask altered to show it as well.
-
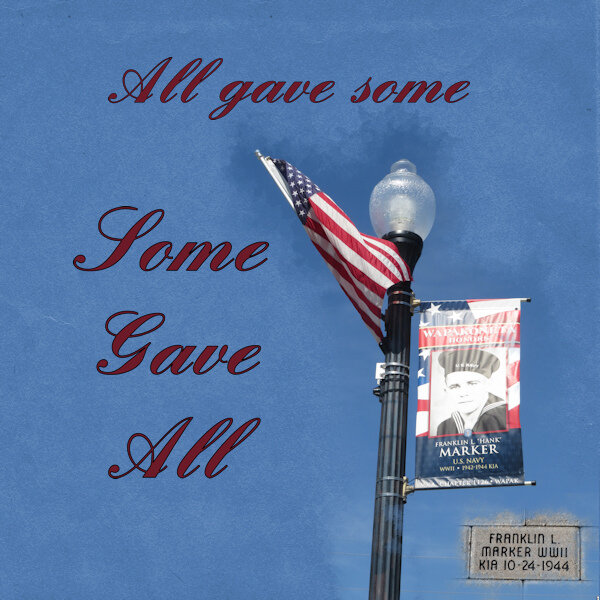 Font: PT Orchid Bold Flood filled layer: RGB 139-167-199 Blend: Color at 100 with ps_elif-sahin_79380_dear-old-dad-paper-texture-02_pu
 -
I have to say that using masks is getting ingrained in my brain since I'm doing so many at once. I actually started working through the Mask Workshop in the past workshops in the Diamond area over the weekend. That helped to refresh my memory on doing them. I had not completed last year because of the computer issues so those layouts I did I labeled as 2022. Then started 2023 layouts on Monday. That has really helped me get the steps down. Here is the 2023 extra mask for Day 3. I again blended a texture using burn at 100 (ps_elif-sahin_196131_gold-textures-texture-07-template_pu) with a flood filled layer (color 123-150-67) for the background. This is my 5 year old Havanese, Peyton, enjoying some sunshine on the patio.
- 389 replies
-
- 13
-

-

-
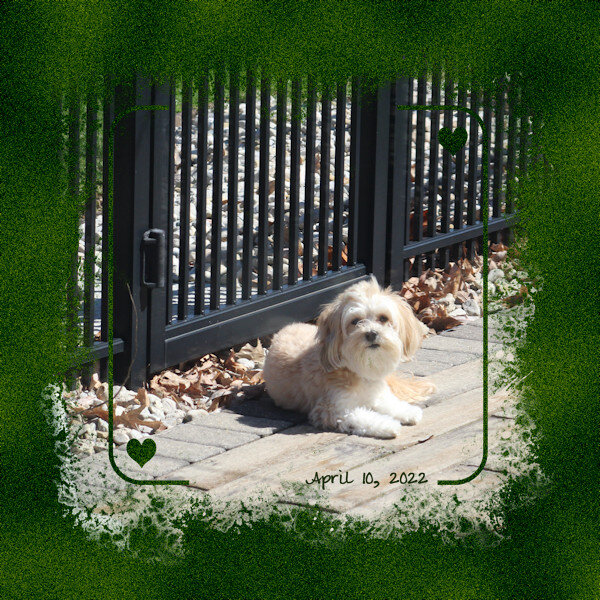 Burn blend on color 123-150-67 for the background ps_elif-sahin_196131_gold-textures-texture-07-template_pu Stamp font
 -
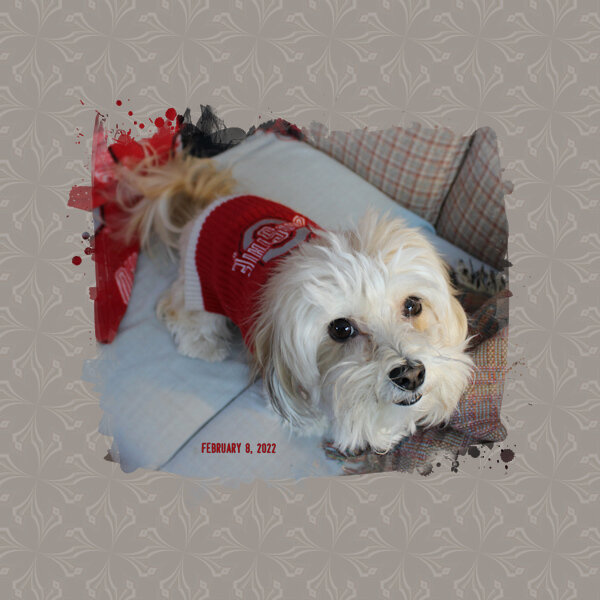
Here is day 3. I did the kaleidoscope tutorial multiple times with various color selections. The last selection gave me a background I could at least live with. But when I had originally gotten frustrated with the tutorial, I had switched to doing a plaid tutorial. I chose #1. I ended up liking it a lot better with the photo especially after I did a blend mode of multiply at 100 to a flood filled layer with the color 103-40-39 (RGB). This will be the one I print. Now off to do the extra!
-
 Plaid 1 Tutorial for the background with a blend of multiply at 100 to a flood filled layer (103-40-39) to darken the plaid.
 -
 Kaleidoscope tutorial for background.
 -
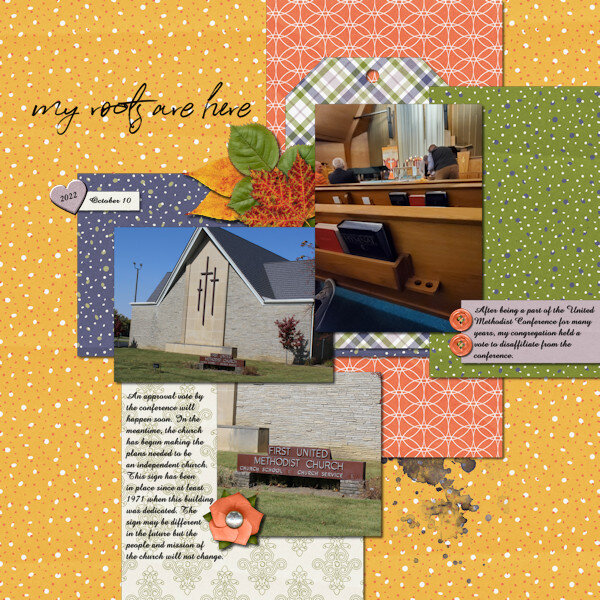
In between doing laundry and phone calls about a funeral this weekend, I managed to work on some more of the workshop. Day 1 Extra. I flood filled the background then did a blend on it with a texture from Elif Sahlin (#196129) at Digital Scrapbook. For the title, I duplicated the vector layer, changed the color, then rasterized it. I then moved the raster layer below the vector layer and using the pick tool, offset it a little from the vector layer. I also linked the layers so if I moved one, they both moved. For Day 2, I rotated the template 90 degrees to the right. I made the background paper using the Variegated paper tutorial. I made the Corner Cut out using the tutorial from Lab 13, Module 2. I filled the center with the variegated paper. The font is Tracy. I also did a blend on the Variegated paper with a layer of white below it. Day 2 Extra. I flood filled the background then blended it with a texture by Elif Sahlin (#196132) from Digital Scrapbook. Font is Tracy.
- 389 replies
-
- 13
-
-
-
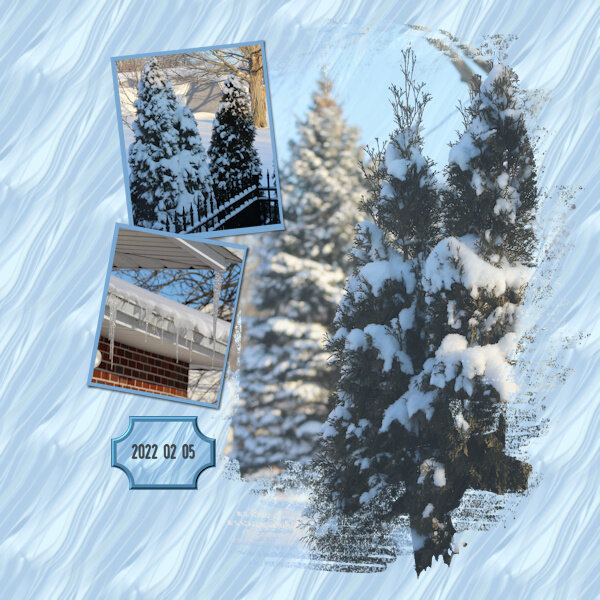 Rotated the template 90 degrees to the right. Made paper using the Variegated paper tutorial. Made the Corner Cut Out from the tutorial in Lab 13, Module 2. Font is Stamp.
 -
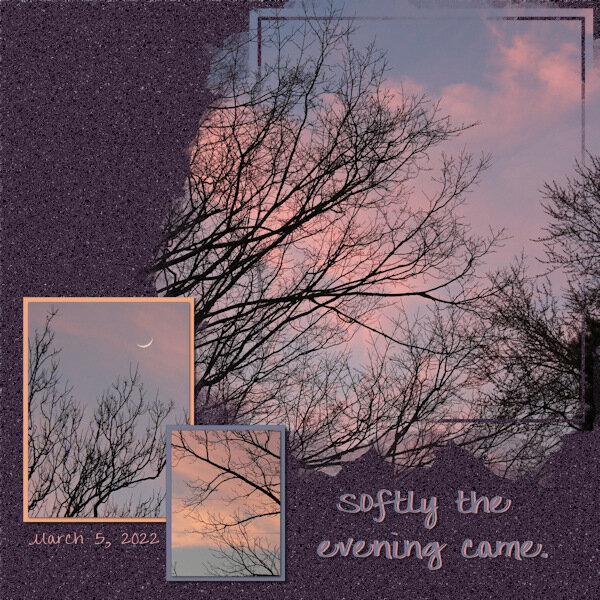 I blended a flood filled layer with a texture by elif sahlin (#196129) for the background. Font title is Tracy. For the title, I duplicated the vector layer, changed color then rasterized it. I then moved the rasterized layer below the vector layer and using the pick tool on the raster layer, offset just a little to give the 2 color look.
 -
 Tracy font. Blended a flood filled layer with a texture layer by elif sahin (#196132).
 -
LOL, I went by the photos in the instructions to figure out which layer I needed!
-
Step #8 was to Deselect the floating layer which fused it with the mask layer
-
@Cassel, never posted it because I never finished it. PSP kept crashing on me because of computer issues. So I ended up not doing anything in the workshop last year.
-
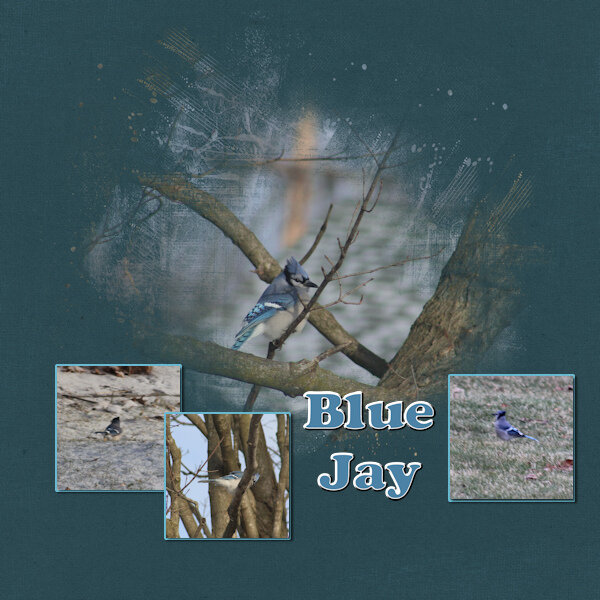
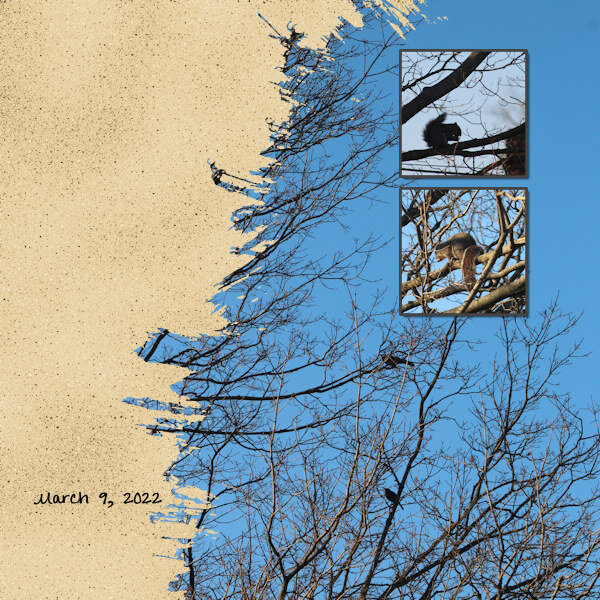
I found my unfinished Day 1 from last year's mask workshop so finished it and did another one (I had computer problems and couldn't complete the workshop at that time). The Blue Jay is from 2022, the birds is current. Photos of the birds are from last week. They like to hang out in my one tree. One day I had close to 30 of them.
- 389 replies
-
- 15
-
-
-
-
-

From the album: Rene's Album
Mask Workshop Day 1 February 2023 Papers and Elements from TLP Collab: Welcome