

Michele
-
Posts
2,660 -
Joined
-
Last visited
-
Days Won
22
Content Type
Profiles
Gallery
Forums
Everything posted by Michele
-
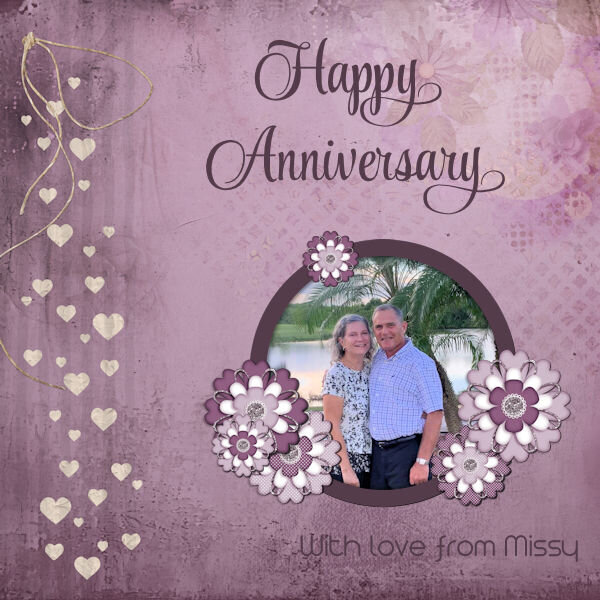
Here's a card I made for my cousins today. The template is from the Lab 06 Mod 04, the BG paper is from AnnieC, and the flowers are from Chantalia Design. I used the Change to Target brush on all the elements; it's a very useful tool. The fonts are StylePro and Arista 2.0 Light.
- 193 replies
-
- 10
-

-

-
How about a raffia picture tube?
-
From the album: Michele Fineron
-
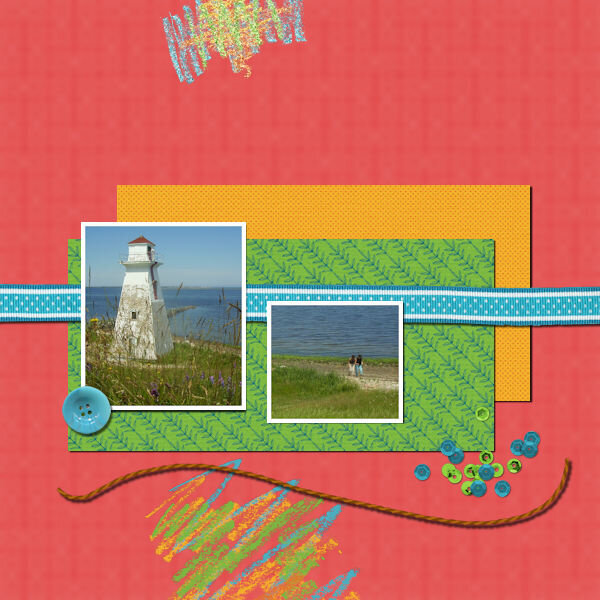
Papers and Photos: 10/10/80/10 The shadows don't look identical when sized down to 600. Isn't it weird how that works? Ribbon: 15/15/70/15 Button: 15/15/60/15 Since the button was on top of the paper and not hanging over the background, I felt it needed a smaller shadow with less blur. Scatter: 5/5/60/10 String: 20/20/70/20 The string seemed thicker than the ribbon, so I gave it a larger shadow and blur.
- 262 replies
-
- 10
-
-
-
From the album: Michele Fineron
-

-
That's exactly right. I'll be doing the Labs at some point, but I only have the time for the tutorials right now.
-
It's like a kid in a candy store! I look through the previews when I'm looking for something specific because we don't always call things the same. When I'm simply teaching myself, I go through it alphabetically which I'm doing right now. I'm skipping the ones from the Labs because I want to do those in full.
-
Love it, @Daniel Hess!
-
U = Uncharted (desert isle for a three-hour tour)
-
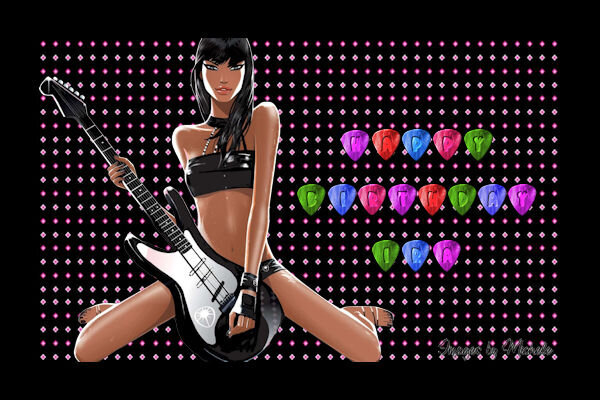
Here's a birthday card I made today for my old boss from when I worked concert security. My goal was to create guitar picks to put my text on. I created a preset shape, added a pattern, and colorized each. After adding my text on each guitar pick, I used magic wand select on the outside of the letter, inverted the selection, and added an outer bevel on the pick level. Then I hid the text layer. It's not my favorite card, but it helped me practice some PSP skills that I don't often use, especially working with vectors to create the shape.
- 193 replies
-
- 10
-
-
-
From the album: Michele Fineron
-
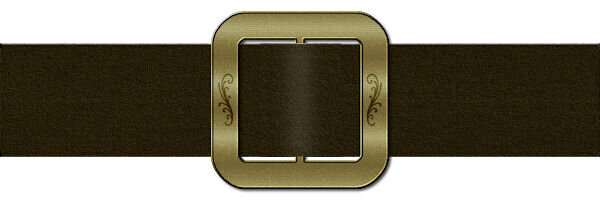
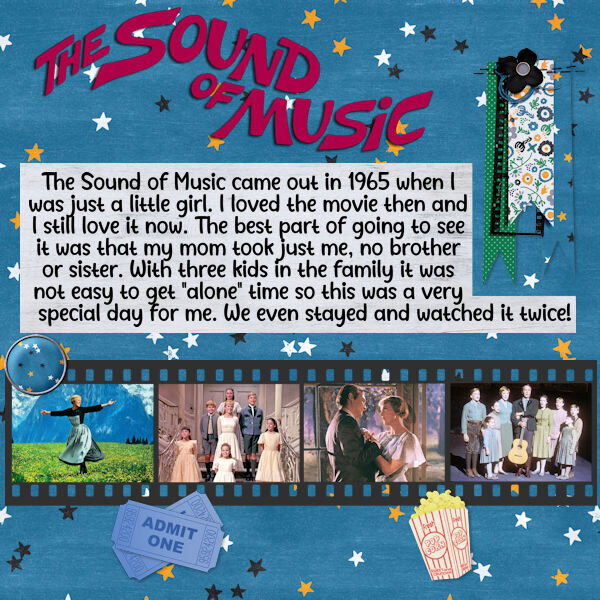
I've been going through the Creative Scrap Tutorials and trying to do some new ones (new for me). I just had so much fun with this one. Don't know if you can see it in the downsized image, but I used the fine leather effect for my belt.
-
From the album: Michele Fineron
-
You've been waiting all month for the right timing! lol
-
Wish I could join you on your patio for a cup. Those flowers are amazing.
-
I used a paper and a cluster by Jessica Dunn from DS/PS. Cassel's brad factory script came in handy so I could "fasten" the film strip. The other stuff was in my stash.
-
From the album: Michele Fineron
-
J - Jailbreak
-
F = Falconry (I don't necessarily approve of it, but it is adventurous.)
-
I've been working on this for days and finally decided I was done. One of the themes for my gaming group recently had to do with cowgirls so I "borrowed" part of my co-admin's pic. The knotted rope was certainly a challenge. I watched Cassel's video several times. The entire layout was a challenge. Every time I changed one thing, I went back and changed something else. Maybe the Western theme wasn't for me. lol
-
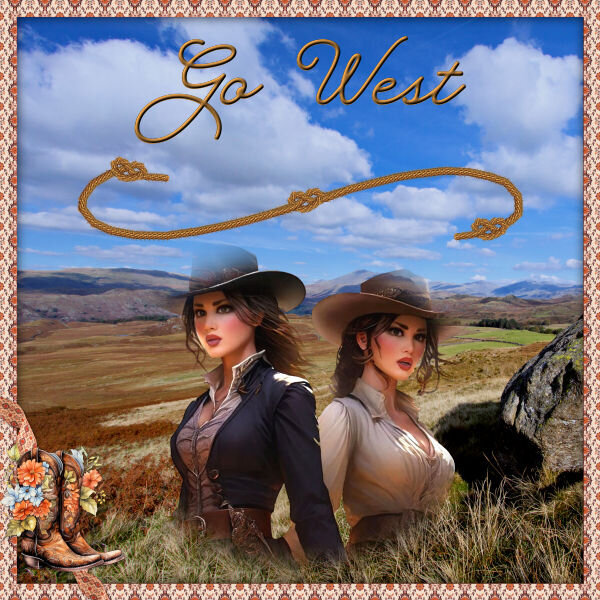
From the album: Michele Fineron
-
T = Treasure Hunt
-
Unless I'm misunderstanding, try merging the different parts of the knot to one layer. I usually Merge Selected to New Layer then toggle off the visibility of the original layers. Then you can apply the shadow to the merged layer.
-
You are a riot and I can't stop laughing. 🤣


