
Quick pages are widely available and meant to allow users to complete scrapbook pages in just a few minutes. The biggest advantage is the fact that it is quick to complete and the user does not have to be "inspired". However, one inconvenience is that everything is already chosen, and placed, leaving few options to the user. But with some tools and creativity, you can still tweak those quick pages.
1- Adjust the colors of the page
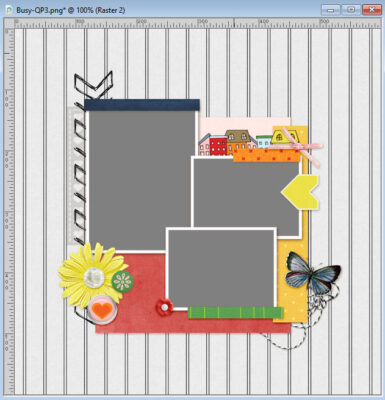
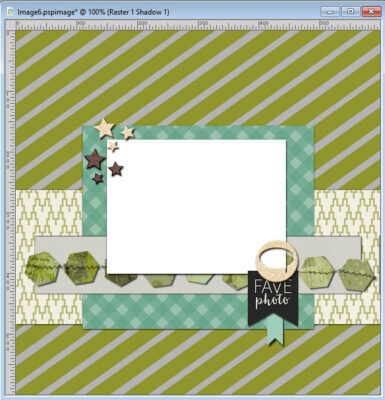
Sometimes, the colors of the quick-page are a bit too bright for your taste or to match the photo you want to showcase. Let's start with this page:
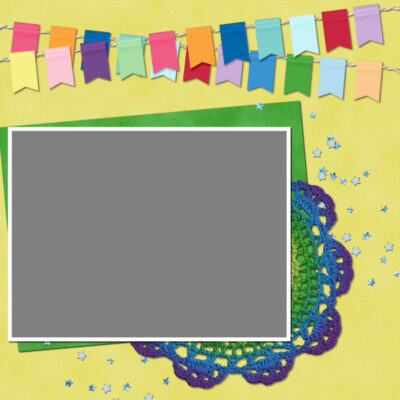
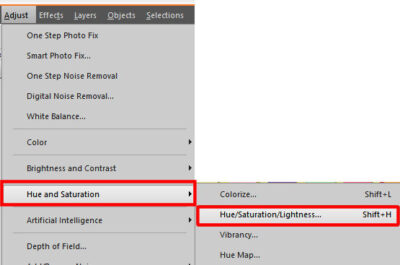
In order to tone down the overall colors of a page, you can use the Hue/Saturation/Lightness.
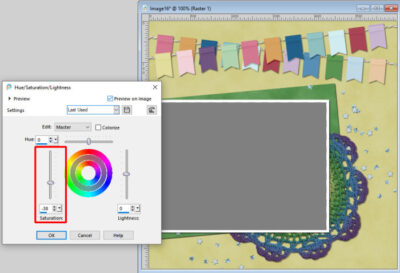
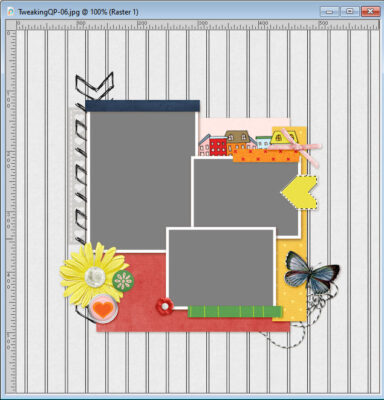
If the color is too bright, you can lower the Saturation which would give you this result.
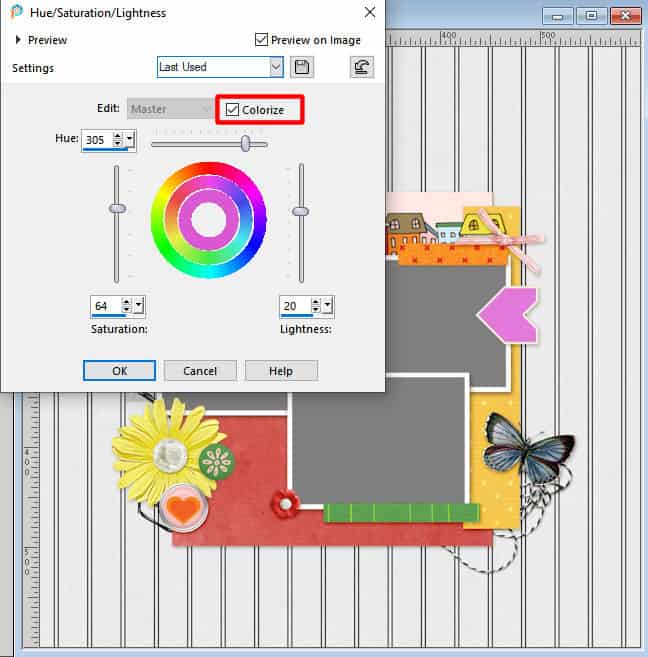
If you want the whole page to be tinted a certain way, to match your photo, you can, instead, adjust the Hue settings.
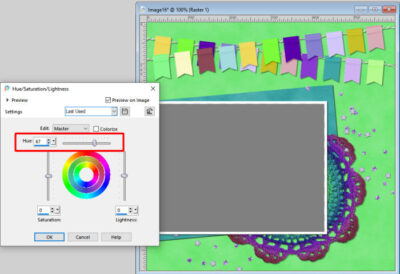
Every setting of the Hue will yield a completely different result. You can really play with that setting.
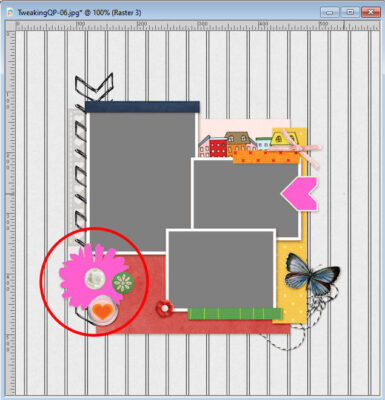
2- Selective coloring
Sometimes, you might have a quick-page that has some specific elements or sections that you want to change the color.
The first step will be to use a Selection to apply the change to a specific section only. Depending on the area you want to select, you can use the Magic Wand, the Selection tool or even the Selection Brush.
Then, you can use the Hue/Saturation/Lightness, just like mentioned above. So you can change this quick page:
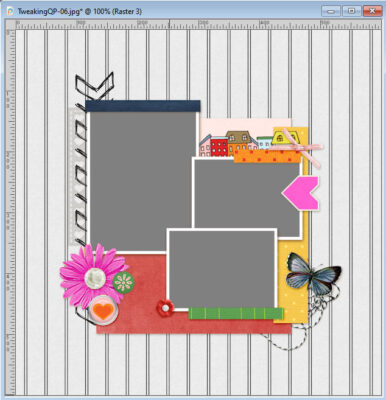
If the element you want to recolor is not easy to select with the Magic Wand or the Selection tool, you can use a different approach: add a new layer and paint over the element in question and then, change the Blend mode of that layer. Here is the flower being painted over.
And then, changing the Blend mode for that layer will give a different result. Here, I chose the Hue mode and you can see that the yellow flower has turned to pink.
3- Adding text mats
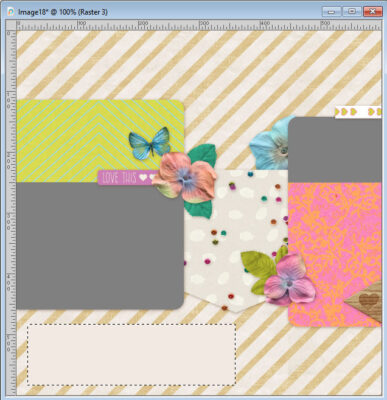
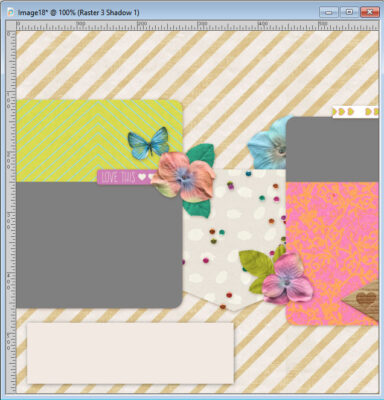
If you want to add some text, it is possible that there is an obvious area for you to write. If so, that is a great way to use that space. In many quick-pages, the background will be using patterned paper that might make it hard to read some text. Let's look at this page.

That gold stripe paper might make your text a bit difficult to read. However, you can now use the Selection tool to create a well-defined area to add a mat.

To keep everything to match, you can pick a color from an existing paper on the quick-page, and use it on the mat. It is a good idea to use a lighter color for that mat.
Since it is on a separate layer, you can now add a shadow to this element, that will match the other papers on the quick-page.
4- Adding decorative elements
Although the elements in a quick-page are set in place, you can easily add more, if they are appropriate and matching. If you know what kit was used to create the page, and you have access to that kit, you can then be sure that additional elements will match. This is not always possible as you might find sets of quick-pages that are not part of a kit bundle. If that is the case, you can use any element from your stash and colorize them as needed to match the overall layout.
Starting with this layout.
I was able to add some elements from the same kit (the bow and the button). Notice that the colors will match since they come from the same kit.

5- Adding more photos
Quick-pages will have a certain number of areas for photos, and those can range from one to twelve or more, depending on the page. If you end up finding a great page that has fewer photo areas than the number of photos you want to use, you can usually add your own photos elsewhere on the page. For example, this quick-page has an area for one photo.

Although the area at the bottom could be used for a large title or some journaling, it could also be used to add more photos. For that, you simply add the photos on their own layer, size them, place them and shadow them to match the rest of the layout.
6- Replacing photos with papers
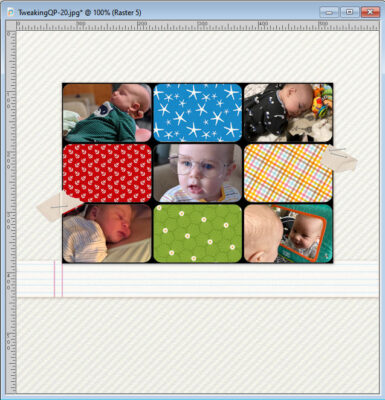
As mentioned above, some quick-pages will have many spots for your photos, but maybe you don't have that many. If that is the case, you can easily replace some of the photos with interesting papers from any kit or maybe some journaling cards, if you have some. Here is one quick-page with lots of photo areas.

Since I want to use only five photos, I have too many spots. Once I have added the photos, I have added resized papers from a kit that I had in my stash.
Now, that quick-page is ready to have a title and some journaling added to it.
Don't shy away from quick-pages because they are not as versatile as doing pages from scratch. Remember that using quick-pages is meant to help you create pages quickly, which is perfect if you have a deadline, or if you are lacking inspiration to start from scratch.


5 thoughts on “6 Ways to customize quick-pages”
Thanks,
I went to the scrapbook organizing tutorial. It really helped. Time for me to make some decisions.
Pennie
Where/what is the best site to get/purchase templates and quick pages for a travel scrapbook? It’s overwhelming what’s on the internet.
Thanks so much! Celebrate your birthday! Thanks, Pennie Redmond
Are you looking for Quick-pages or templates? Those are two different types of supplies.
digitalscrapbook.com is pretty good for quick-pages and templates. That would be my go-to place, but The Lilypad is also a good source (https://the-lilypad.com/store/Digital-Templates/). Gingerscraps too (https://store.gingerscraps.net/Templates/)
I signed up for digitalscrapbook and found several interesting kits for a travel theme scrap book. The 2 sites you suggested look great. Also, I found a site “scrapbook gem” with some neat templates. As I remember, PSP will accept PSD files. Some quick-page options are definitely of interest. This is all new to me! I am almost finished tinkering with my photos of Iceland in PSP 2022. My plan is to have my pages completed and then putting them into Shutterfly for printing. Can you suggest any other company besides Shutterfly for printing?
Sorry to respond so late–Life interfered with my project and then I forgot where I asked you my question!
Another question—-do you have separate folders for papers, elements, etc. and/or folders for each kit and its contents? Organization is so important.
Thanks,
Pennie
For organizing supplies, check out this blog post. For printing albums, I have heard good things about Persnikety Print. I never needed to print an album but I have printed single pages (to frame) and even a double-page to use as a poster. They often have specials, so you can be on the lookout.