

When you create a string and want to place elements nicely along that path, you have to be accurate in order to give a realistic look to your project. Did you download the alphabet beads yet? They are a good example of elements you might want to align correctly.
Create your path
Whatever path you want to place your elements on, create it with a base that will have a proportionate thickness based on the element. If there is a mismatch, the effect will be less than harmonious. You can hand draw an irregular path, or use a preset shape. If you are drawing or using a vector object, you can then apply a specific tube using the Vector Tube script.

Move and rotate
Typically, a bead will have a hole in the very center, either vertically but more commonly, horizontally. Assuming that the hole goes through the bead horizontally, you have to find a way to have the string (or wire). A very simple method to align the bead right in the center is to use the Pick tool. By default, once activated, that tool will place "handles" around the bead, four on the corners and 4 on the sides, and lucky for us, those on the sides are perfectly centered horizontally and vertically. It is just a matter of aligning those "handles" with the string.
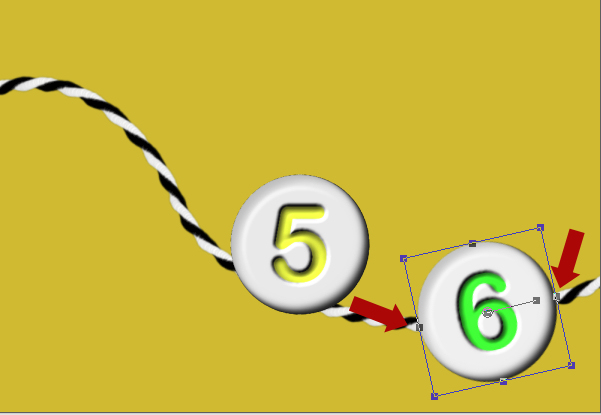
Notice, however, that you will have those perfectly centered handles only on the first time you will move that particular element. If you work on other beads and come back to the first one, the Pick tool will reset the handles back so you won't be able to take advantage of their placement anymore.

Additional hole
This might be an optional step but if you had a hole on each side of the bead, the shape of that bead would be slightly uneven at that location in order to allow the hole. You can recreate those tiny indentations using the Eraser tool, set to a size that is proportionate to the string. You can use a round head, but it might be a good idea to reduce the thickness to make it oval so it will give a more discrete hole. In addition, make sure you reduce the Hardness to about 95 so the hole will be smoother (you would not want the thread to wear, would you?)

Shadows
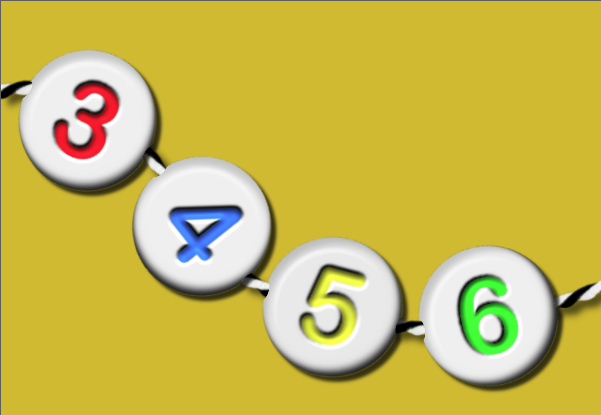
The last detail to create a realistic montage is the shadowing. Unlike the usual shadow for a string that is typically sharp since the string is flat on the surface, in the case of a string that holds beads, that thread will be slightly off the surface while the beads will be flat. It means that although you can apply a normal shadow to the beads themselves, you need to change the settings for the string to show it is slightly lifted. That means that you can increase the offset slightly, increase the blur and reduce the opacity.
Now, what will you thread? Show us a project using threaded beads. Add a link in the comments below.


