Rene Marker
-
Posts
954 -
Joined
-
Last visited
-
Days Won
14
Content Type
Profiles
Gallery
Forums
Everything posted by Rene Marker
-
Here is the last one. Yes, I could have done a better job on lining up and centering the masks but I just wanted to get it done. Some time in the future I will tweak these layouts to fit my style since magazine is not it! But for now I have a lot to do this week before surgery a week from Monday.

- 374 replies
-
- 12
-

-

-
I play with the blend modes all the time with papers. You can get a completely different look depending on the mode your use. Also like Sue said using different colors on the layer below give different results. And, some times with the patterned papers, I will put the plain paper on top and use the blend mode on it which can let the pattern show through but not be real distracting. So many different looks can be created through the blend modes.
-
I like this one! If it is too dark for you, try using a blend mode on the patterned paper with the layer below it being a solid color. I do that quite often with a white layer below a paper. If it is a large pattern that can be distracting, doing that will tone it down. In the case of yours, it might make it not so dark but yet not really light. Having it a little lighter might make the red that you tried (and didn't use) pop.
-
I rotated the canvas to fit my photo. I again used the same background, font and font color from the previous layouts.
- 374 replies
-
- 13
-
-
-
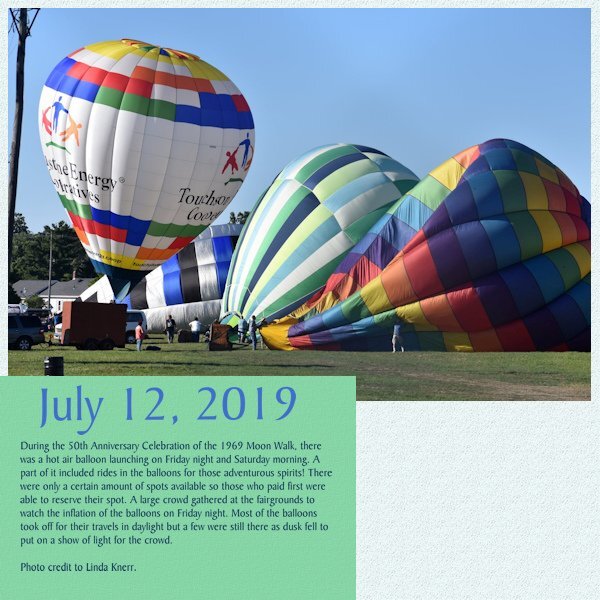
I have no idea. These are not my photos, a friend let me download them from her Facebook post. So the metadata shows the date and time I downloaded them. I wasn't able to go to this in person. From what I heard, they had all the balloons inflated and had some paid rides during the day then brought them back for the evening and reinflated them, then did the lighting and more rides when it got a little darker.
-
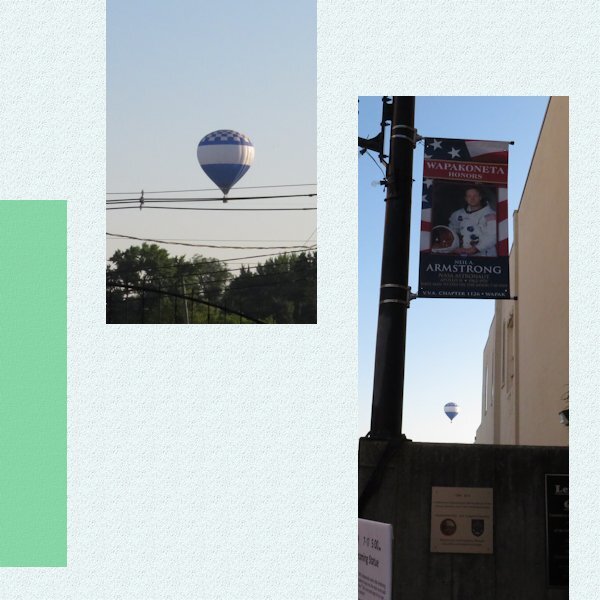
Day 5. Again used the same background, font and font color from the previous days.
- 374 replies
-
- 14
-
-
-
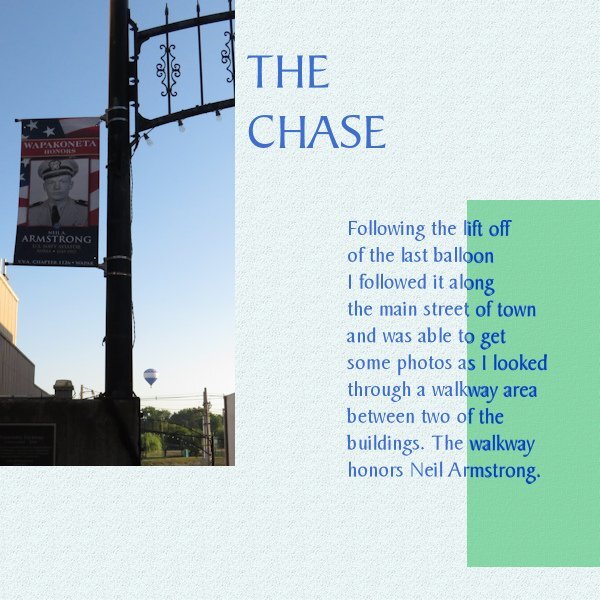
Day 4. I carried the background and mat colors and textures through to these pages. Along with the BakerSignet BT font in the blue color. I chose to darken the text on the mat instead of lighten it. I have trouble reading white text. I will add that I am not liking the page with the text and will more than likely change it before printing for my albums. But that will be for a later time.
- 374 replies
-
- 14
-
-
-
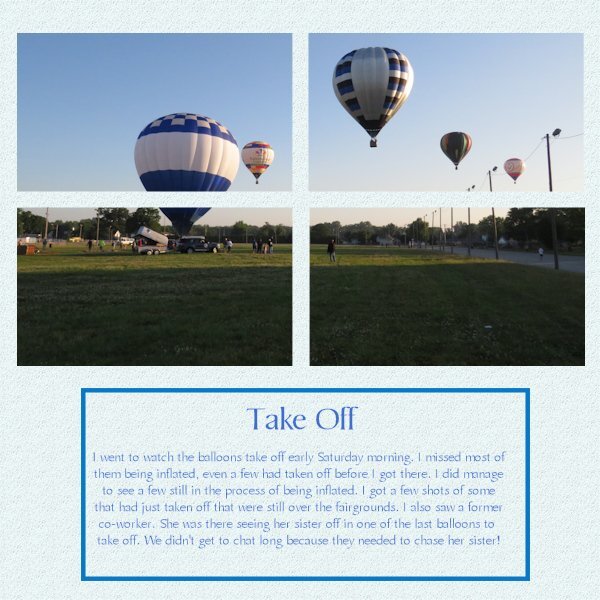
Day 3. One of my photos from early Saturday morning. Again used the background from the previous layouts and the same font, BakerSignet BT. I did put a black stroke around the font today since it was blue on the blue of the photo. I think it made it stand out a little bit.
- 374 replies
-
- 12
-
-
-
I rotated the template since my photos work better with a landscape setting. Like Carole's photo, mine showed the gray area so I hid that layer to show more of the background. I again flood filled the background with the same color as the day 1 layout but this time I added a texture (added the texture to day 1 as well). Since I wanted blue text, I changed the text box to a green color in one of the balloons. The title blue is the same as day 1 but I used a darker blue from the balloon for the actual story text.
- 374 replies
-
- 14
-
-
-
I use 3 different Canon cameras and all are set to take the same size photos. I use the 4:3 image size then have a choice of 5 different combinations of size (number of pixels) and compression (image quality). All 3 are set for the largest pixel size (which is about 5184x3888) and the highest image quality. These settings do take up more space on the memory cards but with the larger cards I still get a lot of photos. So I'm able to use any photo on a 12x12 layout with no problem. Sizing down for a layout is not an issue either! I run into the problem you are having when I receive photos from other people that use a lower number of pixels in their settings so that they get more photos on the memory card.
-
I'm using this workshop to do some layouts of the Hot Air Balloons that were an event during the 50th Moon Landing Anniversary weekend in my town in 2019. I'm still doing 12x12 since I will be adding elements and other items after the workshop. The layouts will be included in an album I have about the town. But for now, here is the "cover". I changed the color of the background to match a kit I will be using for the elements.
- 374 replies
-
- 14
-
-
-
My "elegant" bedroom is definitely not 'simple and spare' these days... I'd have to clean off the bed if someone were to stay overnight. But is a "spare" because it is the extra bedroom!
-
Scheduled for the short one but had to decide whether they could do the other procedure if something happens. I gave the consent for that. So as it stands I will be in over night but a slight possibility of a 5 or 6 day hospital stay with a much longer recovery.
-
I actually scrapped this morning! With my surgery scheduled for October 2, I decided to do the cover page for my October album early. I used a photo from October 2022 and papers and elements from my kit, Autumn Dream that I made during the Build-A-Kit workshop. I used a mask from the Mask Workshop (Day 3 Extra) and NO TEMPLATE!!! Big for me since I love using templates!
- 158 replies
-
- 10
-
-
-
For the record, I was not the one with the trouble finding the letter "R". I was just responding to someone asking the that one but since I followed the clues, I needed to know which clue in order to help out! ?
-
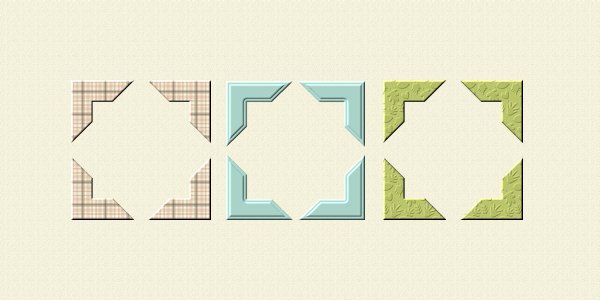
Also from the Build-A-Kit workshop, I made these photo corners from papers I made for the kit. Photo Corners | Scrapbook Campus
- 303 replies
-
- 14
-
-
-
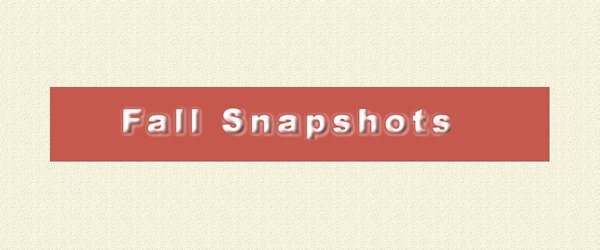
This was a Dymo Label I did in the Build-A-Kit workshop. Dymo Tape | Scrapbook Campus
- 303 replies
-
- 14
-
-
-
This was a layout for the Mask Workshop in 2023. This was the 2023 Day 3 Extra Mask.
- 303 replies
-
- 14
-
-
-
Which clue are you looking for? Just saying the "R" doesn't help.
-
For the Build-A-Kit workshop, I used the Alpha-Making master class to make an alpha. Alpha-Making | Scrapbook Campus
- 303 replies
-
- 15
-
-
-

-
I was doing a layout with a purchased kit for a challenge on another site but it was missing an element I really wanted for the layout. So I came here and found that Carole had done a tutorial for that element! Plastic Canvas | Scrapbook Campus
- 303 replies
-
- 15
-
-
-
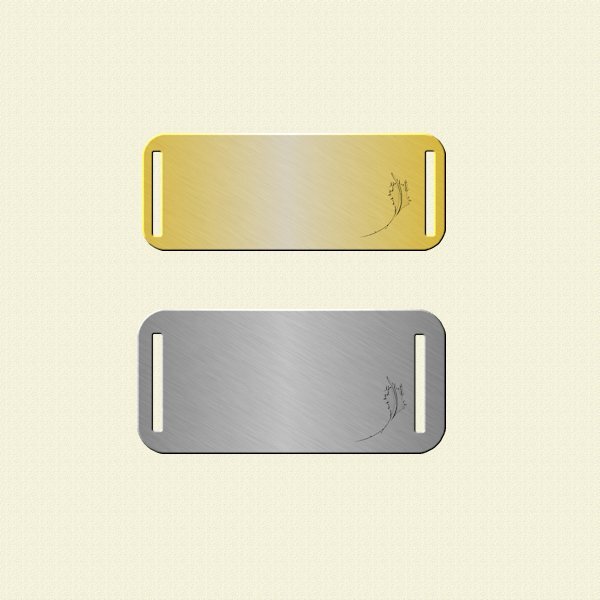
These are the metallic word charms I made for the Build-A-Kit Workshop. Tutorial from Lab 9, Module 9. Lab Module 9-09 | Scrapbook Campus
- 303 replies
-
- 14
-
-
-
Another element from the Build-A-Kit Workshop. I made a custom tag from Lab 8, Module 11. I added a word to it by doing a simple cutout from a selection from the text vector. Lab 8 – Module 11 | Scrapbook Campus
- 303 replies
-
- 15
-
-
-
Another Build-A-Kit element. These were done using the Metallic element tutorial. Metallic element | Scrapbook Campus
- 303 replies
-
- 13
-
-