Rene Marker
-
Posts
1,055 -
Joined
-
Last visited
-
Days Won
18
Content Type
Profiles
Gallery
Forums
Everything posted by Rene Marker
-

What are some of your go-to scripts from the CreationCassel store?
Rene Marker replied to Suzy's topic in Chit Chat
As to your original question about go-to scripts, these are mine: Raster to Mask: to place photos on the templates I've bought from designers Merge Group Rename: always use after placing photo in Raster to Mask to keep the photo name. I drag my photo directly into the layers palette which keeps the original file name. Using this script keeps that name which then shows in the credit list compile. Credit List Compile: I mainly use designer kits so I use this so that if I post to a gallery I can credit the designer Guiding Lines: I use this when I think of it!!! I do have a lot of the element scripts but since I mainly use designer kits, I haven't used them much. However, if there is another Build-A-Kit Workshop, I will be using them! Some of those are the plaid paper scripts, Ribbon Factory, Custom Kit Ribbons, Buttons and Labels and various bow scripts. -
And I think 385 fonts are too many!!!
-
I don't decorate much at all. I put some decorations out at Christmas usually after Thanksgiving. These days I use table top trees since I have no gifts to put under a big tree and I can't handle a large tree by myself anymore. I have 4 table top trees that I keep decorated and when not out, they are covered by a plastic bag and live in the bottom of a closet. One goes in my office, one goes in my living room and the other 2 I alternate putting them on the dining room table. Last year I added an ornament tree with some of the pewter Longaberger ornaments I've had for yours as a decoration in my living room. I never put it away! Also, last year I never took down the tree in my office. That may be the extent of my decorations this year. I had my surgery follow-up this week and the replacement valve has not settled in place like it should have so I haven't been feeling too great lately. I'm having a test on the 27th to see what can be done. Once that is done, I wait until the cardiac structural team has a meeting about their cases to discuss what treatment is indicated. No idea when that meeting will be so it could very well be that anything will get done before the holidays so I probably won't be able to put anything else out unless I get someone to come get the stuff off the shelves of the closet for me.
-
It might be worth it to get a subscription to Newspapers.com (an Ancestry company). I have been using it for genealogy research so I just checked to see if it had Australian newspapers... and it does. You can enter a name and have it search all newspapers or narrow it down to a location. You can even have it search specific decades of year. There is a free trial although I don't know how long it is for, maybe 7 days? Although it may not have papers from the area you want. I do know that the website is constantly adding new papers. There are no papers from my county in there at this time but luckily the names I've been searching are in some papers that are already there... broke down a brick wall with what I found!
-
15 years ago when I was going to scrapbooking retreats with my laptop, I saved all my kits and photos on an external hard drive. Even when I worked at home on my desktop, I saved what I was doing on that external hard drive. I also had a cloud backup that would backup my desktop hard drive and the external hard drive. So I still had more than one copy of everything. Over 5 years ago I began having issues with my computer disconnecting from the internet on its own. Even new modems from the ISP didn't seem to solve the problem. Then in May of 2019 we had a power outage due to tornadoes in the area and when the power came back my 7 or 8 years old computer wouldn't even turn on. So I had to get a new one. While I didn't have a desktop I had to use my laptop which was not connected to the cloud backup... and I had no internet disconnects at all! I got the new computer and got everything setup including the cloud backup and the internet disconnects started happening again. I paused the backup and no more disconnects so I cancelled the service. So these days, I keep everything on my hard drive but whenever I download my photos or buy and unzip new kits, I back them up to 2 separate external hard drives. I also have 2 other external hard drives that I will back up everything to about once a month. I've also gotten to the point that all my old stuff are on the external hard drives but not the hard drive of my desktop. If I would need something I just hook up the external. This gives me more room on the desktop. I no longer like to scrap on my laptop because I'm so used to the dual monitors but I do have PSP loaded on it. So if I were to go away and take my laptop, if I take one of my external hard drives I could still scrap if I wanted. System works for me!
-
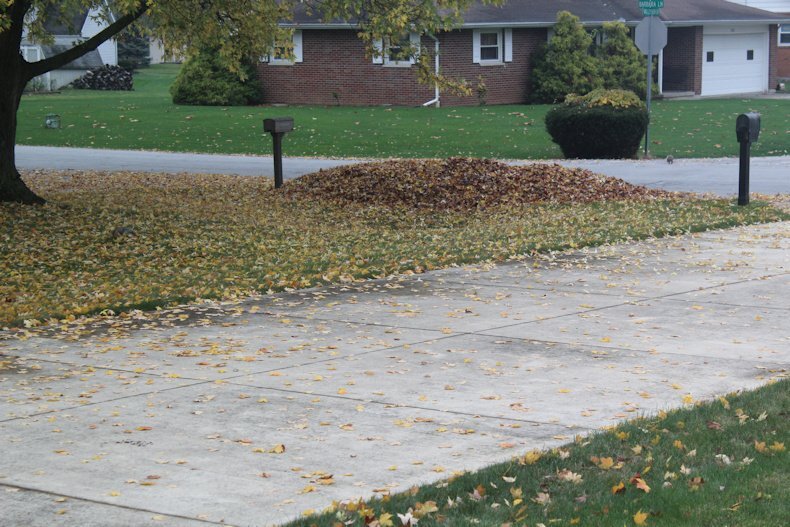
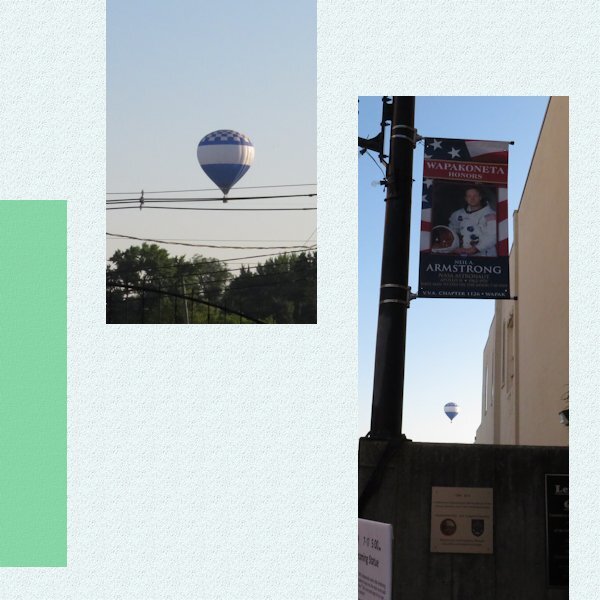
I took the picture from my front porch. The driveway is mine as is the mailbox on the right side of the photo. There is a street that meets up with my street (almost directly across from my driveway) and the house you see is on the corner of those 2 streets. The neighbor that does my lawn work for me is across the street from me to my south and sits on the opposite corner of the house you see.
-
The city has leaf pickup service but my neighborhood is outside city limits so we don't get access to it. So way back when the neighborhood was built in the 1950's, the original residents started a leaf pickup for the area we call "the woods" since it is where all the trees are. Just in the last 5 years, my house was allowed to join but only because they needed volunteer workers and my neighbor east of me was one they wanted! They will pickup the leaves for about 6 to 8 weeks depending on when the last of the leaves fall and they then take them to the city farm/compost facility where they pay a fee to dump the leaves. When dad still lived here, he just used a mulching mower to mulch the leaves every fall since our house wasn't a part of the pickup group (even though he asked to be included back in the 1960's!)
-
I wish any leaves that don't get cleaned up in the fall would be gone by spring but around here they aren't! I only have one tree in my backyard but live in a neighborhood that has lots of trees to my west. The winds come from the west the majority of the time so I get those leaves as well. They also tend to collect against the north side of the house and in the years I didn't know better and let them go, they destroyed the flower beds and the grass. Six years ago I had a new patio put on the north side of the house and the leaves still collect only now they are on the pavers. I usually use the leaf blower to get them into the yard but since I just had surgery, I can't do it this year. When I do that my neighbor that mows my grass will pick up the leaves to put them out for pickup that our neighborhood has available for a yearly fee (totally worth it!) The first pickup for the year was yesterday. This photo is what the neighbor to my east had raked for the pickup. Notice all the leaves that haven't been raked yet... some of his trees still have leaves on them and they fall in my yard! My only tree is in the back yard.

-
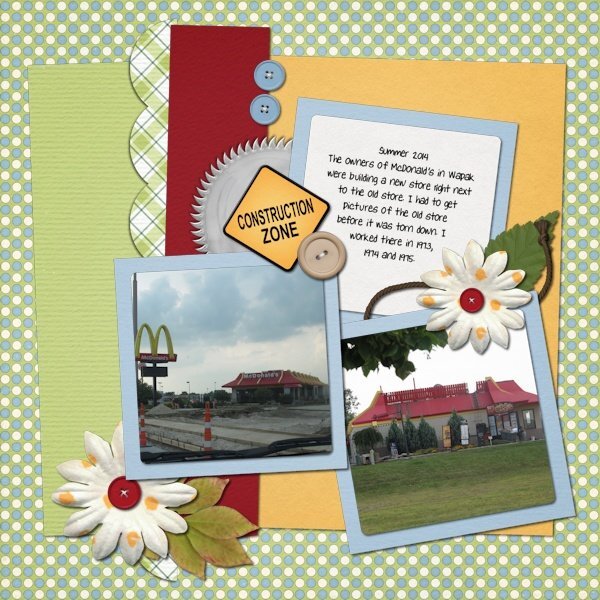
The new McDonald's was built on a property that at one time had originally been a Ponderosa restaurant. When Ponderosa closed, it opened as a different non-chain restaurant that eventually closed as well. Then the building was torn down due to structural issues and the lot was empty so McDonald's snatched it up to build the new building that had 2 drive-through windows. The main reason I took the photos was because I had worked there! The Ponderosa building didn't mean anything to me so I never documented it. Ironically, the new McDonald's was built in 2014 and I have never been in it or even used the drive-through to get food!
-
I started working in the relatively new McDonald's in my town during my senior year of high school. I got the job because I was 18 and could work past 10 p.m. to do the closing chores needed. I worked all summer before heading off to college. When I came home for Thanksgiving, I stopped in to ask if I could work during the break between semesters and they said yes so I worked during those 4 weeks over Christmas/New Year's. At that time they told me that I would be welcome to work there the following summer if I wanted. So I did. So my job during my early college years was McDonald's. The funniest story though is that my dad absolutely loved their "fresh" French fries. He was under the impression that they cut fresh potatoes every day for their fries. Boy did I burst that bubble when I told him they were frozen! He still loved them. I quit eating fast food about 15 years ago unless I am traveling. For me it was for budgetary reasons... fast food was expensive even then. Here is a layout I did 9 years ago about the store I worked in. The owners were building a new store next door to the old one. The store I worked in was torn down and is now parking for the new store. One of the owners was an employee at this store when I worked there in the mid-1970's. She worked her way into management and after getting married to another manager, they set their goals of owning their own store. Last I heard, they own 3 or 4 in the area.
- 29 replies
-
- 10
-

-

-
And many people just let things grow and never tend to them. I've had some plants put in by a company that did landscaping work for me. There is a lovely yellowish plant they put in a few years ago that I fell in love with and had them put a couple more in after taking out the hydrangea that ended up being too much for the area. My neighbor does pruning for me and has kept the original gold mop cypress to a nice height. I asked the landscaper this summer what plant a different neighbor across the street has as it looks a lot like the gold mop cypress. It goes to the roofline and pretty much hides the windows. Turns out it is the same thing I have... gold mop cypress. They have never pruned/trimmed it in all the years they have had it nor have they done anything with the shrubs by the house. The only thing that gets trimmed is a shrub that is by the stop sign and road sign in their yard. And all that gets done is cutting the weed that grows up the middle of it to the same height as the shrub. I wish I was able to do yard work but unfortunately I can't. With arthritic knees and allergies, it just doesn't happen. Thankfully I have a neighbor that is willing to do it. I pay him for it just as I pay him to mow the grass and collect the leaves in the fall.
-
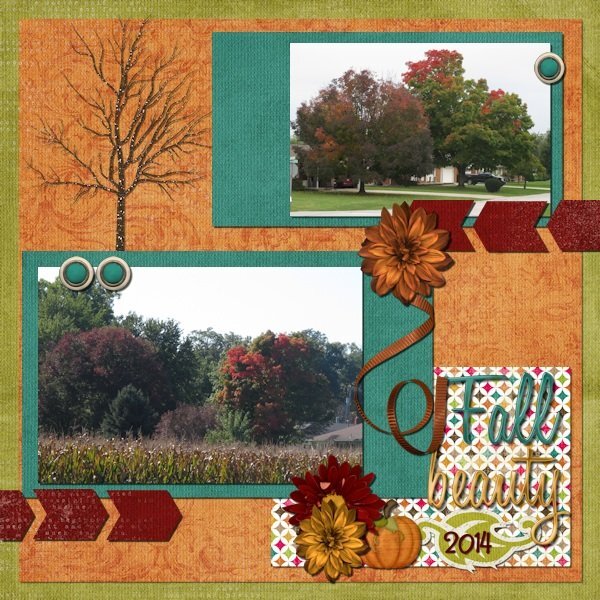
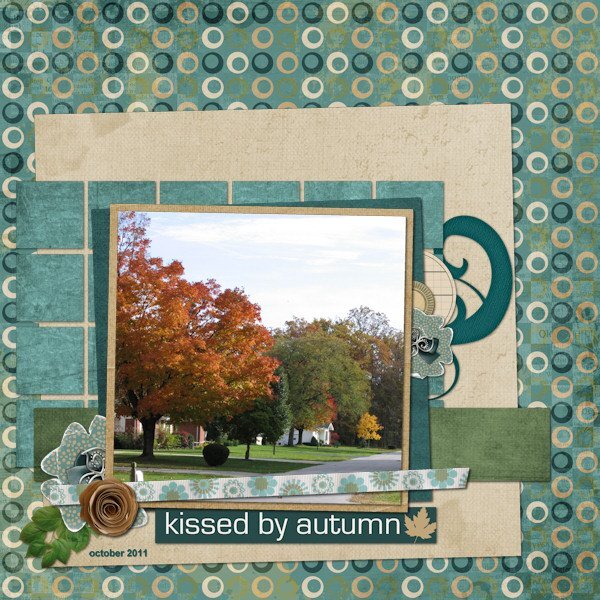
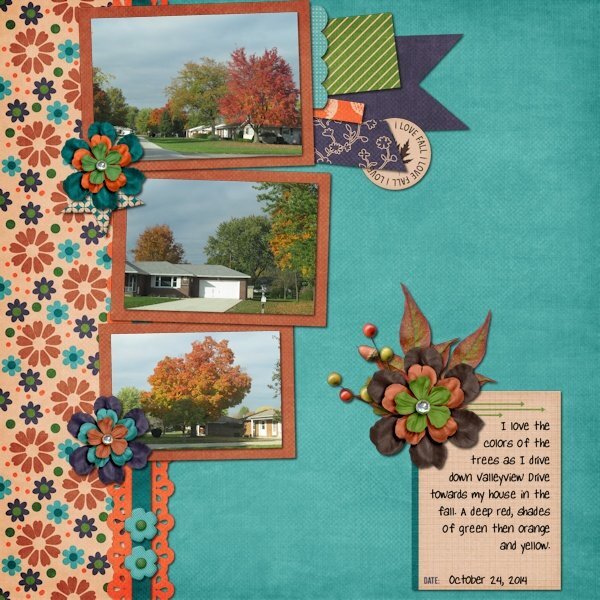
A couple more. All layouts were done for challenges at a forum no longer around or for creative team work.
-
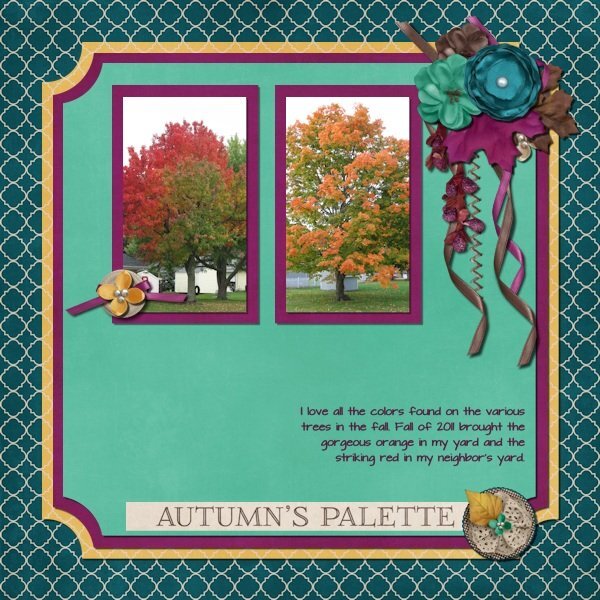
Here are some of my old layouts of the colors of fall. Looks like I've been documenting them since 2011!
-
I do live in an area with lots of trees for gorgeous autumn colors. My neighborhood was built up from an area we have always called "the woods". Over the years I have taken many photos both in my neighborhood and elsewhere. Last year I did a whole album called "October Daily" with photos of the changing trees throughout town for 31 days. I planned on doing it again this year but will have a couple of days with no photos of the colors because of being in the hospital. Although I do include my birthday since that happens in October so that is one of those days... happy birthday in a hospital bed! I do have multiple photos from the morning before my surgery that I could use for the next day when I was still in the hospital. Right now I can look out any window and see green trees, yellow trees, orange trees and trees in the process of changing! Also, lots of leaves on the ground. The trees started changing early this year and that means the leaves also fall earlier!
-
Reality TV is pretty much most of what I watch besides crime documentaries and shows like Forensic Files. I like seeing the process of investigation into the crimes. As for The Traitors. I never saw the first season of the US series as it was on Peacock and I didn't subscribe to it. But last spring, they did a marathon on the Bravo channel and I was able to watch it there. Then about a month ago I found out that season 2 was being filmed (filming should have ended this week). No idea if I'll be able to watch it since nothing has been said about where it will be shown. I really enjoyed it. I would like to watch the other versions but don't have access to them. I'm pretty much limited to anything USA based since I don't subscribe to any streaming services. I like reality TV because I can start and stop at anytime. I don't really like series anymore. Just this week I've missed every show I watch because of surgery and being in the hospital longer than planned (I'm doing good though!). But I can easily pick up on them next week. And with reality TV it is usually 13 shows and done. I would have to say my favorite is The Amazing Race. I love to see the different places they go. Some of the other series I have watched, I have taken off watching for a few seasons and then when I watch again, it is fresh and new.
-
Here is the last one. Yes, I could have done a better job on lining up and centering the masks but I just wanted to get it done. Some time in the future I will tweak these layouts to fit my style since magazine is not it! But for now I have a lot to do this week before surgery a week from Monday.
- 374 replies
-
- 12
-
-
-
I play with the blend modes all the time with papers. You can get a completely different look depending on the mode your use. Also like Sue said using different colors on the layer below give different results. And, some times with the patterned papers, I will put the plain paper on top and use the blend mode on it which can let the pattern show through but not be real distracting. So many different looks can be created through the blend modes.
-
I like this one! If it is too dark for you, try using a blend mode on the patterned paper with the layer below it being a solid color. I do that quite often with a white layer below a paper. If it is a large pattern that can be distracting, doing that will tone it down. In the case of yours, it might make it not so dark but yet not really light. Having it a little lighter might make the red that you tried (and didn't use) pop.
-
I rotated the canvas to fit my photo. I again used the same background, font and font color from the previous layouts.
- 374 replies
-
- 13
-
-
-
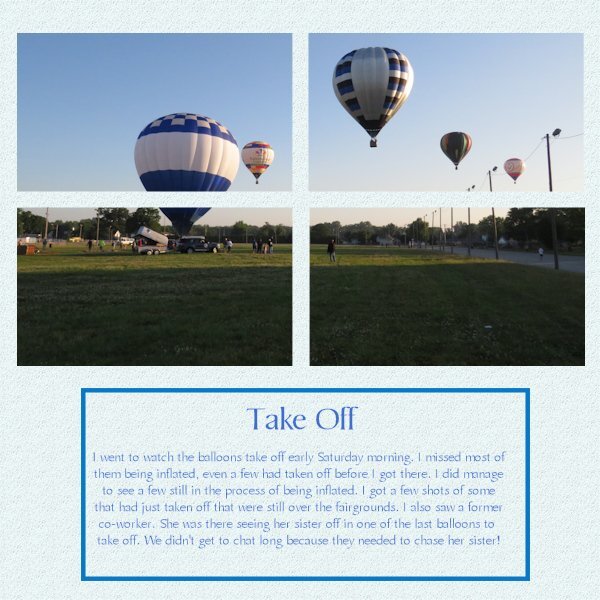
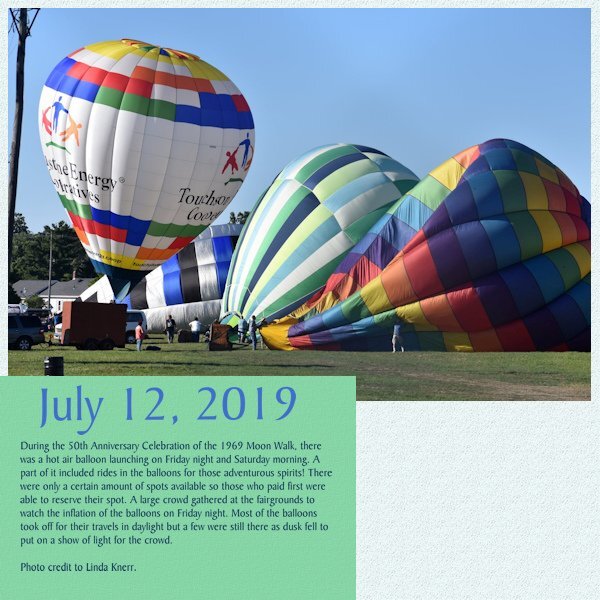
I have no idea. These are not my photos, a friend let me download them from her Facebook post. So the metadata shows the date and time I downloaded them. I wasn't able to go to this in person. From what I heard, they had all the balloons inflated and had some paid rides during the day then brought them back for the evening and reinflated them, then did the lighting and more rides when it got a little darker.
-
Day 5. Again used the same background, font and font color from the previous days.
- 374 replies
-
- 14
-
-
-
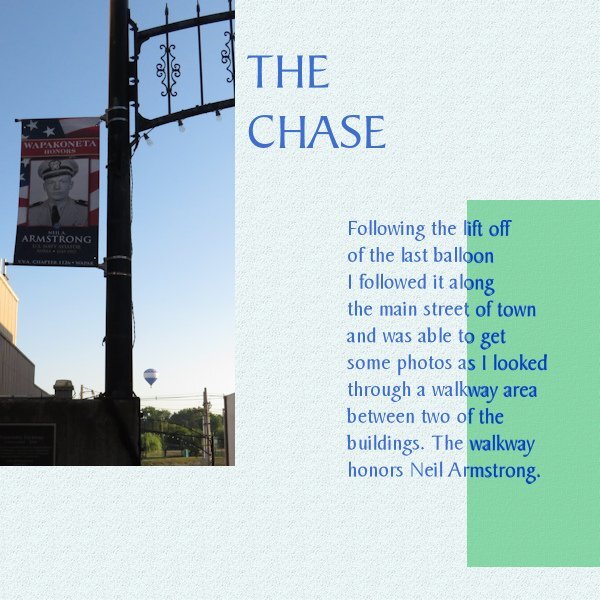
Day 4. I carried the background and mat colors and textures through to these pages. Along with the BakerSignet BT font in the blue color. I chose to darken the text on the mat instead of lighten it. I have trouble reading white text. I will add that I am not liking the page with the text and will more than likely change it before printing for my albums. But that will be for a later time.
- 374 replies
-
- 14
-
-
-
Day 3. One of my photos from early Saturday morning. Again used the background from the previous layouts and the same font, BakerSignet BT. I did put a black stroke around the font today since it was blue on the blue of the photo. I think it made it stand out a little bit.
- 374 replies
-
- 12
-
-
-
I rotated the template since my photos work better with a landscape setting. Like Carole's photo, mine showed the gray area so I hid that layer to show more of the background. I again flood filled the background with the same color as the day 1 layout but this time I added a texture (added the texture to day 1 as well). Since I wanted blue text, I changed the text box to a green color in one of the balloons. The title blue is the same as day 1 but I used a darker blue from the balloon for the actual story text.
- 374 replies
-
- 14
-
-
-
I use 3 different Canon cameras and all are set to take the same size photos. I use the 4:3 image size then have a choice of 5 different combinations of size (number of pixels) and compression (image quality). All 3 are set for the largest pixel size (which is about 5184x3888) and the highest image quality. These settings do take up more space on the memory cards but with the larger cards I still get a lot of photos. So I'm able to use any photo on a 12x12 layout with no problem. Sizing down for a layout is not an issue either! I run into the problem you are having when I receive photos from other people that use a lower number of pixels in their settings so that they get more photos on the memory card.