Forum Replies Created
-
AuthorPosts
-
Susan, I found the answer in the Masking In PSP master class pdf.
Layers menu -> Load/Save Mask -> Load Mask From Disk
I know who she is from the 2 main shops that I buy from. Super nice gal. She readily admits that she goes for the easiest way to do things.
I contacted the original maker of the layout since she is a regular poster at another forum I frequent. Basically, she did what I did.
Her words:
Looking at my page and knowing myself I took the easiest route. lol
Most likely I created 4 quadrants and shrunk the paper down. Then just duplicated, flipped and rotated each one to line up.
IMO, some times it really is simple!
Yeah, that is probably the problem. I just tried it with a different paper that has thin and thick stripes. The thick stripes have wording on them and I was curious how it would look. The stripes are the right degree (bottom left to top right). The top 2 quadrants were fine but the bottom 2 didn’t line up at all. So I really think that to do this needs the right paper. In other words, not every paper will work for this technique.
I’m curious as to what the original paper looked like. I’ve searched her stuff and can’t find one that looks like it would match.
I did not use Rotating Mirror at all. I used Flip Horizontal under the Image menu. Ctrl-M is the shortcut.
FWIW, I tried it with Rotating Mirror and could not get it to do what you wanted.
I just tried this. I opened a 3600×3600 canvas. I then opened a 3600×3600 paper from a kit. I resized the paper to 50% and duplicated the layer 3 times. I then placed each layer in a different quadrant lining each one up with the pick tool (yeah, guide lines would work but I have trouble with those since I don’t use them much). After getting all layers in place, I did an Image Flip Horizontal on the top right and bottom left quadrants. Middle line up.
I just looked at the original layout and it looks to me like she shrunk the 12×12 paper to 4×4 (edit should be 6×6) and placed it in the 4 quadrants of the page, flipping each layer to line up the middle. I say this because another layout shown using the kit shows the stripes on the paper as being a wider than on her layout.
I could be totally wrong but that is what it looks like to me.
-
This reply was modified 2 years, 6 months ago by
Rene Marker.
Monique. Yep, the very first Cricut machine had cartridges that you put in to the machine for it to make its cuts. I had a friend buy a drawer unit from Ikea just for her cartridges since she had so many. Here’s a little history on Cricut machines:
Cricut History: Types Of Cricut Machines From First To Last! (howtoheatpress.com)
I never had a Cricut but had a CraftRobo (around 2007/2008) which was a Silhouette type cutter. It used software and a computer to do the cuts so unless you had a laptop, it wasn’t as portable. Many of my scrapbooking friends then started with the Cricut after having the other because of the portability. However, they had to buy cartridges which eventually got to be too much if going to a retreat. Many times the Cricut users would coordinate as to who would bring what cartridges to a retreat so one person didn’t have to take everything they had. Those that have stuck with the Cricuts do like the newer models since things have evolved as to how the designs are made available to the users.
But what I really wanted to say was that those paper scrappers would not let any of the “wasted” papers go to waste. Those scraps were quite useful. I used them with small punches (think small pawprints which I used a lot on my dog pages). I also made lots of small square pieces that I used as design elements. Many of my friends were even more frugal with them than I was! I did traditional scrapping and dabbled in digital scrapping for about a year. I still have some traditional supplies because there are times that I have the urge to work with paper. I also had some projects that were better being done with paper.
I still have my CraftRobo and can use it with Silhouette software and my computer if I want to make something.
I just tried it quickly to get to that step and I did not have issue.
I figured you couldn’t say anything if you knew, I just wanted to know if you did know! LOL
Carole, any idea of what might be coming in the next version? I was reading the “wish list” on the forum earlier and it seemed like most of it was things I’d never use. Nothing in 2022 intrigued me to buy it since I’m a pretty basic user of the program. I only bought 2021 because I was having issues with X8 on my old computer. LOL
I think in the past the new versions are usually released in August. On a PSP Users forum associated with Corel, they always post new threads for “what do you like about new version” and “wish list for what you would like to see in the next version”. Those have always been posted in August or late July.
Personally, I usually wait until the next version has been out for several months before I buy it (if I do). With Corel having constant sales on PSP 2022, I’m guessing the next version will be coming by the end of the summer.
So can you use this to do screenshots of other things besides PSP? For instance, I have done screenshots of YouTube live videos (a college football game livestream) then opened it in PSP to edit. Could I use PSP to do this?
I have been using the inner bevel more after seeing it being used on other things besides frames but don’t remember where I saw it. Sorry!
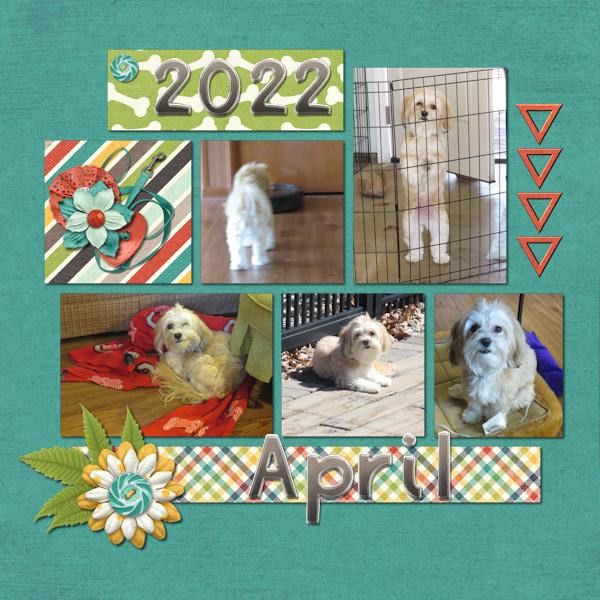
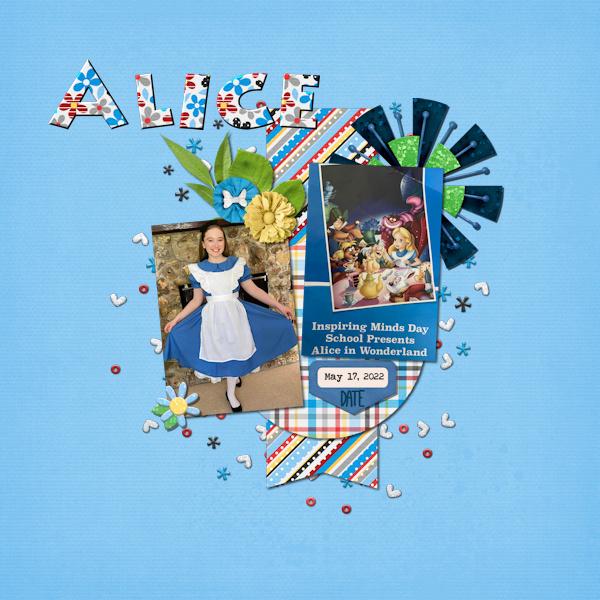
For example, I used an inner bevel on the title of this layout (Alice) instead of a drop shadow. And, on the April layout, I used it on the triangles instead of a drop shadow. I’m really liking this effect. I usually use Bevel #1 or #2 and vary the width from anywhere between 8 and 12 depending on what I’m using it on.


I’ve had several over the years, all Wacom brand. The one I used the most was 10 years ago and I used it with my laptop when I would go to scrapping retreats. It was a tablet that had a pen and a mouse.
I did buy one again last fall but then starting having computer issues so never got back into using it. I haven’t installed it on this computer yet. Probably should but I haven’t been using PSP that much lately and that’s why I got it.
It does take getting use to though, at least it did for me.
Yeah, another one with no siblings!
There is a very active member of another scrapping forum I’m in that had to evacuate her home. She sent an email from her phone to one of the designers on the site. She has been told that the water is up to the roof line of her single story home. It is just her and her husband and they are both in their 60’s. My heart aches for her because they could have potentially lost everything.
Several other members of that board also live in the areas with flooding. One has a son that has major flooding but has a 2 story house so they have been able to stay. Another member lives near the coast. She was saying that they could kayak in the man cave under their house instead of on the nearby water!
Yeah, my old brain just doesn’t remember those types of things any more! I don’t even remember what version of PSP I was using when I started digi-scrapping!
The one thing I do remember is that I could not figure out how to use quick pages since they weren’t layered files. I gave up and to this day, do not like them. But then I now prefer to make my pages in my design style.
Are you talking about multi-layered PSD templates (for example 12×12) that can be purchased at any of the major digital scrapbooking stores or the element/paper templates from Pixel scrapper?
I’ve been using the first type for 13 years so really don’t remember some of the issues I had in the beginning. Since I’ve been using them so long, I have learned how to use them more efficiently over the years. I have learned a few new things in the last 2 years that have helped greatly. Linking layers is one. Dragging and dropping into the layer pallet is another. Just remember I use kits I’ve purchased from these digital scrapping stores and don’t make my own stuff which is why finding out I could drag and drop was a real game changer.
I started with many of these templates from various designer blogs where they give away freebies on a monthly basis (and still do).
Yes, list the master classes by title. The majority of the titles are descriptive enough. When you see the title Paint Shop Christmas, you know it is Christmas related and can decide if you want to watch it or not.
Jumping on the landing page conversation. My idea of a perfect page would be an alphabetical index with a link to the tutorial whether it be a master class or in creative scrap/lab.
The scrolling to find what I want gets old especially with the amount of information on (for example) the master class page.
If it can’t be one page for all, even an alphabetical list at the top of the page with the link to the tutorial would help. There would not be as much scrolling through a text index to find what a person wants. This would work for both master class and creative scrap.
Just my humble opinion!
I think more classes or tutorials on how to use the various tools available in PSP. For me, it doesn’t do any good to have some of the classes that focus on making something specific if I don’t know how to use the tools needed.
I have used the clone and scratch remover but not sure if I’m using them efficiently. I’ve never tried the object remover. Of all the brushes, the only one I use is the burn brush… I’m not sure about any of the others (like lighten/darken) because if I do use them they don’t seem to do what I think they are supposed to do!
I also struggle with the other brushes like chalk, oil, crayon etc.
Cassel, I started my spreadsheet on March 9th, the date of the first positive case in Ohio. One of my more interesting pages in the spreadsheet is what I call “population percent”. After someone on another message board (sad to say from Canada) posted very rudely when the United States took over statistics with the most cases in the world, I made a comment back to her that it totally made sense when you look at the population of USA vs Italy. So I started a spreadsheet using population numbers for the 50 states, District of Columbia and Puerto Rico and have it calculate the percentage of the population that has had COVID. At first I updated it daily (using numbers from the John Hopkins website) and it was very interesting seeing where the hot spots in the country were. Needless to say New York and New Jersey were at the top of the list for quite awhile. Ohio is the 7th largest state population wise and I was so proud of where we were on that list for a long time. We ranked 30th or lower. I think the highest I ever saw Ohio was 22nd. I no longer update it daily but try to do it once a month. Even now with the high number of cases Ohio has had lately, we are still between 35th and 40th (out of 52) on the list and the % is around 13.
I also pulled the population numbers for some other countries and will look at those every couple of months. The outlier in that data though is China. Per John Hopkins they claim they only have had a little over 100,000 cases. I call BS on that.
I had a feeling that this was not going to be over quickly at all. I also felt that this would be something that will be with us forever although not in the numbers we’ve seen these last 18 months. I took it seriously in the beginning and watched the daily press conferences given by state officials. And, being the numbers nerd that I am, I started a spreadsheet of data that I still update daily. I had no problem doing the social distancing if out, wearing a mask if out and about or even staying at home. I’ve even gotten the vaccine and still prefer to stay home. I am an introvert though so that hasn’t bothered me. Unfortunately the area I live in being a small town didn’t do any lockdowns, only followed state health orders as to shutdowns and masking. Many in this area don’t think it is a big deal. And, now my community of 9000 has a high number of cases these last couple weeks with a low vaccine rate (about 15 to 18% below the state average). That’s why I stay home. I’m in the over 65 range and have one of the issues that was thought to be most at risk in the beginning.
Although I will say some good things have come out of it. Who would have ever thought that I could watch a cousin’s son play football online? His very small, private college streamed their spring games and have continued to stream the games this fall. An uncle of the player lives in Florida and has been able to watch as well. We’ve got a group text going on during the games. FUN! And, we got to celebrate the cousin in Florida’s 70th birthday through zoom in February. Last Christmas I got a zoom Christmas chat put together and had several people there that hadn’t seen each other in 25 years. In a way it has brought some members of my extended family closer together.
-
This reply was modified 2 years, 6 months ago by
-
AuthorPosts


