Home of the Scrapbook Campus › Forums › Showroom › Scrap Bootcamp – July 2022
Tagged: project 4
- This topic has 228 replies, 29 voices, and was last updated 2 years, 4 months ago by
Nancy McNamara.
-
AuthorPosts
-
July 12, 2022 at 12:06 am #79007
Ah, thanks! I was in a panic! Thanks for the quick save! LOLOL!!!
( I looked for other “Classic” workspace preferences, but didn’t see anything.)
I did change my workspace color after seeing Susan’s and Andrew’s workspaces.
I *just* downloaded an image from Corel on all the shortcut keys….I already use a lot, plus the control Y for “do it again” you taught us, but I wondered if there might be other ones I could use. I haven’t gotten to the Shift + ones yet, LOL!
thanks again,
suzy
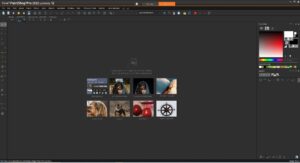
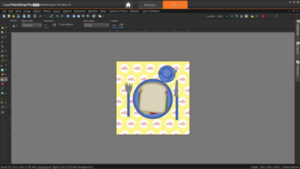
July 12, 2022 at 1:01 am #79013Here is my workspace. I like it dark and have the organizer and learning centre palettes closed to give me more space to work. This is a windows snipping tool shot. I’ve still yet to figure out how to do a screen shot with PSP. It’s not high on the priority list. Now I must get my photo’s organized. It’s some flower shots but mother nature has been conspiring against me. I am shooting this project with diffuse light from overcast skies and the when the perfect time comes I am either heading to work or I get all set up and then there is a thunder/rain storm. I finally had to take it inside to my studio and shoot some of it with continuous light. Nice to see the familiar faces and welcome to the new faces. I’m sure I will learn lots from all of you. this is my 6th time through the bootcamp. I really love doing it and like Gerry, I keep learning new things and am inspired by all the layouts I see.
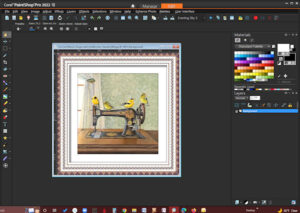
July 12, 2022 at 6:05 am #79017Here’s a screenshot of my workspace. I decided to fiddle to see if I could do this and it’s easy-peasy. Go to File/Screenshot, click Start (PSP will minimize), re-open PSP and right-click and voila, there’s your screenshot image. I had to reduce the size for posting here.
July 12, 2022 at 6:37 am #79019Hello to all of you,
I’m back again. Someone know me from other workshops.
Like I’m trying some scrapbook-pages I’m not sure if I understand it what I’ve learn. So I like to start from the beginning of all and here I am.
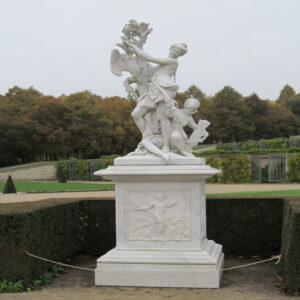
My first will be a statue from the garden of Castle Sanssouci in Berlin.
Edit: BTW The pictures may be some kind of confusing but it’s from the resize to 1000×1000.
-
This reply was modified 2 years, 5 months ago by
Christiane.
July 12, 2022 at 9:22 am #79029Nice to see a picture from Berlin. I’ve visited Berlin but never been to the Sanssouci Palace.
July 12, 2022 at 9:30 am #79030Kiah looks amazing for her age, wish I could say the same for me!
July 12, 2022 at 11:27 am #79033Hi,
My name is Lisa and I’m from Belgium. I’ve been working for over a year with PSP now, but there is so much I don’t know yet. I already learned something new in the first lesson, I didn’t know about Auto-hide!
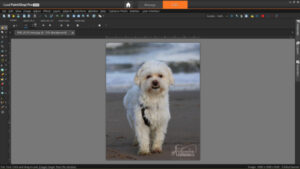
I like the dark colours in my workspace. I think I’ll use the Auto-hide for my palettes, because I have a small screen and I like to maximize my workspace. I also added the Overview palette. As for my photo, I think I’ll mainly use pics of my dog Archie.
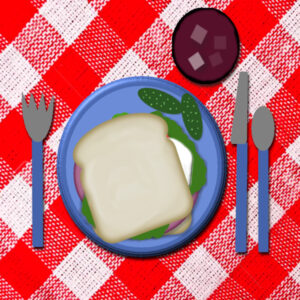
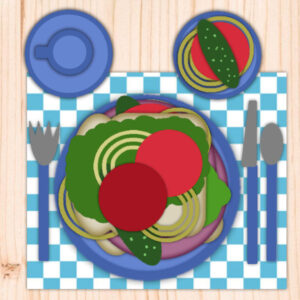
July 12, 2022 at 12:19 pm #79038Here is my sandwich, I added a table cloth for my own personal twist 🙂
I have a question about having your pics in windows instead of tabbed. When I double click a window, it becomes big, which is nice, but then my other windows seem to be gone? In the screenshot the table image is big, and the sandwich image is still opened in PSP somewhere. If I activate ‘tabbed documents’ again, I can see all open images, but that seems a bit cumbersome. How do I easily switch between different images?
July 12, 2022 at 12:40 pm #79039Lisa, when an image gets maximized like that (often by accident), check on the top right corner, just under the “close” for the program, there will be similar icons and those will apply to the open image. Click the middle one, and it will restore to where it was.
July 12, 2022 at 1:25 pm #79040Thank you Marie, she has a lovely temperament. She has an issue with her mobility now, but is still always excited when I get home.
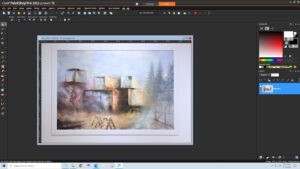
July 12, 2022 at 1:35 pm #79042(379017) Ann! You are brilliant! I did 1/2 the instructions, no wonder why it didn’t work. Here is my *New* *Improved* screen shot. the photo is mine, of my friends painting (1 of 6) that is currently at a gallery showing. My hubby and I have to dismantle the show of her paintings this weekend, YIKES! The canvas’ are about 4.5 feet x 6+ feet and mounted to the wall then framed out. Putting them on stretchers was a too expensive for the price of wood these days and they have to be mailed back (to Quebec where she lives) in tubes.
July 12, 2022 at 2:23 pm #79043Lisa: What I do is go up to Windows and Uncheck Tabbed. Then each image will have its own window. Each image can be minimized to the bottom where it’s accessible for further work or most times I just scale them down small so they stay open but not “underfoot” ( 😉 ) Hope this helps!
July 12, 2022 at 2:49 pm #79046I love a lot of onions and tomatoes on my sandwiches. I also added a tablecloth.
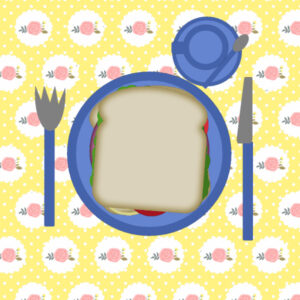
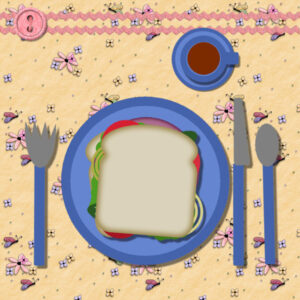
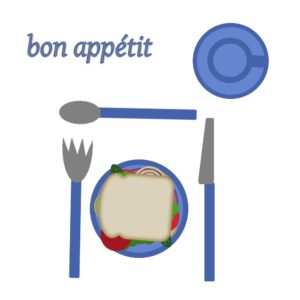
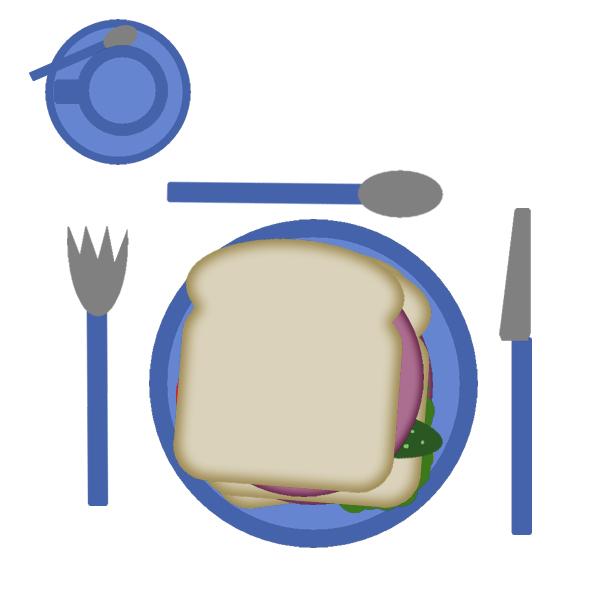
July 12, 2022 at 3:17 pm #79047Well here is my table, have added a teaspoon and put the cup & saucer on the left as I am left handed 🙂
I was wondering how to add a background to this – hoping this will come up in a later tutorial
 July 12, 2022 at 3:33 pm #79048
Ok – sussed it out how to add a background….
 July 12, 2022 at 3:39 pm #79050
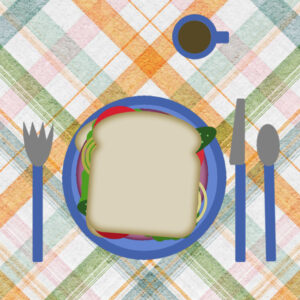
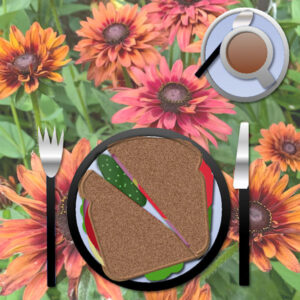
Today’s lunch at the cafe is similar to everybody else’s. A nice plaid tablecloth lined the tables. Since I’m not a coffee drinker, I opted for my favorite drink, Dr. Pepper with ice. My sandwich was good, I asked for mayo on it, as you can see it peaking out. And I asked for my pickles on the side. I was very satisfied and will come back here again! 5 Stars!
~Susan
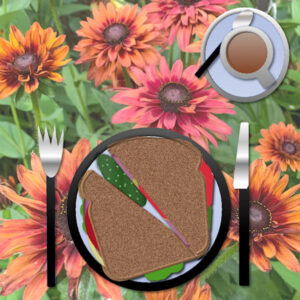
July 12, 2022 at 5:15 pm #79053I finally did it! Here’s my photo as requested. Whew! {painful} Hope I can get the “Gremlins” out of my computer too. Now, on to the lunchtime sandwich activity. (more like dinner at this point) LOL
July 12, 2022 at 6:09 pm #79055Here’s the sixth sandwich and table setting I’ve made through the years for this class. A flowery cloth and played with the setting and sandwich ingredients. Yum!
July 12, 2022 at 9:05 pm #79063Well, I finally finished and this turned out to be a bedtime snack instead of LUNCH! Thankfully my hubby was here to help with the UNZIPPING of files. I was dead in the water, stuck! Once I started playing with this project, my past PSP experience started to come back (guess it’s like riding a bike!) Anyway, I couldn’t stop. It was a great way to spend the last 4 hours! Now I have to work on my SPEED. See you next time!
July 12, 2022 at 10:29 pm #79065Never go to the grocery store when you are hungry. It’s also good advice for doing the sandwich exercise.
This time I did it after dinner to head off the urge to make a bologna sandwich.
July 12, 2022 at 11:27 pm #79066Allen (#79001), welcome to the Bootcamp and the Campus. Lucky forward to seeing more of those cuties.
Karen (#79006), it will definitely be simpler if you use PSP on the same computer as the one you post in the forum! For the file extension, you need to use a jpg image. Maybe you were trying to post a .pspimage file? (#79053) Gremlins are usually in MY computer! I didn’t expect to share them with the members 🙂 (#79063) Speed is not necessary yet. You will see that it will go faster as you get more comfortable with the program.
Suzy (#79007), check out this post about using the “old ways”. Here is another blog post about my 10 favorite shortcuts.
Susan E. (#79013), you can read about taking screenshots with PSP in this article. Although you can also use the PrntScrn from your keyboard and then paste as a new image in your PSP.
Ann (#79017), glad you figured it out for the screenshot. (#79055) Was that whole wheat bread?
Christiane (#79019), welcome back. Practice is always useful!
Lisa (#79033), glad to hear you learned something already in the first lesson. There is a lot more to come 🙂 Nice tablecloth for your lunch/dinner!
Donna (#79046), that tablecloth reminds me of the vinyl “cloth” used for outdoor picnics!
Andrew (#79047), to add a tablecloth is just adding another layer. I see you managed to add a background successfully. You must be very hungry with three slices of bread!
Susan (#79050), glad you got the correct condiment in your sandwich. I hope you come back for another one!
Gerry (#79065), it would not have been a problem to have a big bologna sandwich: it is zero-calorie afterall!
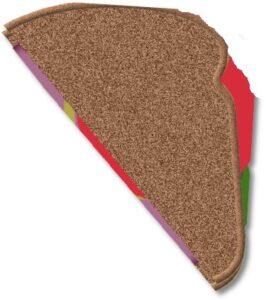
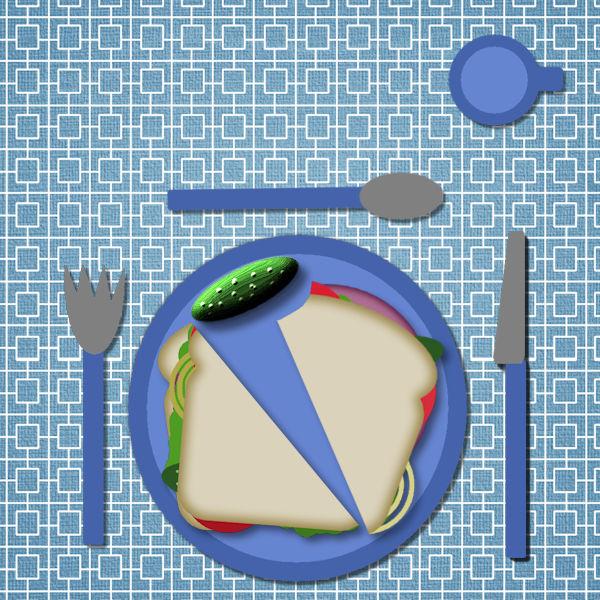
July 13, 2022 at 12:01 am #79067Here is mine – I took so long I got hungry and had to take a bite out of it!
I do not understand why it’s so big. My computer says its 600 x 600 and 142 kb.
-
This reply was modified 2 years, 5 months ago by
Suzy.
July 13, 2022 at 4:33 am #79070Suzy: I suspect you are using the “alt” upload button located on the right end at the top of the message area. That would give you the large image. If you scroll down a bit, there’s a large, gray “Upload Images” button on the left. If you use that your image will look a lot smaller but will be “clickable” so it opens large for inspection. Hope this helps!
Cassel/Carole: I have a question. If you look at my sandwich on my plate you can see where the bread, etc. seems to be pushed up from underneath by the rim of the plate. I did apply a buttonize effect to the plate rim but that was long before I added the sandwich! Never encountered this phenomenon before! :-\ (here’s my image again so you don’t have to go looking for it)
July 13, 2022 at 6:52 am #79072Hallo. Carole.
finnaly. hier is les twee.
gewoon slepen uit het lagenpalet was nieuw voor mij.Here is attemp 2.
The man who eats all this is a trucker or a construction worker as he asked for a club SW plus an extra supply.
Dragging was impossible this time.
shadow 0-0-60-10.
-
This reply was modified 2 years, 5 months ago by
Jannette Nieuwboer.
July 13, 2022 at 8:30 am #79074Ann (#79070), I am not really sure it has anything to do with the Buttonize command as that will add a rectangular/square effect on your image/selection, and it will be perfectly horizontal/vertical. On the other hand, did you add a shadow to the rim and maybe rearrange the layers afterward, leaving the shadow layer above the bread layer?
July 13, 2022 at 9:37 am #79083Cassel/Carole: No, I did the shadowing on the plate and saved it before adding the sandwich. When I added the sandwich, I did it in layers of components: first bread, then lettuce, then tomato, etc., each on its own layer. When the layers were added, they all looked quite transparent through the color, and I could see a hazy plate underneath. Very odd! I’ve never seen that effect before! I even duplicated the sandwich to try to make it more opaque. I had not changed the opacity on anything except the background. Ah, I bet that’s what it is! You think? Maybe not because change the opacity doesn’t seem to help. Here’s the half-sandwich that looks bent on the plate. Without the plate it’s not bent. None of my shadows are separate.
-
This reply was modified 2 years, 5 months ago by
Ann Seeber.
July 13, 2022 at 10:11 am #79086Ann, if the effect is not there when the plates are gone, I suspect it is one layer that shouldn’t be there. Try hiding each layer above the sandwich, one by one to see which one might disappear.
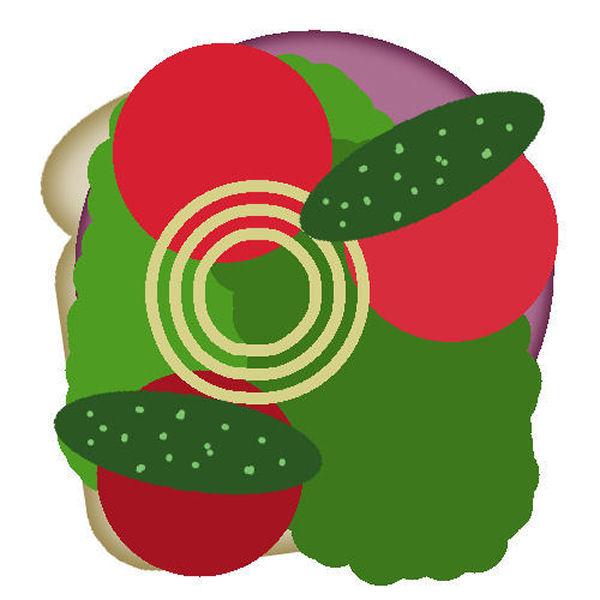
July 13, 2022 at 10:27 am #79090That’s my sandwich. I like colorful eating and I dislike onion because….you know;)
 July 13, 2022 at 10:37 am #79092
Carole/Cassel: I hid everything, and this is what’s left. I originally made a copy of the plate to be able to create the saucer under the cup. I also applied some effects to the saucer. Why is the original plate included in the effects? It isn’t on that layer! Aarrgghh!
July 13, 2022 at 10:49 am #79093Ann, it looks like a cutout or a shadow. Maybe, when you added it to the saucer, you still had a selection of the plate. At least, you should be able to delete that “crescent” shape with the Eraser tool and see how it goes.
-
This reply was modified 2 years, 5 months ago by
-
AuthorPosts
- The forum ‘Showroom’ is closed to new topics and replies.


