Home of the Scrapbook Campus › Forums › Let’s talk › PSP stuff › Out of bounds tutorial issue
- This topic has 3 replies, 2 voices, and was last updated 4 years, 9 months ago by
Cassel.
-
AuthorPosts
-
October 17, 2019 at 6:38 pm #35286
I am following an “Out of Bounds” technique tutorial at
I am using PSPRo 2019 Ultimate.
I have got as far as the heading “Last Tweaks” and need some more detailed guidance please.
Re “Select the layer with the frame and activate the Pick tool Set the mode to Perspective and narrow the height of the frame on the side of your out-of-bound element.”
I tried various icons (4 arrow headed crosses etc) and eventually narrowed the height of the frame on the appropriate side. I noted the green nodes on the corners I think I dragged one of them to get the result. But I am not really sure how I achieved the result I wanted. Can someone please enlighten me on the correct thing to do here.
I am now looking at the original white square frame and the new white frame that has perspective inside of that.
I then do this
“Now that we have the final shape we want for the photo, we need to trim the excess that is currently out of the frame. Using the Magic Wand set to Opacity mode and Contiguous checked, click on the outside of that frame. Just to make sure that every faint pixels of that photo outside of the frame is going to be trimmed, go to Selections > Modify > Expand and expand by a few pixels, like 5.”
Then, activate the bottom layer, hit the Delete key on your keyboard and Deselect
Now I see both white frames with checkerboard black and white squares indicating transparency in the background and in between the narrowing top and bottom slopes of the inner perspective frame and the square frame.
Help please
Ken
October 17, 2019 at 7:00 pm #35287Hi Ken, let’s see if I can help you out, in text format.
Re “Select the layer with the frame and activate the Pick tool Set the mode to Perspective and narrow the height of the frame on the side of your out-of-bound element.”
I tried various icons (4 arrow headed crosses etc) and eventually narrowed the height of the frame on the appropriate side. I noted the green nodes on the corners I think I dragged one of them to get the result. But I am not really sure how I achieved the result I wanted. Can someone please enlighten me on the correct thing to do here.
Was the mode set to Perspective? If so, the node on a top corner will go up and down, as the bottom one on the same side will also go up and down in the opposite direction to create that perspective. Did you get that done in that way?
I am now looking at the original white square frame and the new white frame that has perspective inside of that.
You should not have two frames. Maybe you created one directly on the original image? But even if you had two, the one from the image itself would get deleted in the next step. Or, if you have a frame on its own layer, not on the image, maybe you can just hide it if it is not needed?
If you want, can you post a screenshot of what you have so far?
October 17, 2019 at 8:08 pm #35295Thanks for the quick reply.Yes the the mode was set to perspective.Have uploaded some screen shots.
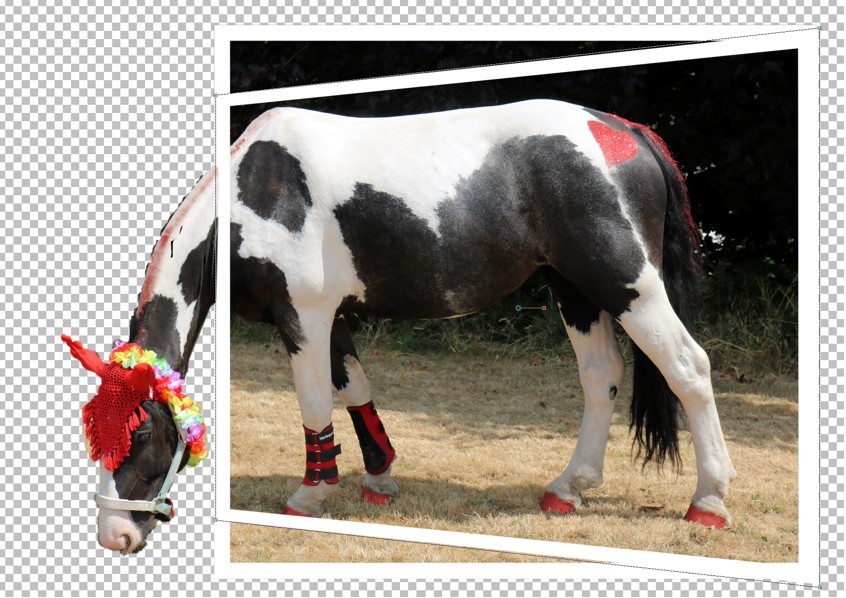
image A after Select Selection Borders . image B after add new raster layer .image C after narrow height
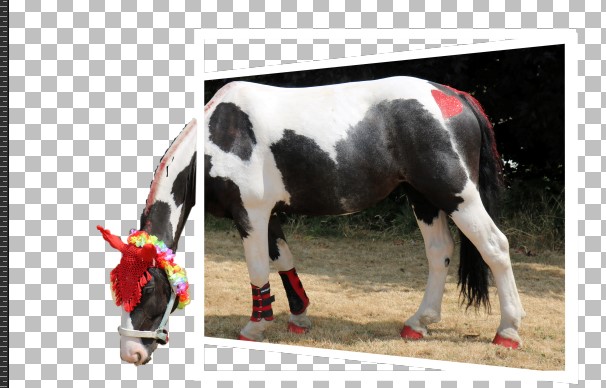
image D after
Now that we have the final shape we want for the photo, we need to trim the excess that is currently out of the frame. Using the Magic Wand set to Opacity mode and Contiguous checked, click on the outside of that frame. Just to make sure that every faint pixels of that photo outside of the frame is going to be trimmed, go to Selections > Modify > Expand and expand by a few pixels, like 5.
Sorry if the images are in the wrong order but it is well passed my bedtime here in the UK
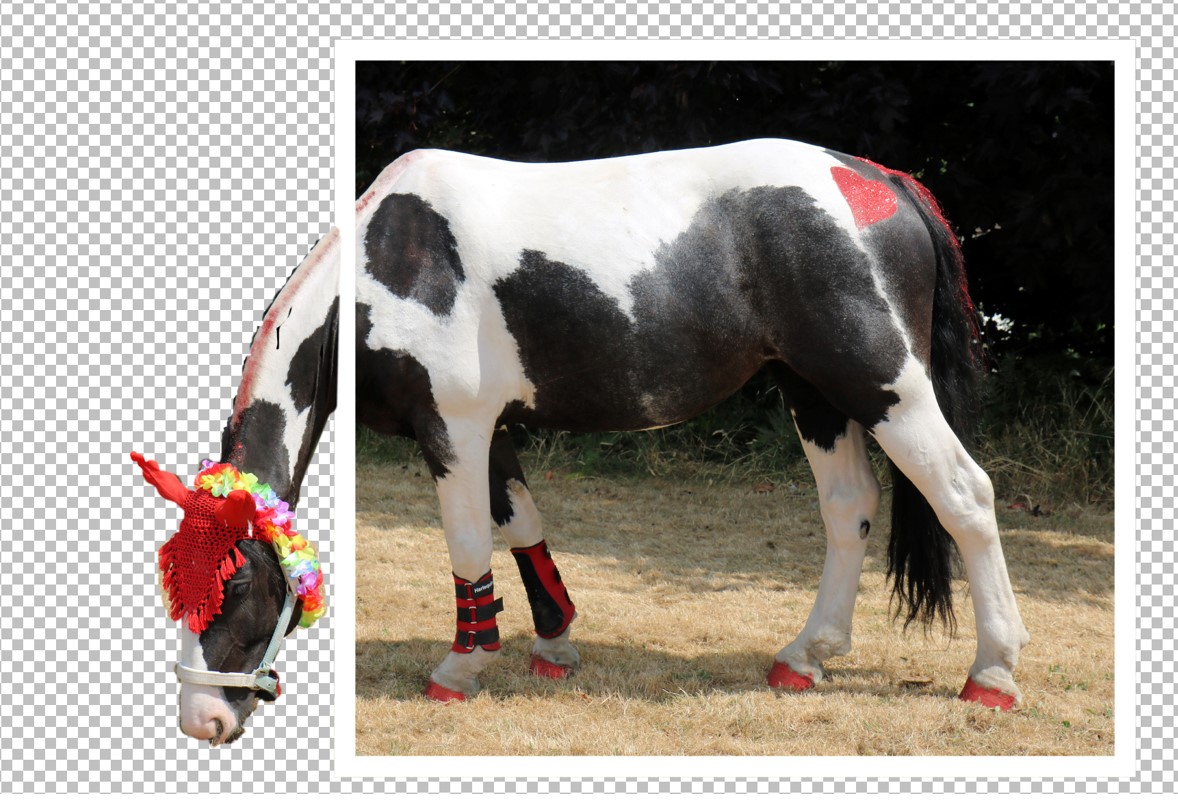
October 17, 2019 at 8:23 pm #35296I think you are almost there. That “back frame” that is left on image D is unnecessary. Can you hide that one? Then, the one you adjusted to perspective should be BELOW the layer where the cow’s head is extending.
-
AuthorPosts


- You must be logged in to reply to this topic.


