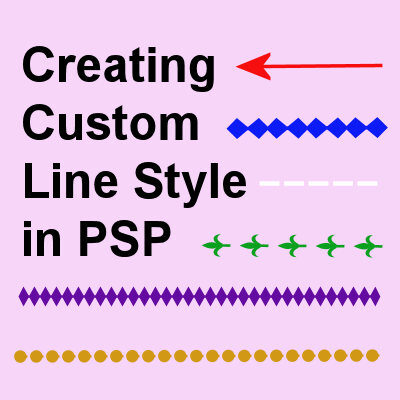

If you have used any of the vector tools in PaintShop Pro, you will have seen the typical Line Styles available. You surely have used the Solid Line Style and might have tried one of the others. But you can also create your own. Let's see how.
Where is it?
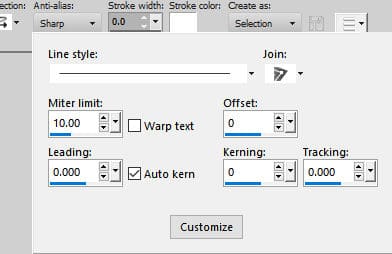
Depending on your PaintShop Pro version, the Line Style option will be in different locations. Up to version X8, you would find the Line Style on the toolbar of any of the vector tools.

Starting with version X9, the Line Style is still in the same location when you activate one of the Vector shape tools. However, when the Text tool is active, the Line Style is hidden inside a less obvious icon.

This little icon hides a series of settings where you will find the Line Style.
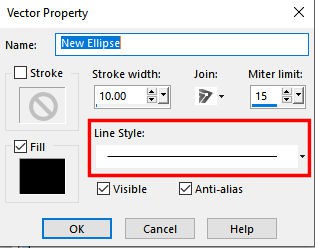
You can also access the Line Style through the Vector Property dialog window. When you double-click on a Vector Object in the Layers palette, you will see this window.
In all those locations, you can access a variety of Line Styles that are already part of the program, by default.

Creating your own custom line style
Although you get several default Line Styles, it is possible that you want to create some for yourself that are different.
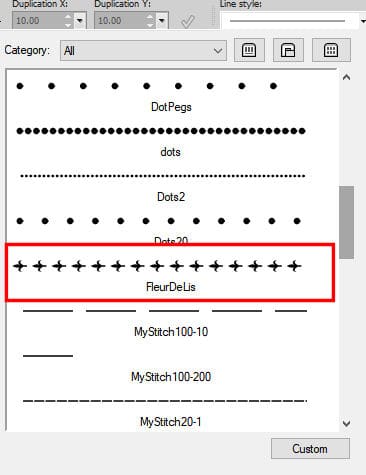
Click on the Custom button at the bottom of the dropdown list to open a new Line Style Editor window where you will be able to create your custom line style.
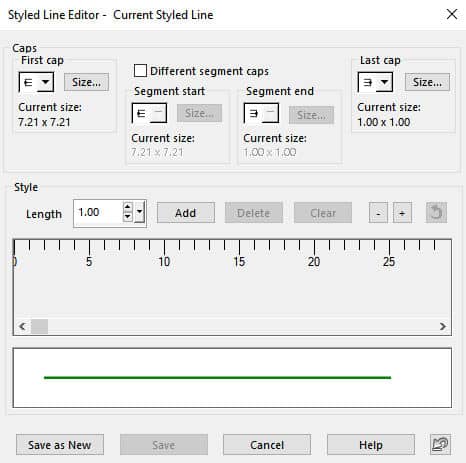
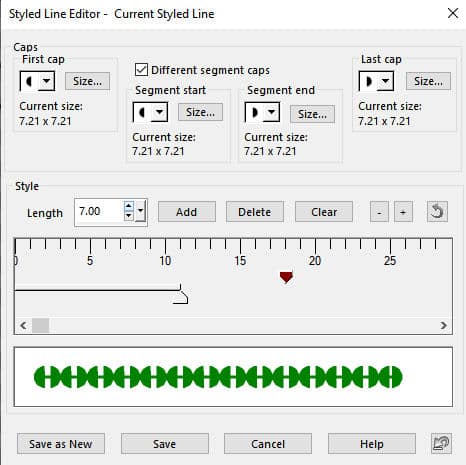
This window is divided into two sections: the Caps section where you will choose the components...
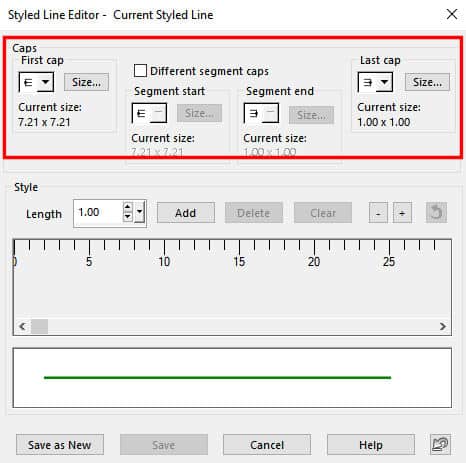
... and the Style section where you will be able to preview the result.
Each Line Style can contain up to four components: two end caps, and two segment pieces. Although it is more typical to use only one or two components, you can use as many as four.
Let's start with the First cap. Clicking on the dropdown list will show these possible styles:
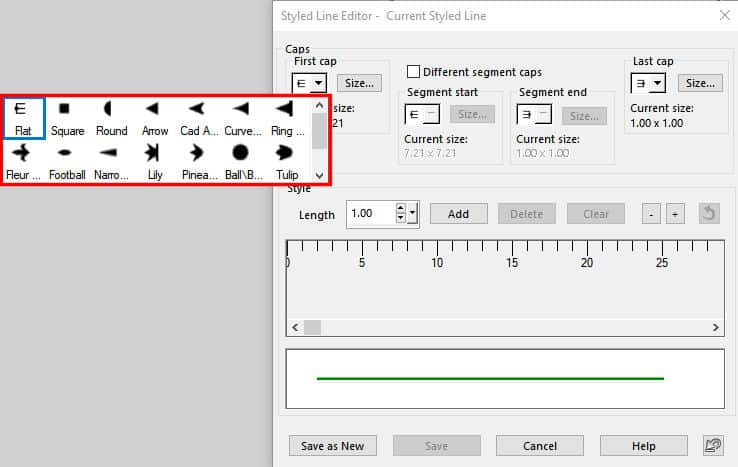
The first style (Flat) would result in a line that has no design on that end. Let's select another style, Fleur de Lis. Once selected, you will see it appear in the preview part at the bottom.
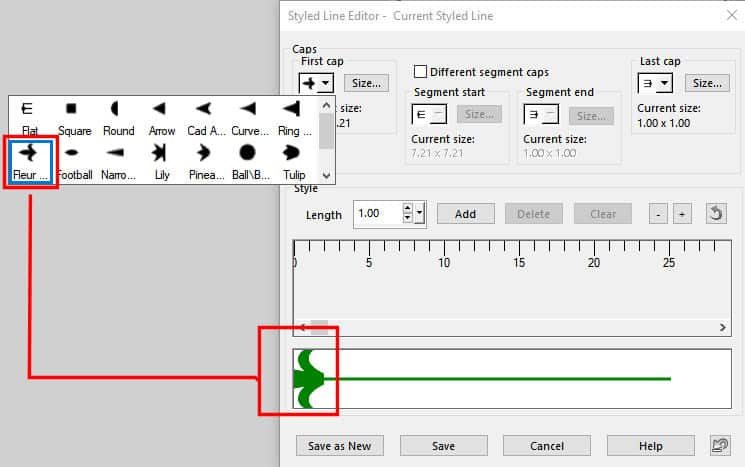
By default, that cap is sized at 7.21x7.21.
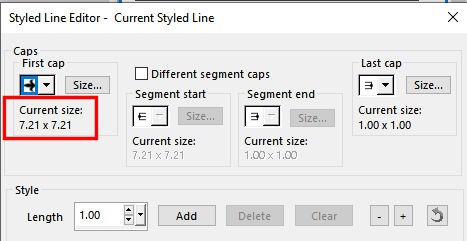
But you can adjust that by clicking on the Size... button to get this dialog window:
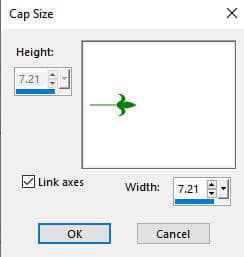
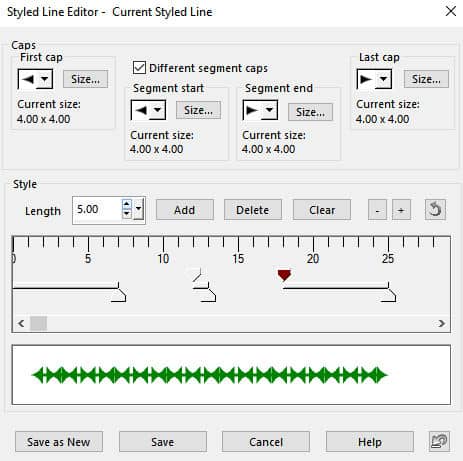
Let's set it to 3 and you can see the difference in the preview.
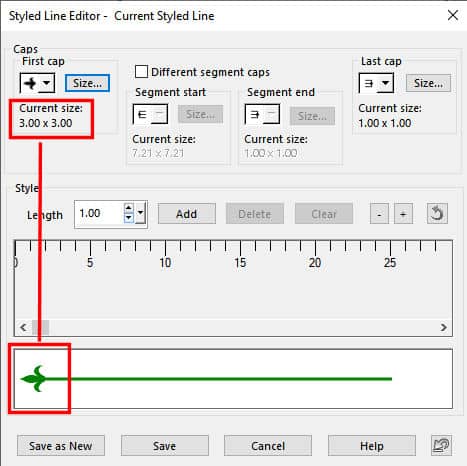
This will create a Line Style that will have a start and can be used with the Pen tool but it won't show much on a preset shape where there is no real start of the path.
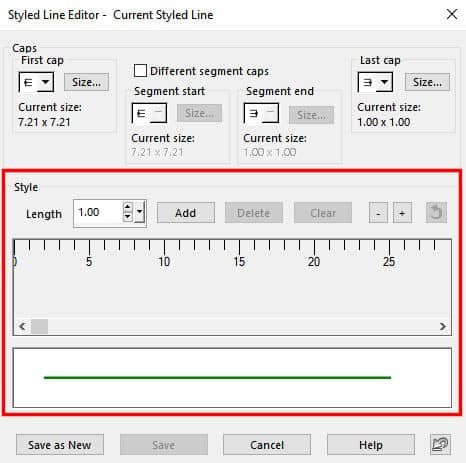
If we want to add some sort of repeats along the line, we need to click on the Add button in the Style section.
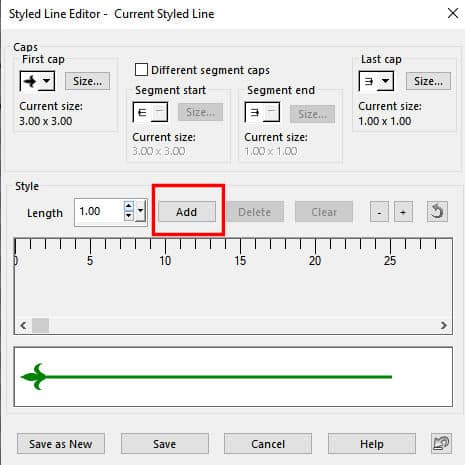
By default, you will see that the segment will be 8.00 pixels with no space at all.
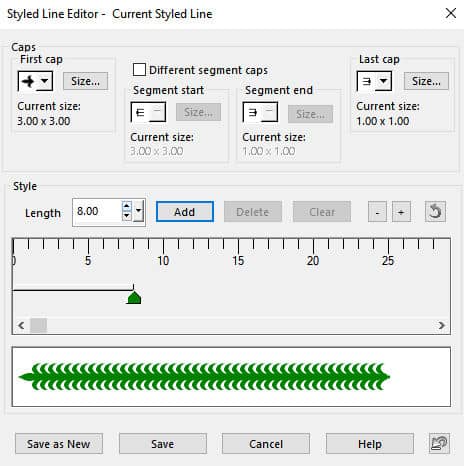
If you click on the Add button again, it will add a "space". That "space" is identified by the red stopper.
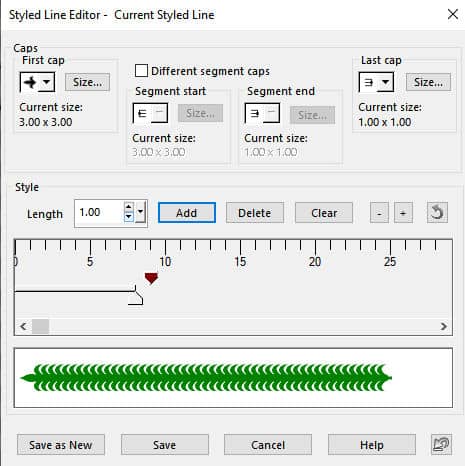
By grabbing that red stopper, you can slide it to create a wider space. Keep an eye on the preview. It will guide you as to what you will get.
If you are happy with the result, click the Save as New button and give it a name.
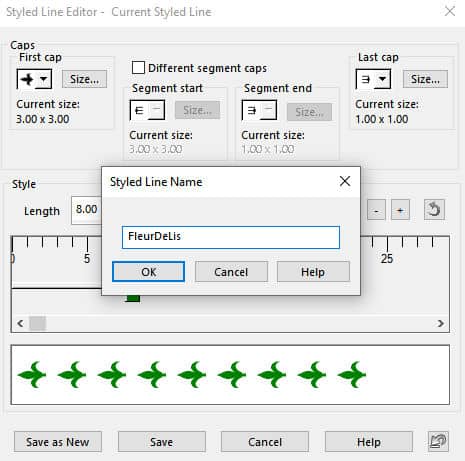
That Line Style will now appear in your dropdown list for you to select.
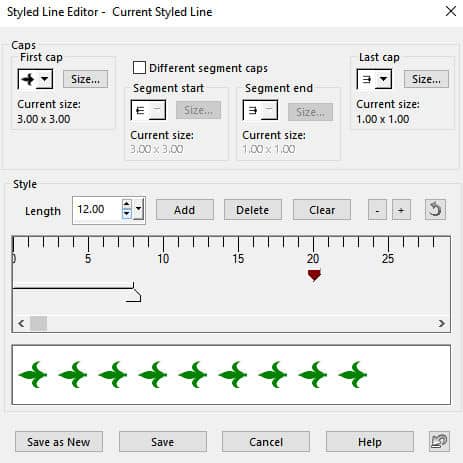
Depending on the various styles that you choose, their sizes, and the spacing you set, you can get very different results. Here is another one.
And you can also Add more segments to have different lengths, like in this example:
One exception
Although you can use any Line Styles and adjust the Stroke width for any vector tool, there is one Line Style that does not behave as expected: the Flat style creating straight lines. Although a dashed line can have a different Width, the specific length of the segment is NOT adjusting proportionally.
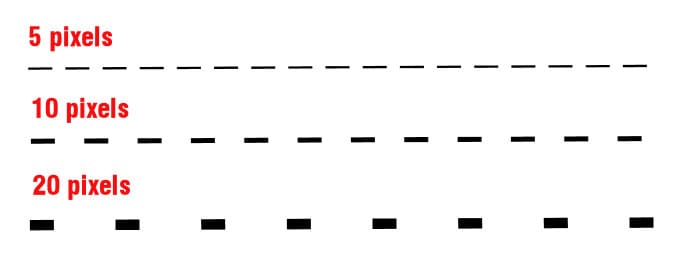
So if you want to create a dashed line, it will be important to identify what Width it will be suitable for. So if you create a Line Style that will work for 10 pixels width, make sure you include that number in the name to help.
For more information on how you can use vectors, check out this article on Editing Vectors in PaintShop Pro.


