Have you ever captured a perfect moment, only to find the sky looking dull and grey? In this tutorial, we’ll walk through how to easily replace a boring sky with something more vibrant, giving your photo a fresh, dynamic look. Let’s dive in!
Duplicate and Protect the Original Photo
We will start with this "ordinary" photo. As you can see, the sky is pretty boring.

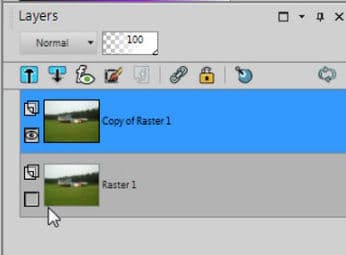
Before making any changes, create a duplicate of your photo by right-clicking on the background layer and choosing Duplicate. This will allow you to work freely without worrying about losing the original image. Hide the original layer so that you can focus on editing the duplicate.

Use the Background Eraser
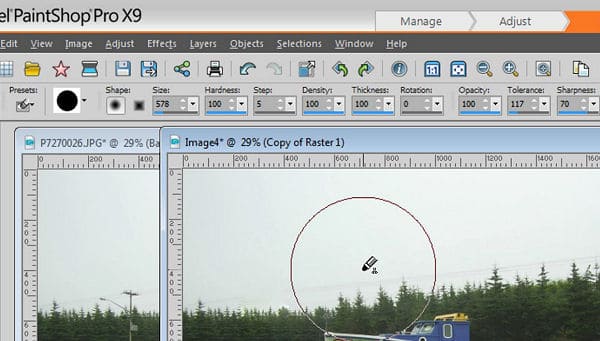
To get rid of the boring grey sky, we’ll use the Background Eraser tool.

Here’s how to set it up for the best results:

- Auto Tolerance: Make sure this option is unchecked.
- Limits: Set it to Discontiguous. This ensures that the Background Eraser can remove areas of similar color even if they aren’t connected.
- Tolerance: A good starting point is around 115, but you can adjust it depending on your image. The larger the tolerance, the more color variation it will remove.
- Size: Adjust the size of the eraser based on the dimensions of your photo and the sky you’re removing.
Erase the Sky
Once the settings are in place, it’s time to remove the grey sky. The key to using the Background Eraser effectively is to keep in mind that the tool focuses on the color where the center of the cursor is located. As you move the tool, ensure that the center stays on the sky to erase it cleanly.

Add the New Sky
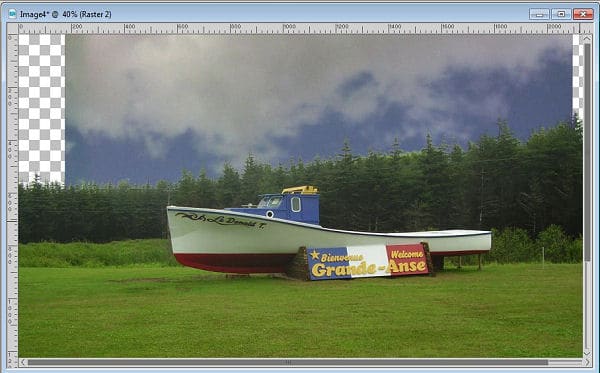
Now that the sky is erased, it’s time to bring in your new sky.
- Open the sky image you want to use.
- Copy and paste it as a new layer above your photo.

Adjust the New Sky
With the sky in place, use the Pick and Move tools to resize and position it perfectly over your photo. Adjust it until you achieve the look you want.

Merge the Layers
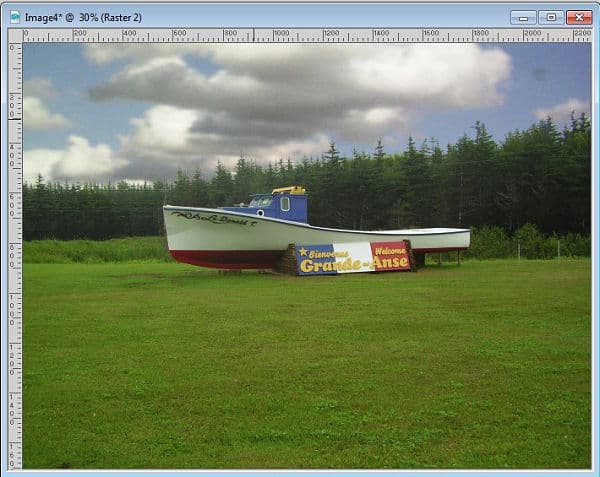
Once you’re happy with the result, it’s time to finalize the edit. Right-click on the sky layer and select Merge > Merge Down to combine it with the photo layer. This will give you a seamless image with a new, beautiful sky.
And there you have it! A simple way to breathe new life into your photos by replacing a dull sky. Now, go ahead and experiment with different skies to create the perfect scene.
If you are unsure how to use the Background Eraser, you can check this article.
You can get many "sky" photos on Unsplash to replace your boring one. Choose a nice blue sky, a colorful sunset, or a simple sky full of fluffy clouds.


2 thoughts on “Change the sky on your photo”
This is an interesting way of adding something to the picture. The question I have, is: if I want the sky to be a bit more lighter, or less colour, then the question is how to adjust the sky. In Enhance Photo of older versions of PSP you can adjust darker /brighter, or les colourful etc, of the layer of the sky, while it still shows the photo, so you can assess the combination of photo and sky. In the newest version of PSP if you select Enhance Photo, the layer of the photo disapears and you can only see the sky. That makes it difficult to assess the combination. I have noted this before with PSP 2021, maybe the newer versions of PSP allows you to asses the combination of sky and photo while adjusting the sky.
You could use a similar approach and make a selection on the sky itself and then, apply an effect to it. It would be similar to the technique illustrated in this article: https://scrapbookcampus.com/2020/12/fixing-exposure-on-partial-photos/
Give it a try.