
Although some cameras can warn you when a photo is taken at an angle, let’s be honest: we often ignore that feature or shoot too quickly to rely on it. The result is a great photo that isn’t quite straight. Fortunately, straightening a photo in Affinity is quick and easy.
The Straighten tool
If you are looking for a tool called Straighten, you won’t find one. In Affinity, straightening is a function inside the Crop tool.
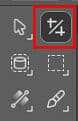
Activate the Crop tool, which you’ll find in the Pixel Studio. Once the tool is active, the Context toolbar displays several options. Look for the Straighten tool icon.
Using the Straighten tool
Click the Straighten icon and your cursor changes to a crosshair with a level indicator.
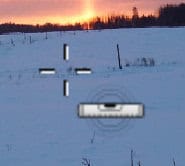
Using the crosshair as a guide, click on one end of a line that should be horizontal and drag to the other end of that same line.

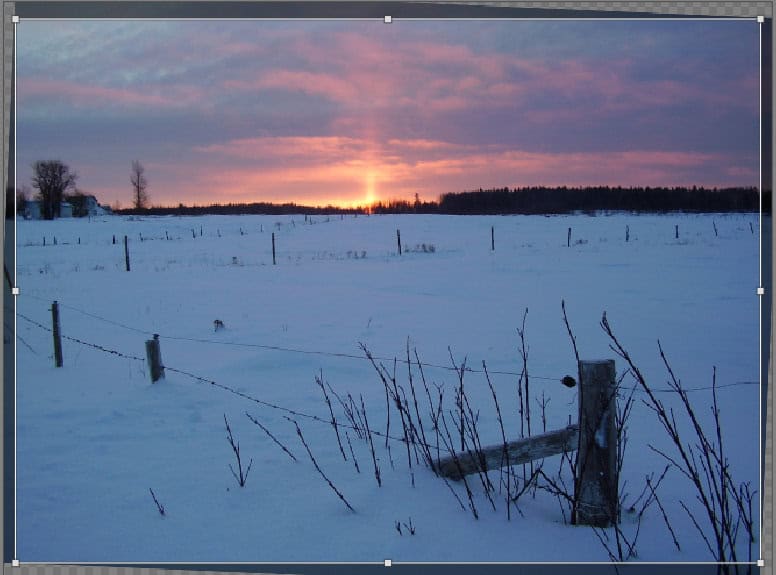
As soon as you release the mouse button, Affinity temporarily rotates the photo to match the angle you defined. You can also preview how the image will be cropped.
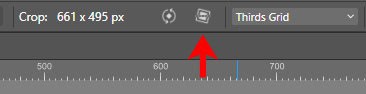
If you like the result, click the blue Apply button on the left side of the Context toolbar.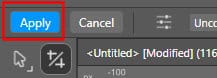
Affinity then crops the photo and applies the correction.

Straightening vertically
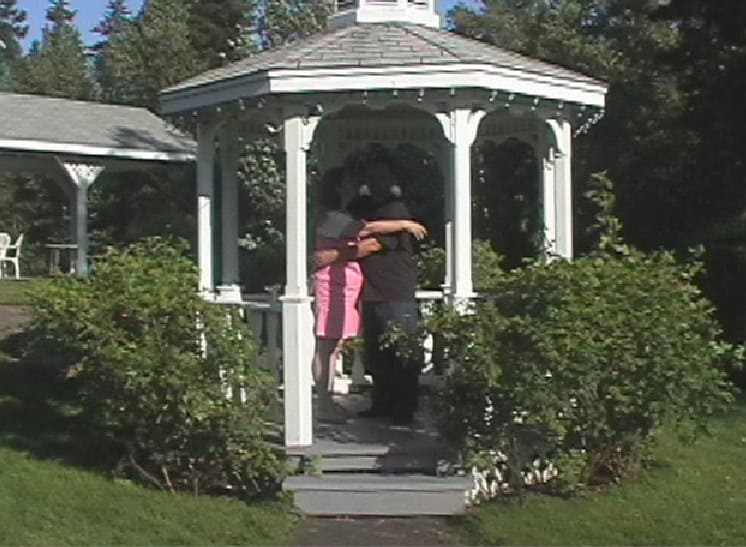
A tilted horizon is easy to spot, but sometimes the issue is a vertical element instead. Doorways, columns, antennas, or telephone poles should appear perfectly upright.
You can use the same Straighten tool for vertical alignment.
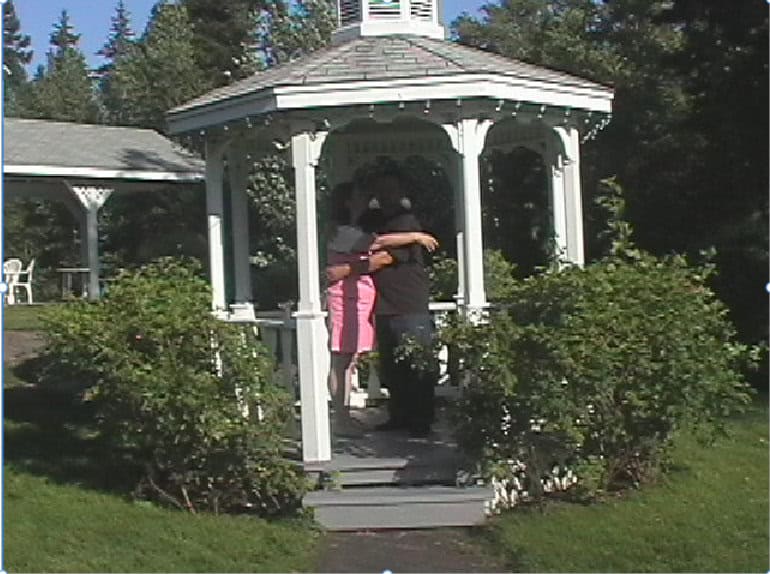
Instead of drawing a horizontal line, draw your guide along a vertical edge. Affinity automatically recognizes that the reference line should be vertical and corrects the image accordingly.
With the Straighten tool, you can quickly fix photos that were taken in a hurry and need a bit of adjustment.
If you are using PaintShop Pro, a similar tool is available and you can read about it here.
A video version of this tutorial will be available soon.


