When you create a rectangular frame, you might want a mitered corner. If you use paper, ribbons, or wood elements, it is fairly easy to create a mitered corner. However, if you are using an intricate lace, it adds a level of difficulty. Let's see how you can create your own mitered corner from lace elements.
The easy corner
The first step will be to duplicate your lace and rotate one copy to create a corner. Adjust their lenght at this point, so if you want a wide frame, have your horizontal piece longer than the vertical one. Trim them as needed to match the approximate size you want.
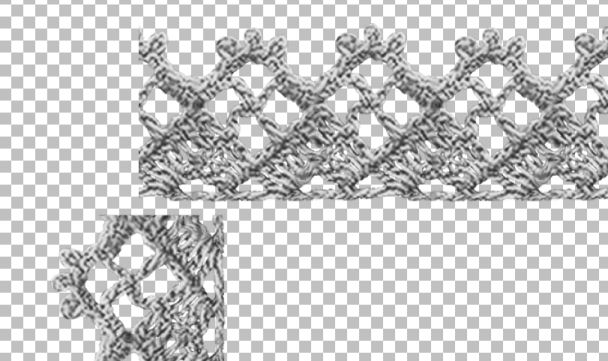
The next step is to find a point in the lace that should be at the corner. It could be the outside of the corner, or it could be the inside. Using an outside element might work for some lace but not always. You just want to find a point, on both pieces that should be connected exactly in the corner.
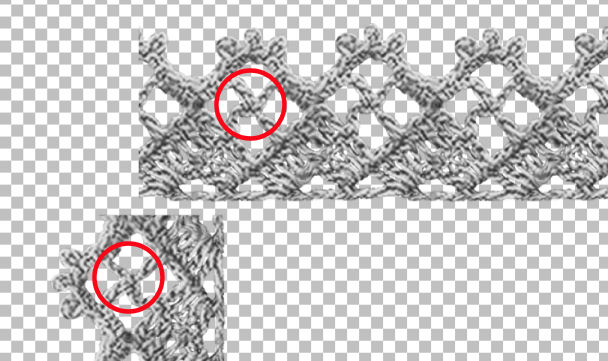
Align those two elements so they will match together.
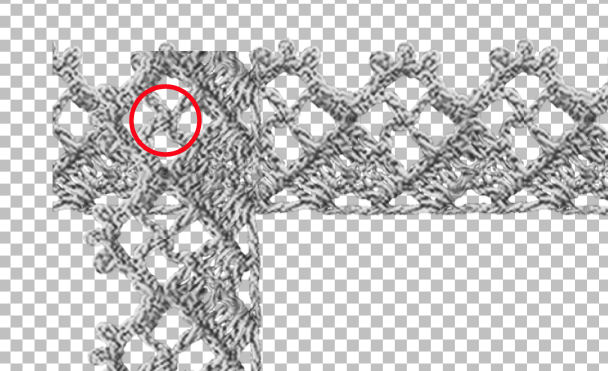
One way to create a mitered corner is to create a diagonal selection, point-to-point and delete one corner.
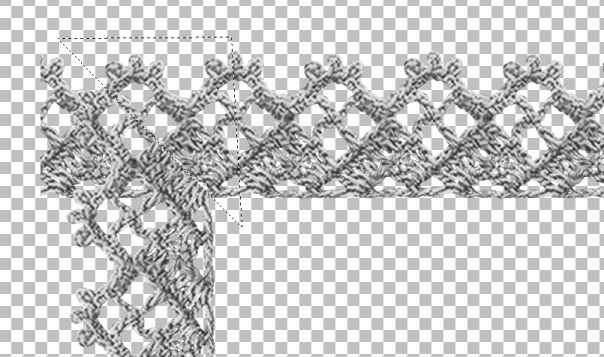
Then, invert the selection (Ctrl-Shift-i) and using the Eraser tool, remove the matching section on the other layer.
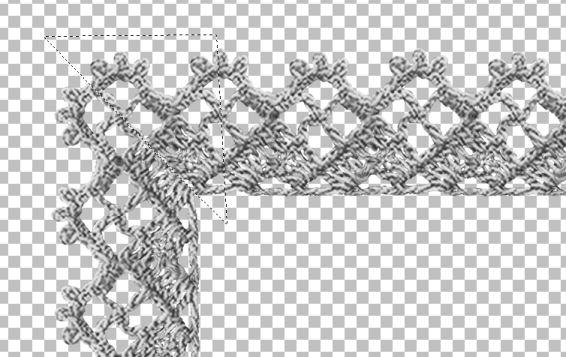
The reason I will use the Eraser tool and not just the Delete command is that the inverted selection also includes the rest of the horizontal piece. If I used Delete, it would remove everything. On the other hand, by using the Eraser brush, I can remove only that end section.
If you selected a suitable lace and mitering point, your first corner might already be done.
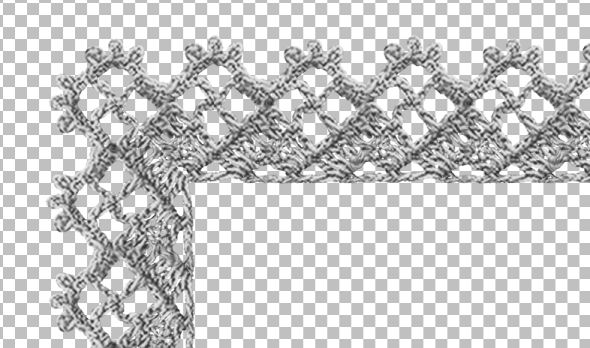
But in this case, it is not perfect as you can see some oddities.
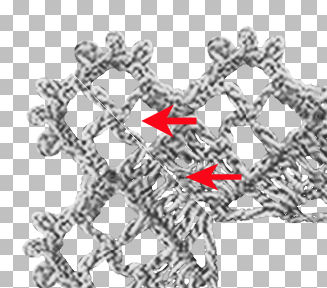
This is because the straight selection didn't take the irregularities of the lace into account. That is the difference between mitering a corner for a paper or a piece of wood: they could be cut straight, and nothing needs to match.
Let's try a slightly different method.
The intricate corner
We can use the same "mitered point" as before. I'll layer the pieces in the same way, and I will make the same diagonal selection.
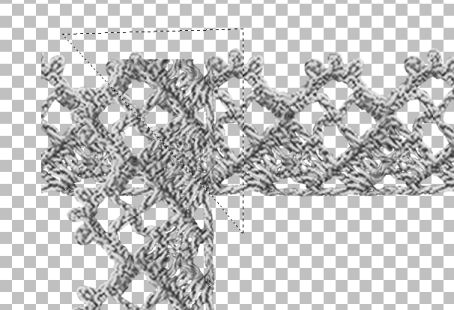
Now, I will use the Eraser brush to remove the selected section.
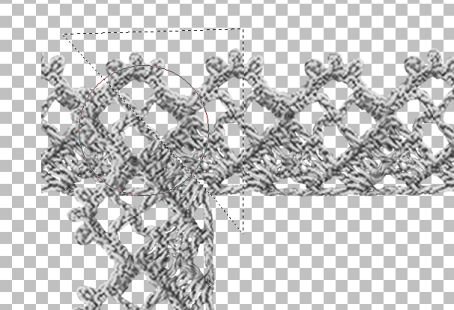
Because I use the Eraser tool, I have the option to "unerase" small sections if it seems like it is cut too close. To unerase, you use the right button of your mouse and it will make sections reappear. Beware that in older versions of PSP, any transparent section will appear as a black blob. If you only have an older version, make sure you unerase only where there were non-transparent pixels. It is just more delicate work.
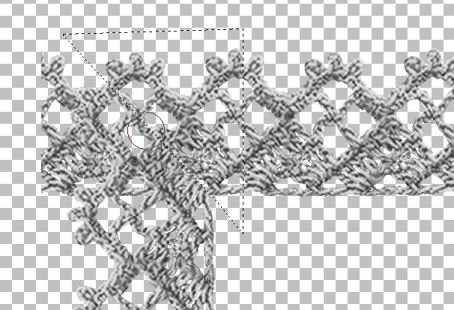
Invert the selection, and repeat the process on the other
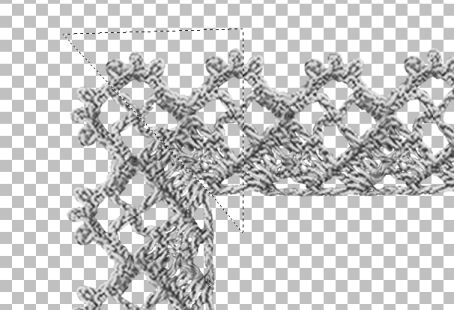
The difference might not be huge, but it can make it more realistic.
Here is another example, where the meeting point was on the inside.
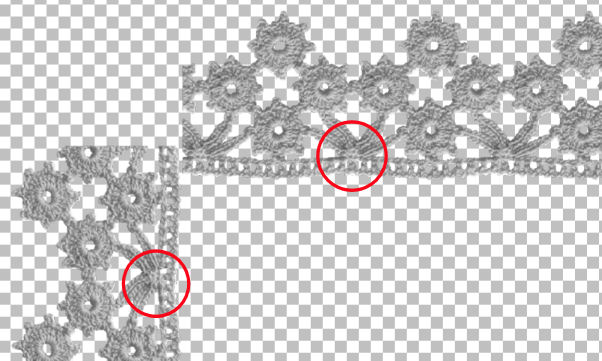
I will line up those points so they overlap.
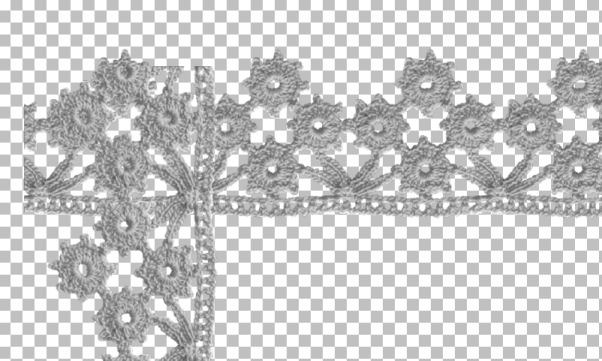
And using the same technique with the Eraser brush, I will remove the section in a diagonal selection.
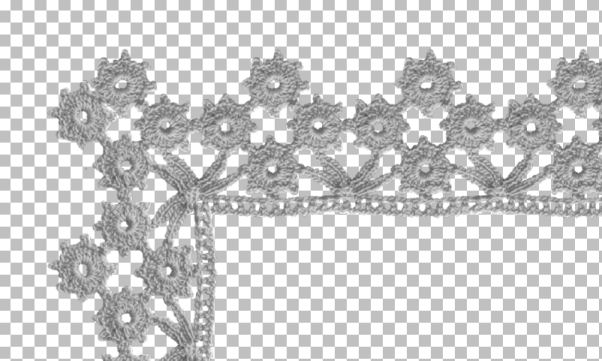
The other corners
Now that the first corner is done, we still have work to do. Let's merge the two pieces together, and duplicate the merged layer. We need to rotate the duplicate by 180 degrees. This will create the four sides of our rectangle.
We need to align the "new" corner in the same way we aligned for the first one. That is important so that all corners will be similar. It also means that there is a chance that the exact measurements won't be what you expected since you have to accommodate for aligning the pieces.
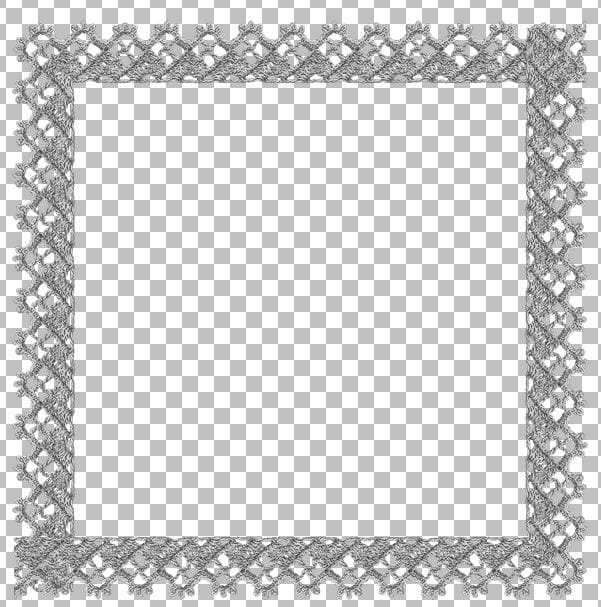
Let's repeat the same steps to create the other two corners. If you aligned the two pieces correctly, your corner will be similar to the first one.
And then, making sure you don't change the alignement, the third corner SHOULD be perfectly aligned for you to trim the corners.
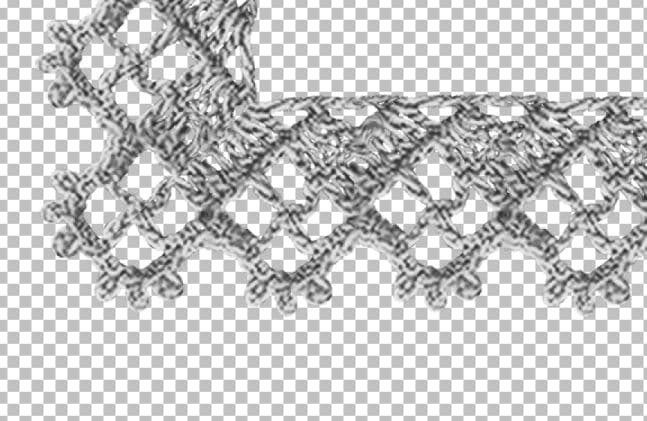
And lucky for you, the fourth corner is a duplicate of the first one, so it is already mitered.
Merge the two layers you are working on and your frame is done.
Fancier lace?
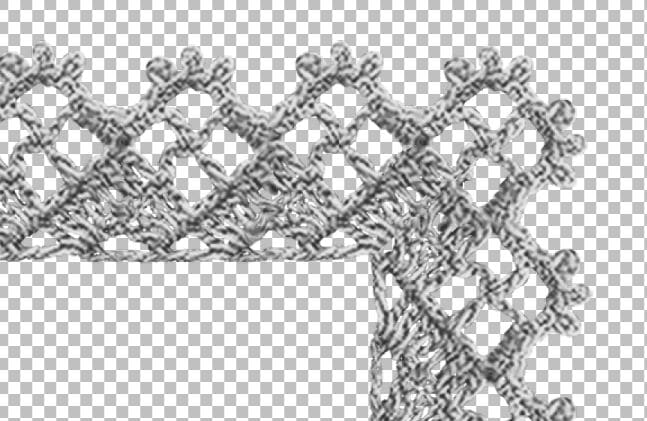
Some laces will be easier to miter than others. If you have something very intricate, you might end up creating a new design in the corner. For example, this vintage lace is very intricate.
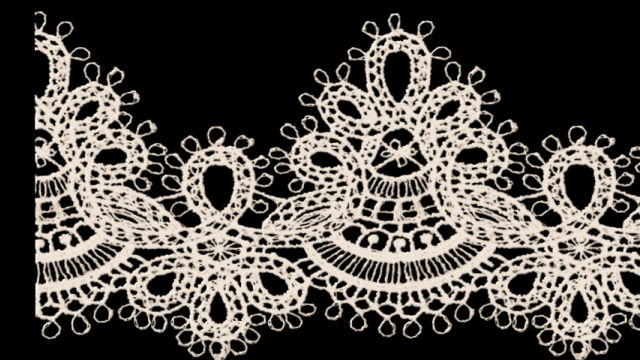
But it can still yield a very interesting corner.

But as you can see, there are some sections that really don't look good. Not a problem. I can just delete those areas and end up with something interesting (I also had to tweak the alignement by a few pixels).

Doesn't that look great?
If you want more crochet lace to create your own frames, there are multiple sets available in the store.


