

The Smart Carver is one of those tools you can use to remove a part of your photo. The program allows you to choose what to remove and what to keep intact. Then, it will reshape the photo without the section you chose to remove. This tool appeared in PaintShop Pro in version X3.It can be a very useful tool, however, it will only work on specific types of photos.
Where is the Smart Carver
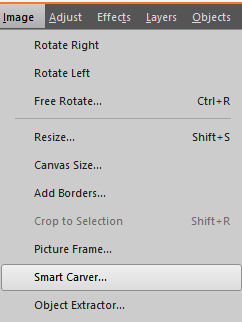
You will find the Smart Carver under the Image menu.
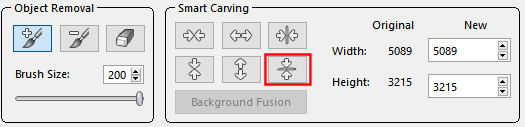
Once you have your image open, and you select the Smart Carver command, you will get this dialog window:
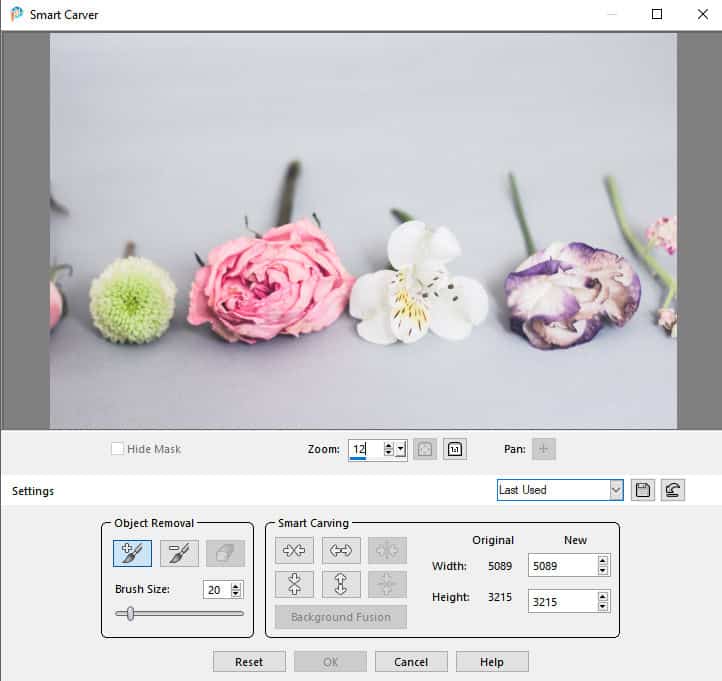
Let's have a look at the different components of that dialog window.
The Smart Carver dialog window
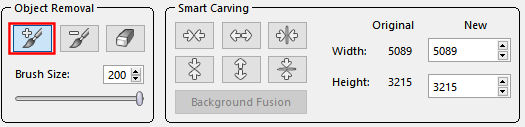
The settings available fall in two main categories. The tools to select the sections to keep and to remove, and one section to guide the program into what direction the fusion should go.
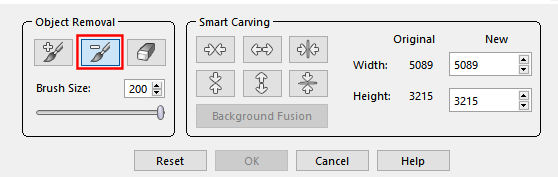
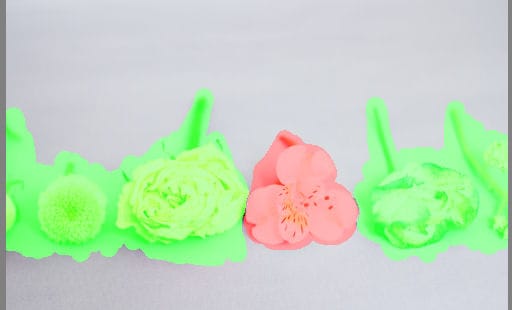
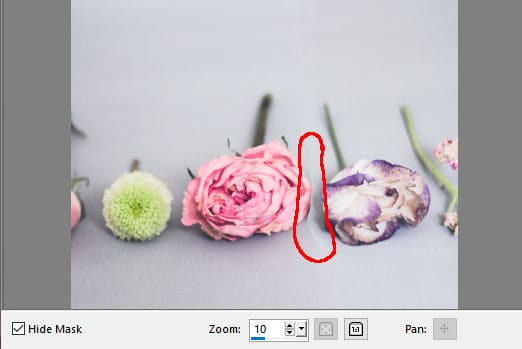
On our photo, let's remove the white flower. For that, we will choose the Remove option. I set the Brush Size to 200 because my image is very large but you will adjust it to suit your photo and the element you want to select.
Then, I will brush over the white flower, including its shadow and the stem.
Once the area is all covered, I also have to use the Preserve brush to identify which sections I want to keep intact.
And I will brush over the other flowers. I have to be quite careful around the section that I want to remove so I don't leave any gap.
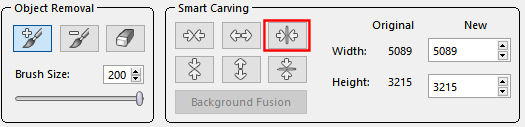
I will choose which type of carving I want. In this example, I will need the rest of the photo to contract horizontally so I will choose the Auto-contract horizontally.
The program will then give me a preview of the result.
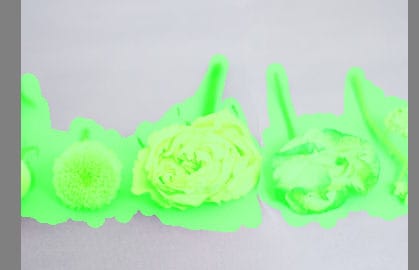
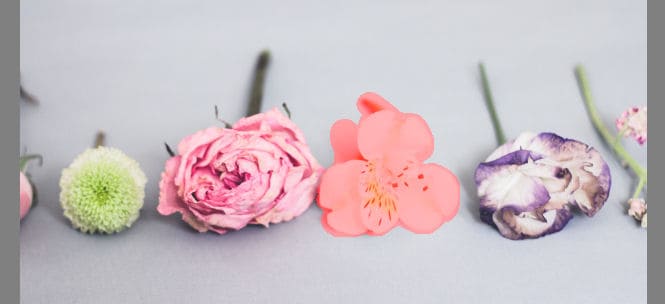
That looks pretty good. Let's hide the mask so we can see better.
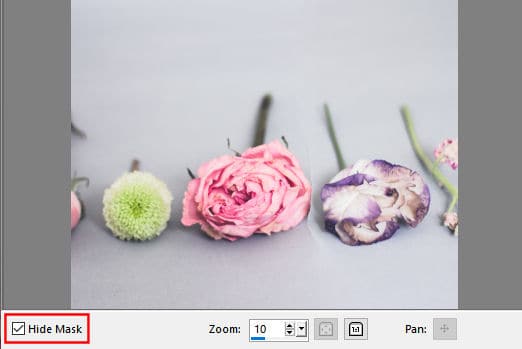
And the white flower is gone. The blending of the two sides is not perfect as you can see some sharp edges.
This is a limitation of this tool. Once I click OK, the command is completed and the image is now on the workspace, without the area I needed to remove. To address the little gap, we take a few additional steps, like cloning, or blurring those edges. That will depend on what that gap looks like on your photo.
Removing a horizontal element
In the previous example, the flower was removed and the rest of the photo was contracted horizontally. The same steps can be taken to remove an element and contract vertically. Let's have a look at this photo.
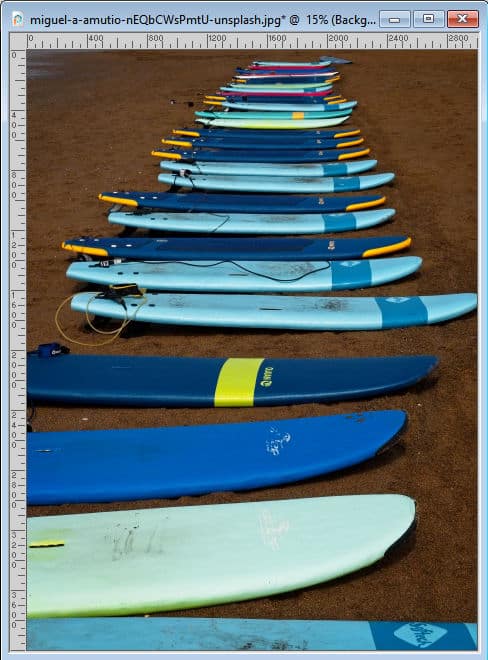
I will follow the same steps and brush to remove the middle board, while preserving the adjacent boards.
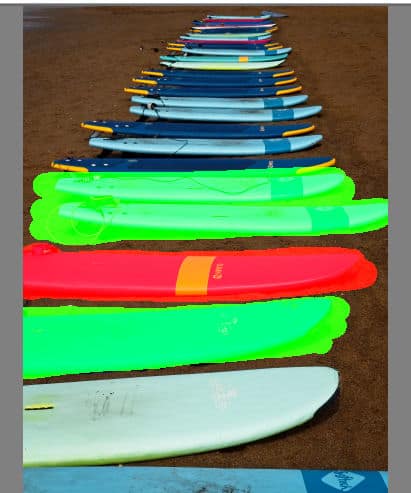
And this time, I will use the Auto-Contract vertically.
And we get this result:
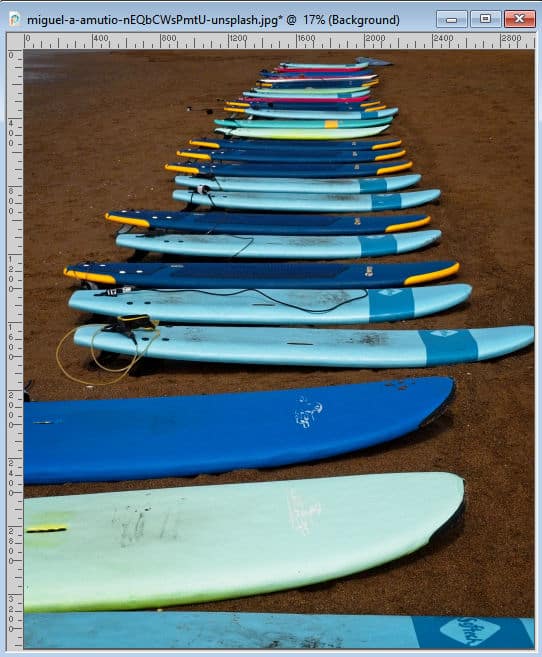
This is quite good isn't it? This is likely due to the fact that the background (the sand) has some texture so any of the edges would blend in better than on a solid color like on the first example.
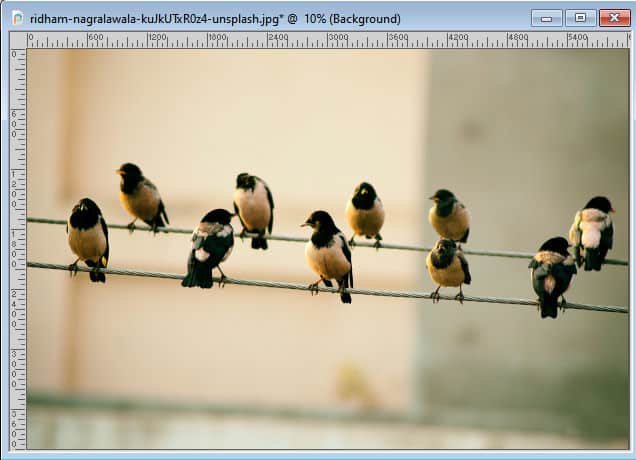
When it is not working
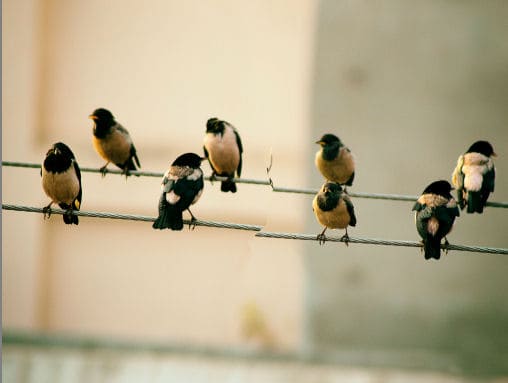
Some photos will give better results than others. If you have some obvious lines that are not horizontal or vertical, the contraction will bring the edges together but the lines likely won't match. Here is an example of a photo with lines that are not perfectly horizontal.
If I try to remove one or two of the birds in the center, my selections would look like this:
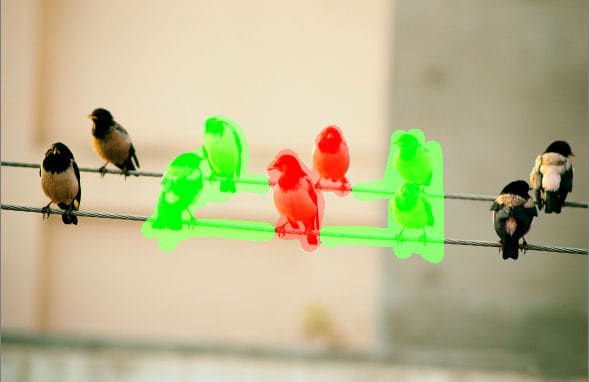
The result will then look like this:
As you can see, the line that was continuous in the original image has been broken once the Smart Carver has contracted the photo to remove the selected area. If the line had been perfectly horizontal, the contaction would have worked, but since it was at an angle, the result will be less than satisfactory.
In summary, the Smart Carver can be a useful tool to remove an element from a photo but it won't work on every photo. For additional tools and tips you can use to remove sections, you can check out the Get Rid of It Master Class.


